Any time I walk into an open house, I look for potential. As nice as it would be to walk in and say “this house is perfect”, it rarely ever happens. When we decided to purchase this house, there were definitely some rooms that were nice, but I could see the potential was there to take it from nice to perfect. A custom look is what can ‘make’ a house. When cabinets and other furniture are built-in or built custom to fit a particular space it creates a more cohesive look. Everything feels like it belongs and becomes part of the house.
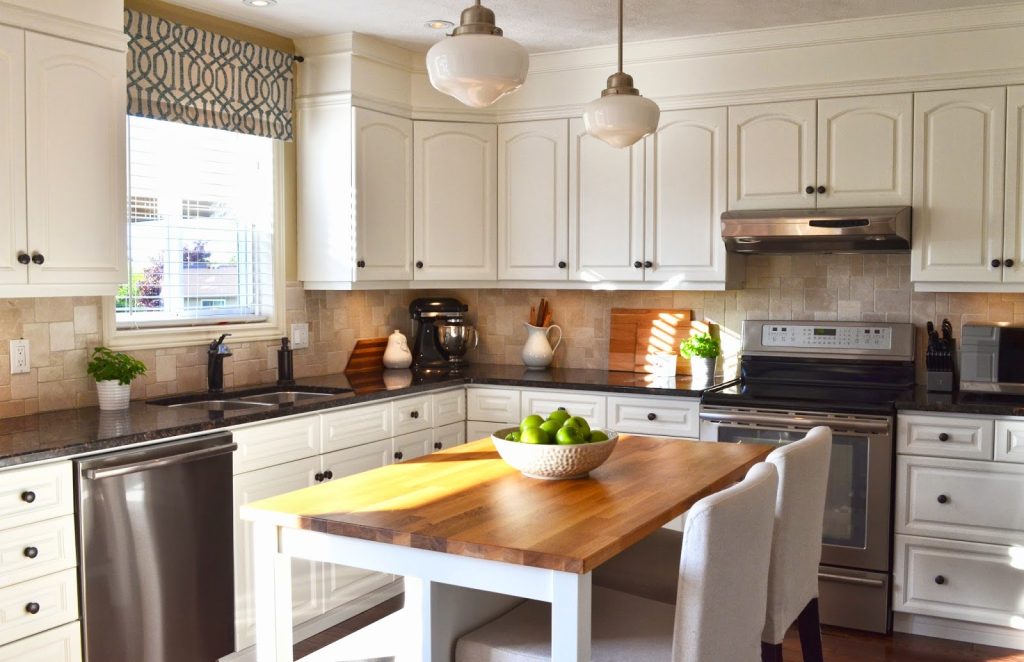
Although this kitchen had been somewhat upgraded with granite counter tops, tile back splash, hardwood floors and refinished cabinets, there was just something missing. First, the colour of the cabinets did not blend well with the hardwood flooring and it didn’t feel as open as we’d like. And second, it didn’t have that custom look we had been looking for in a kitchen – and as you can see in the picture below, I think we accomplished that goal with the final result!
When we first moved into the house the kitchen had two areas; the main prep area and an eating area. We decided that we didn’t need a sit-down dining area in the kitchen since we had a large dining room. Instead, adding an island with minimal seating would be ideal as it would also provide us with additional prep and serving counter space. The day after we moved in, I moved the pantry and fridge to the wall where the seating area was originally located. This provided a more open feel to the entire kitchen, and would also allow us to accommodate an island in the centre. The hardwood flooring the previous owner had installed was only laid around the cabinets, not under it, leaving a gaping hole in our kitchen floor when the cabinets were moved. I had a professional come in to match it with the rest of the floor and you can’t even tell where that area is. Our new stainless steel Frigidaire appliances added a professional look to the kitchen.
I should offer a word of caution to anyone else who is thinking of doing this. This is not a weekend project! Be prepared to work mornings, nights, and weekends for a significant period of time (depending on the size of your kitchen – took me a good six weeks). Take your time and do it right – don’t rush through it. I typically don’t have a whole lot of patience because I like to see results right away, but I knew with this project I had to try my best. At the end of this post I will show what the costs were to do it myself versus hiring people to do it.
The first thing I did was get an idea of what we wanted the kitchen to look like, and do a digital mock-up to make sure we were going to like it. This will include looking at colours and any built-in’s you are thinking of adding. You don’t need fancy software to do this and you don’t need to spend a lot of time on it. If you’re the type of person who has a hard time visualizing your ideas this is a great tool to help. I simply used Photoshop to replace the colours of the cabinets, and added some simple box shapes and lines to mock up the shelves and bulkheads.
Once you’ve decided what you want your kitchen to look like, it is time to prep. This is possibly the most tedious part because you’ll just want to dive into it so that you can see your results faster, but believe me if you prep properly it will make the process go much smoother.
Cabinet Refinishing
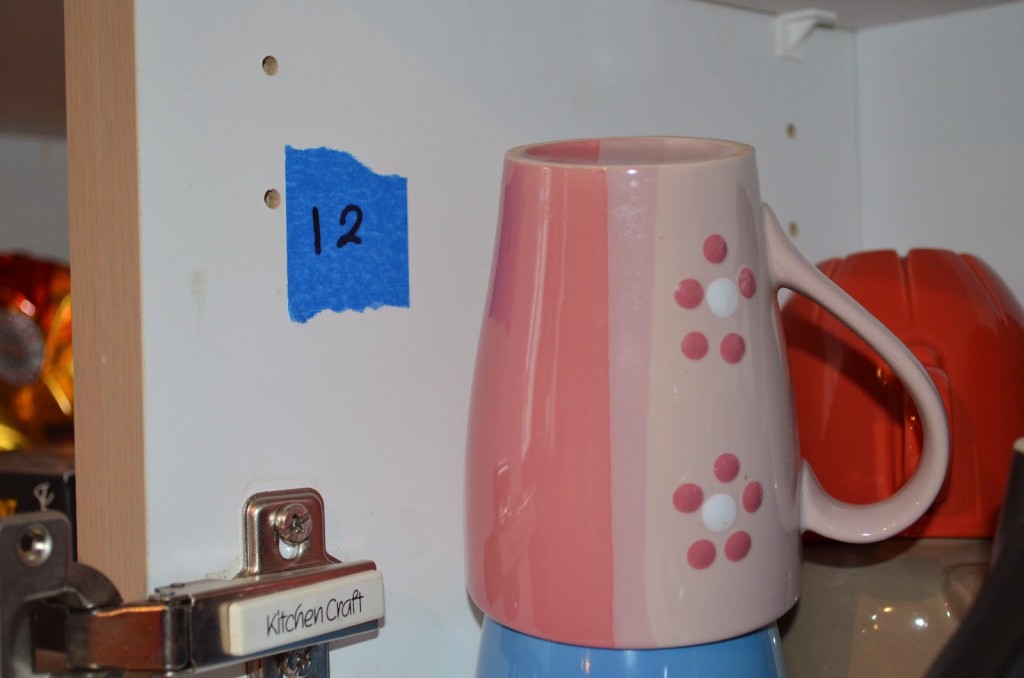
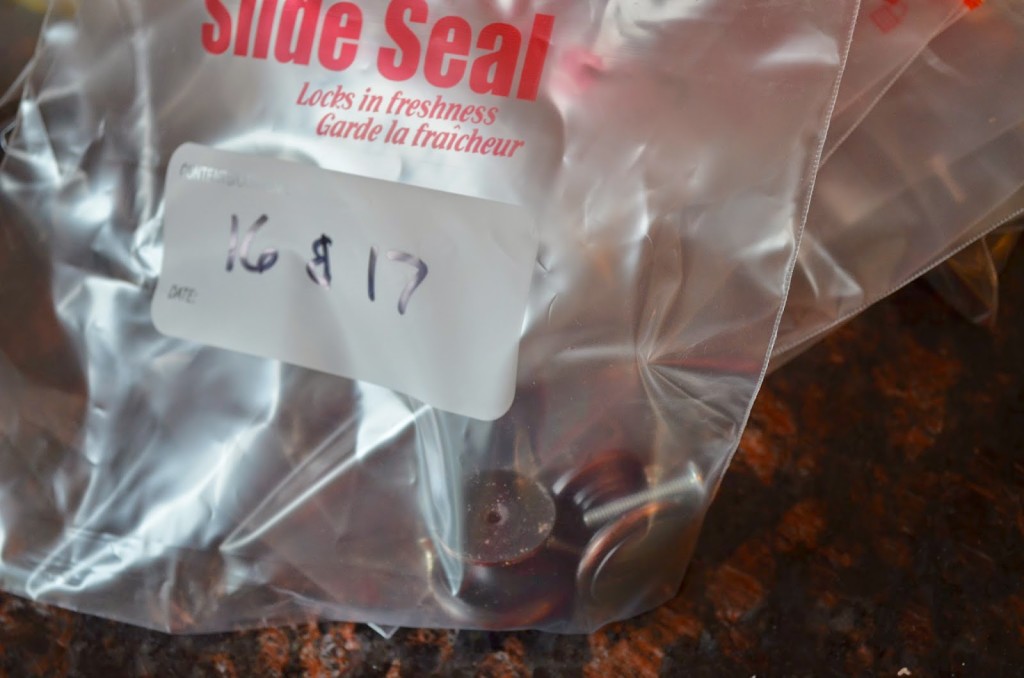
The first step is to carefully remove your cabinet doors and drawers and all hardware and give them a good cleaning with a solution of TSP which can be found at your local hardware or big box store. It’s important to remove the cabinet doors/drawers and all hardware including the knobs and hinges before you clean. This will ensure that you have proper access to clean all surfaces. Now, before you start removing the doors and drawers, here is an important tip. All of your doors are going to be slightly different so to make the re-install much easier get a black magic marker, some painters’ tape, and some Ziploc bags. Start by marking the inside of each cabinet where there is a door or drawer with a number on painters’ tape.
Once you have done this you can remove your door and hardware. Mark the same number on the door with the black marker in the hole the hinge was sitting in. Be careful not to paint over this! Also label the Ziploc bag with the door number. Believe me, this may have been the most important step of the whole job!
Put all of the cabinet doors and drawer fronts in a room where the temperature stays very consistent. I did this project in the fall so I put a heater in the garage for the nights when the temperature would drop. You could also do this in a basement if you have the room. If you have some 2×4’s laying around create some waist height stands so to make it easier on your back when painting. I ended up propping them up on tote bins and ladders. It also helps after one side has dried and you want to flip them to paint the other. Give the outside of all of the cabinets (and inside if you are painting them too) a good cleaning with the TSP solution. Follow with a fresh pail of the solution for all of the doors, making sure to get both sides and especially focusing on area around where the handles were, and any doors that may have been in close proximity to your stove where grease could have built up.
Once you are finished washing and the doors are dry you can start to lightly sand. Be sure to sand in the direction of the grain as much as possible. I used a fairly fine grit sandpaper which was just enough to take the gloss off. Make sure you get in all the nooks and cranny’s. When you’re finished give them a vacuum and a wipe down with damp cloth. You may need to do this twice to really get the dust off.


Leave a Reply