Good morning friends!
We are happy to say after a short hiatus we’re back! We have to apologize for our absence over the past couple of weeks. If you were wondering where we’ve been hiding, we’ve been preoccupied with work, prenatal appointments and holiday prepping. And unfortunately that means we’ve neglected our blog. But we’re back and we’re super excited about the great posts we have lined up for holidays!
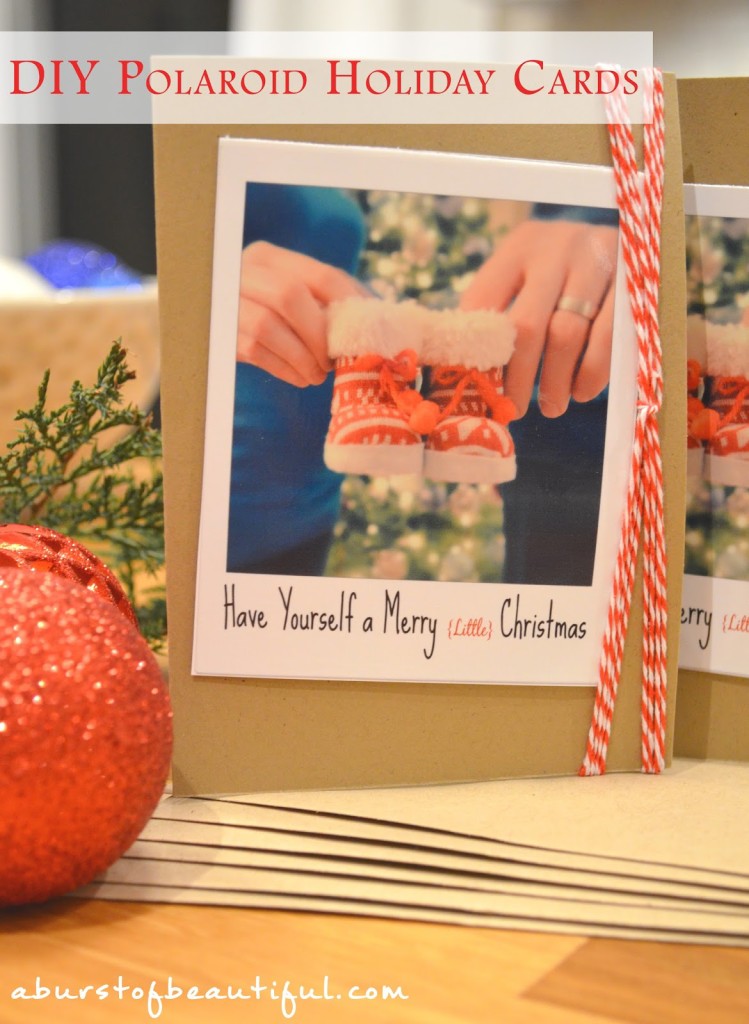
Today I wanted to share with you the homemade holiday cards I made for Christmas this year. There’s nothing better than finding a card in your mailbox amid all of the flyers and bills, especially during the holidays! This year we decided to make our own holiday cards so we could send something special to the friends and family we won’t be able to see over the holidays.
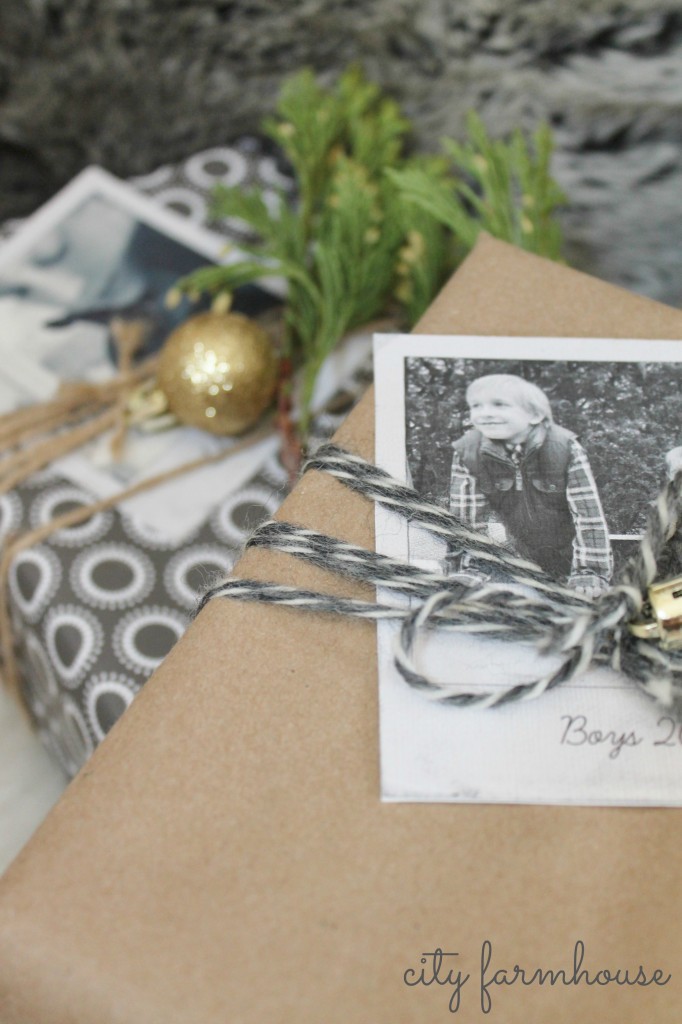
My inspiration came from City Farmhouse’s Winter Polaroid Project. I love the vintage feel of gifts wrapped in brown paper and the nostalgic Polaroid pictures add the finishing touch.
Supplies:
- Favourite holiday photos
- Photo paper
- Brown Kraft card stock
- Twine
- Glue dots
I chose one of my favourite holiday pictures from this year. I used PicMonkey to create the look of a Polaroid. Simply choose Edit, add a Polaroid frame to the image, add a holiday greeting and save! Easy as that. I printed my photos on glossy photo paper. However, next time I’d use a heavier card stock with a slightly matte finish to give it more of a vintage feel.
Next, I cut the brown Kraft paper to the size I wanted (I did 4.5″ x 5″) and printed a sentiment on the inside.
Attach your photo to the front of the card using glue dots and wrap the front of the card in twine.


Leave a Reply