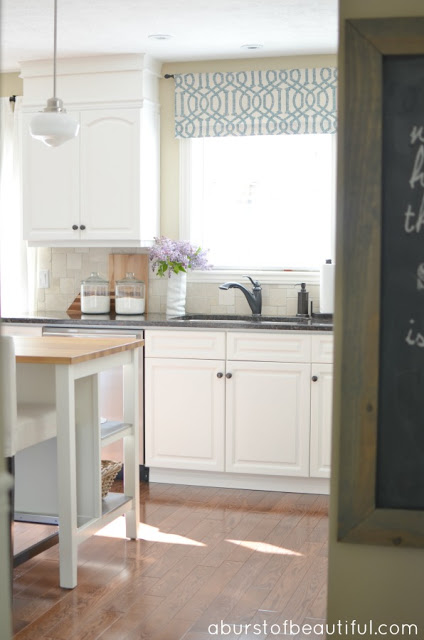
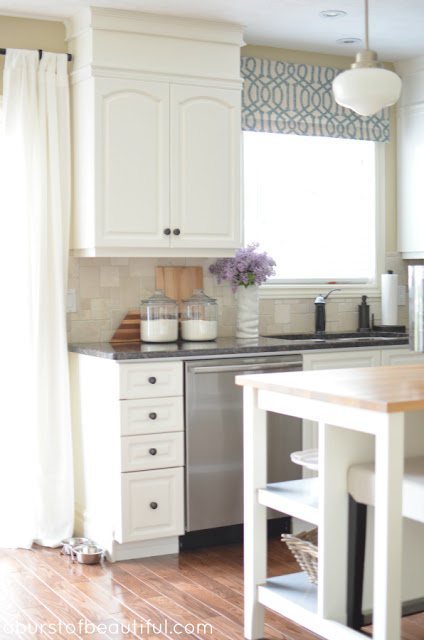
Good morning friends! Today I’m sharing my easy tutorial for our kitchen window valance.

If you follow us on Instagram you’ll know I post a lot of pictures of our kitchen and over the past few weeks I’ve received so many questions about our valance I thought I’d share how I created it (and if you don’t follow us, hop on over to Instagram to follow our day to day life through pretty pictures).
Now, I made this valance before the days of our blog, so this tutorial won’t have step-by-step photos. But I think it’s a simple enough project that they aren’t needed.
I sewed our valance, but you could easily make this a no-sew project by using iron on adhesive instead.
Supplies:
- Material (I used a curtain panel I purchased from Target)
- Sewing machine
- Thread
Instructions:
- Measure and cut fabric, leaving enough fabric to make 1/2 inch seam on both sides and the bottom of the valance and a 1-2 inch seam on the top.
- Pin 1/2 inch seams on all three sides (sides and bottom), iron and sew.
- Pin a 1-2 inch seam on the top of the valance, iron and sew (this will create the pocket for the curtain rod).
That’s all there is to it. I told you it was easy!

Sharing at: Silver Pennies, Just a Girl and Her Blog


Nikki Frank-Hamilton says
The valance looks gorgeous in your gorgeous kitchen! So simple to create, but you found incredible fabric which makes it so special.
Alicia says
Thank you so much Nikki! It really was such a simple project, but added so much impact to our little kitchen!
Constance Chuha says
I love your blog. It's so pretty and easy to read. I'm looking forward to linking a post in the link party.
Alicia says
Thank you for your sweet words Constance. I am so happy to hear you will be linking up at our next link party, I can't wait to see your projects. xo