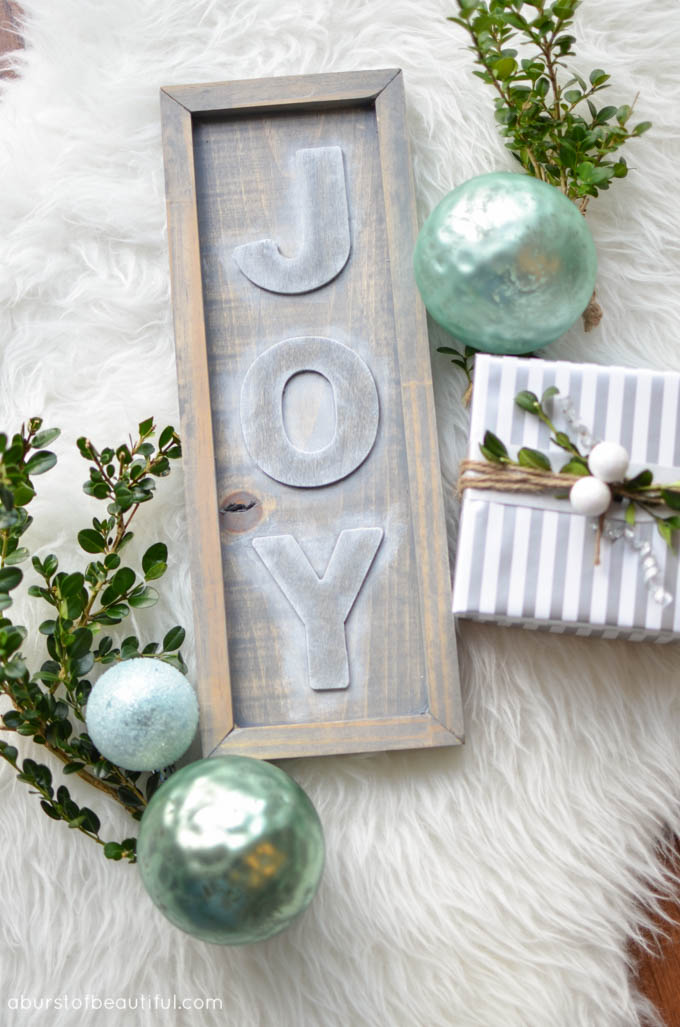
I don’t have a lot of power tools (hey family…hint, hint if you’re looking for Christmas gift ideas), but I have always been interested in building things, both big and small. I’ve built coffee tables, vintage-inspired wood toolboxes, custom frames, headboards, custom kitchen cabinetry, decks, gates, wainscoting, and other small projects around the house. For the majority of my projects, I only have a mitre saw, drill and finishing nailer at my disposal. The rest is either done with manual tools or I’ve come up with a way to change the project so another tool will not be required to build this DIY rustic wood JOY sign.
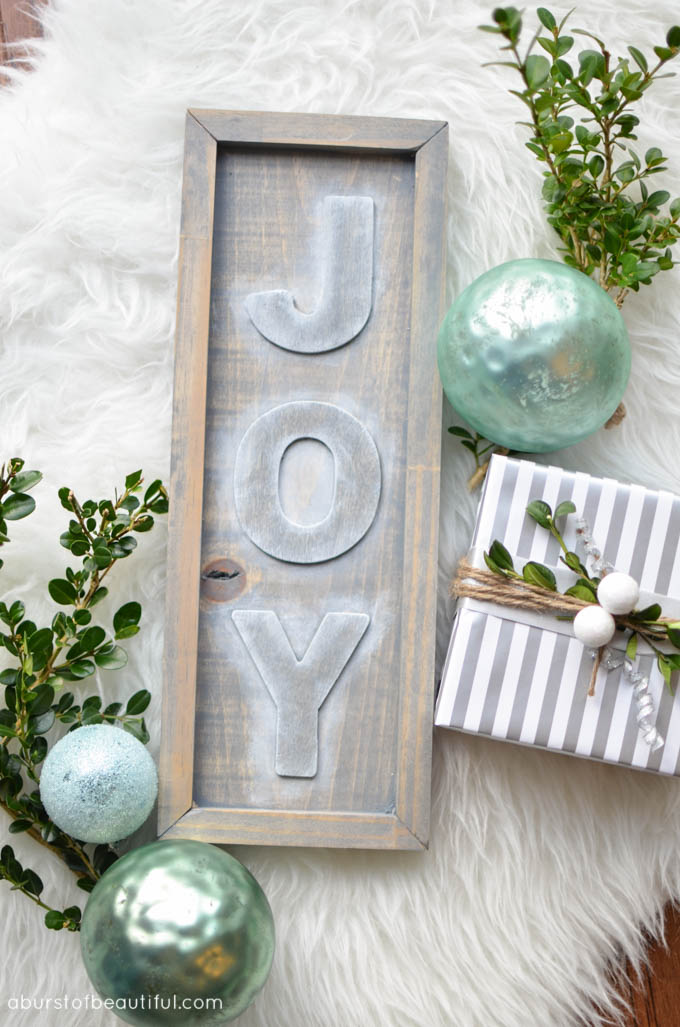
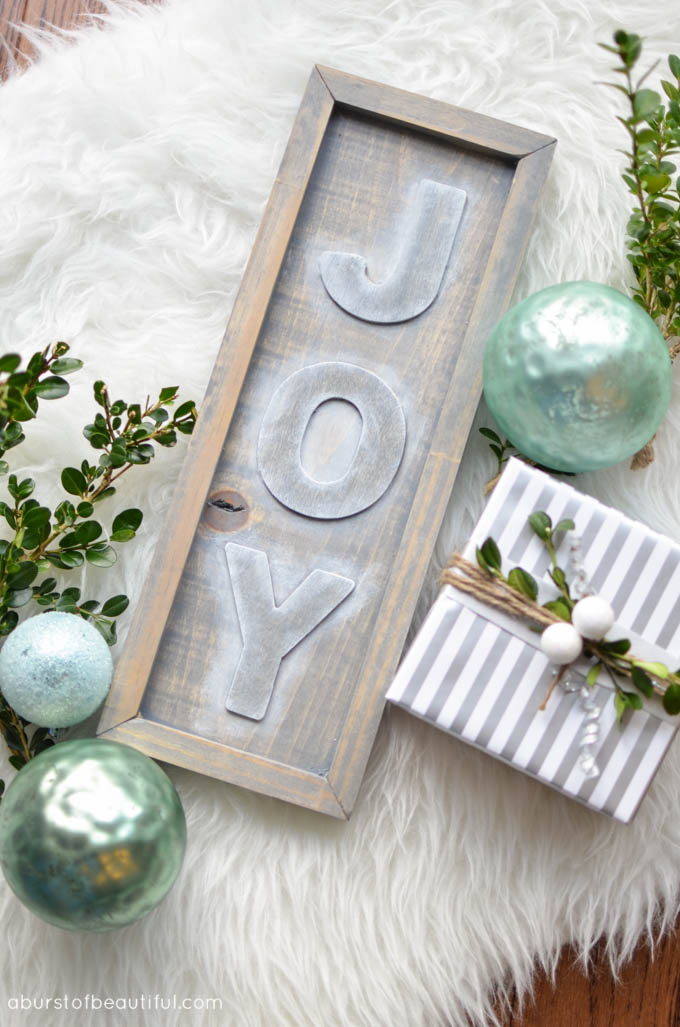
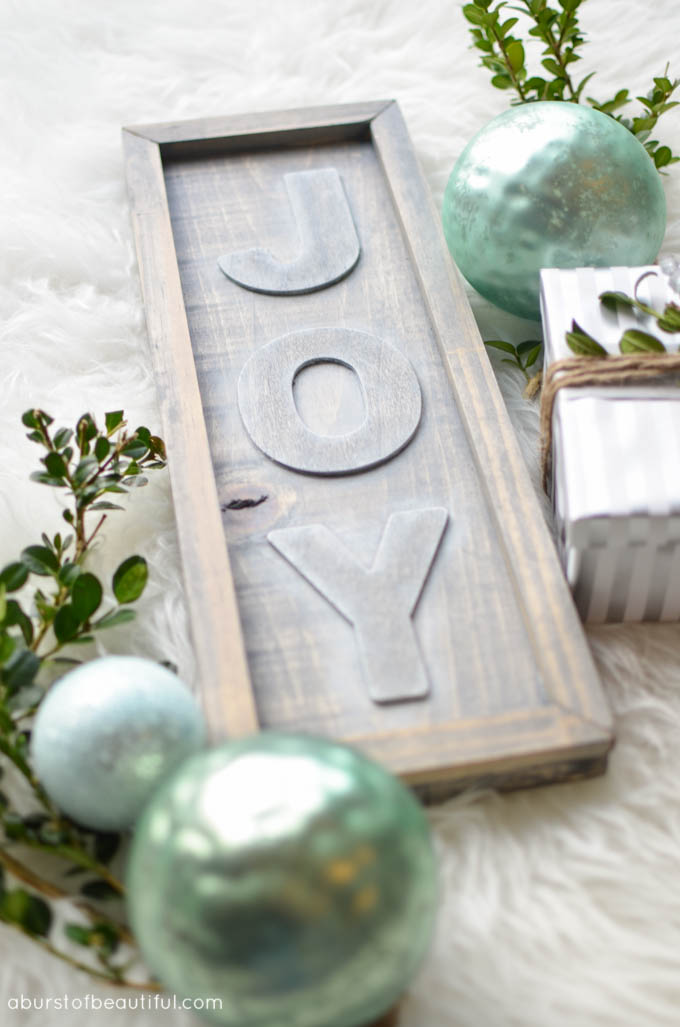
We’ve seen a lot of these rustic wood signs on the market this Christmas, and they usually come with a pretty high price tag. But I knew I could easily create a very similar project using leftover wood and wood letters from the dollar store.
This rustic wood sign is an easy project that doesn’t even require any power tools. Good old manual tools like a handsaw, a mitre box, wood glue and clamps will do the job just fine.
DIY Rustic Wood JOY Sign
Supplies:
- 1 – 1″ x 6″ x 15″ piece of wood (we used pine)
- 1 – 7/16″ x 11/16″ x 4′ piece of wood (we used pine)
- 3 1/2″ wood letters
- Gorilla wood glue
- Minwax gel stain (in Grey)
- White craft paint
Tools:
- 2 wood clamps
- Mitre box
- Hand saw
- Foam brush
- Small paint brush
Directions:
- Cut the 7/16″ x 11/16″ x 4′ piece into the following lengths for the frame:
- 2 x 15″ pieces with 45-degree angles on each end
- 2 x 5.5″ pieces with 45-degree angles on each end
- Apply glue to the back of one of the 15″ frame pieces and align it to the edge of the main board and clamp in place.
- Apply glue to both of the 5.5″ frame pieces and secure in place with clamps.
- Apply glue to the final 15″ frame piece and secure in place. At this point, you can make any adjustments to ensure all of the corners are square before the glue dries.
- Lay your letters out on the board to determine the best spacing, then apply glue to the back of each letter and secure in place.
- Allow to dry and give it a light sanding around the edges.
- Apply the stain colour of your choice using a foam brush applicator and allow to dry.
- Using a small paint brush lightly apply white craft paint around the letters and then wipe any excess off with a paper towel. This will help highlight the letters a little more so they stand out.
*Note if you aren’t comfortable cutting angles, you can just cut them at a 90-degree angle, but the 5.5″ will need to be cut at 4 1/4″ instead.
This rustic wood sign is such an inexpensive and simple project, you might find yourself whipping up a bunch as beautiful home-made Christmas gifts.


Shawnna says
Oh I just love this!! SO cool!