It is finally starting to feel like spring around here. We have been basking in some much-appreciated warmer weather and of course, the necessary spring showers. The mild temperatures and rain have really made life bloom outside of our windows. I love catching glimpses of the fresh green buds unfurling and delicate little flowers flourishing on tree branches in our yard. There is something about welcoming back longer days, listening to birds happily chirp outside of your window and feeling the temperature slowly creep up that makes you feel a little more joyful.
As I notice this shift outdoors, I begin to mimic it in our home as well. I start to layer in a few key pieces that remind me of spring and summer and the relaxed days ahead. I’m drawn to anything organic and natural, like beautiful wild flowers, pretty potted plants and natural wood elements.
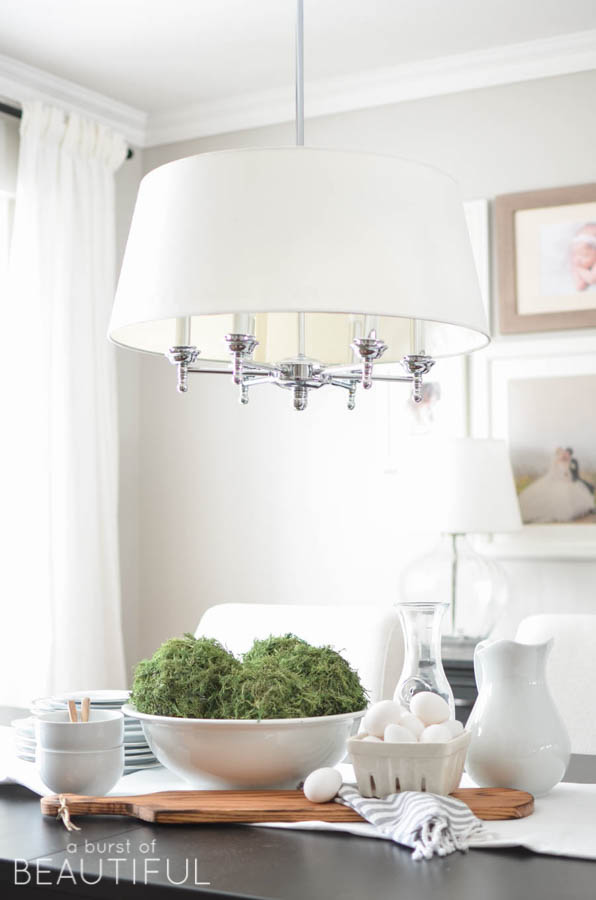
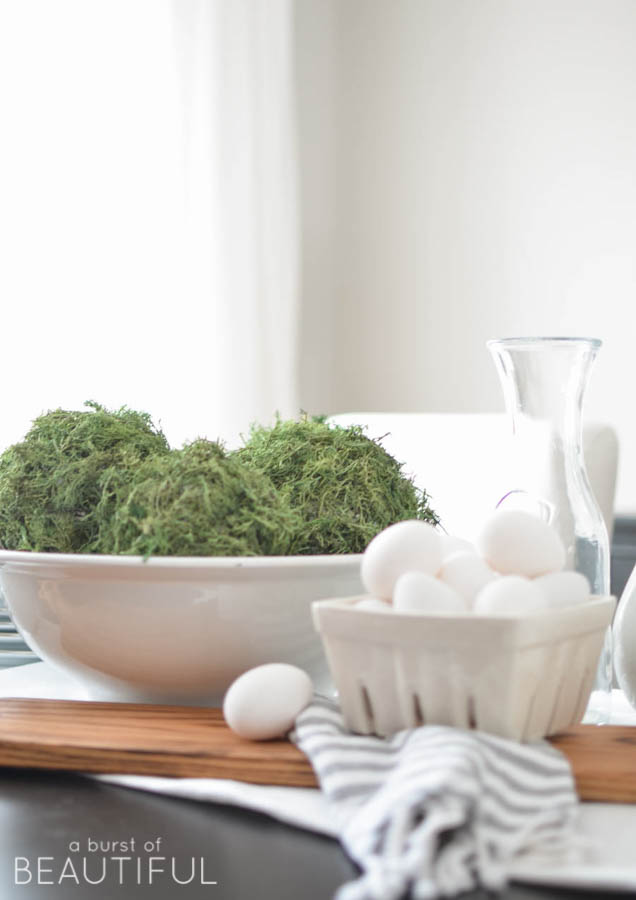
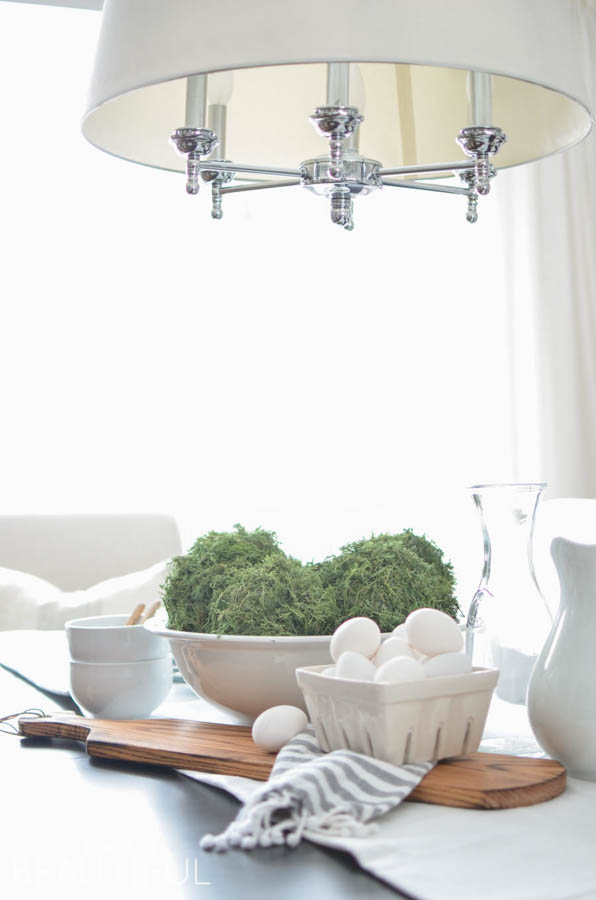
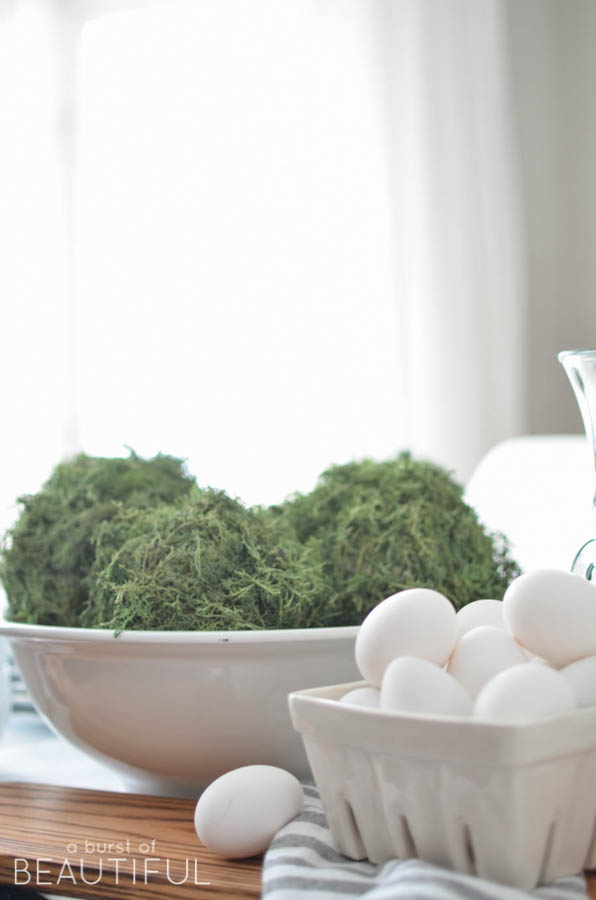
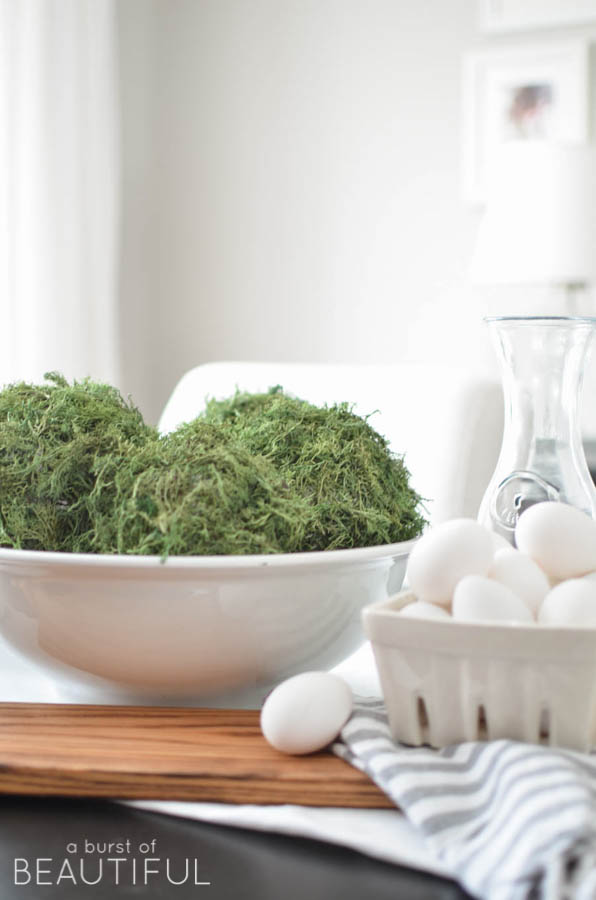
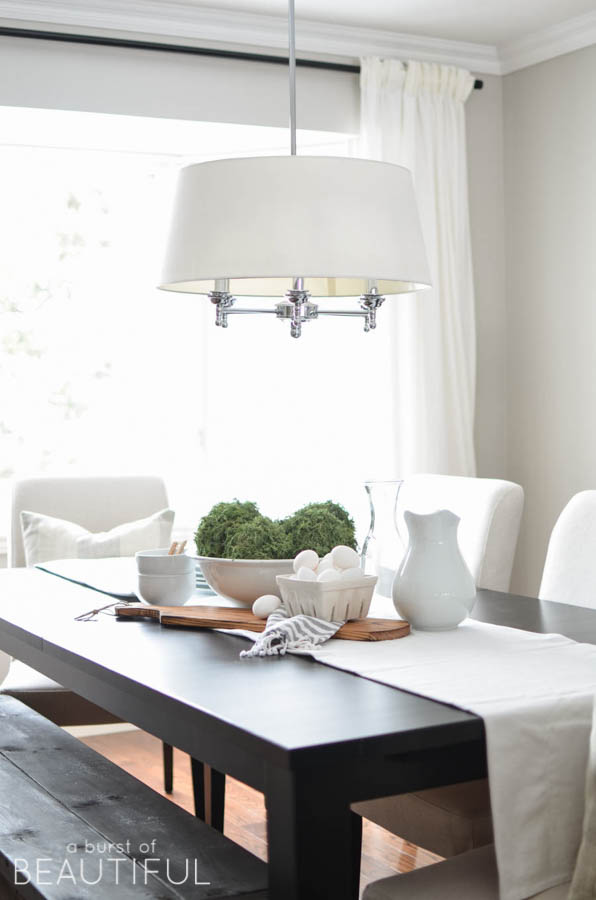
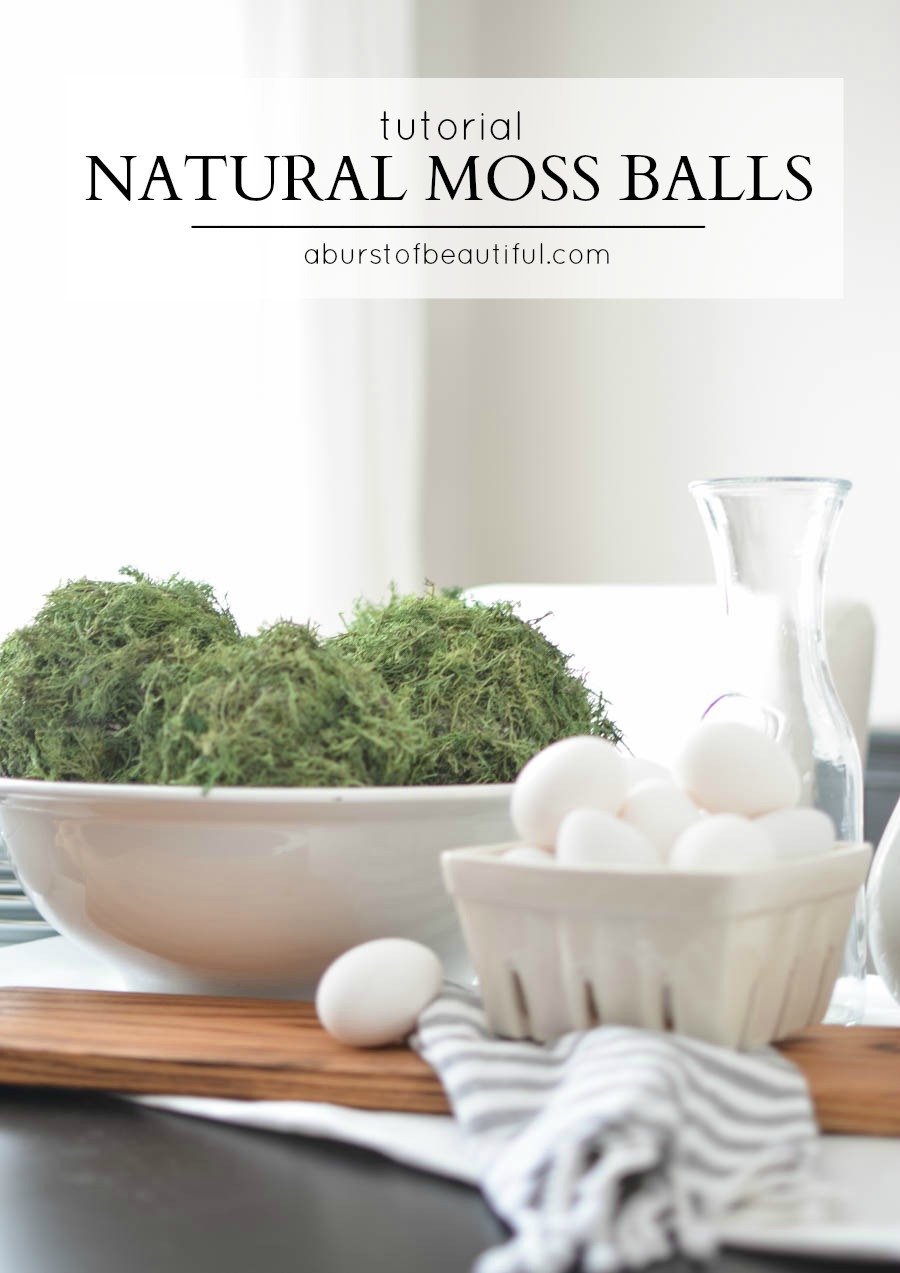
I recently found this beautiful Ironstone bowl at my parents home and it now proudly sits on our dining room table. For a long time it sat empty while I debated what to fill it with.
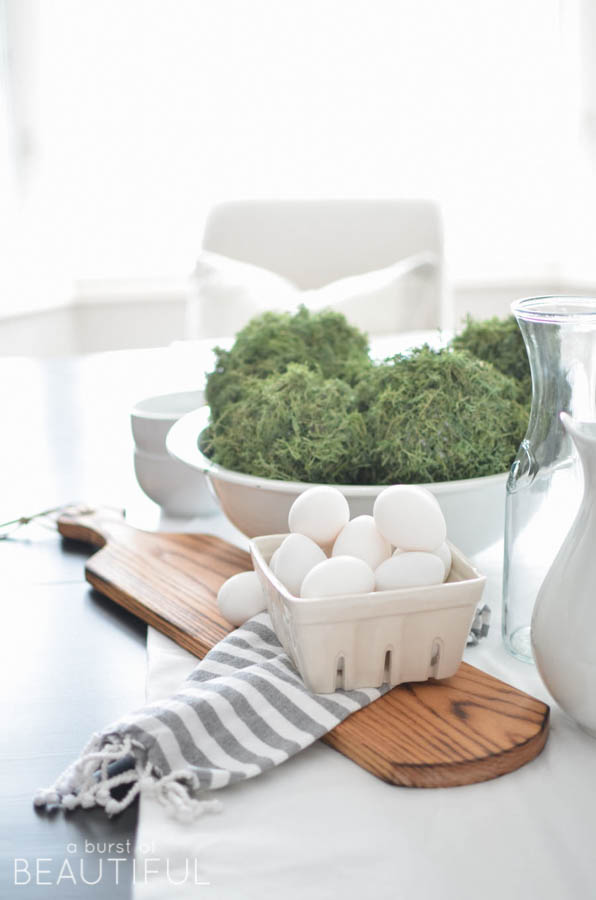
It’s quite large, so I needed to find something that would make a bit of an impact yet not be overwhelmed by the size of it. I wanted something that would feel fresh, interesting and add a pop of color. That’s when I decided to make these beautifully organic moss balls, I knew they would make the perfect filler.
It was a simple and inexpensive DIY project and I just love the beautiful texture they add to our space, not to mention the vibrant pop of green. It makes our dining room feel bright and happy.
DIY Moss Balls
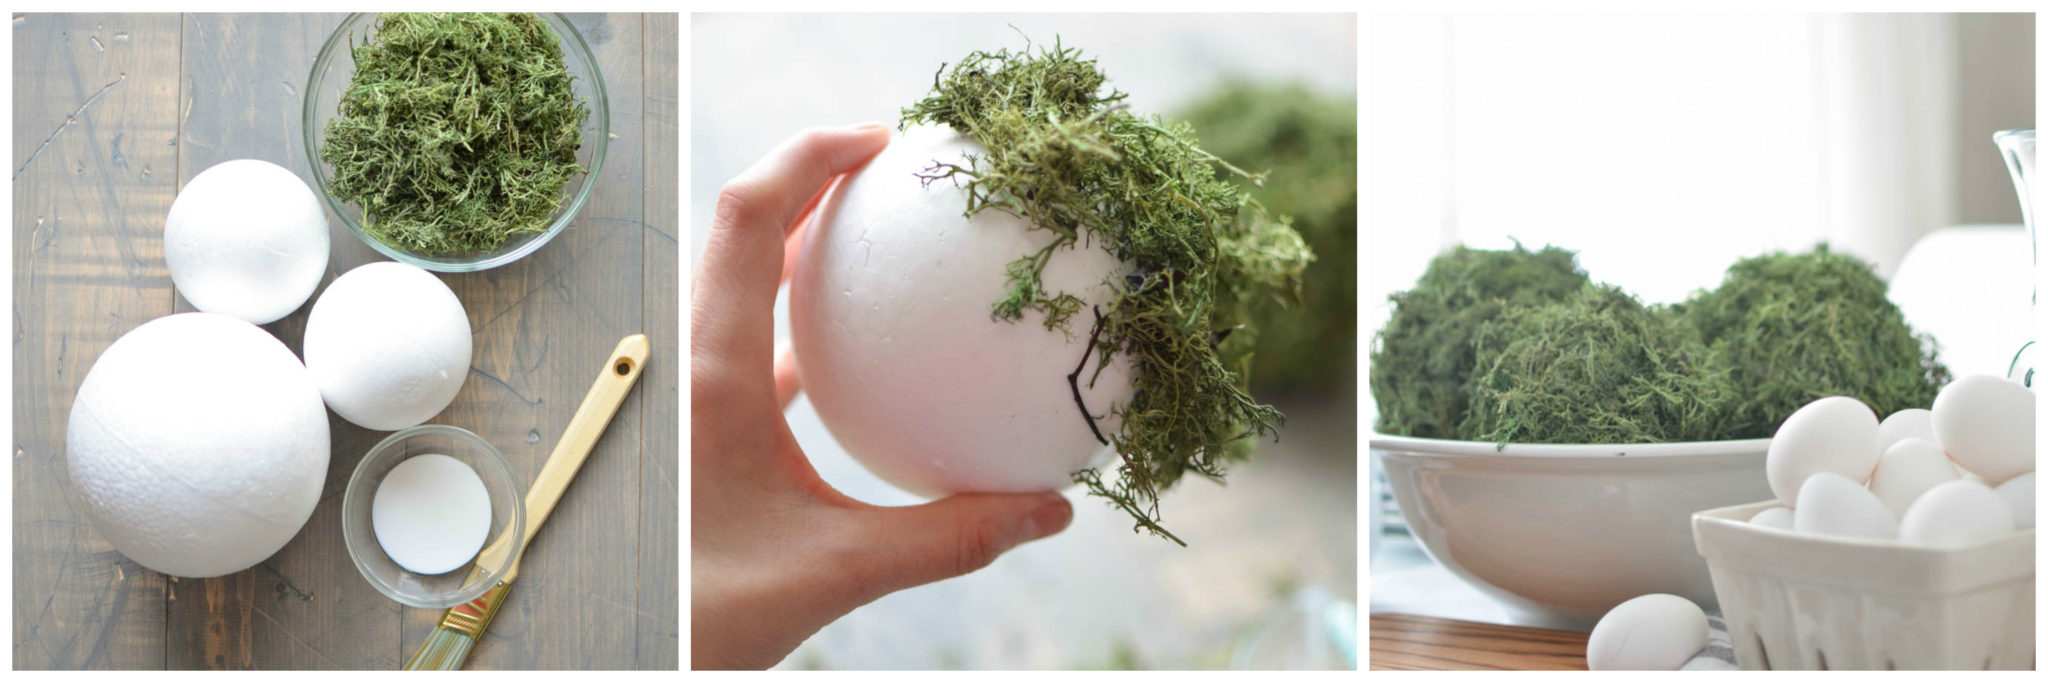
Supplies
- Styrofoam balls (variety of sizes)
- Moss
- Foam adhesive
- Small paint brush
Instructions
- Begin by painting 1/3 of the styrofoam ball with foam adhesive.
- Press a handful of moss onto the ball and pat into place.
- Continue with Steps 1 and 2 until the entire ball is covered with moss.
- Pat the moss onto the ball to ensure it sticking to the adhesive and forming a nice shape (almost like you are patting together a snowball).
- Set aside to dry.
You may want to paint the styrofoam balls brown or green before adding the moss, this will help fill in any sections where the moss doesn’t fully cover the styrofoam.
Don’t you just love how simple this project is? It only took me about 30 minutes to make 5 of these beautiful moss balls. They aren’t just for spring either, moss balls are a classic and timeless decor item, and will transition so well from spring and summer through to the fall and winter.
Have a lovely week!
Alicia xo
The post DIY Moss Ball Tutorial first appeared on Craftberry Bush on March 10, 2016.



Leave a Reply