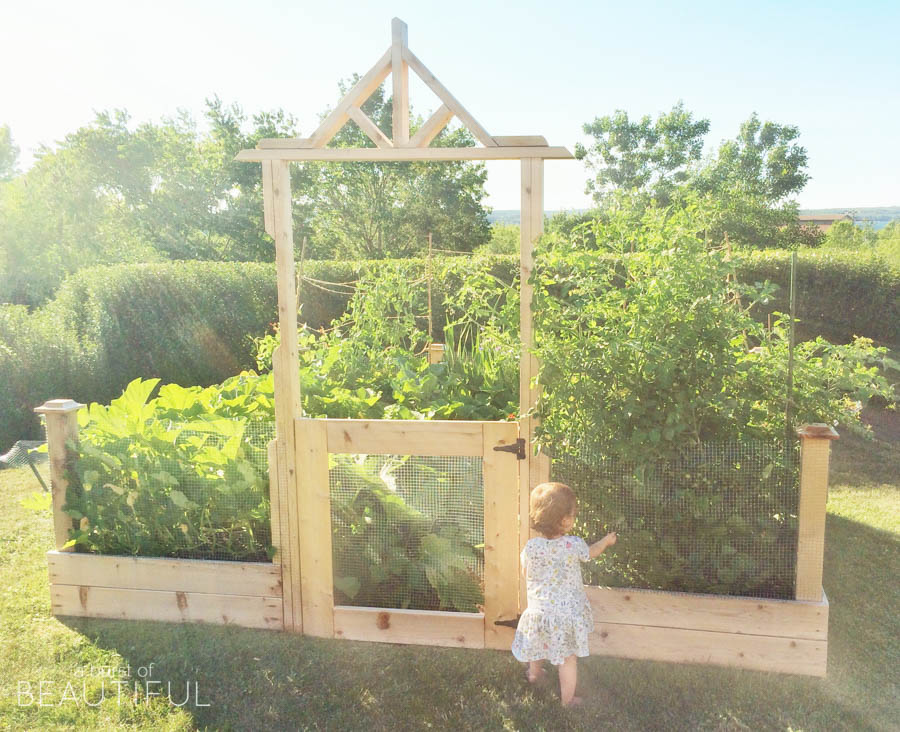
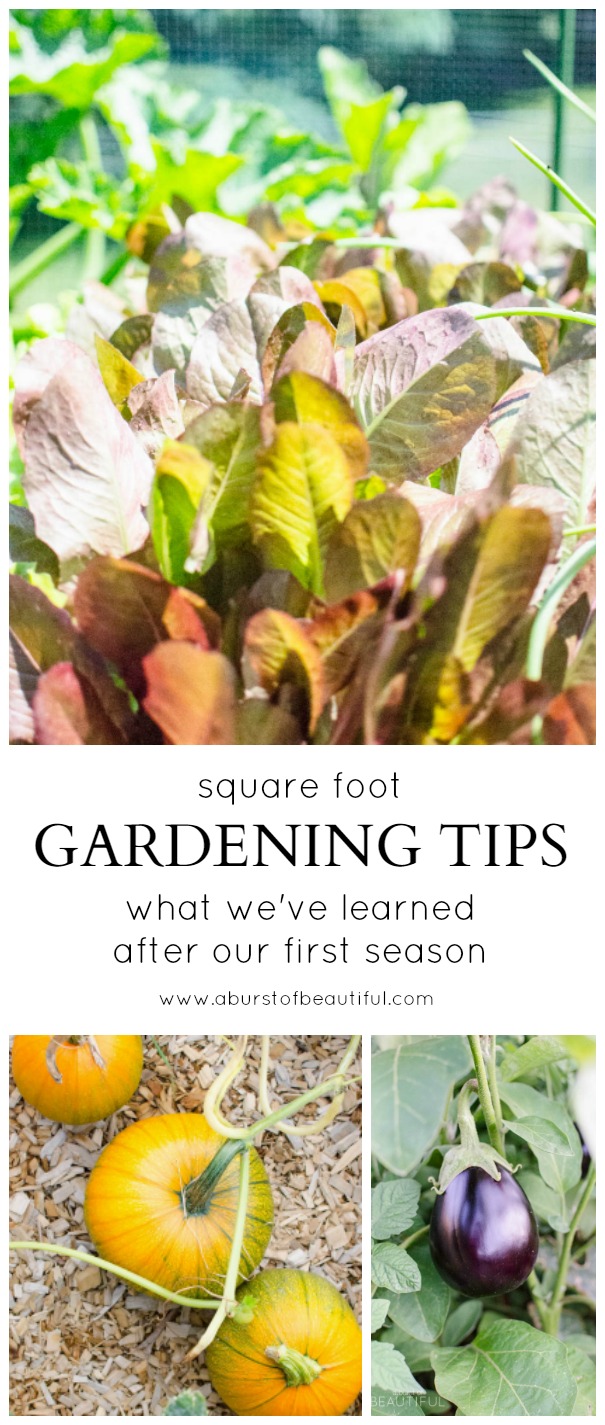
If you’ve been following our blog, you’ll recall that I built our first square foot garden this spring. I had done a lot of research on square foot gardening, from how big to build it, what seeds to sow, how to layout your companion plants, and the best way to care for them. We also gave you a brief update half way through the season as to how things were going. All of the research and planning paid off as I had great yields from my first season as a gardener, so today I am sharing our square foot gardening tips!
Our favorite part of the whole experience was watching our little Zoe check out her garden every morning and night, waving to it from the window and telling it to “gwo” (grow). To say she had an obsession with the cherry and grape tomatoes might be the understatement of the year. Every time she went outside, she beelined to the tomato plants and plucked off one or two to carry around with her while she looked at the rest of the garden, and heaven forbid you should try to take them away from her! The ironic thing is that she didn’t actually like eating them, just picking them and sometimes squishing them.
I’m already looking forward to next year when Zoe will be able to better understand and help with the garden. It will be a great bonding experience for her and I and she will hopefully find an appreciation for growing and eating our own food.
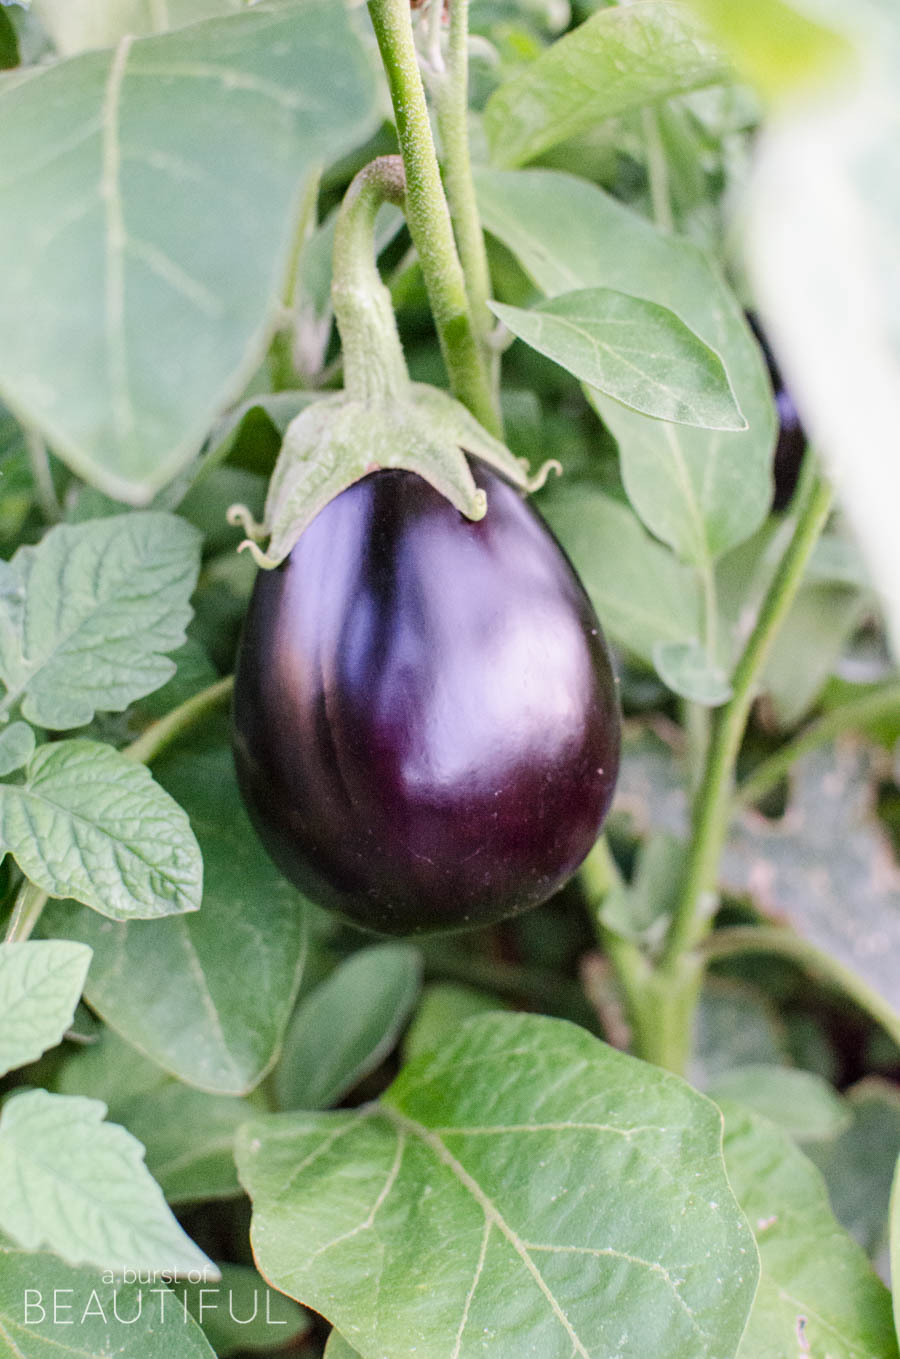
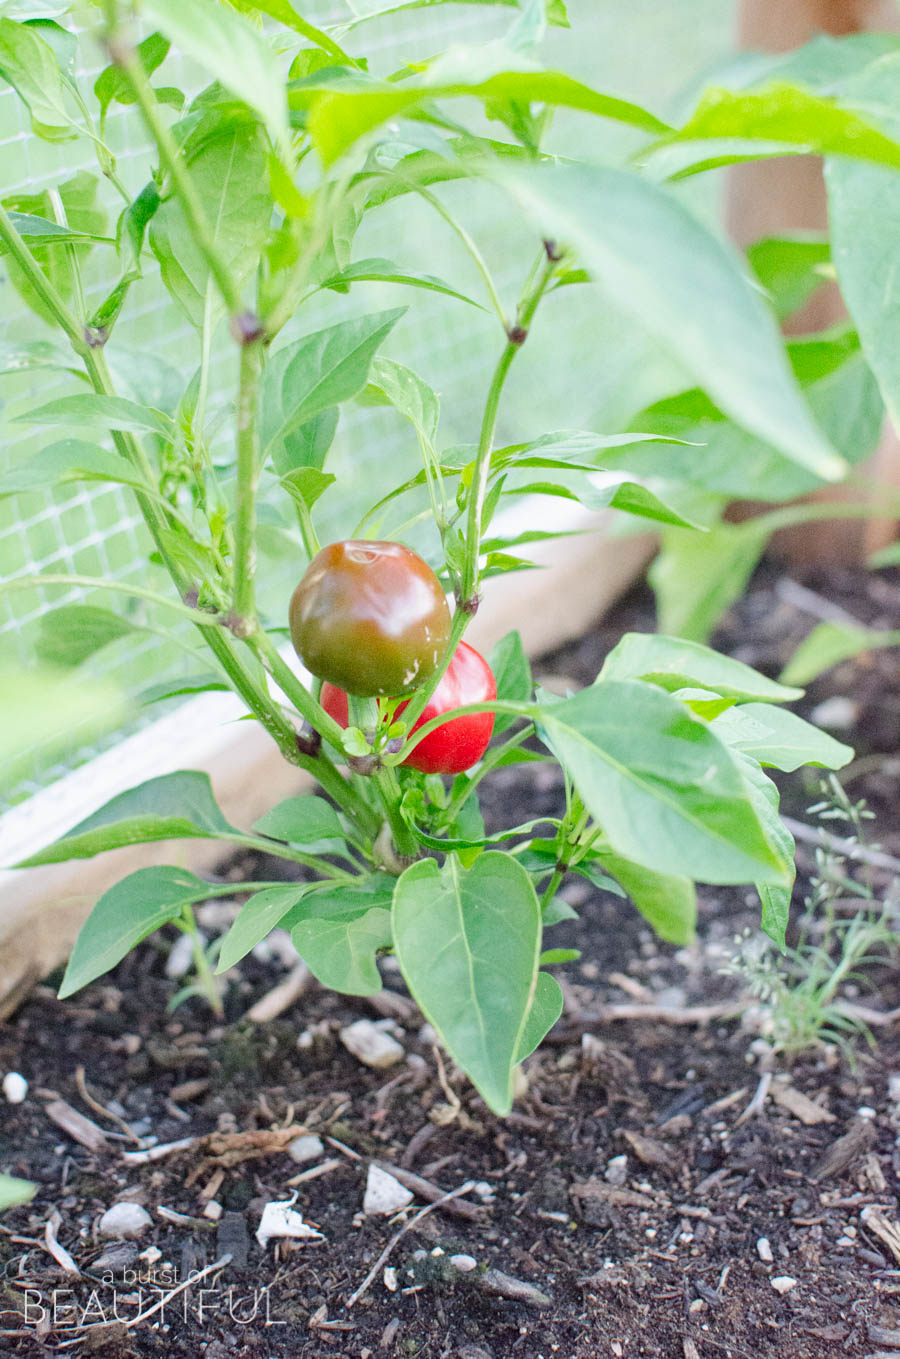
We ate fresh vegetables all summer long with help from the exceptional weather we had, albeit very dry. We produced cherry and grape tomatoes, red, yellow and green onions, romaine and green leafy lettuce, radishes, eggplants, zucchinis, cucumbers, spinach, sugar snap peas, asparagus peas, beans, celery, pumpkins, red and green peppers, beets, carrots, broccoli, and lots of fresh herbs…ALL IN JUST 57 SQUARE FEET!!
There is something so satisfying when you realize that the majority of the ingredients in your dinner are grown by you and freshly harvested just a short time before they reach the dinner table. Not only is it rewarding, but it also makes you realize how much effort is required to grow your food. You don’t want to waste anything and you can definitely taste the difference. I think Alicia was getting annoyed that I kept saying that everything I harvested from the garden tasted “sweet”!
When I buy produce from the grocery store and it spoils before I’ve had a chance to use it up, it generally doesn’t bother me. I’ll toss it in the compost and add it back on the grocery list. But when I would see something from our garden spoiling I would get upset because I know the effort that went into growing it. So I was always looking for ways to incorporate any of our vegetables into a dish or find another use for it.
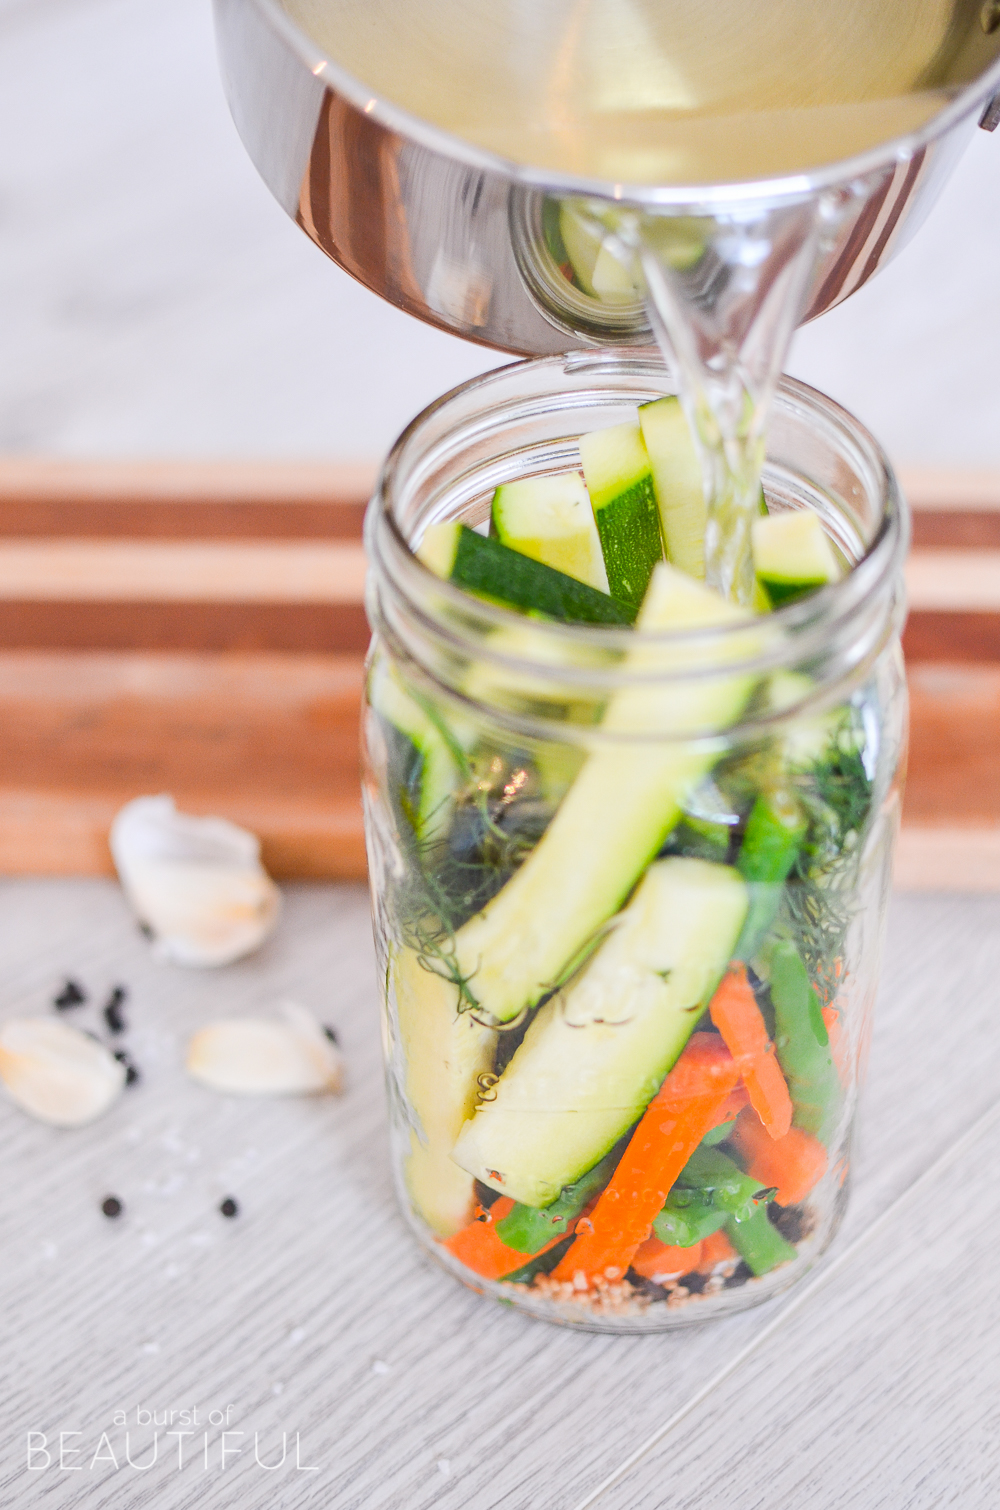
I’m not the biggest vegetable enthusiast (unlike Alicia), but I found I was more likely to eat them when they came from our garden. I even made some delicious refrigerator pickled vegetables as another way to enjoy our produce and I shared my easy recipe with our readers.
So as the growing season comes to a close I thought I’d share what I’ve learned with our readers who have told us they are going to build their own square foot garden next year. By no means am I a gardening expert, but I can at least offer some tips that might help you either make your garden more successful or at least avoid some of the mistakes that I made.
OPTIMIZE YOUR SPACE
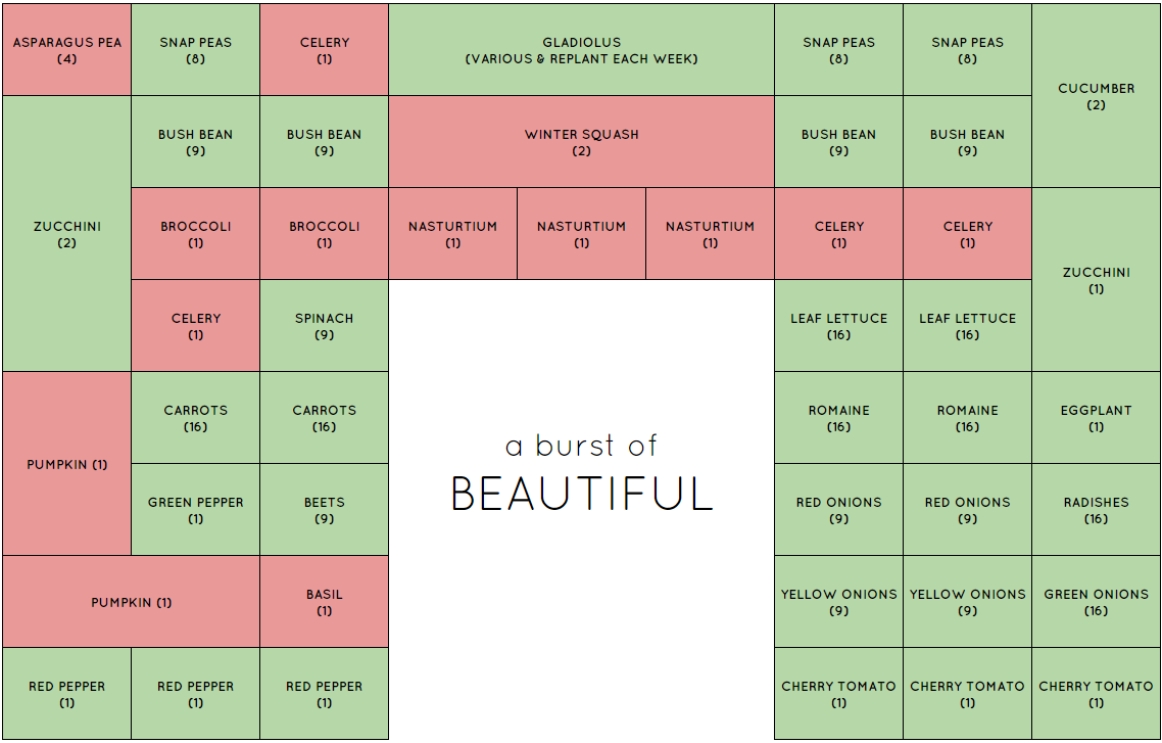
I think I went a little overboard this year in the variety of produce I planted (I’m a go big or go home type of person), but I did it to discover what would and wouldn’t work to make planning for next year easier. It was important to determine whether the return would be worth the investment in time and money for each plant. Here is what the final garden layout looked like and I’ve indicated in red which plants I will not sow again next year. Instead, I will substitute them with higher yield plants like beans, carrots, and lettuce. To help you get started next year, download our Square Foot Garden Planning Tool.
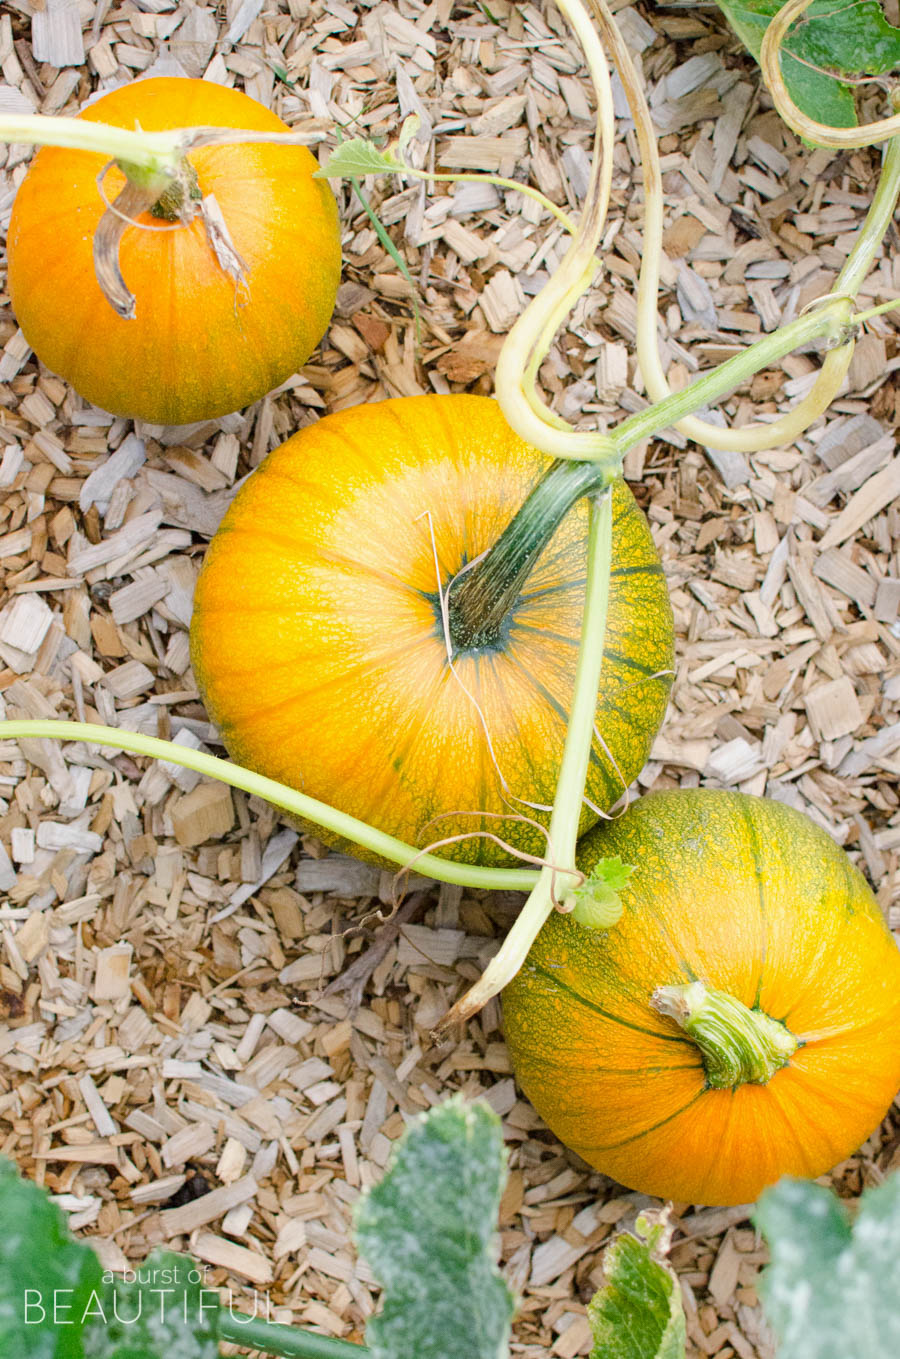
First, pumpkin plants are huge, like, really huge. Their vines will take over your entire garden! By mid-summer, they had reached all the way over to the eggplant on the other side of the garden. You can remove vines that haven’t born fruit, but they were still out of control. Not only did this make it very difficult to get into the garden, but it also created a lot of shade over plants that needed the sun, like our red peppers. My advice is not to plant these in a square foot garden unless you can grow them off the side and onto your lawn. That being said, we did get four beautiful pumpkins from it, but they were ready so early they may not make it to Halloween!
Winter squash gave us the same problems as the pumpkins. I ended up pulling them out in July because the vines had spread so much and hadn’t produced any fruit, although there were lots of flowers.
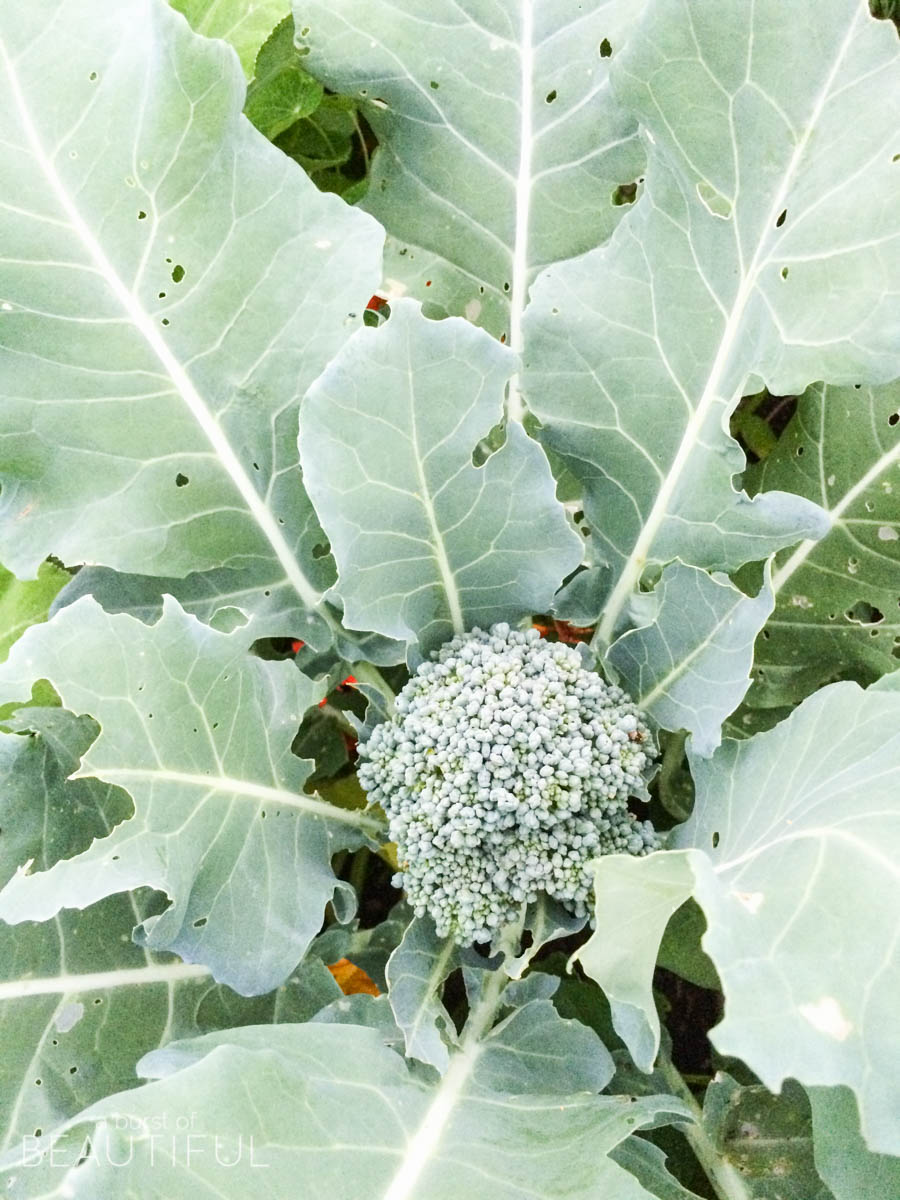
Next, celery and broccoli do not have a high yield, although you can keep cutting the broccoli so that it will grow more shoots. We didn’t have much success with the broccoli and ended up having to pull them out after they bolted and were infested during an extremely hot period in the summer. The celery is still growing, but the stalks I have cut so far seem very dry and not very flavorful at all, but they still have some time to grow.
The nasturtium flowers were beautiful and huge and the reason for planting them was to keep pests away. However, it was because of these flowers and the flowering broccoli that we got a leaf beetle infestation. Both had to be removed at the end of July (see pest control tip later on).
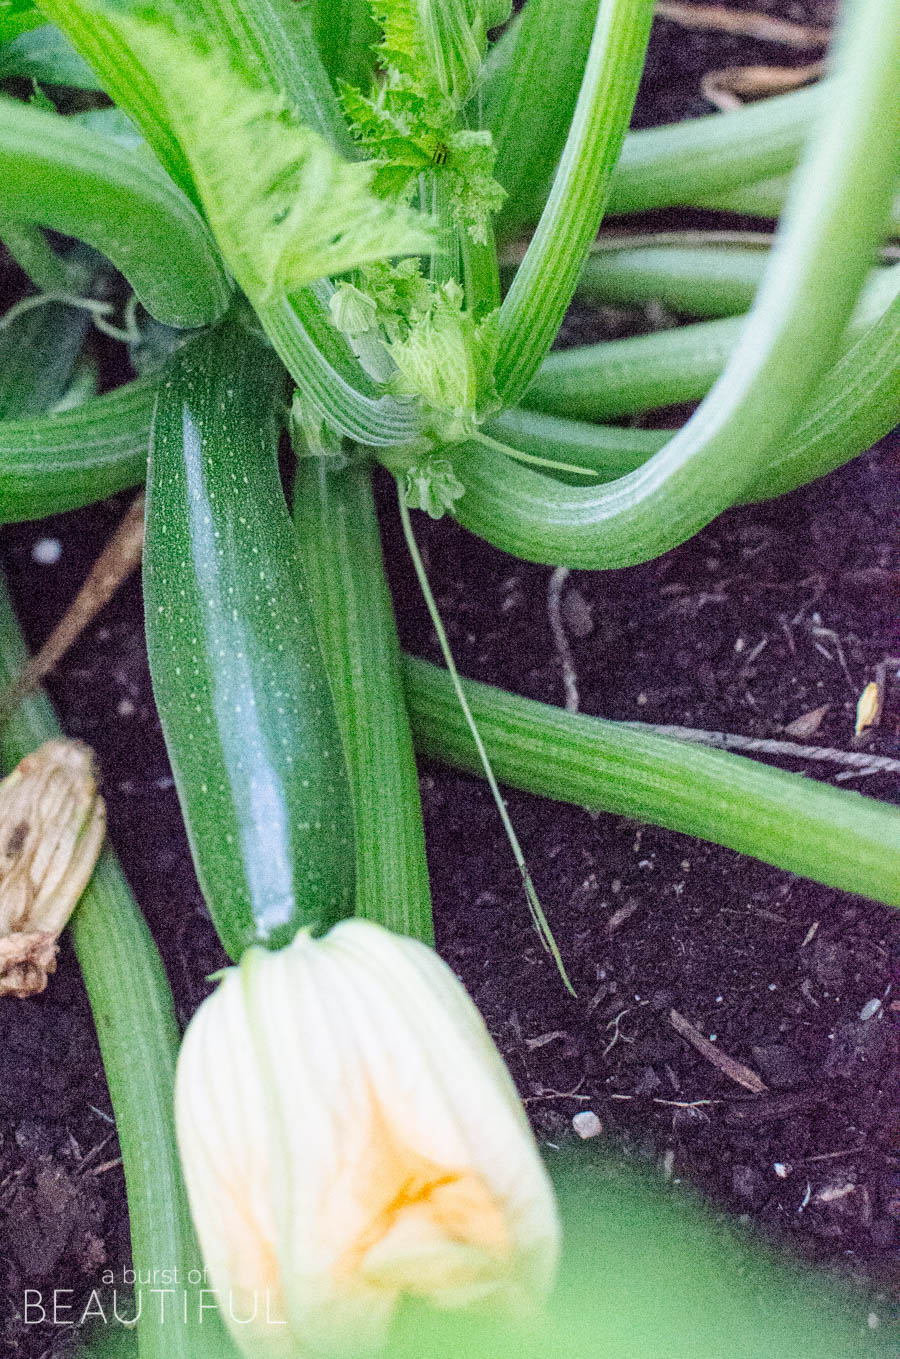
Our zucchini and cherry/grape tomato plants gave us plenty of produce throughout the season, however, they are very prolific and ended up shading part of the garden. Our tomato plants grew as high as six feet and were producing more than we could eat, so much so that they were exploding and dropping off, attracting fruit flies to the plant. It was also difficult to get to all of the ripe tomatoes in the center of the plant. They produced hundreds upon hundreds of tiny tomatoes!
Next year I will likely create two more garden boxes, solely for the zucchini and tomatoes so that they can have more room to thrive and not affect other plants.
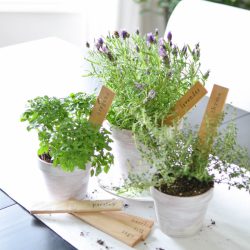
I also moved the basil and other herbs to patio planters where I could easily access them from the kitchen and Alicia incorporated them as a decor item for our new cozy outdoor living space and created some DIY herb markers. Plus, it made our patio smell amazing. If you can find Greek basil plants, get some, they are amazing! I planted pots of sage, Greek basil, a few varieties of oregano, rosemary, dill, purple basil, as well as some lavender. Zoe loved picking sprigs off each and smelling them (and of course, she made everyone else smell them too!).
Another way you can optimize your space is to make plants grow upwards. We made our cucumbers climb, which not only saved space but kept them from resting on the wet ground and reduced the risk of rotting. We also made sure to support our sugar snap pea’s as they grew, although we lost some plants due to strong winds that snapped the vines.
VALUE OF YIELDS
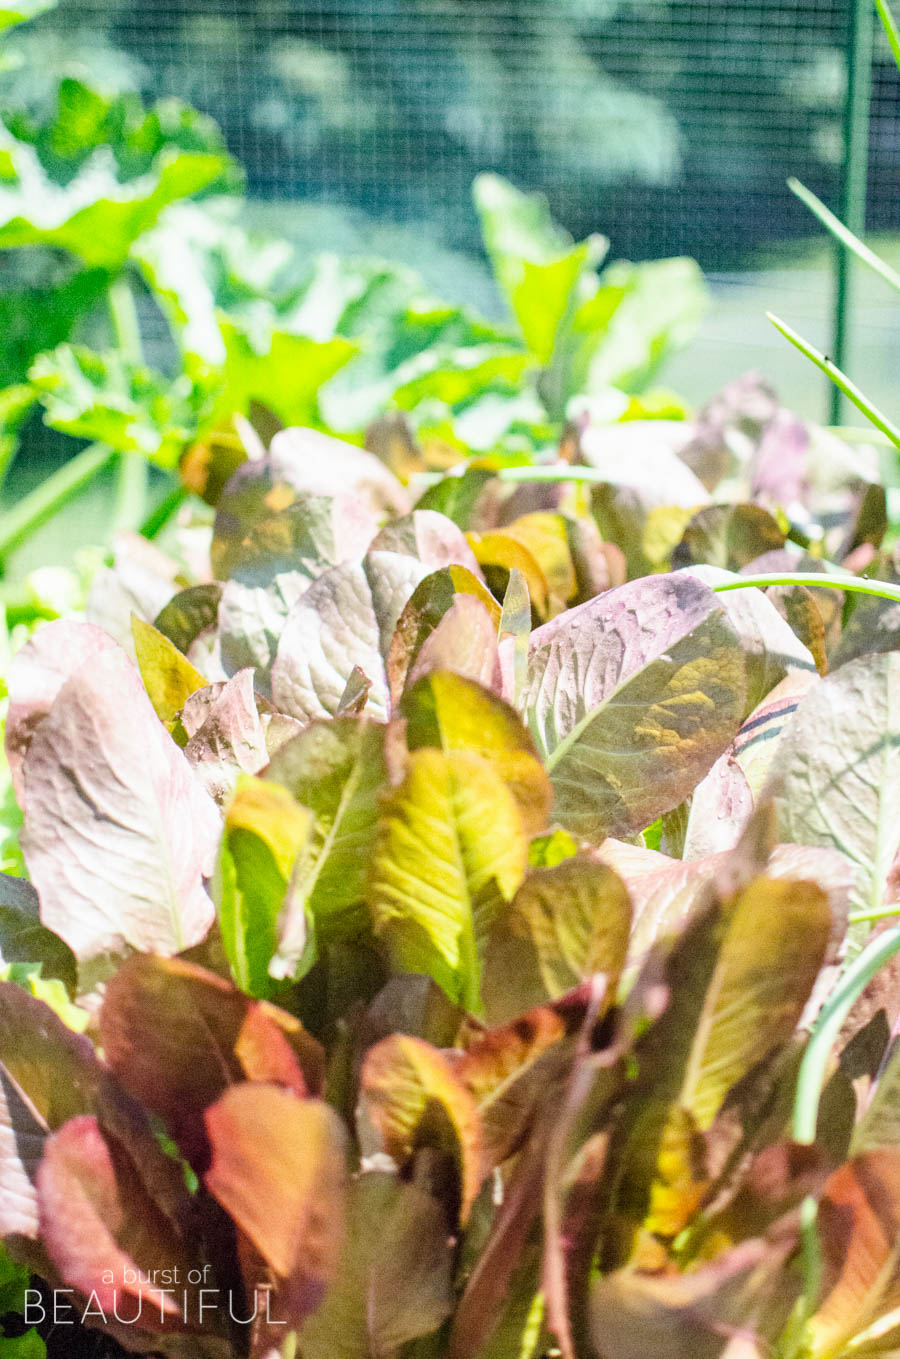
As I said, I went a little overboard with the variety this year, but next year I will only plant what will give us the greatest yields in our limited space. It doesn’t make sense to use one square foot for one broccoli head when you can plant 16 lettuce heads that you can keep picking from for months. I learned that if you pull the outer leaves off of romaine or leaf lettuce as they are ready, it will keep growing in the center.
Our lettuce plants eventually gave out when they had reached about 24″ high, but we had enjoyed so many fresh salads up until that point. We have planted a second crop in hopes that we will be able to produce more lettuce in the fall before the first frost.
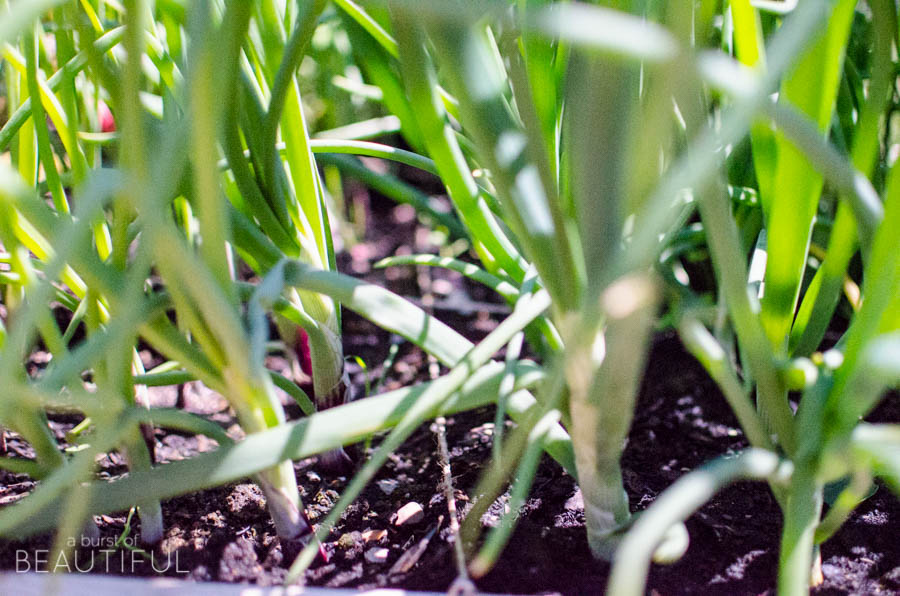
Other plants like cherry/grape tomatoes, zucchini , bush beans, sugar snap peas and cucumbers will produce high yields for you throughout the growing season. Taking up space with onions, which take a whole season to grow, may not be the best idea since they can be purchased very inexpensively in bulk at the supermarket…Although I will say, the yellow and red onions we grew from sets were delicious and you could definitely tell the difference between the ones bought at the store and the ones we had grown. We enjoyed the green onions in several dishes throughout the season as well as they will keep producing even once you’ve cut some off.
WATERING
We had an extremely hot and dry summer this year with virtually no rain from June through mid-August. This made watering a requirement each morning and evening. You should see our water bill! I would water it with the nozzle on the shower setting as close to the base of each plant as possible, trying my best to avoid the leaves. This brief soaking that I would give them resulted in the roots of most plants forming closer to the surface than they should have.
Next year I will either install a drip irrigation system or water with a sprinkler in the morning or late evening to thoroughly saturate the soil so that the roots will establish deeper. On the other side of the coin, be careful to not over-water the garden as this will cause plants to die or produce to rot.
STAGGERED & MULTIPLE PLANTINGS
This takes careful planning from the seed stage. If you sow a whole bunch of bush bean plants at the same time, they will all be ready at the same time and you’ll need to eat beans for a week straight just to use them up (or blanch and freeze them). If you stagger your sowing by a week or so, you will give yourself a steady supply instead of an overwhelming abundance.
Also, look at your plans to see what you could potentially plant when a certain crop has been harvested. I recently pulled out the pumpkin plants since they were finished growing and the vines had started to die off. I planted a fall crop of radishes after I renewed the soil a little bit. I planted bush beans where the last crop had been and romaine and green leafy lettuce in some open space. All I did was add a little bit of composted sheep manure and organic fertilizer to give the soil a bit of a refresh.
FERTILIZING & REFRESHING THE SOIL
When we initially filled the garden with soil, we added composted sheep manure for nutrients. During the growing season we would add organic fertilizer every few months, and as I pulled out finished crop, I would add in a bit more manure to refresh the soil and prepare it for a second planting and it would also help the plants that were still growing around the same area.
PEST CONTROL
We briefly had an issue with leaf beetles, but I quickly found a remedy for this online that would not harm our plants using two simple household ingredients. With the first spray, all of the little beetles scattered quickly. With two applications in one day, they were completely gone and didn’t return! We removed the specific plants they were attacking as a precaution as well. Try this before using any chemicals on your plants. Mix the following in a spray bottle and apply directly to the pesky little critters:
- 1 cup Dawn dish detergent
- 1 cup vegetable oil
We also put a small fence around the outside to keep small animals from eating our crop. It seems to have worked, as we haven’t had any uninvited guests!
MAKING TOMATOES & PEPPERS SWEETER WITH EPSOM SALT
I was given this tip from a friend of mine. He said that your tomatoes will be a lot sweeter if you apply an Epsom salt spray to them every two weeks. I thought he was crazy because salt typically kills plants. Then I realized that Epsom salt is actually a mineral, not a salt. And was he ever right! All you have to do is spray directly on the leaves every two weeks which will absorb the magnesium and lead to very sweet crop. Here is what you will mix in a garden sprayer:
- 2 tablespoons Epsom salt
- 2 gallons of water
I would also spray this onto the soil at the base of the plants as an added dose.
And there you have it. A few tips from an amateur gardener after his first full season! I hope you’ve found some of this information useful for those of you who are planning to build your own square foot garden, and maybe some of you that already have one growing! If you don’t want to build an entire garden you can also use pots with a lot of these vegetables. Give it a try and see how rewarding it really is!
If you have any further tips or tricks, feel free to let us know what they are in the comments below, we still have lots to learn!
Nick




Shawnna says
great post! Love the garden! great job ya’ll!
Allison Blair says
This was very helpful! Thank you! The thing I’m trying to figure out is when to plant everything…. We’ll be buying plants from a garden center… For convenience I want to just plant it all at once but do different plants need to go in the ground at different times? There’s so much to learn!
Nick says
Hi Allison,
You can stagger ones like lettuce, carrots, radishes and onions so that you are harvesting over a longer period of time. I used to plant lettuce in one row, and then in the next row a week or two later. I wouldn’t over-think it too much! You’ll always be learning!
Ryan says
Thanks for the great tips! Neem oil with water and dawn is a great organic and nontoxic pest management method as well, for the little soft-bodied bugs.
Question tho – You put 16 heads of lettuce in one square foot? I thought it was one per. That seems like it would be super crowded no?
The spacing guides with sfg isn’t always intuitive, but when something works it works. Just trying to imagine it, I did one Bibb per square and wondering if I blew it here. Lol. Thanks!
Nick says
Hi Ryan,
Yes, the lettuce heads tended to grow upwards more than outwards. I think in my second year I might have thinned it out to 9 per square foot! Loved square foot gardening and it really is cool getting to know what vegetables grow well close to one another and which don’t! Take Care!
Ole says
The nasturtiums aren’t there to keep the bugs away… they are a trap crop. The bugs are initially going for your veggies, but decide they’ll rather go for the nasturtiums instead.
Nick says
Awesome to know!
Mary says
Really lovely! Thank you for sharing your journey.