This easy-to-build workbench is big, strong and will be a valuable addition to any shop, so get the free plans to make your own!
All the projects I’ve worked on in the house have been, well…for the house. It’s all about making the house pretty, comfortable and organized. Like these little nightstands!
Alicia always has pieces that she would like me to build (you can see a lot of my other free woodworking plans ), but this one was for me, and only me!
I finally realized I was building these projects on just two sawhorses that were anything but sturdy and a couple of 2x4s with a 3×8′ sheet of plywood on top.
That really won’t hold anything with a significant amount of weight and it was throwing my builds just slightly off square/level/flat.
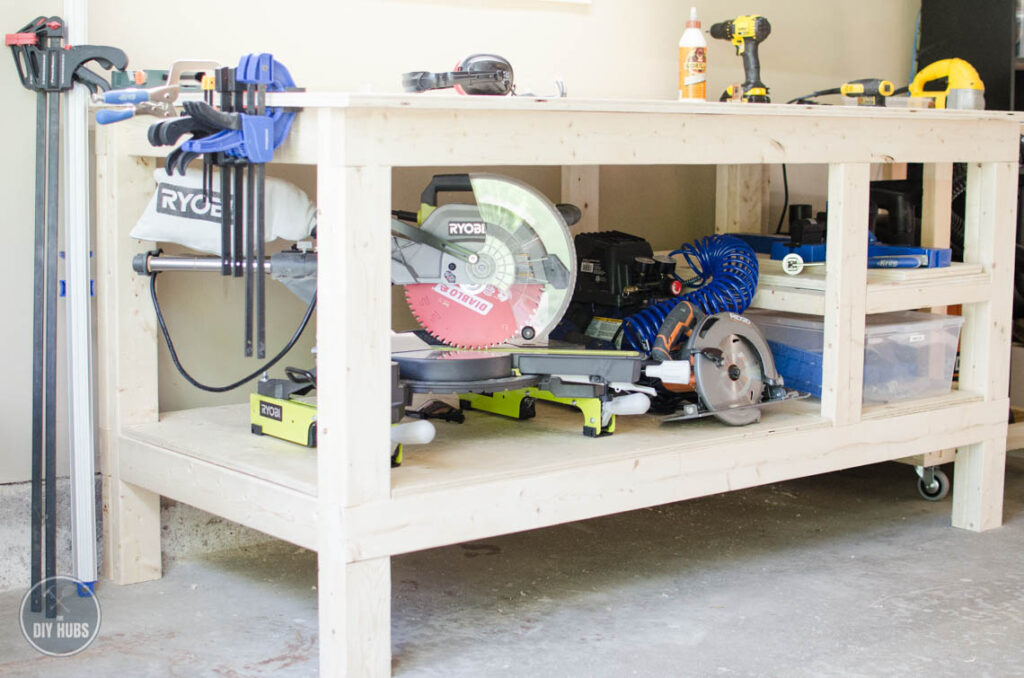
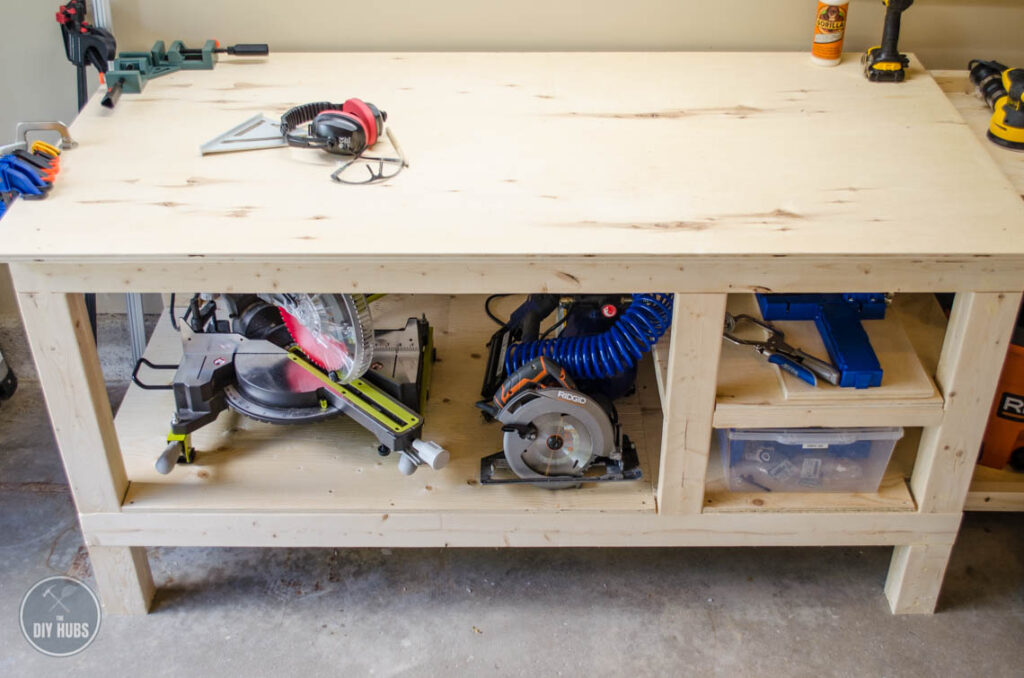
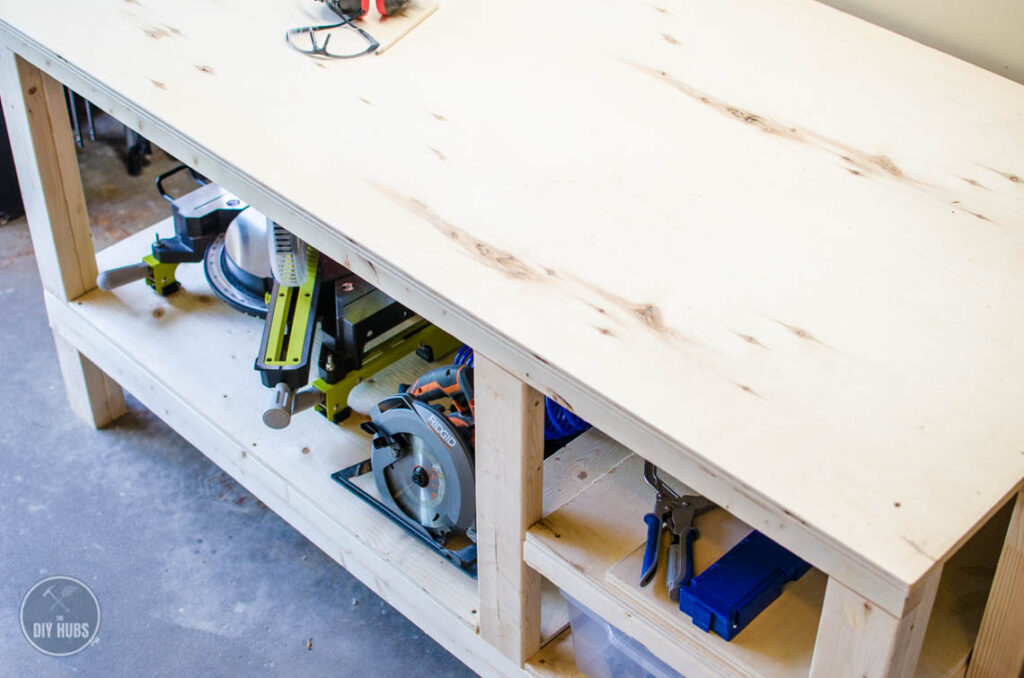
So I finally decided it was time to get the ‘base’ of my workshop built. I have a smaller workbench on the other side of the shop, but it is only about 18″ x 48″. That’s not nearly big enough for most projects I’m building.
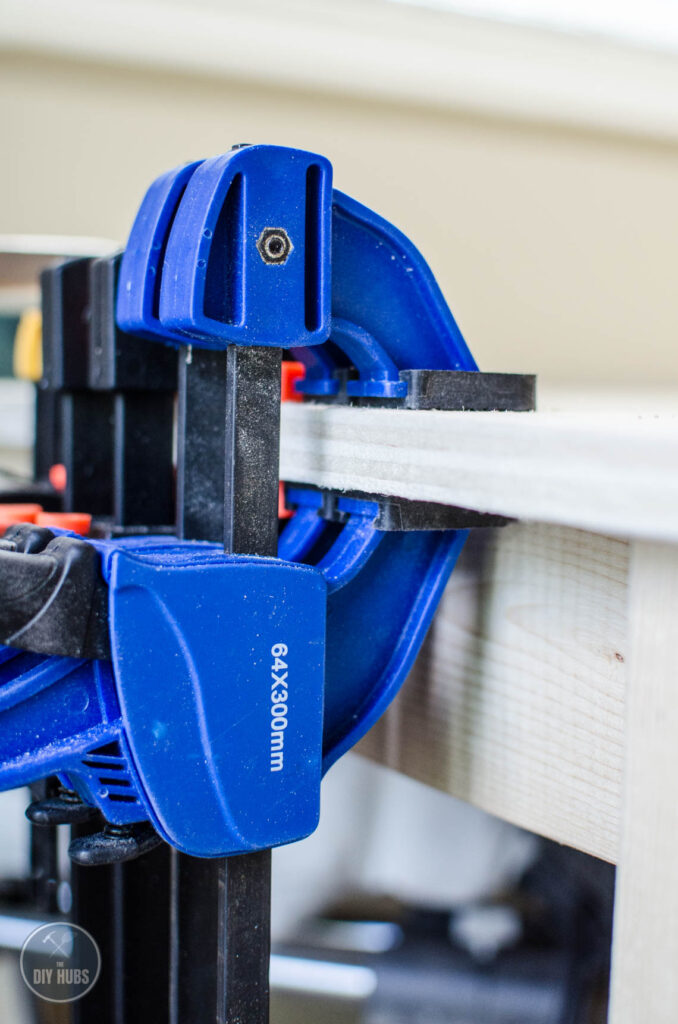
My free workbench plans measure 36″ x 73.5″, includes a half shelf on one side, and is clampable all the way around. There is plenty of room to build larger or smaller projects.
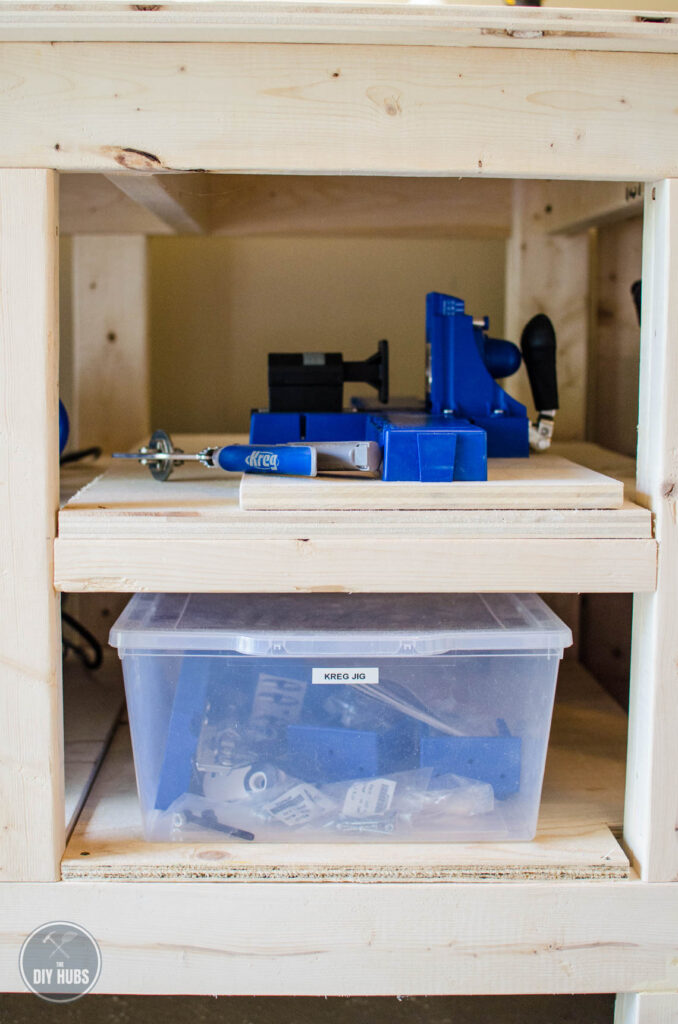
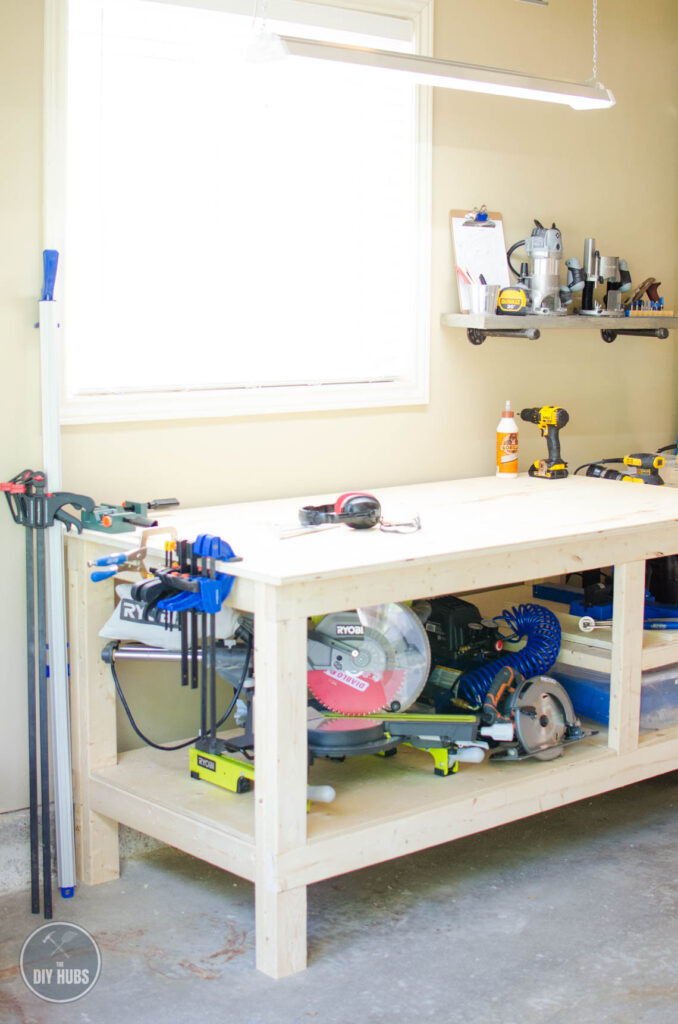
I had considered making it a mobile workbench and adding wheels, but I decided against it for now, I know I can add them at any time by cutting down the legs and adding some swivel wheels.
My back has thanked me for building this workbench a few months ago. If you’re looking for a larger workbench plan that you can make in a day, this is the one!
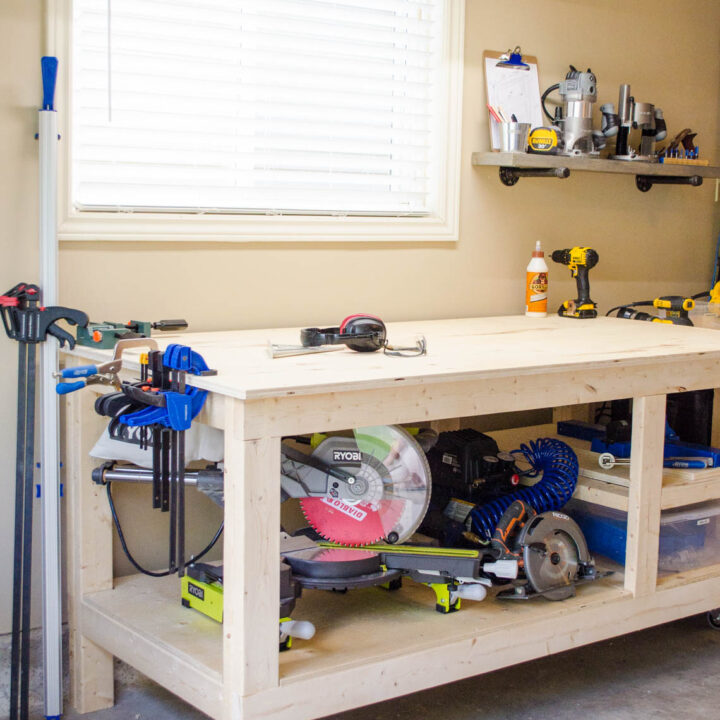
Free Workbench Plans
This easy-to-build workbench is big and strong and will be a valuable addition to any shop, so get the free plans to make your own!
Materials
- 11 - 2x4x8' Framing Boards (Cut list in notes)
- 2 - 3/4"x4x8' Plywood Sheets (Cut list in notes)
- 80 - 2.5″ Kreg Pocket Hole Screws
- 52 - 2.5″ Construction Screws
- Various grit 5" Sanding Discs
- Wood Glue
- Wood Filler
Tools
- Kreg Jig K5 Master System
- Jigsaw
- Drill
- 5″ orbital sander
- Mitre saw
- Circular saw
- Tape Measure
Instructions
- Make 4 legs below using the 2x4"s indicated. Dry fit scrap 2x4 boards in the false lap joint locations (3 1/2" areas on the diagram below) when building these. This will ensure you've left enough room for the spans to fit in properly. Attach boards together using 2.5" construction screws.

- Lay two legs down on a flat surface and insert the 69.5" spans into the lap area you created in step one. Secure using 2.5" construction screws. Repeat with the other two legs.

- Attach the front and back sections together with 26" boards using pocket holes and 2.5" pocket hole screws on each end on the inside. They should line up with the locations of the span pieces you attached in the last step.

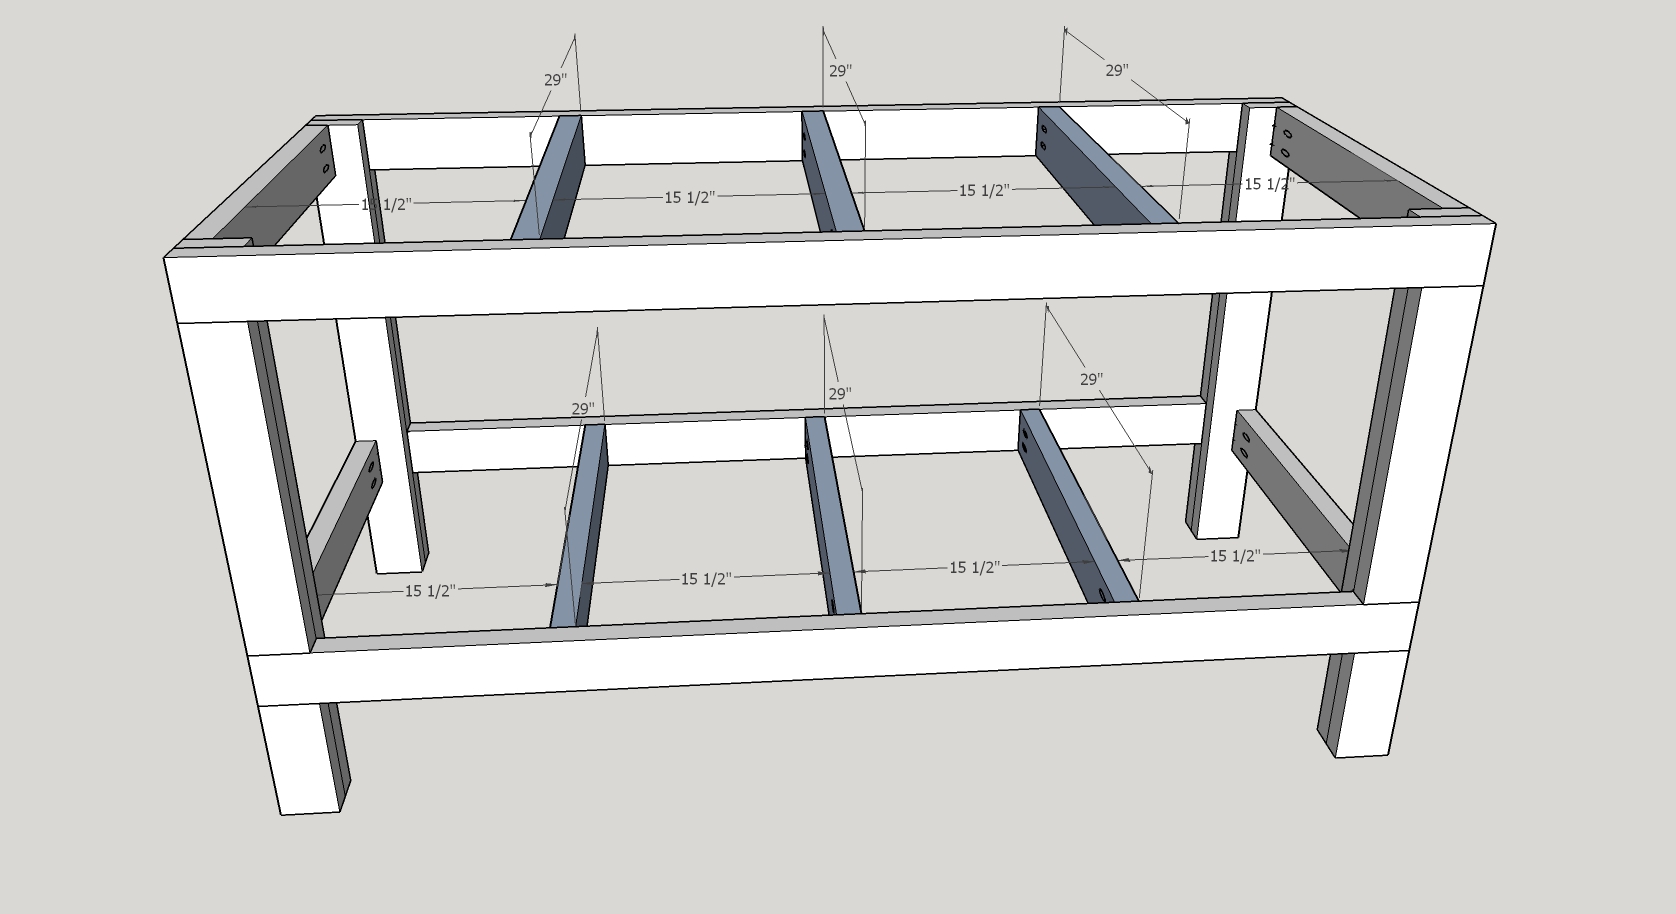
- Attach three 29" supports along the top and bottom at intervals of 15.5". Secure with 2.5" pocket hole screws.

- Cut each 3.5" x 3" out of each corner for the bottom shelf to allow for space for the legs. Do not screw the top in quite yet because it may be easier for the installation of the shelf if you leave it off.

- Attach the front and back 19.5" mid-shelf vertical supports 17" from the inside edge of the leg using 2.5" pocket hole screws as shown (note the image below is shown from the back perspective).

- Install two 26" horizontal shelf supports (front to back) and secure using glue and 2.5" pocket hole screws.

- Attach the 17" horizontal pieces (front and back) using wood glue and 2.5" pocket hole screws.

- Cut the shelf down to 29" x 24". Cut out 3.5" x 1.5" out of the corners that meet up with the legs. See the diagram below. Slide the shelf in, and attach with 1.5" construction screws on each corner.

- Finally, attach the top if you haven't already. I'm showing how I planned to attach my Kreg K5 Jig to the table but then decided to attach it to a secondary board that I can clamp in any location on the workbench. It also makes it mobile!

Notes
CUT LIST
11 - 2 x 4 x 8's
- 35.25" / 35.25" / 8" / 8" / 8"
- 35.25" / 35.25" / 8"
- 69.5" / 20.25"
- 69.5" / 20.25"
- 69.5" / 20.25"
- 69.5" / 20.25"
- 26" / 26" / 19.5" / 19.5"
- 26" / 26" / 17" / 17"
- 29" / 29"
- 29" / 29" / 29"
- 29" / 29"3/4"
Plywood
- 69.5" x 32" / 24" x 29"
- 73.5" x 36"
And there you have it – a strong, sturdy surface using our free workbench plans! This is only 9 steps to build. It’s not bad, eh? If you make one for yourself send some shots my way…I’d love to see it!
Check out some of our free DIY plans that you can tackle now that you have the perfect surface to work on!
Nick






Matt says
Looking forward to giving this a shot!Thanks again for the share!
Nick says
No problem Matt! Send me a pic of the final build! I’d love to see it!
Jalen says
Very nicely designed! I’m building this workbench right now with a few modifications so that it’s a bit cheaper and more durable in the long run. Instead of the 3/4″ plywood for the workbench top and shelving, I opted for some 23/32″ OSB for the top and 7/16″ OSB for the shelving. Since OSB isn’t a great work surface, I’m putting on a piece of 3/16″ hardboard so that once it becomes covered in glue, paint, and dents, it’s just a matter of a few screws to replace the top with a brand new one. Thanks again for the plans!
Nick says
Sounds like some great modifications! Shoot some pics over my way if you get a chance when it’s done!
Sean N says
I found this design a couple of days ago and built it this morning. I had all the materials bought by 8am, Cut by 10, and was completed by 1pm. That was even after I screwed up and put the 29″ beams where the 26″ beams should be. Great design! I opted out of putting the shelf in because I would like to add drawers where the shelf is in the future (tomorrow). I used particle board for the top and bottom, and basic 2×4 studs for the body. I got out of the store for under $60.
Nick says
Hey Sean! That’s awesome! Can’t beat a big sturdy workbench for under $60! If you have a pic of it, send it my way, I’d love to see it!
Jared says
Thanks for these well made plans! I was looking around at pre-built benches and struggling to find affordable benches that were the size I wanted. I decided to see if anyone had a good design plan that I could follow and just build one. I modified it a little because I wanted mine a little longer. I made mine 8 feet long and didn’t make the small shelf between top and bottom. It used the same amount of material in the end though. I think my materials ended up being about $138 at Lowe’s… a much better price than a pre-built table and lots more workspace/storage!
Nick says
Hey Jared, I’m glad these workbench plans worked well for you! I love the size of this bench, and it is the best part of my shop!
Hugo says
Hello, thank you for this plan.
I am planning on building this bench this weekend with a few changes to suit my specific needs.
How is the top secured? Did you just screw it from the top?
thank you again.
Nick says
Hi Hugo!
I just secured the top with a few construction screws. That way when it gets beat up after a while, I can just unscrew it, flip it over and re-attach!
Good luck and send me a pic of it when you’re done!
Ben says
Great build. One of the 29″ pieces should be 26″ in the cut plans. And the step where you attach the sides together says to use 29″ in the text directions. I’m about to undo those 29ers now lol. But I’m stealing the idea of using hardboard on top. Thanks!
Ben says
False alarm! The cuts were right, I’m just stupid. But the directions do say to use a 29″ instead of a 26″. Everything was perfect other than that. Thanks for the plans! If I knew how to upload pics I would!
Nick says
Haha no problem Ben! Glad this worked for you! You can always email me some pics to nick@thediyhubs.com
Carl Fales says
For the shelf you don’t say what height to place the boards at. I am in the process of building 2 of these benches. with a few alterations.
Nick says
Hi Carl,
I placed the shelf exactly half way, around 9.75″, but you could put it anywhere you want if you want less or more room on the top or bottom shelf.
Jack C Harrington says
Nick,
Great design and very solid (and heavy) I was able to convert the measurements down to my height and size of my shop (garage). It only took a few solid hours to build. Would recommend this design to anyone, who likes to DIY. You know, I could have gone to Lowe’s or Home Depot, etc. and bought one. But know when I look at this, I am proud of my handy work. Thanks for sharing the design, It is great.
Nick says
Thanks Jack! I’m glad this worked out for you. Isn’t it great to be able to build things for yourself? Now you’ll have a nice workbench to build more great things on!
Chad says
Hey Nick. I love this design. I am going to modify it slightly so I can add casters to move it around the shop. In Step 1 did you use glue only or did you screw the 2×4 pieces together.
Nick says
Hi Chad,
I used both wood glue and screws to make them nice and sturdy!
Tommy Ellenberger says
Love the plans, I am going to build two of them.
Travis says
Hey im a complete noob at this. when im order my wood how much do I order in total?
Ex:” yes in need ____ in wood”
Nick says
Hi Travis,
I’ve listed what’s required on the Shopping list. You’ll need (11) 2×4″x8′ boards and (2) 3/4″x4’x8′ sheets of plywood.
Peter says
I built this workbench today. It was a fun project. The bench is very stable. I did make one little change, I did not build in the little shelf, opting for a single bottom shelf, instead I used the extra lumber to double up the framing for the top shelf.
Thanks very much for making these plans. I could not have created something like this of my own imagination. You have my gratitude.
Nick says
Hi Peter,
Thank you for the kind words! Hopefully, the workbench will allow you to take on some more projects! Make sure you have a look around our site to see other free plans that you may be able to tackle!
Bill says
Thank you for sharing. I’ve been looking at designs for workbenches and this is a great design. Going to give this a try this weekend.
Alicia says
Great to hear, Bill! Please let us know how it goes, we always love seeing photos of the projects our readers build using our plans!
Bill says
Thanks again was able to do the project in about 4-5 hours of work time. Plans were great and really happy how it came out. Thanks again for providing for sharing the design.
Nick says
No problem Bill! I’m glad it worked out well for you!
Elizabeth says
My sister and I built this table yesterday in about 4.5 hrs. Great design and clear plans. We opted to use a full 4×8 sheet of mdf on top and modified the cuts to make that work. The most difficult part was getting that mdf shelf in place – heavy stuff and a tight fit!
Alicia says
That is so great to hear, Elizabeth! Feel free to send us a photo or tag us on Instagram so we can see your build!
Karl says
Can you use full rough sawn 2 x 4s for this? I know framing timber might be nicer it ends up being less than full 2 x 4.
Thanks for the post. Planning a build now
Nick says
Hi Karl,
You can use rough sawn, but you’d have to adjust the measurements to reflect that.
RON says
Nick and Alicia, thank you so much for these fantastic bench plans and the super resourceful site. As soon as lumber prices drop, I’m all in. I am building an 8′ long bench (spoiling myself) so will probably add a center support post. I am also planning to build in a vertical set of drawers but I can clearly see how to use Kregg screws to build the vertical and horizontal structure to mount the hardware. Thanks again.
Alicia says
That sounds great, Ron! Be sure to let us know once you finish, we always love seeing photos of the finished projects!
Greg Harris says
I don’t know how to post a photo, but I made this! Tried to make it exact, had some happy accidents, added deployable casters, and it’s a fantastic edition to my shop! Thank you! I’d go into deets if I could post pics!
Alicia says
That is great, Greg! You can always post to Instagram and tag us @nick.and.alicia so we can share it! 🙂
Mike says
How much is 2 x 4 x 8′ in CM? I’m from Europe so I don’t know the sizes in your buying table. I tried to find it online without luck.
Nick says
Hi Mike,
Here is what Google tells me is the equivalent to a 2″ x 4″ x 8′ piece of lumber. 3.81cm x 8.89cm x 243.84cm
Thomas Kragh says
Do we really need to buy the Jig K5 master tool? Can’t we make the pocket holes anyway?
Another problem is that I can’t find pocket hole screws.
What to do bro…
Nick says
I would just drill standard construction screws in where necessary if you don’t have a pocket hole jig.
David says
Thanks for the plans. I don’t see any screw holes in the pictures. Did you put the construction screws in from the back on the legs? How many screws per leg? Thanks again! This will be my first attempt at building a workbench.
Alicia says
Hi David,
Yes, I just put the screws in the backs of the legs. I just put a few in to hold the boards together. I didn’t really build it to look “nice” for the shop so I didn’t worry about placement.
Jesse Garrett says
Ben looking to build a new bench since moving. Find this plan and decided it works for what I needed. I forgot to attach the bottom sheet before adding the supports and top, so I cut the bottom sheet down the middle to make it slide in easier, as well as remove it easier if needed.
Thanks!
Ted says
Guys : Thank you for the bench plans . Like a good recipe , half the battle is finding a plan that meets your needs and and is within your skill set . Your plans are clear and easy to understand plus I got to learn a new skill set with the pocket hole jig. Strong and effective joinery. I will be using that jig many times . The bench is heavy which I really like : it won’t be moving around that’s for sure . The only change I made was to use 1/2 inch sanded ply vs 3/4 regular ply for the top and shelves . No slivers! Functional bench and looks amazing .Fun DIY .
Alicia says
Ted, thank you so much for letting us know you used (and loved!) our workbench plans! We are so happy they were of value to you! 🙂
Kevin says
Thank you for the workbench plans. This bench is the exact size I was looking for, but I couldn’t find one used anywhere…so I built my own using your plans. One question, though: why pocket joints instead of the much simpler/easier butt joints for the six 29″ horizontal supports? The butt joints are so much easier and seem much sturdier, although they do leave visible screw heads. Thanks.
Nick says
Hi Kevin,
No specific reason except that I already had the jig out for the other pocket holes, so I used them for that as well. Pocket holes are very sturdy as well, plus no visible holes!
Chris says
Thank you for the plans! This was my first woodwork project, ever, so took me a bit longer than most and made a few mistakes/learnings. I’m in UK so timber dimensions vary slightly, plus it was my first experience of a mitre saw…. Really pleased with the end result, it looks great, perfectly level and very solid. Might add deployable casters in future to wheel out on summer days. Now I have a great workbench I can take on some other projects – thanks again.
Alicia says
That is so great to hear, Chris! We hope you’ll try some of our other projects and if you do please let us know how it went!
Ron says
Love your workbench plan! Excellent directions and shopping list made it so very easy! I ended up with a very solid and decent looking garage workbench at a small cost with today’s prices!
Thanks so much for sharing!
Alicia says
SO great to hear, Ron, thank you for letting us know you found our plans helpful!
Steve Ruddy says
Great plans and workbench. Easy to follow and very sturdy. Once I made all the cuts, assembly was easy, might need to hands to help hold parts in place while you secure it together. Pocket holes look really nice and the cross struts make this bench very secure. I don’t see how to share photos on here? I have a few to share if I can figure it out.
A few notes. They all pertain to the mid shelf
There is no note on the 1.5 inch screws you say to use when installing the mid shelf. Might want to add that to the materials list.
The last cut says 29 3/4, I think that was supposed to be for the shelf as well and only needs to be 29 inches.
There is one missing cut for the 26 inch piece for the mid shelf. We have 4 on the list for the side pieces to secure the front and back, but the missing one is for the mid shelf.
Overall, very happy with this and THANK YOU for sharing Nick!
Alicia says
Thank you so much, Steve! We will make the necessary adjustments to the plan. You can always email us photos of your projects at hello@nickandalicia.com, we look forward to seeing them!
Steve Ruddy says
Love the workbench. I sent a request for a comment on it a while back. I want to share pictures, but am not sure how.
Alicia says
Hi Steve, so glad to hear you love the workbench plans! You can send us an email at hello@nickandalicia.com or you can tag us on Instagram!
Dave says
What are the dimensions for the the jigsaw cuts on bottom plywood sheet?
Alicia says
Hi Dave, you will need to cut 3.5″ x 3″ out of each corner for the bottom shelf to allow for space for the legs (this is listed in the instructions for further reference).
Chase says
Still trying to figure out where you put the 6″ 2×4… great set of plans.
Nick says
Haha, sorry Chase, I should have stipulated it’s just offcut. I’ll fix that!
Roy Snyder says
nice and simple design. where you have the shelf on the end i am thinking of putting a table saw there, using the table as an outfeed as well as an assembly table.
Nick says
That would be a great addition!
John says
I’m a serious newbie – in the cut list, what does 35.25″ / 35.25″ / 8″ / 8″ / 8″ mean? I can’t make sense of all the numbers! Very excited to build though!
Nick says
Hi John,
That is the cut points I would use on a single piece of lumber. So on an 8 foot board, you would cut it into 35.25 + 35.25 + 8 + 8 + 8″ pieces. Just trying to you give the most efficient use of material!
Robert Garcia says
Thank you Nick and Alicia for sharing these plans. I am recently retired military (Army) and like to keep myself busy when I’m not taking care of my grandkids and this is the perfect outlet. I just started working on a Farmers cart for my wife who is a baker and at 75% completion. During this process I found that I needed a better work and tool storage area so this will be my next project.
Many thanks and blessings