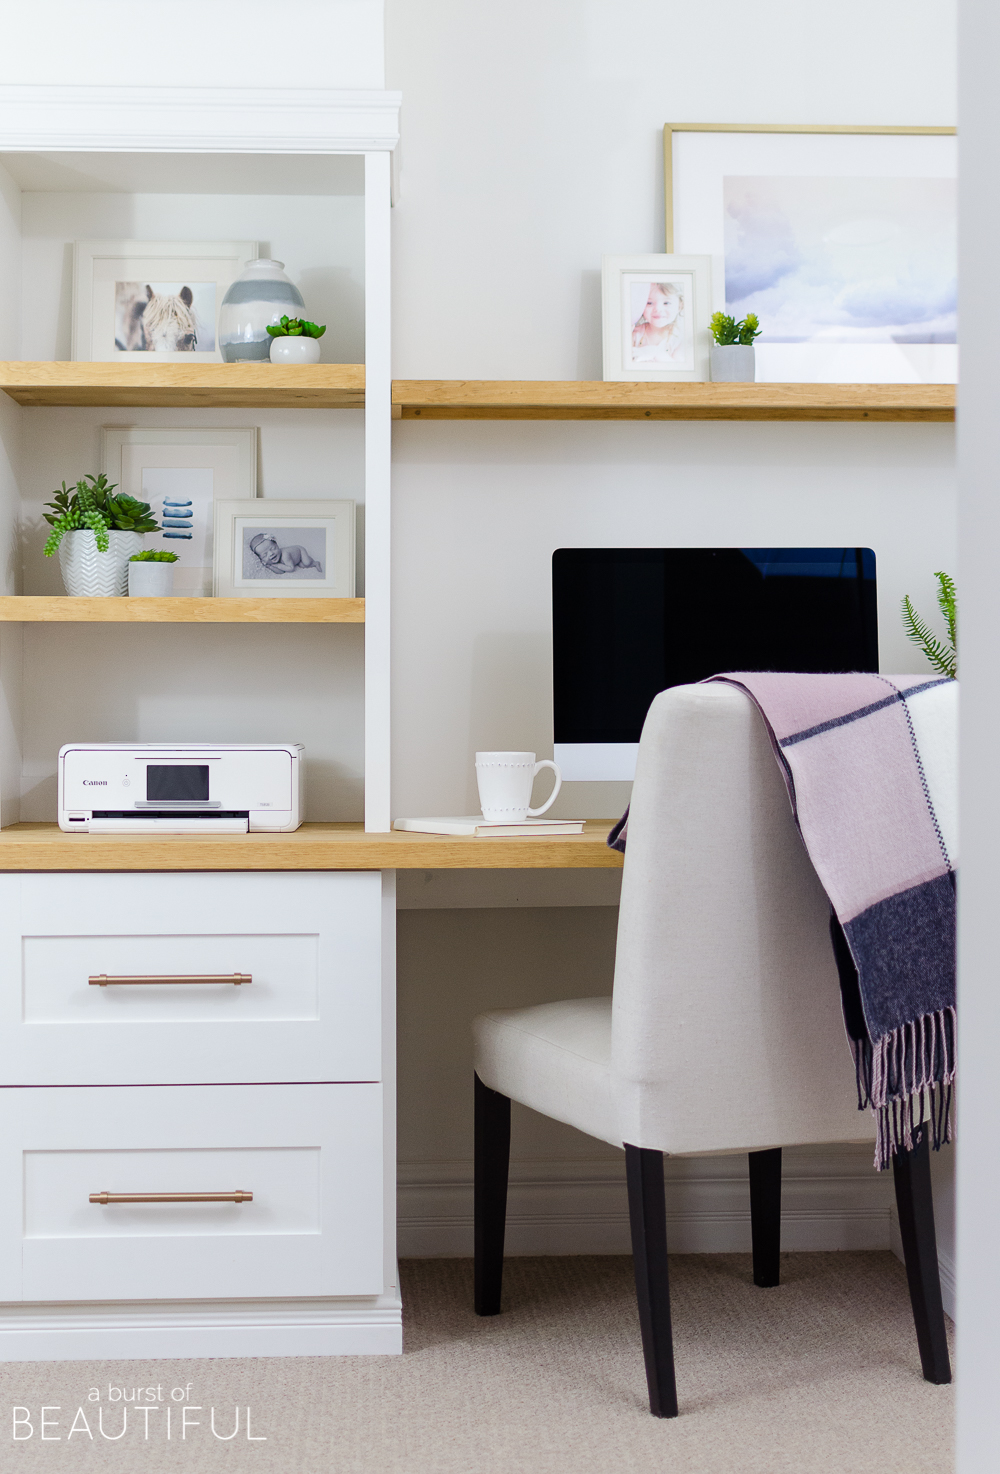
You don’t need a lot of space to create a functional home office. This DIY built-in office nook provides the perfect space for an office, homework zone or studio.
This post was sponsored by Kreg. All opinions and thoughts are my own, see our full disclosure policy here.
Good morning friends, I’m so excited to share a little peek at the work we have started in our basement. At the beginning of the year, I talked a bit about our home and how it functions (or doesn’t function) for us. One of the big struggles we have is not having a dedicated office space, which makes working from home a challenge. So it was with thinking about the year ahead and the projects we wanted to complete that we decided to focus our efforts on converting our finished basement from a cold, boring space to one that works hard for our busy family.
We are taking the space from one big open-concept room to a space that functions as a family room, playroom and home office. I’ve been busy finalizing all of the details to make this a reality and I’m so excited to share more about those plans with you. But today I want to focus on this perfect office nook that Nick (remember you can follow along with Nick’s projects on his blog too!) built for me.
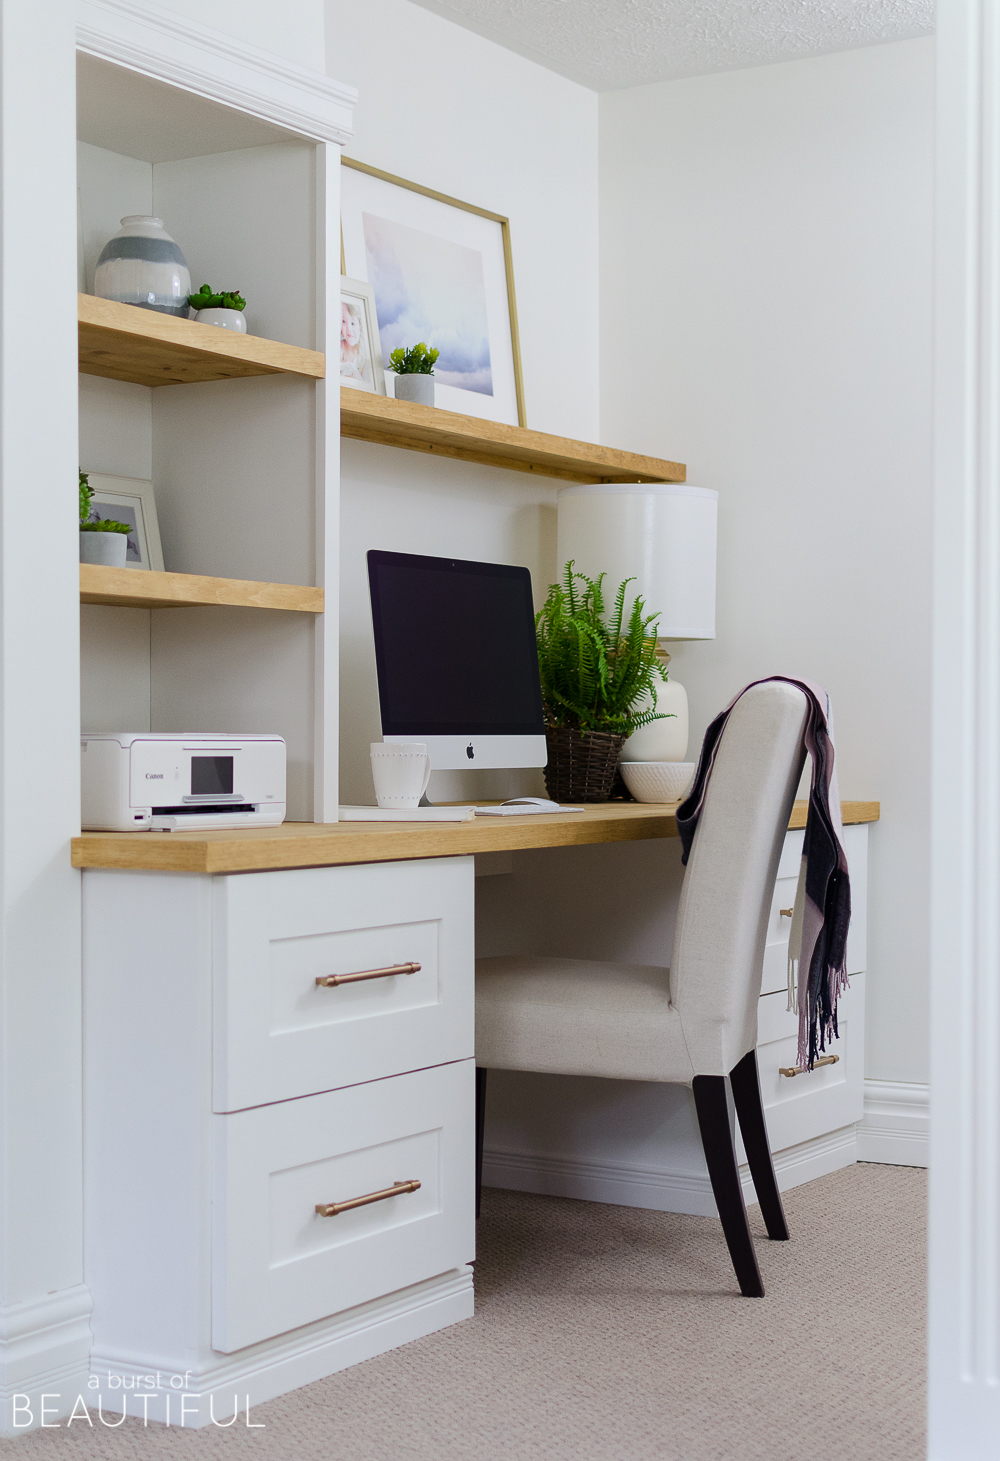
As usual, it started with a vision in my head and Nick brought it to life. Aren’t I lucky? 😉
We have this little nook at the bottom of the basement stairs that we knew would be perfect for a small office space. I don’t need much room, just a dedicated area for my computer, printer and countless piles of office supplies, notes, and files that I seem to accumulate while working from home. I envisioned a clean modern look. More and more I am feeling pulled towards a change in our design style, and while I still love our modern farmhouse aesthetic, I find I am leaning towards adding in more mid-century modern elements to keep our home feeling fresh and youthful. Do you remember me saying earlier this year that I’m feeling more drawn to clean lean lines and minimalist design? Well, this big renovation is where I really want to test this new style and see how it all comes together in our home.
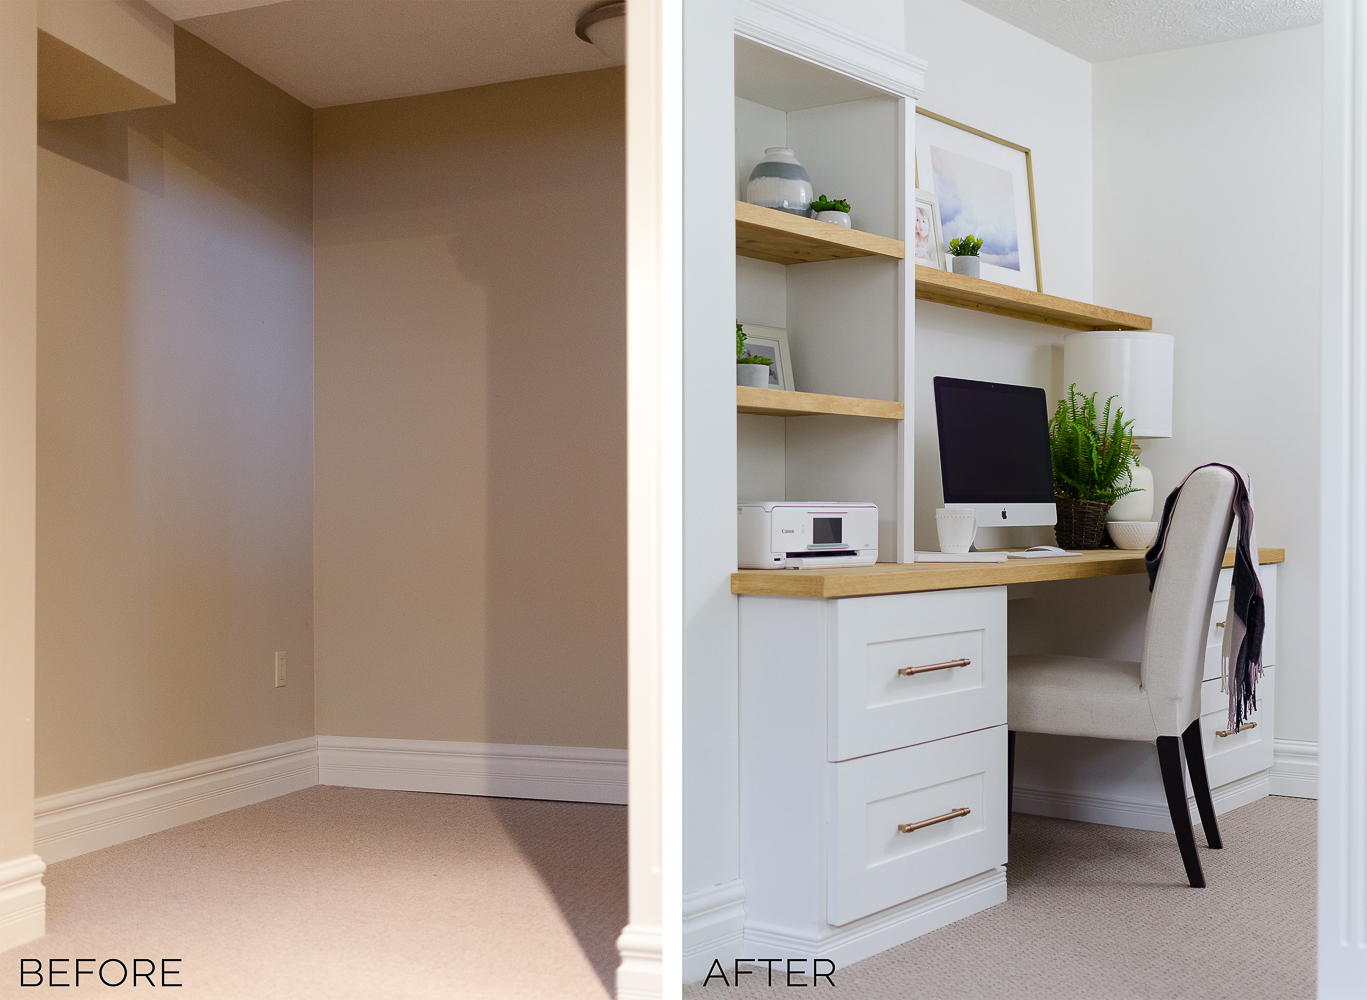
First, we said goodbye to the boring beige walls and painted everything a crisp, bright white. Surprise, surprise, right? I choose my favorite color, Simply White by Benjamin Moore, and I can’t believe how much brighter it has made the space.
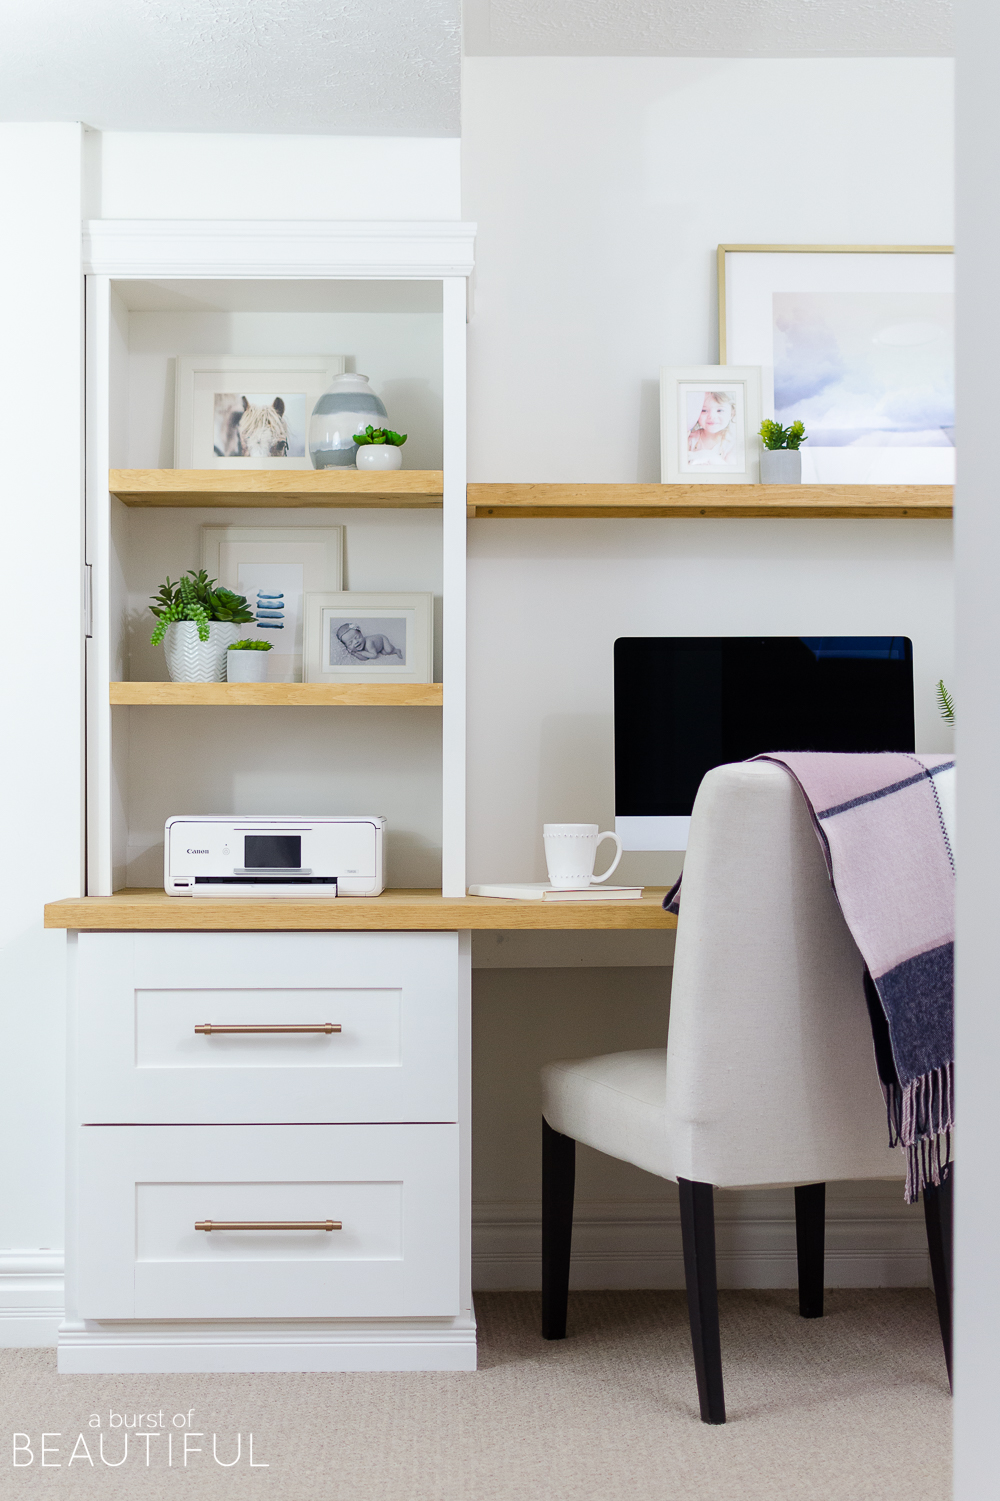
The design of the actual desk took a little bit of creativity. We had an awkward bulkhead I wanted to hide and not emphasize, so we decided to create a shelf unit on the left to conceal it. I think it does a pretty good job, don’t you? Basements can be tricky spaces to work with because they often have weird quirks or layouts, but don’t feel defeated! With a little bit of creativity and imagination, you can make anything work.
The great thing about the plans for this desk is that they work as a standalone desk as well since the space in your home will not be the same as ours.
I love the look of our floating desks in the kitchen and I wanted to mimic that look down here as well. But I knew we needed storage too, so we added these two sets of drawers on both sides. They are deep, which will give me a lot of room to store files, paperwork and office supplies. I’m so excited to finally have a place to put all of it! It’s currently been taking up space in our dining room sideboard because I have been working from the dining room for the past four years – not ideal!
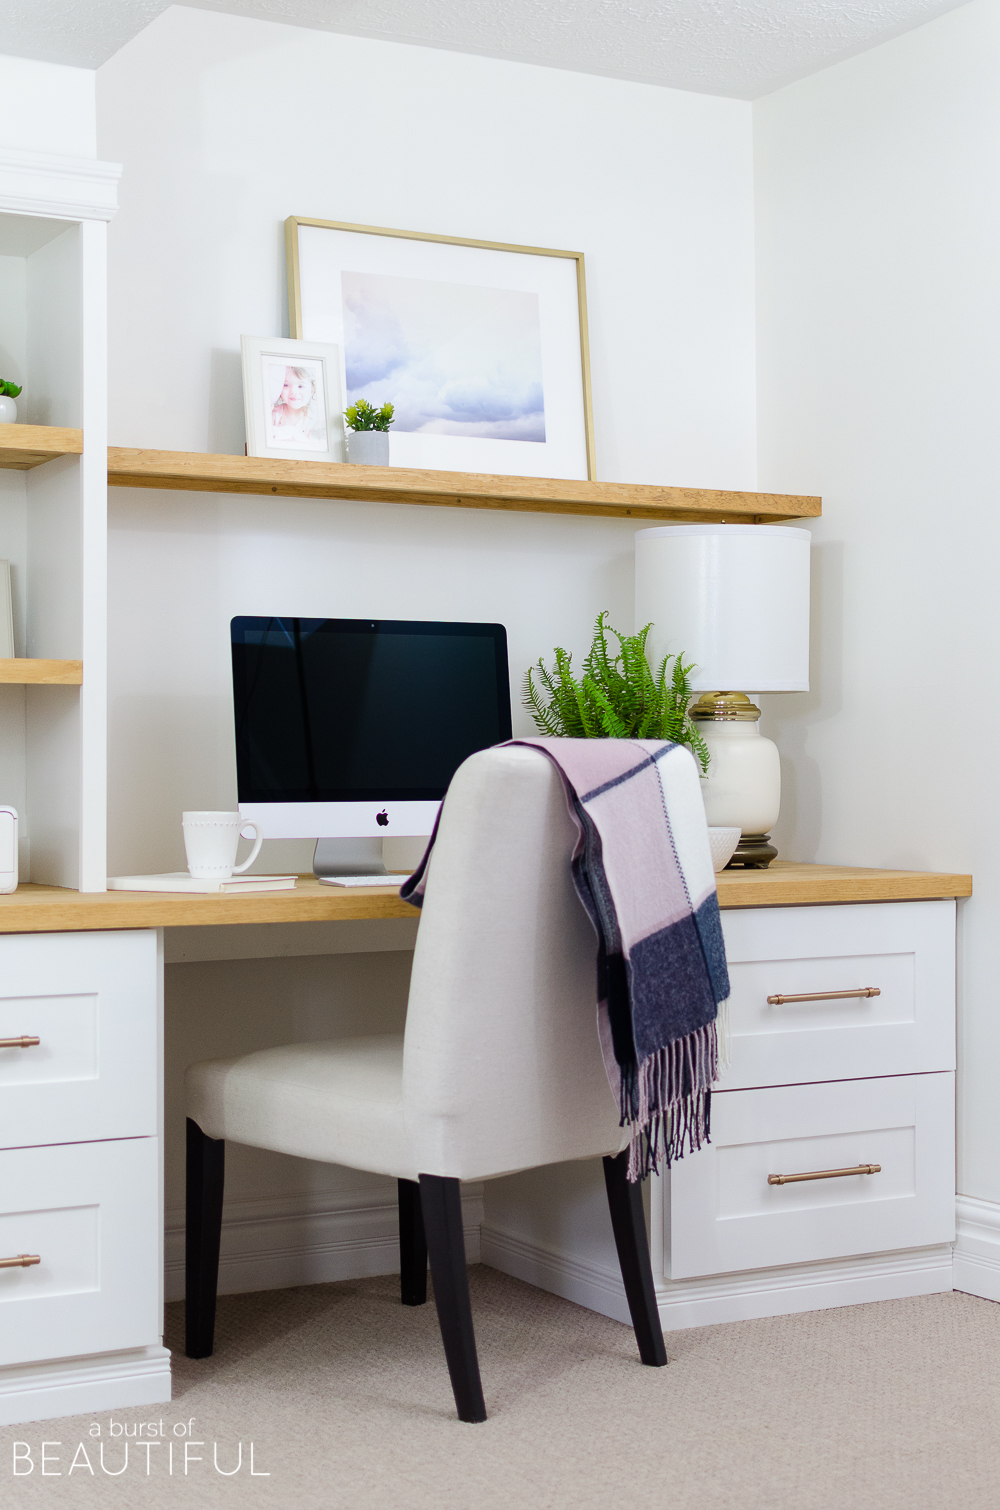
In terms of a color palette, I went with my favorite – wood and white! I love how bright and clean the white looks, but adding the natural wood desktop and shelves add so much warmth. We decided to stain the shelving and desktop Golden Oak by Minwax because I wanted a bit more of a contemporary feel and I felt the lighter wood conveyed that best. This combination will be repeated throughout the whole space, which will really help it feel cohesive since it’s such a large area.
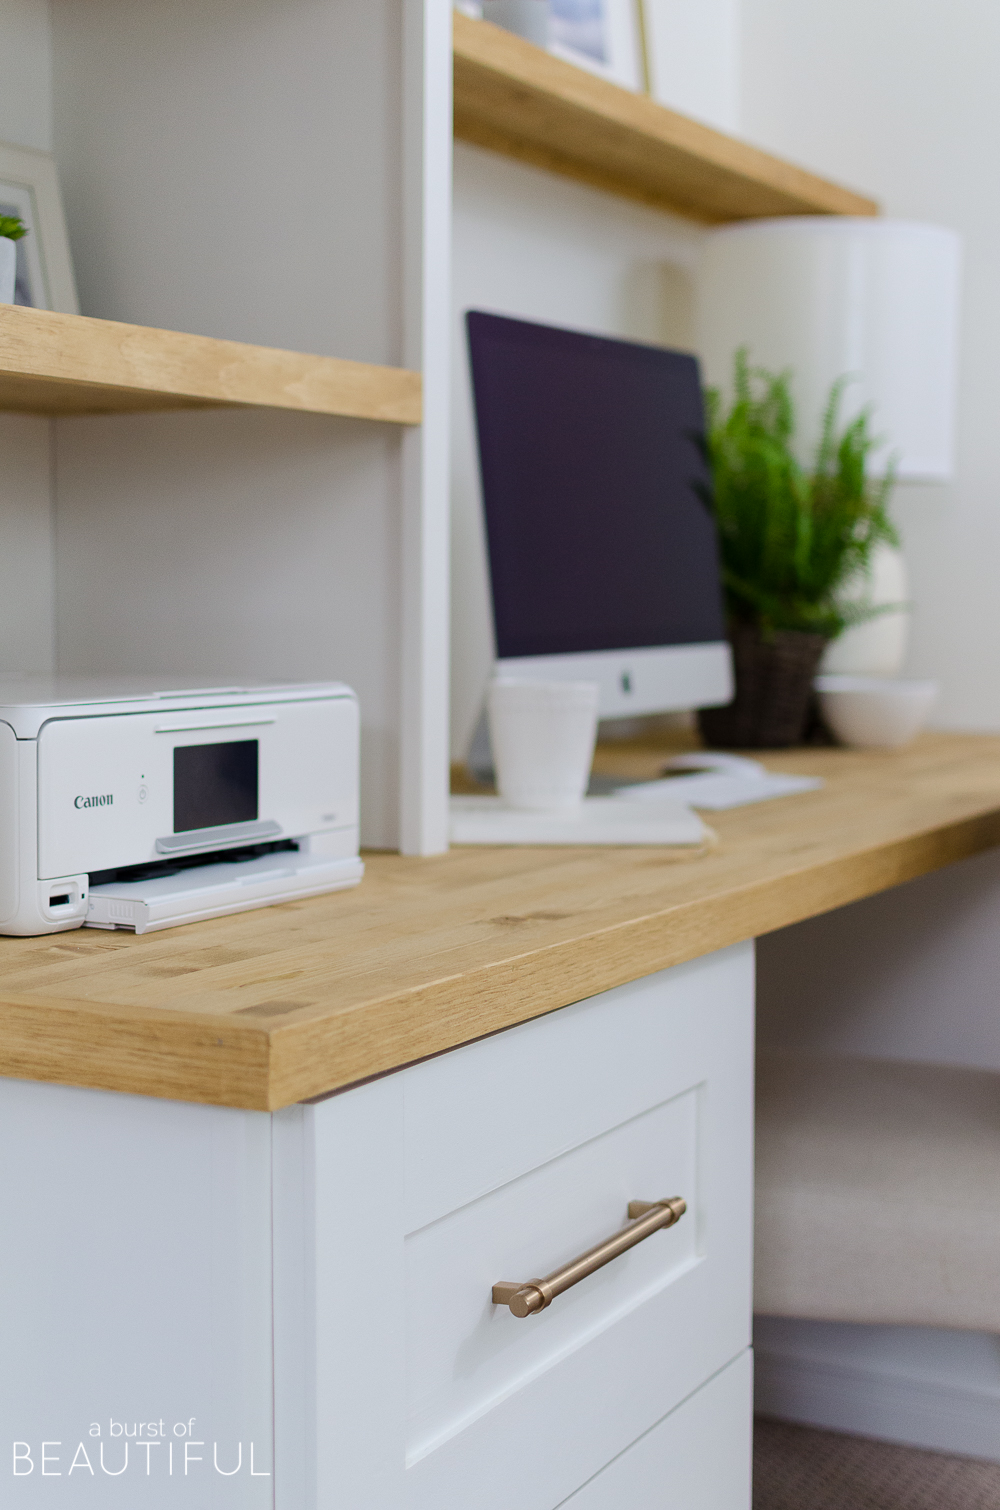
I have to take a minute too to point out these amazing pulls we added. Aren’t they gorgeous? Again, they have a bit more of a modern feel to them, without feeling too contemporary. We also plan to use a lot of gold throughout the space to help it feel warm and not so stark and cold with so much white.
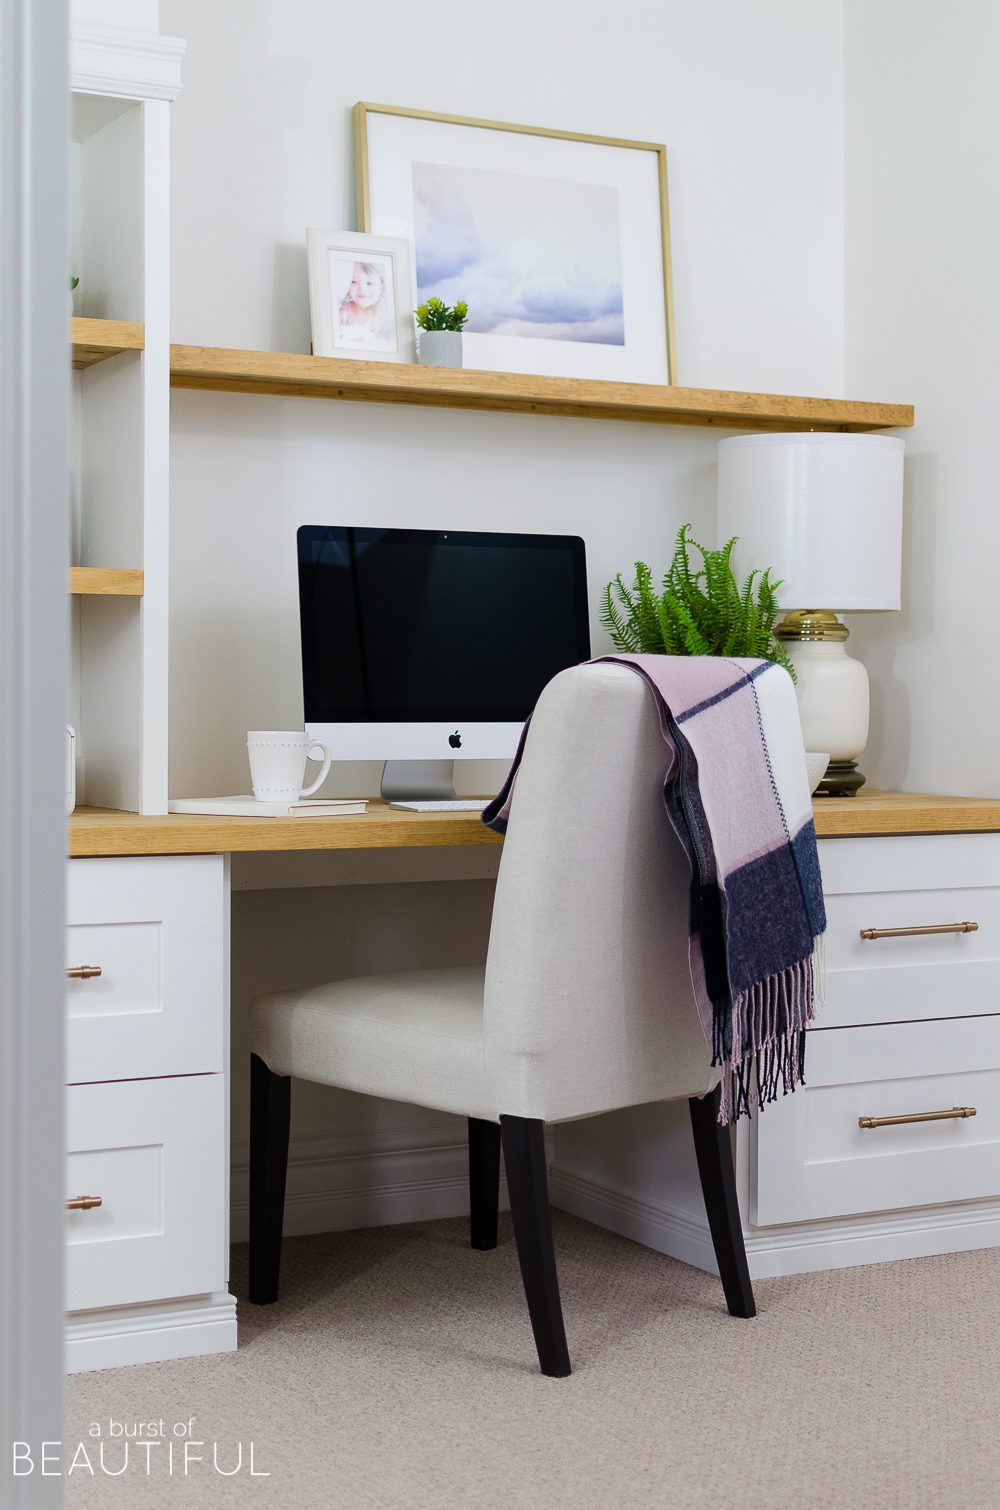
We will be planning another full reveal of this space once we complete the family room and playroom, and it will have a whole new look (see the updated look here). But we wanted to give you this little sneak peek today and offer you the free plans to build your own standalone version of this office desk if you’re interested.
You can find the free plans by following the link below to Kreg’s DIY project plan site, BuildSomething.com. I know you’ll find some other great projects on their site too that you will want to add to your to-do list!
Have a wonderful day!





Dianne Gingrich says
Just love your new office nook. So bright and cheery.
Alicia says
Thank you, Dianne! It’s so nice to have a dedicated space to work from! 🙂
Lora says
This is really lovely! I would love to have a office space like this!
The greenery brings it to life!
Alicia says
Thank you, Lora. I honestly cannot believe how much I love having this space to work in now. It makes everything a little more organized and easy!
Althea J. says
Love the chair. Where is it from?
Alicia says
Hi Althea, our chair is from Ikea. It is called Hendriksdal. 🙂
Ivory says
I love the transformation, total fabulous
Alicia says
Thank you, Ivory! I didn’t realize how much I missed having a real desk until I started using this space every day! 🙂
Pam says
Love this combination of wood and blue accents. Can you share where you purchased the drawers from? Thanks so much!
Alicia says
Thank you, Pam! Nick built the desk for me and the drawer pulls are from Lowes. I hope that helps! 🙂
Jenn says
I just discovered your blog and love it! Could you share the source of the 3 matching blue prints you have in your basement office space? Thank you!
Alicia says
Thank you, Jenn, so glad to have you here! 🙂 The links to the 3 blue prints are listed under our Shop – Our Home. Please let me know if you have any other questions!
Natasha says
How did you make the shelf above the computer? It’s not in the step-by-step instructions you linked to your post.
Nick says
Hi Natasha,
I cut down some pine into 3/4″ x 3/4″ strips. Then I put one piece the full span of the wall, predrilled holes in stud locations and then secured it with construction screws. Then I did the same on the wall side. For the bookshelf side, I used wood glue and 1 1/4″ brad nails to secure that small piece. Then I cut a pine board to fit on top of that “frame” and then put a 3/4″ x 1 1/2″ on the face to finish it off!
Hope this helps!
Nona says
Beautiful. I was just wondering, what kind of paint did you use for the Simply White by Benjamin Moore? Finish? Thank you!
Nick says
Hi Nona, I usually use their regal select in Pearl finish on trim, furniture and built-in projects. I find it gives the best sheen and offers some protection if you have to wipe it down!
Mary Santander says
Love the look! Where can I buy these drawers?
Alicia says
Hi Mary, Nick built these drawers! 🙂
G Fontana says
Love the paint finish and am now a follower. Do you put anything (i.e. minwax clear coat) over the Benjamin Moore Pearl paint on furniture or this desk? Was this desk two coats? Absolutely great results!
Alicia says
Thank you, so glad to hear you are following along with us! We typically paint 2 – 3 coats when painting furniture and always start with a primer (or use a paint and primer in one), and no topcoat. I hope that helps, please let us know if you have any other questions!
Krista says
Love the desk! Do you happen to have the plans for your TV built in area in the basement?
Alicia says
Hi Krista, we didn’t post the plans for the TV built-in as it was specific to the dimensions of our basement. But we are often asked about it, I will see if it’s something we can add to the blog! 🙂
Carly says
I’m so inspired by this for a redesign of my mom’s playroom that she wants to be both beautify AND grandkid friendly. May I ask where the desk base is from?
Alicia says
So glad you’re feeling inspired, Carly! The desk base is a DIY built by Nick.