A small kitchen nook is decorated for spring with these simple and easy-to-follow steps for styling open shelving.
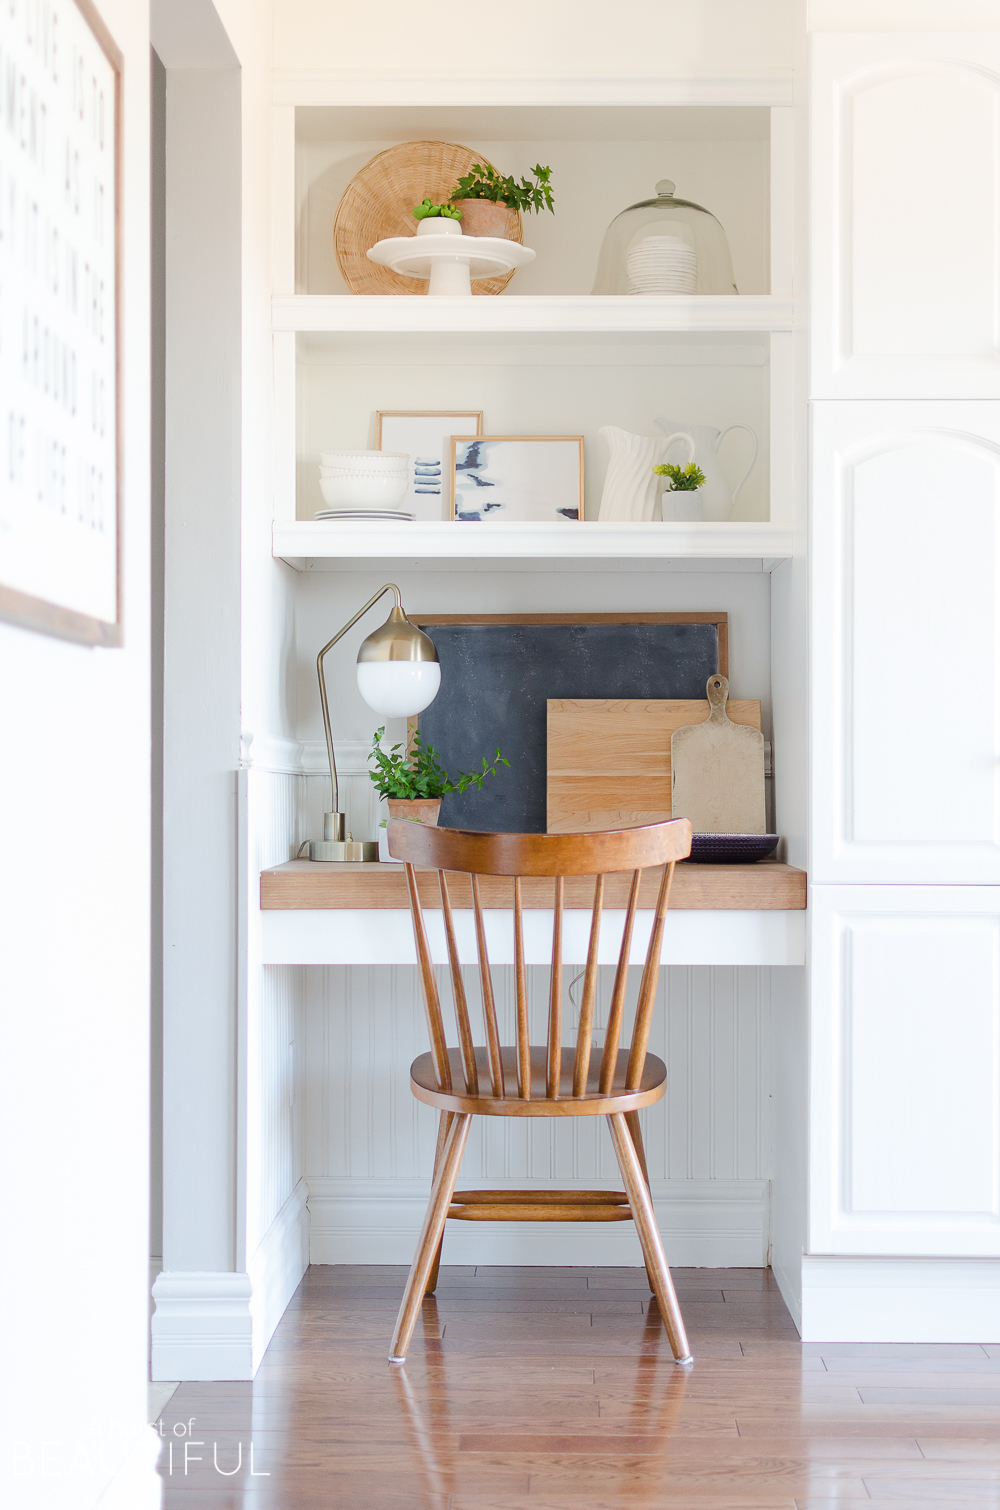
Good morning friends, I hope you are enjoying this week’s spring inspiration! I have absolutely loved browsing through everyone’s beautiful homes and today is no different. I’m joining my friend, Jennifer from Town and Country Living for another fun blog hop. Each day this week she is hosting a group of bloggers sharing a different space in their home for spring. But instead of just sharing all of these beautiful spaces, we are breaking down exactly how we decorated these rooms step by step.
I know so often we get questions about why or how we did something, so I think this is such a great idea to share a bit of the behind the scenes and what goes through our heads as we are pulling a space together.
This little kitchen nook of ours is one of my favorite spaces to decorate for the changing seasons and holidays. We built these shelves and floating desks over time as we were renovating our kitchen and they have been a much-loved addition. It’s so convenient to have a space to drop our keys and mail as we come in the door, and I love that they help add a cozy element to our kitchen. I can display my favorite dishware, along with interesting art and different pieces I collect along the way.
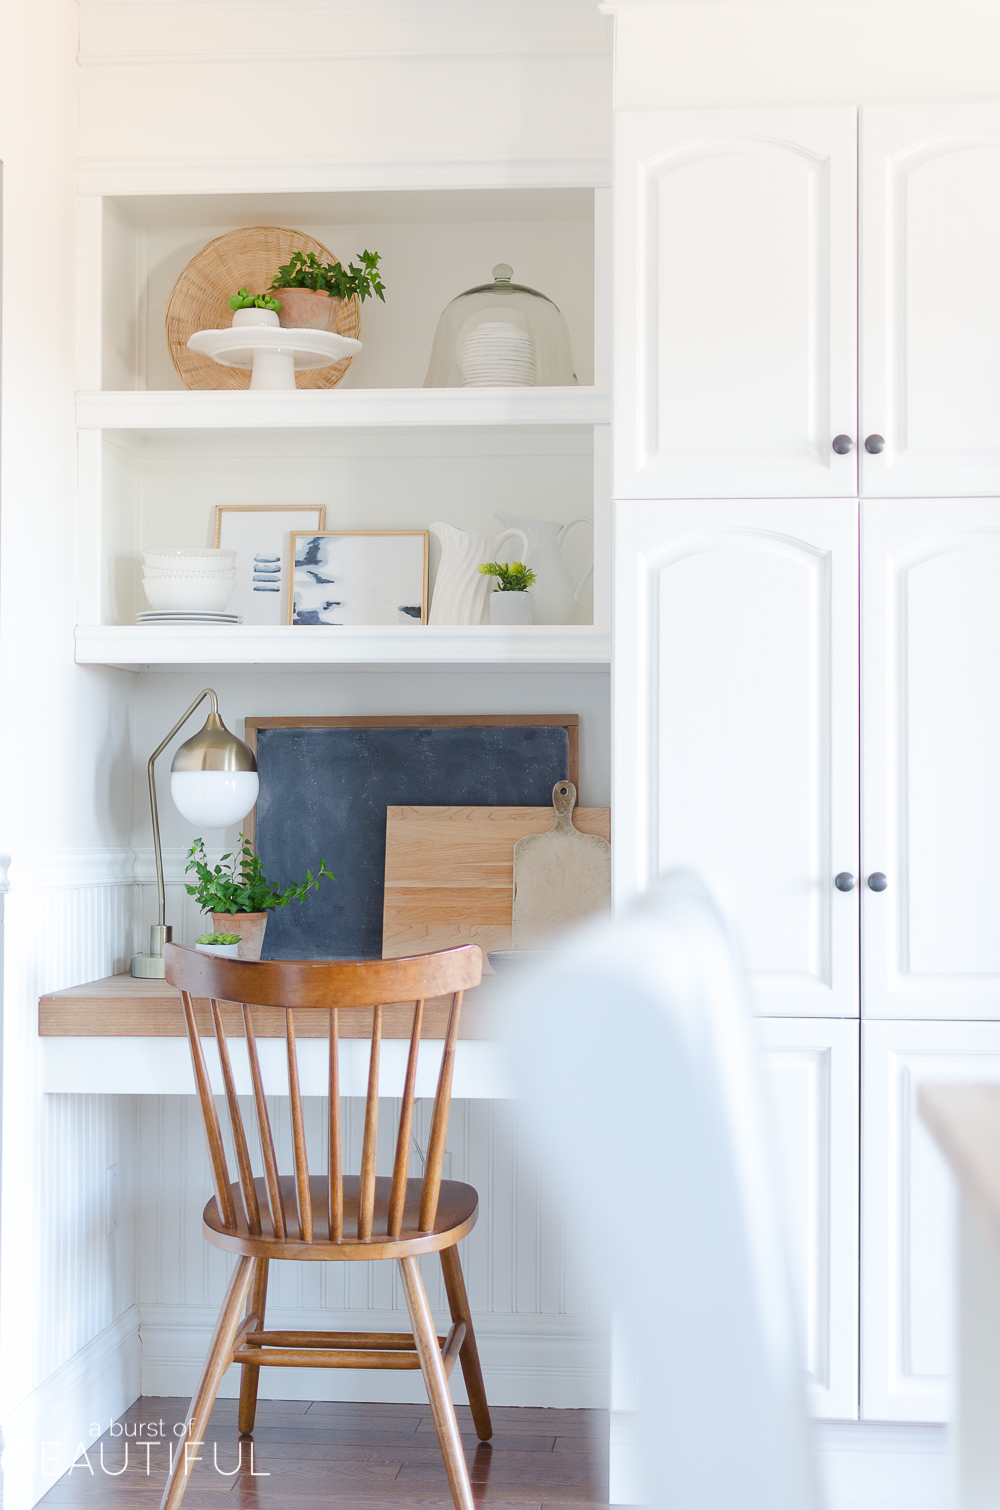
I love styling shelves, but it hasn’t always come easy. There are still times that I struggle with getting it just right, but it is something I have worked hard on over the years and I think I’ve come up with a pretty good formula to help me along. I know it’s something a lot of people have a hard time doing, so I thought it would be helpful to share my favorite tips for styling shelves with you.
As a new season approaches and I feel like it is time to freshen up our kitchen, I start by taking everything off these shelves and giving them a good clean (despite my best efforts it can get dusty up there!). I always suggest starting with a blank slate when it comes to styling shelves this way there is nothing to distract from your initial creativity and vision.
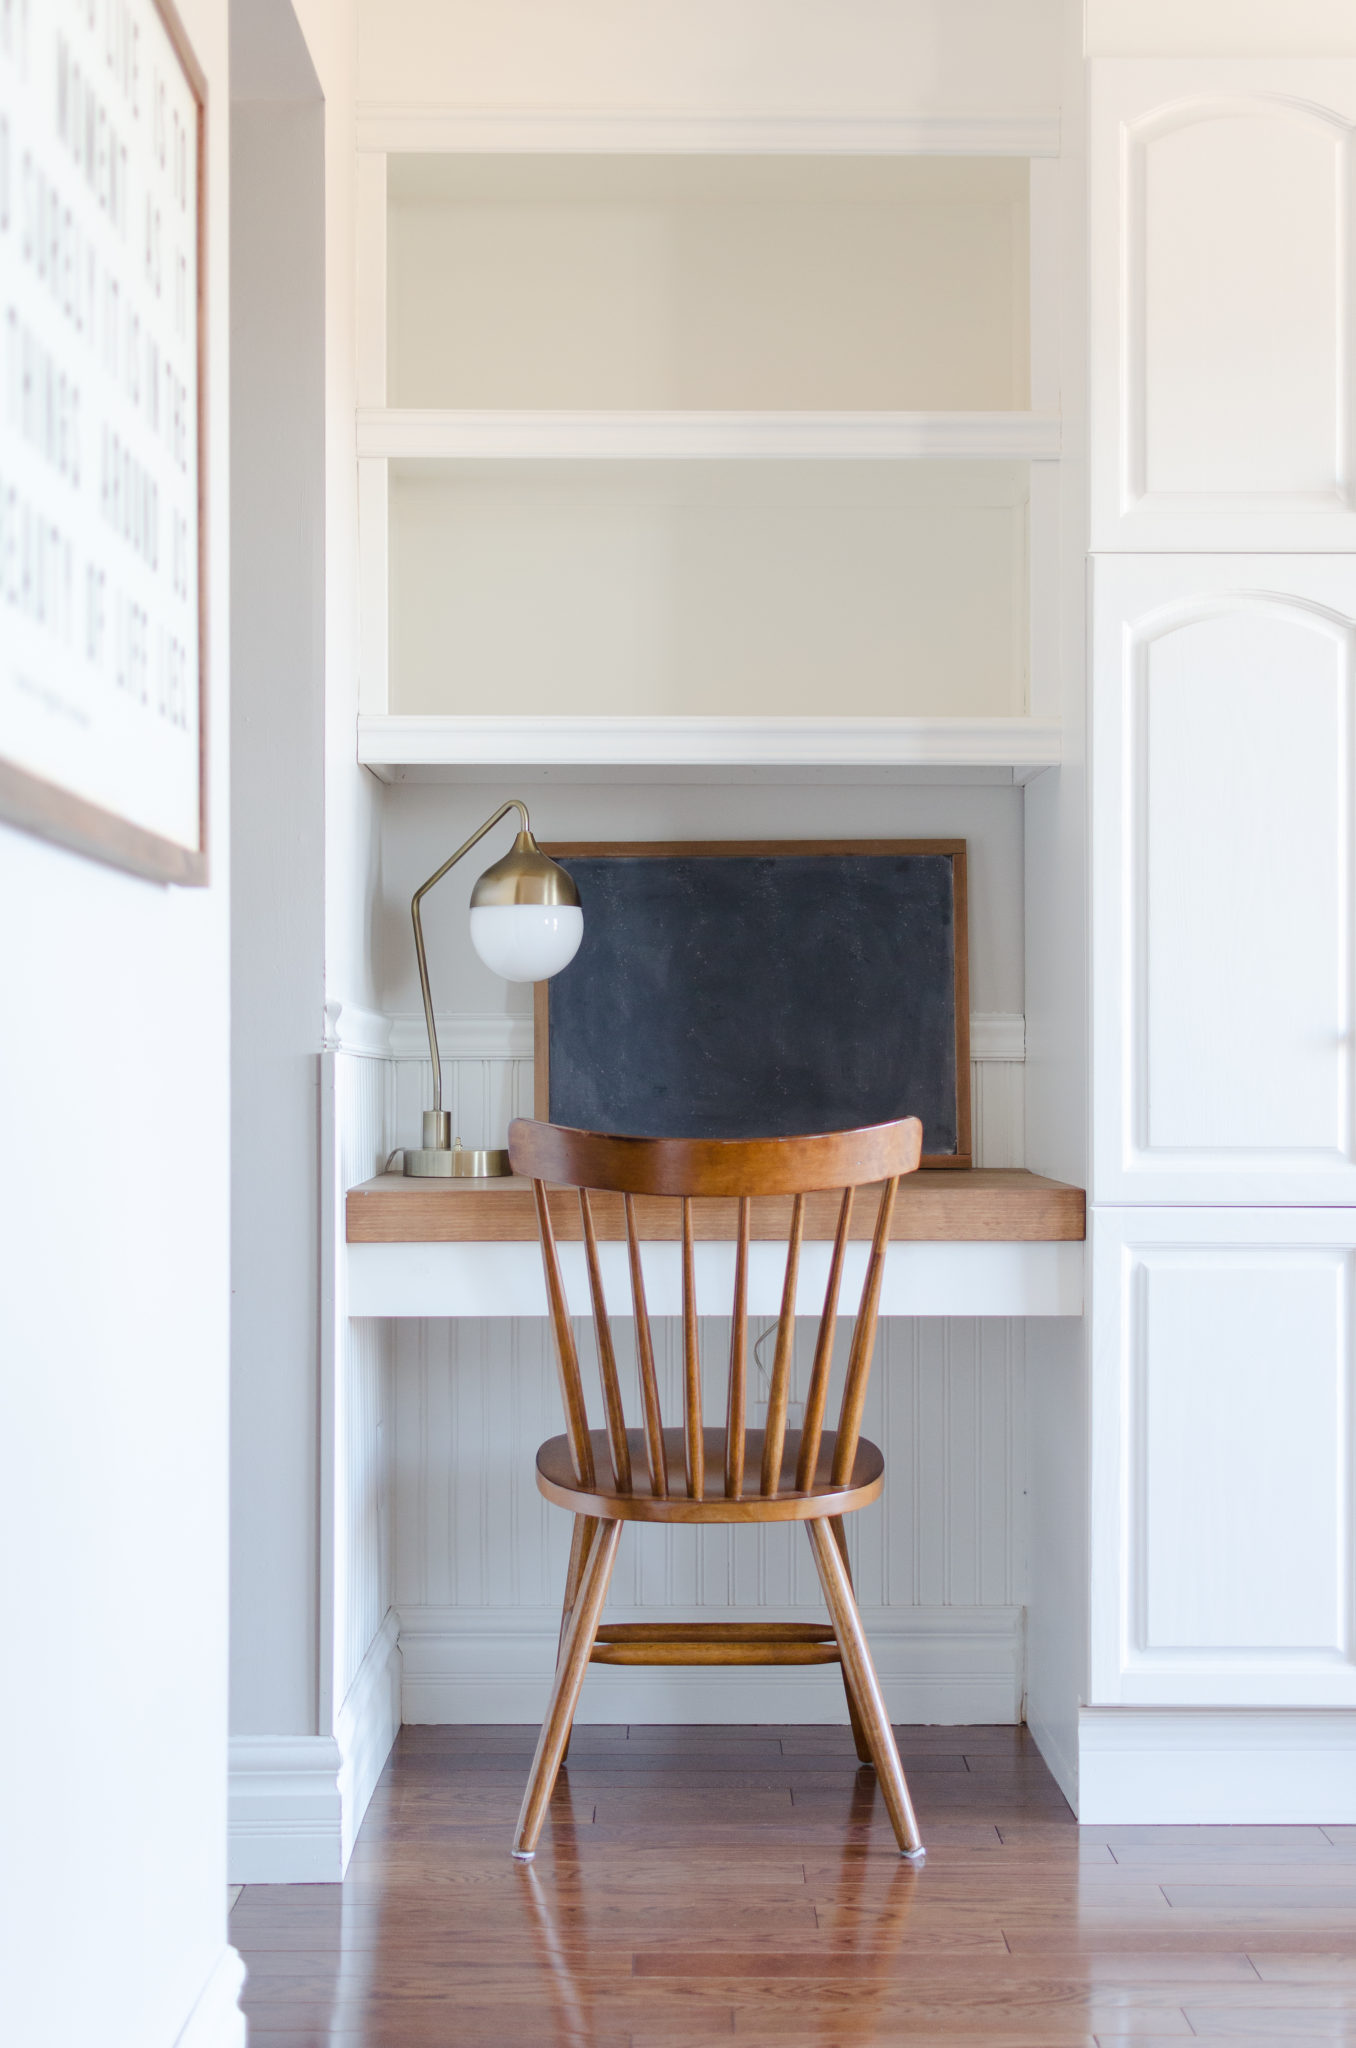
Speaking of vision, before you start you should have an idea of the colors you want to incorporate. I enjoy our kitchen when it’s mostly neutral and so I lean towards that idea while styling our shelves. I set aside my favorite white and glass serving pieces, like pitchers, cake plates, and dishware and use these pieces as my main elements.
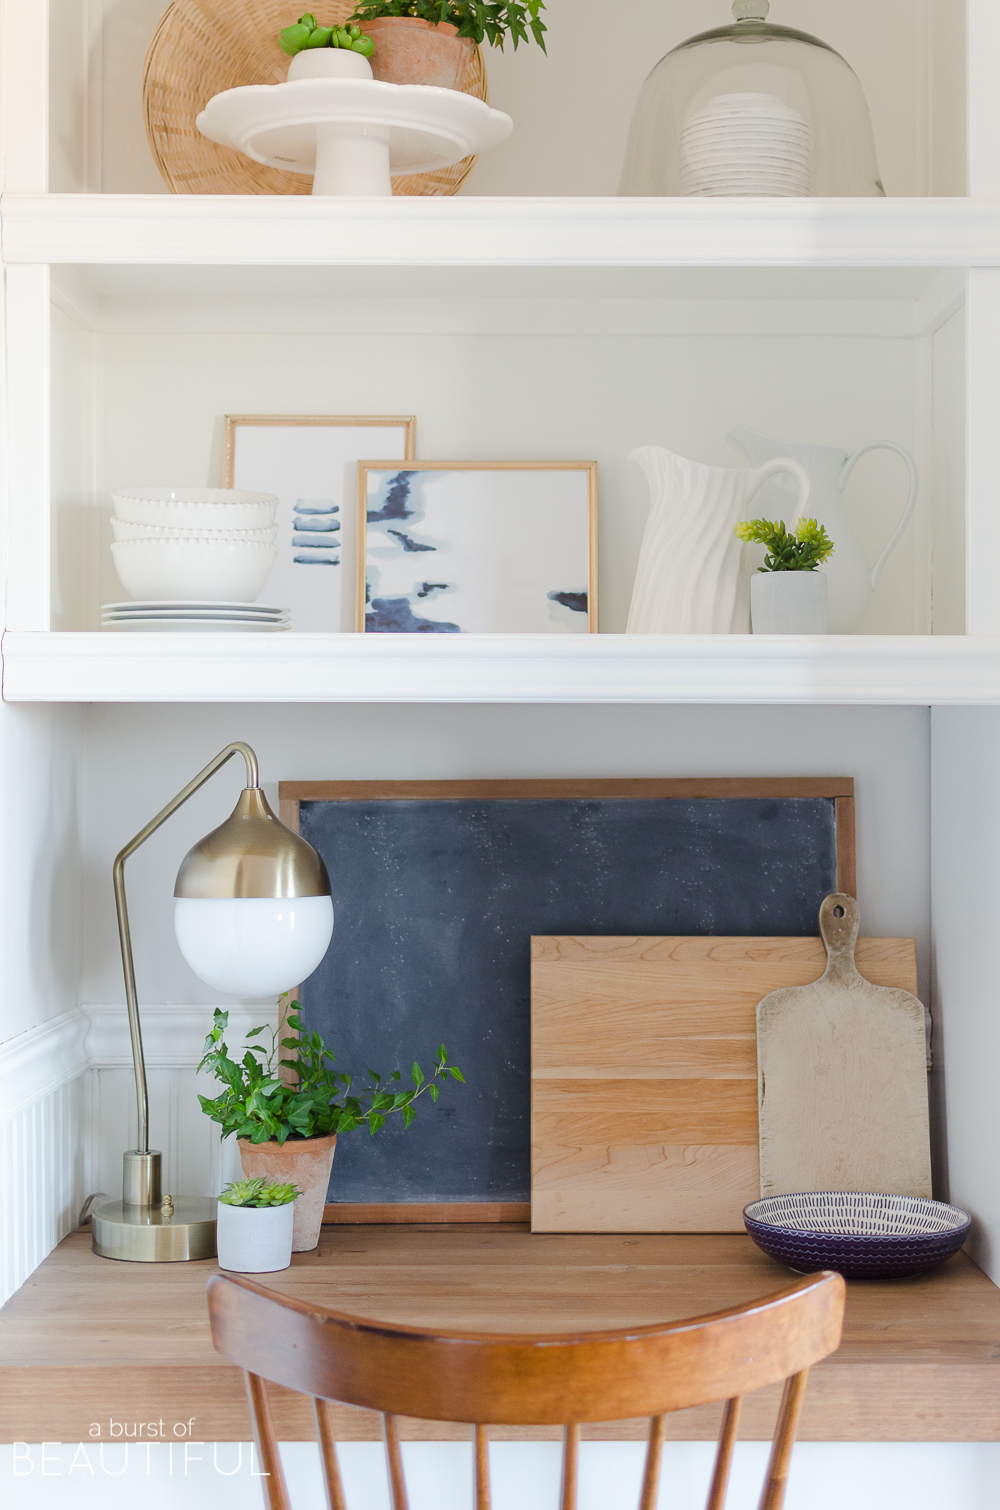
But to keep it from feeling too stark I always incorporate natural elements. I bring in pieces like vintage wood cutting boards, wicker baskets, and clay pots. I also include a few pieces with gold tones to help even it out, like our lamp and gold frames.
And of course, it wouldn’t be our home if it didn’t have a little bit of blue peeking through.
So once I have a clear idea of my color palette and my shelves are empty I start by slowly adding a few pieces back in. In this case, I started with the wood cutting boards and wicker basket. I placed them diagonally apart from one another and at the furthest points away. The helps to create balance, something I will talk a lot about.
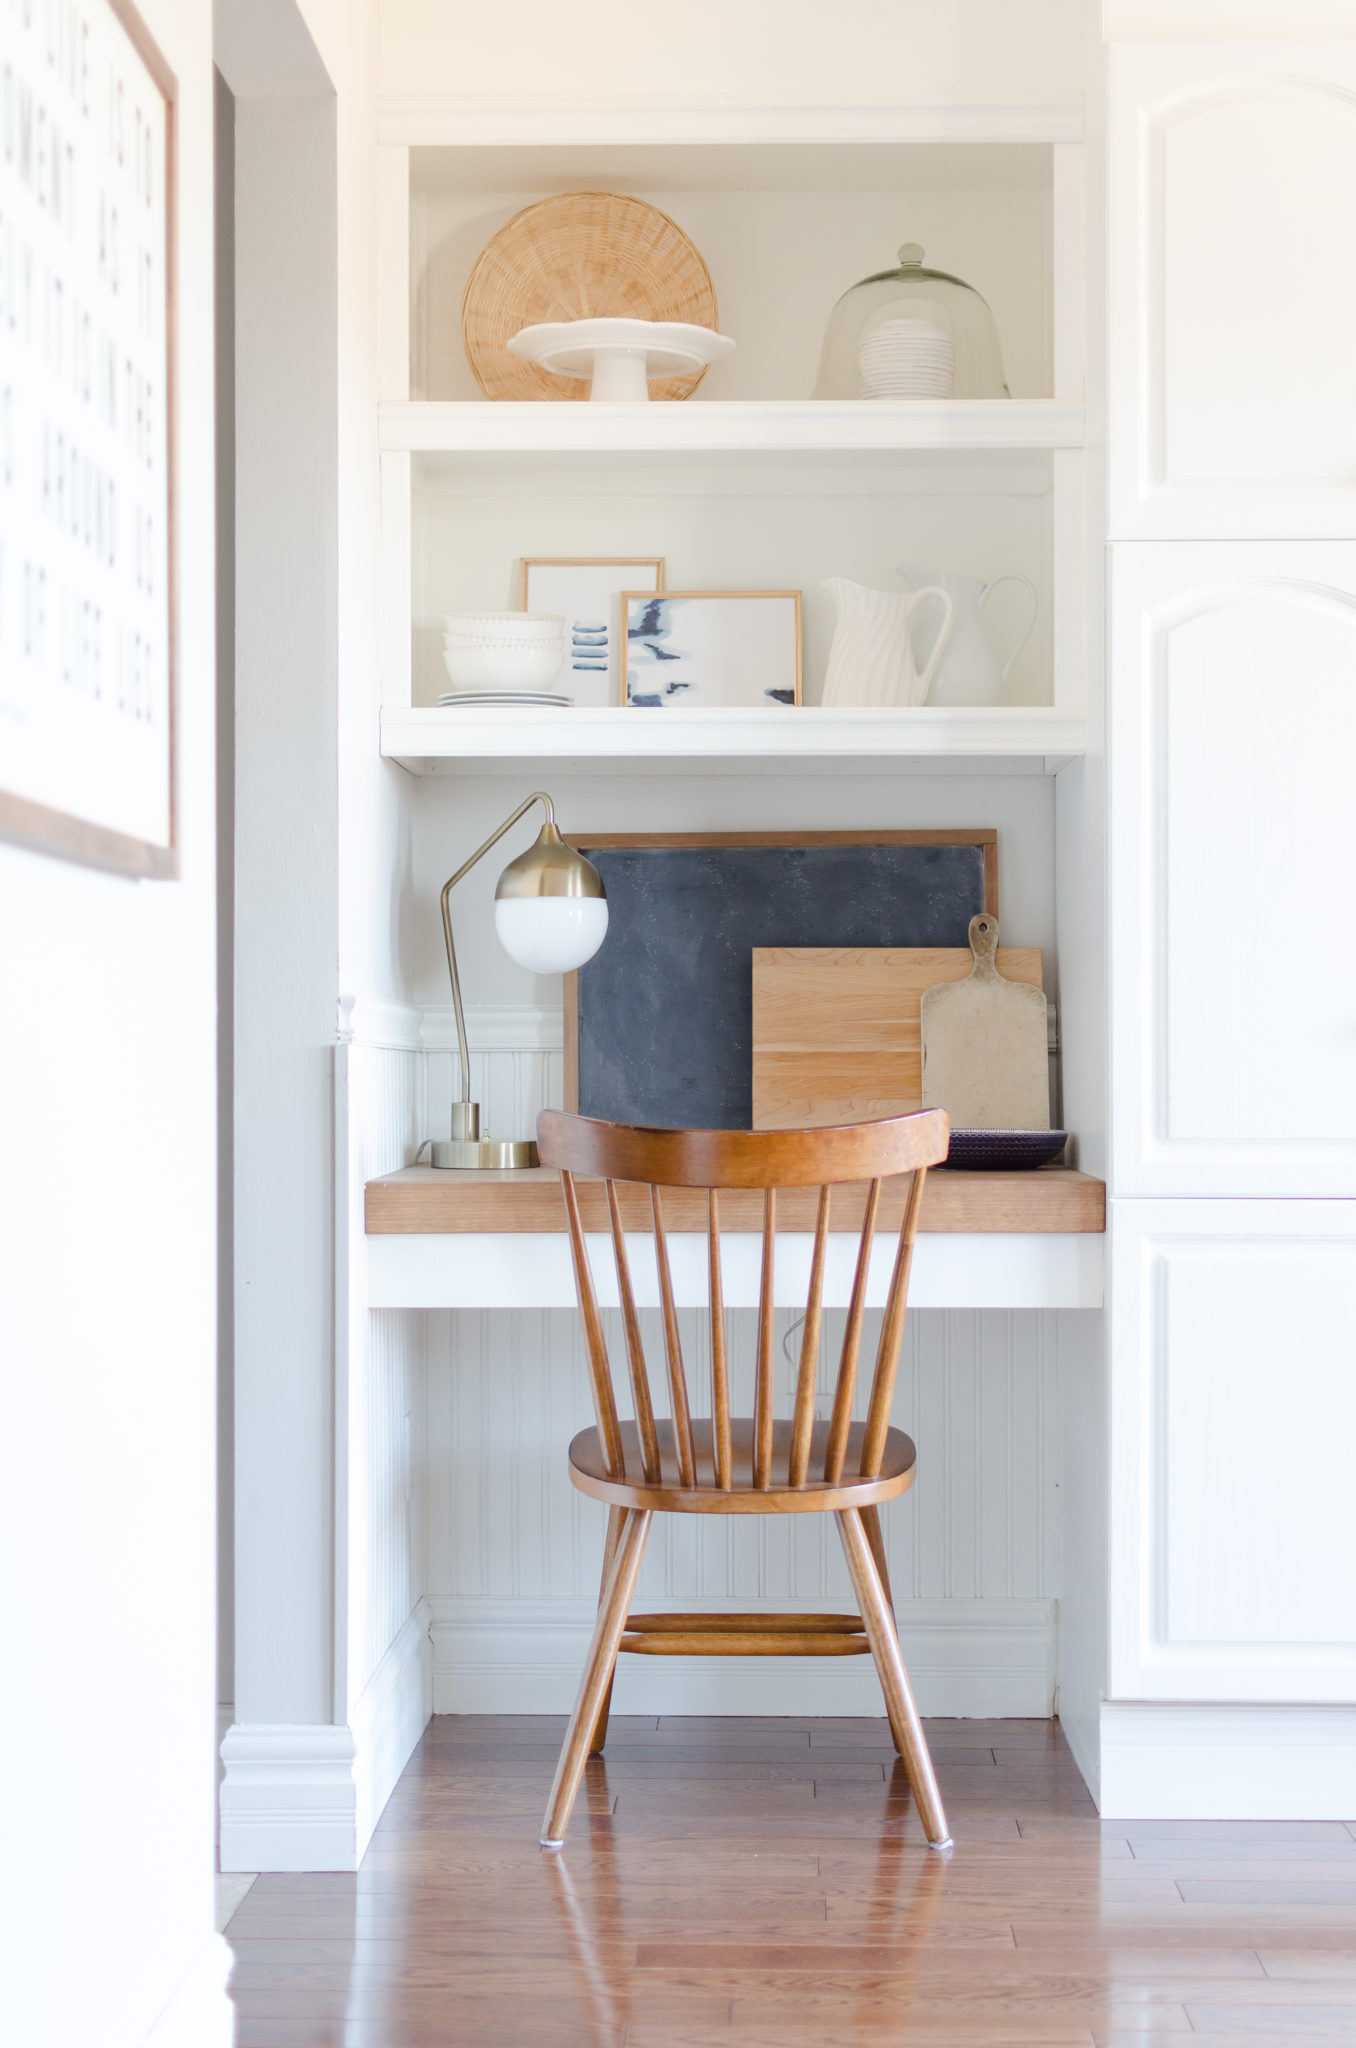
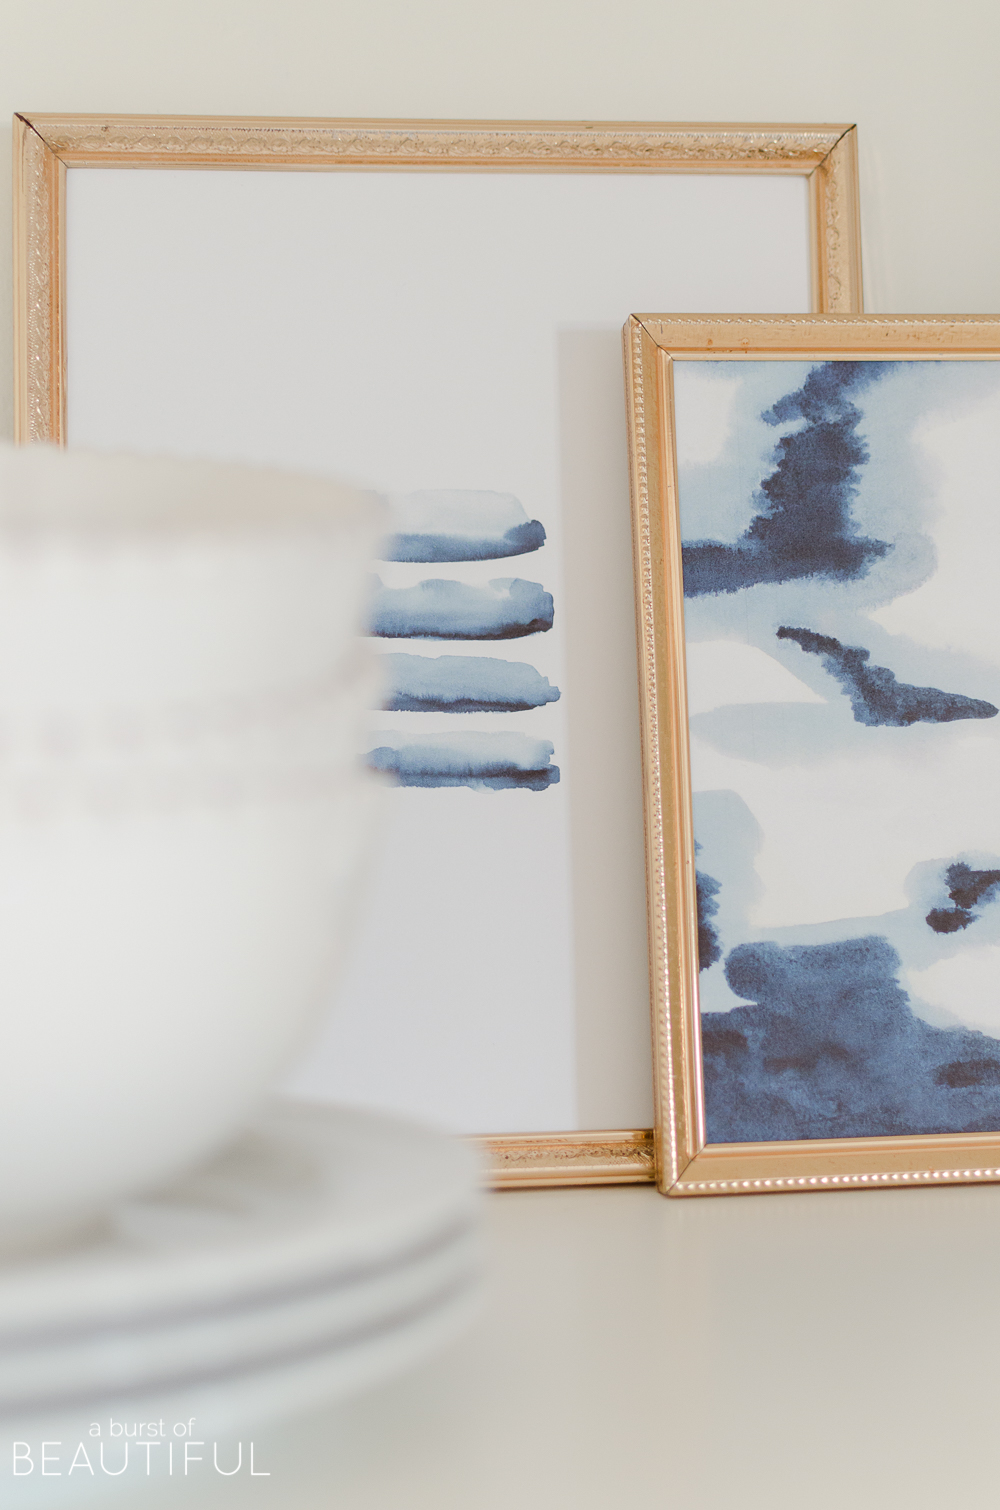
Once those pieces were in place, I knew the middle shelf (I’m considering the desktop the first shelf) needed a bit of the same warm tones. I found these vintage gold frames at our local thrift store last year and love their simple appeal. I leaned two of these frames against the back of the shelf and slightly towards the middle.
Having these neutral elements in place helps to draw your eye up, starting with the wood chair, to the cutting boards, picture frames and finally to the wicker basket.
GET THE LOOK
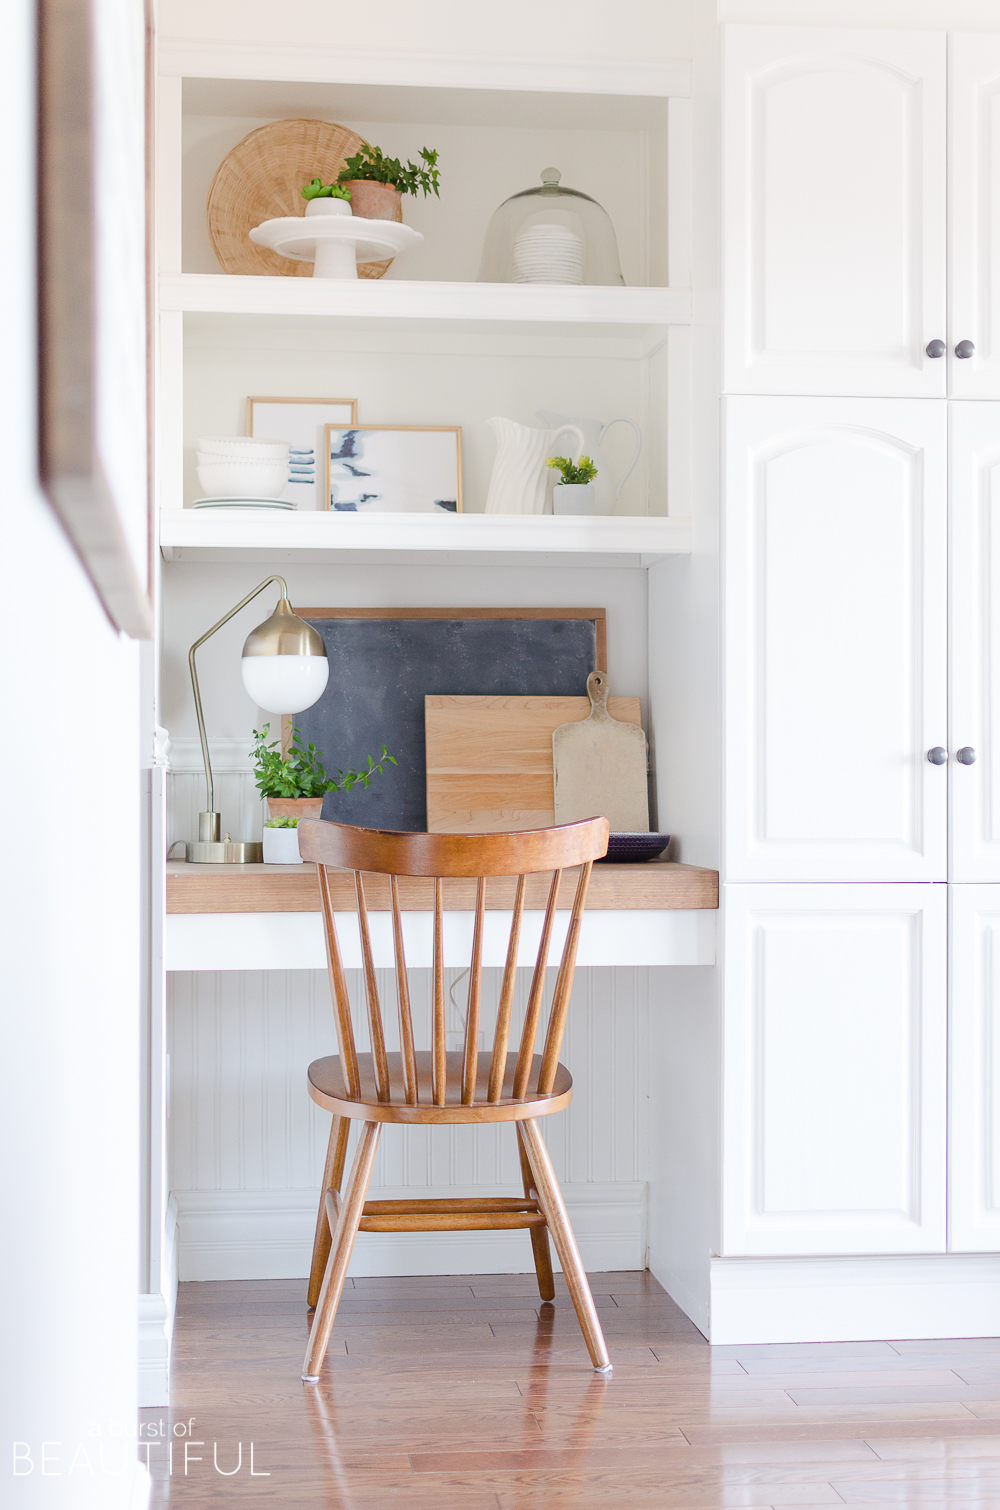
Next, I added a few white pieces. This helps to neutralize all of the natural tones. If you let your eye follow these pieces you’ll see they form a triangle. Start with the collection of white pitchers then move upwards to the cake plate and finally down to the stack of plates and bowls.
Now that I have a really good base started it’s time to finish the look with a few pops of color. I did this with a mix of ivy in aged terra cotta pots and faux succulents in small cement vessels. I love these aged terra cotta pots because they have such a great patina and blend so well with the other natural elements I used (you can see here how I used them in our dining room too).
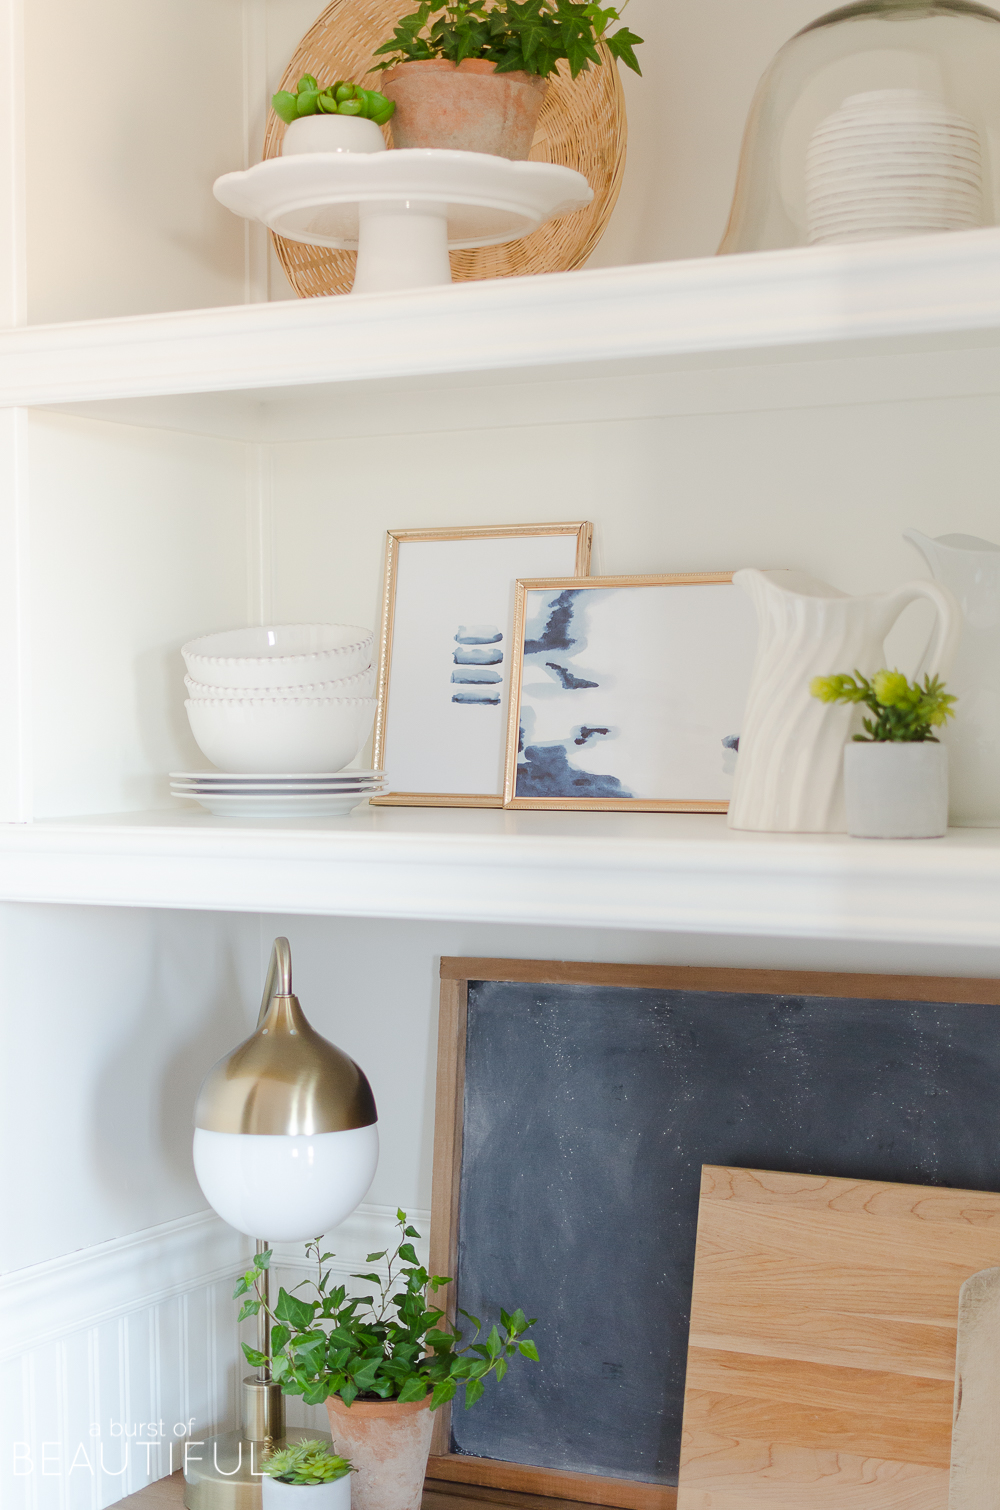
The art prints (you can find these prints here and here) also add a bit of interest and color with their abstract shapes and pop of indigo. I think art is a really fun aspect to include in a kitchen, it helps to keep it feeling cozy and more like a living space rather than a spot just to prepare food.
And lastly, I should mention the chalkboard. It almost acts as a piece of art itself with its simple wood frame and large expanse of black space it helps to anchor this area of our kitchen and fills in all of the empty space that would otherwise need filling.
I hope you enjoyed today’s post, whether it helped you overcome some of your own struggles while styling shelves or simply gave you a new idea to try. Please let me know if you have any questions, I am always eager to help!
Now, I hope you’ll take a few minutes to browse my friends amazing spring styling ideas too.
Monday – Living Rooms
Town and Country Living / Maison de Pax / Duke Manor Farm / Decor Gold
Tammy Damore / Kelly Elko / Shabbyfufu
Tuesday – Dining Room
House by Hoff / Happy Happy Nester / Paint Me Pink / Craftberry Bush / Designthusiasm
Wednesday – Kitchen
Sincerely, Marie Designs / The Happy Housie / Zevy Joy / A Burst of Beautiful
Tidbits / In My Own Style / Sand and Sisal / Thistlewood Farms
Coming Thursday – Porch/Entryway
Vinyet Etc. / Shades of Blue Interiors / Taryn Whitaker / Unskinny Boppy
The Happy Housie / Bless’er House / Seeking Lavender Lane / Rooms for Rent




Amanda says
This little spot is always decorated so beautifully no matter the season. I love the pop of blue, so perfect for spring!
Alicia says
You are too sweet, thank you, Amanda! xo
laura janning says
love your styling tips. the link for the art doesn’t seem to be working.
Alicia says
Thank you, Laura. And thank you for pointing out the link wasn’t working, I’ve fixed it now. 🙂
Jennifer @ Town and Country Living says
Alicia, you’re the queen of shelf styling! I love those sweet little prints and you’ve added the right amount of texture. Thanks so much for being on the spring tour this week!
Alicia says
Thank you, Jennifer, and thank you again for hosting. I had so much fun with this one! 🙂
Krista says
Gorgeous Alicia! I adore your kitchen nook and love how you’ve layered and styled it so beautifully for spring!!
Alicia says
Thank you, Krista. I just love styling these little nooks for the different seasons and holidays.
Laurie@VinyetEtc says
I want these nooks in my kitchen, so much FUN! you’ve done such a gorgeous job dressing them for spring. xo
Alicia says
Thank you, Laurie. I can’t imagine our house without them now, I always have so much fun styling them for the different seasons and holidays!
Ivory says
What a lovely little nich, and I simply love what you did with/to it. So fabulous.
Alicia says
This is probably my favorite little corner of our house to style each season and holiday! I am glad to hear you enjoyed the post! 🙂