Highlighting the progress we’re making on our budget-friendly kitchen renovation.
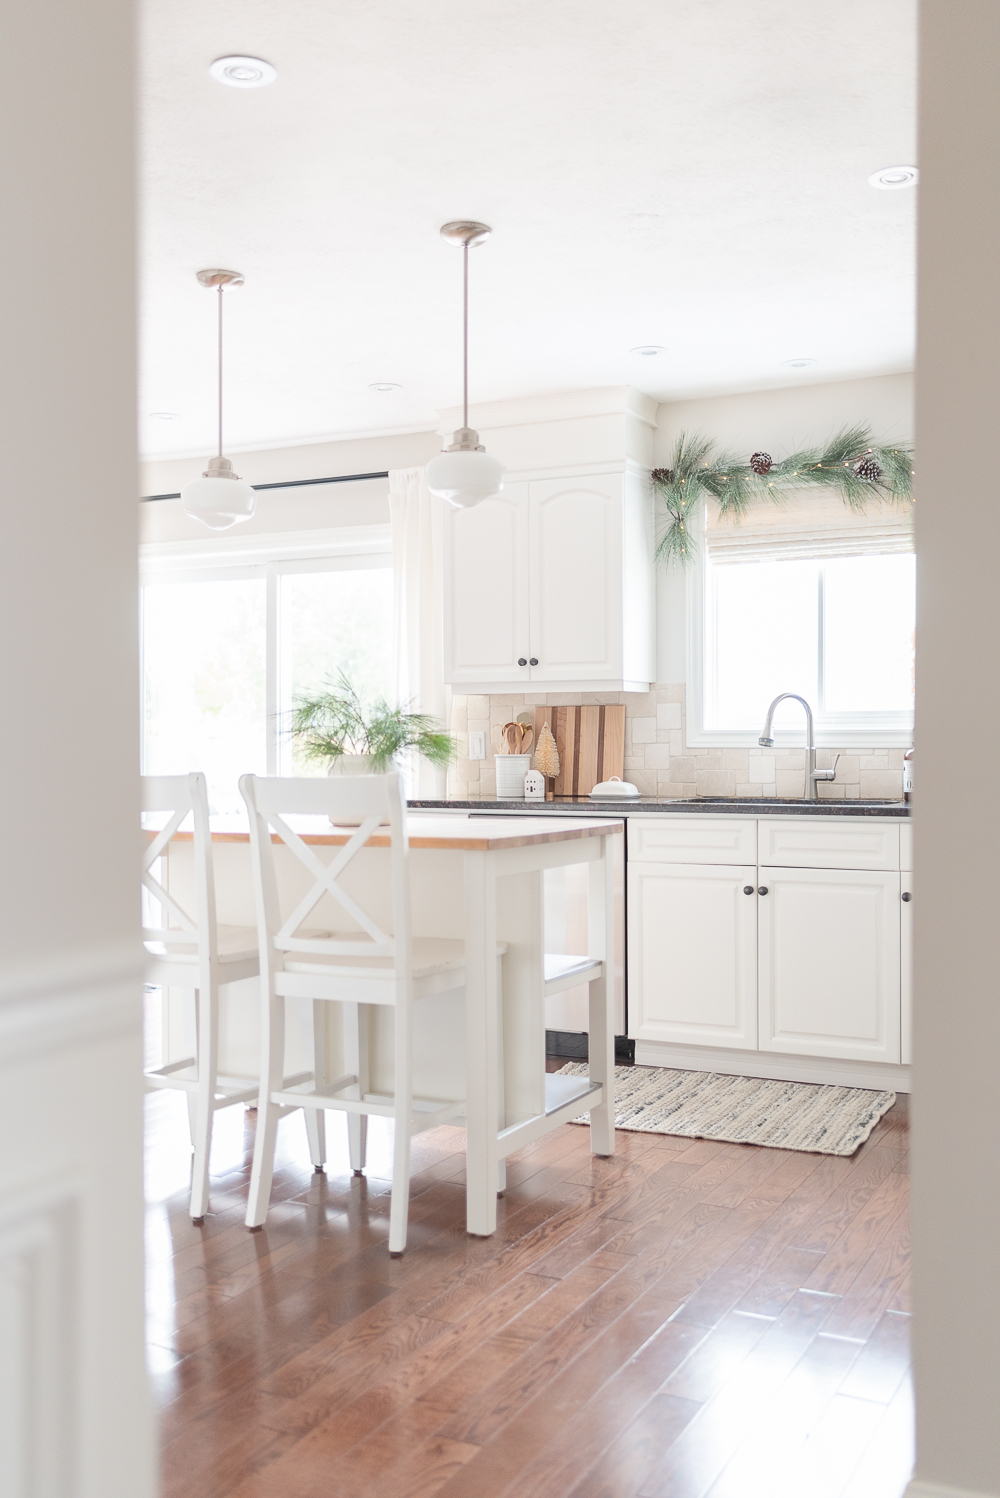
This is what our kitchen looked like last year at this time
It’s been just over a month since we began our kitchen renovation and we’re excited about the progress we’ve made so far. A kitchen renovation is no joke, it’s expensive, stressful, and time-consuming, we are literally tearing apart the busiest, most utilized room in our home. But updating our kitchen is something we have always wanted to do so we are being patient with the process.
A few weeks ago we shared our design plan and highlighted the main projects we are undertaking to give our kitchen a fresh new look. Currently, all of the demolition is done and we’ve got a good start on many of these projects. It’s so exciting to see it start taking shape, so, we thought we’d take some time to share how far we’ve come and what we have left to finish.
If you’re curious about what our kitchen looked like prior to the renovation you can see it here.
More Storage
While we were planning our kitchen renovation we knew adding additional storage was a must. Our kitchen is the heart of our home and it’s a busy spot. Not only do we use the kitchen for cooking our meals but it’s also a drop-off zone as we enter the house, it’s where the girls do all of their art projects and (when the time comes) where we gather while hosting friends and family. So we started thinking about how we could add extra storage and we came up with two ideas.
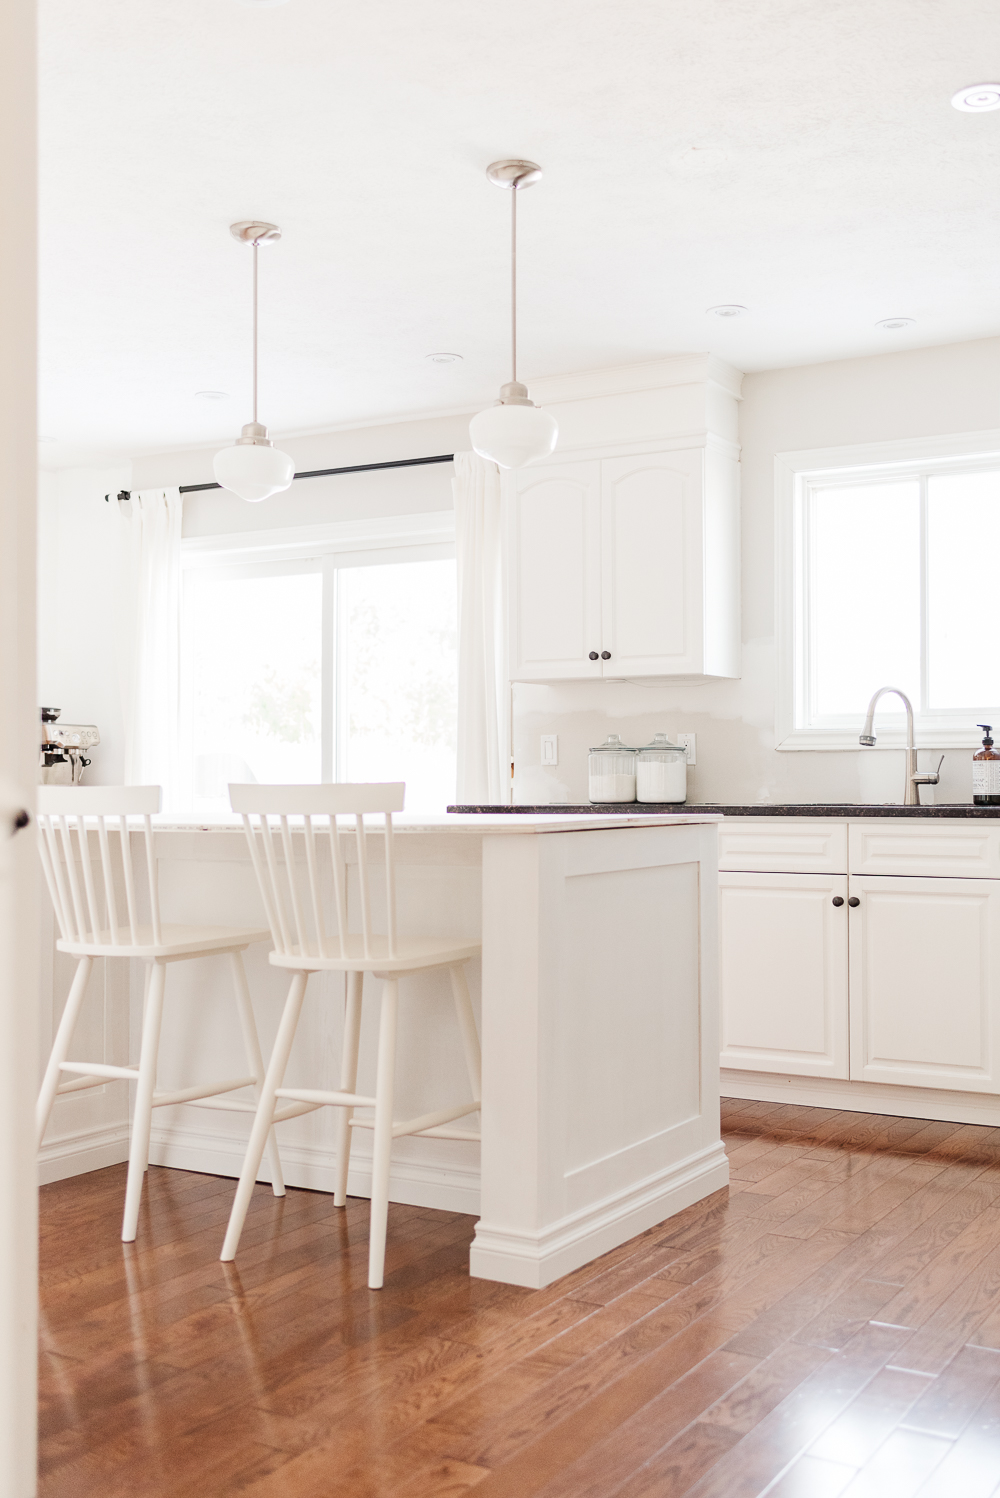
The first was a new island. Our existing island was tiny and with open shelving, it didn’t provide any storage space. Nick designed and built this beautiful new island for our kitchen. It’s large without being overwhelming and gives us lots of extra storage space.
Building an island is much easier than it seems. Essentially Nick built two cabinet boxes for the side of the island that faces our sink and a simple 2×4 structure for the side with seating.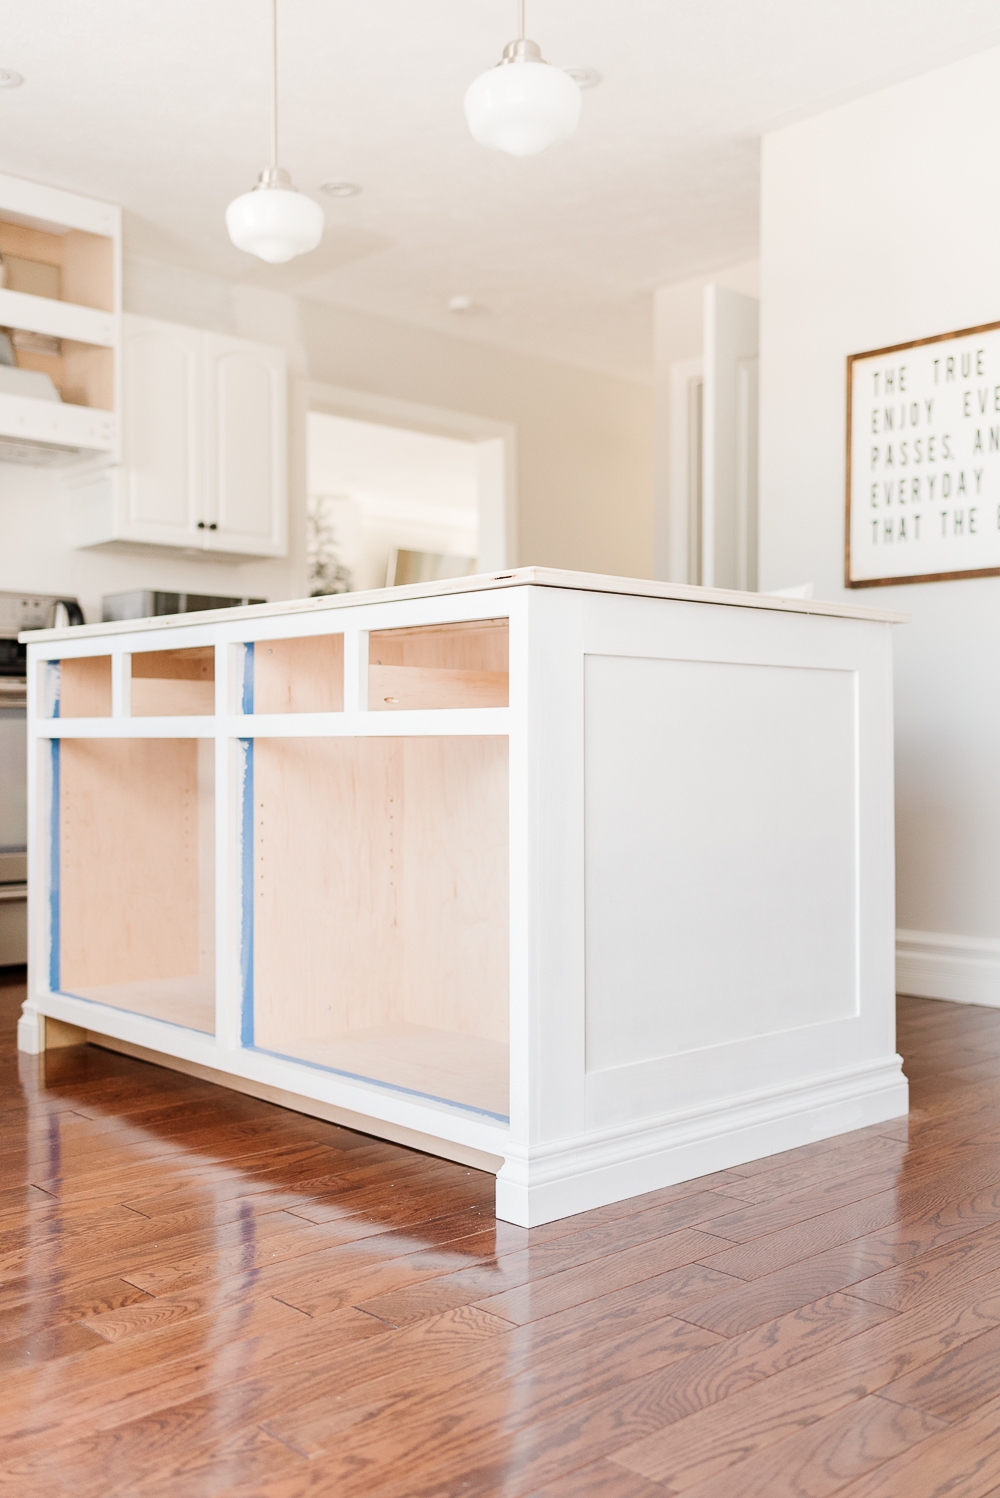
Any time we talk about building something in our home, whether built-in’s, furniture, storage, or other DIY projects around the home, Nick’s tool of choice for joinery is his Kreg Pocket Hole Jig (actually, he as three different models, just in case…). This project is no different.
The two cabinet boxes are built using his Kreg Jig, as are the face frame and drawer boxes. Although there are many types of joinery techniques you can use, this is an easy way to create a very secure joint. It was one of the first tools he ever got in his shop that put him on the path to building. It’s a great tool for the beginner, intermediate, and advanced DIY’ers, and has a place in any shop.
If you’re considering adding a pocket hole jig to your workshop now is the time! Kreg is has a limited-time offer on all their most popular models? The K4, K5, K4 & K5 Master Systems are all on sale until January 31st, 2021. Such a great deal!
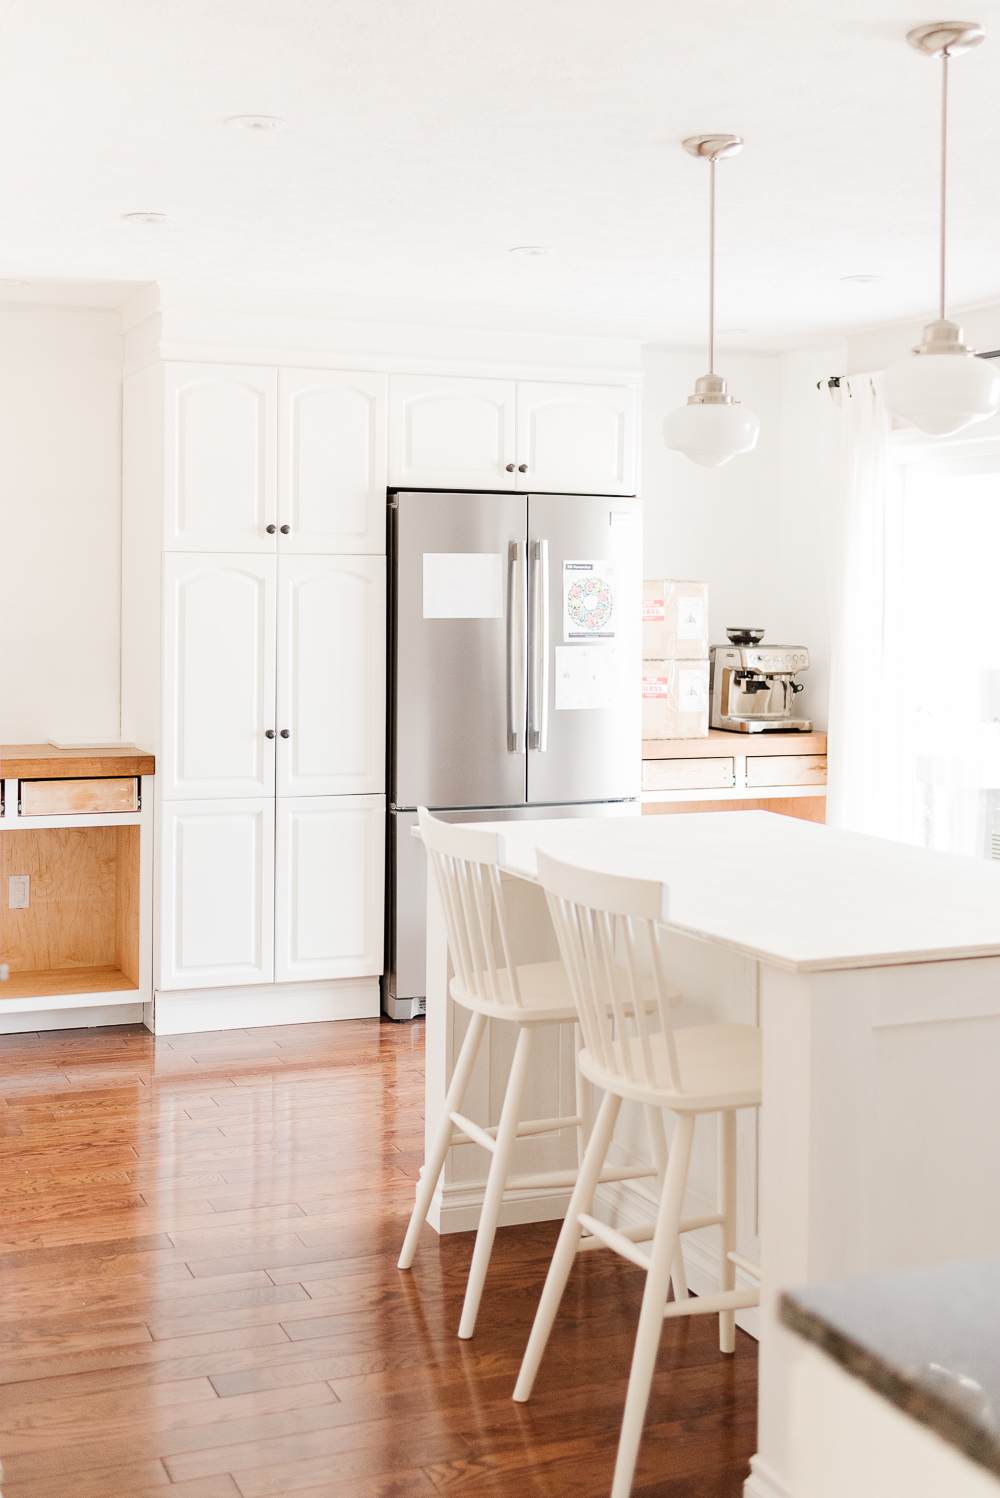
The other space we reclaimed to give us more storage is the built-ins on either side of our pantry and fridge. This was a DIY project (see it here) that Nick tackled a few years ago (again using his Kreg Pocket Hole Jig) and while we love the look we felt it was time for a bit of an upgrade. We are replacing the built-in desks on either side with cabinets with drawers and doors that will give us even more storage. You just can’t have enough!
Open Shelving
That brings me to another project. We demoed the existing open-shelves and will be adding wall-to-wall wood shelves here. I think the natural wood will give the kitchen some warmth and I am happy to still have a space to put some of our prettier pieces on display.
Hood Range
Now, we know this goes completely against our desire for more storage, but we removed the cabinet above the stove and replaced it with a custom-built range hood with a vent insert. We decided this would add some much-needed interest to the kitchen and help break up the wall of cabinets along this side of the room. It was such a small cabinet and difficult to reach so removing it to add a hood seemed to make the most sense. Before, we only had a recirculating range hood, and upgrading to this insert and venting to the outdoors was a big upgrade and a sign of a custom kitchen.
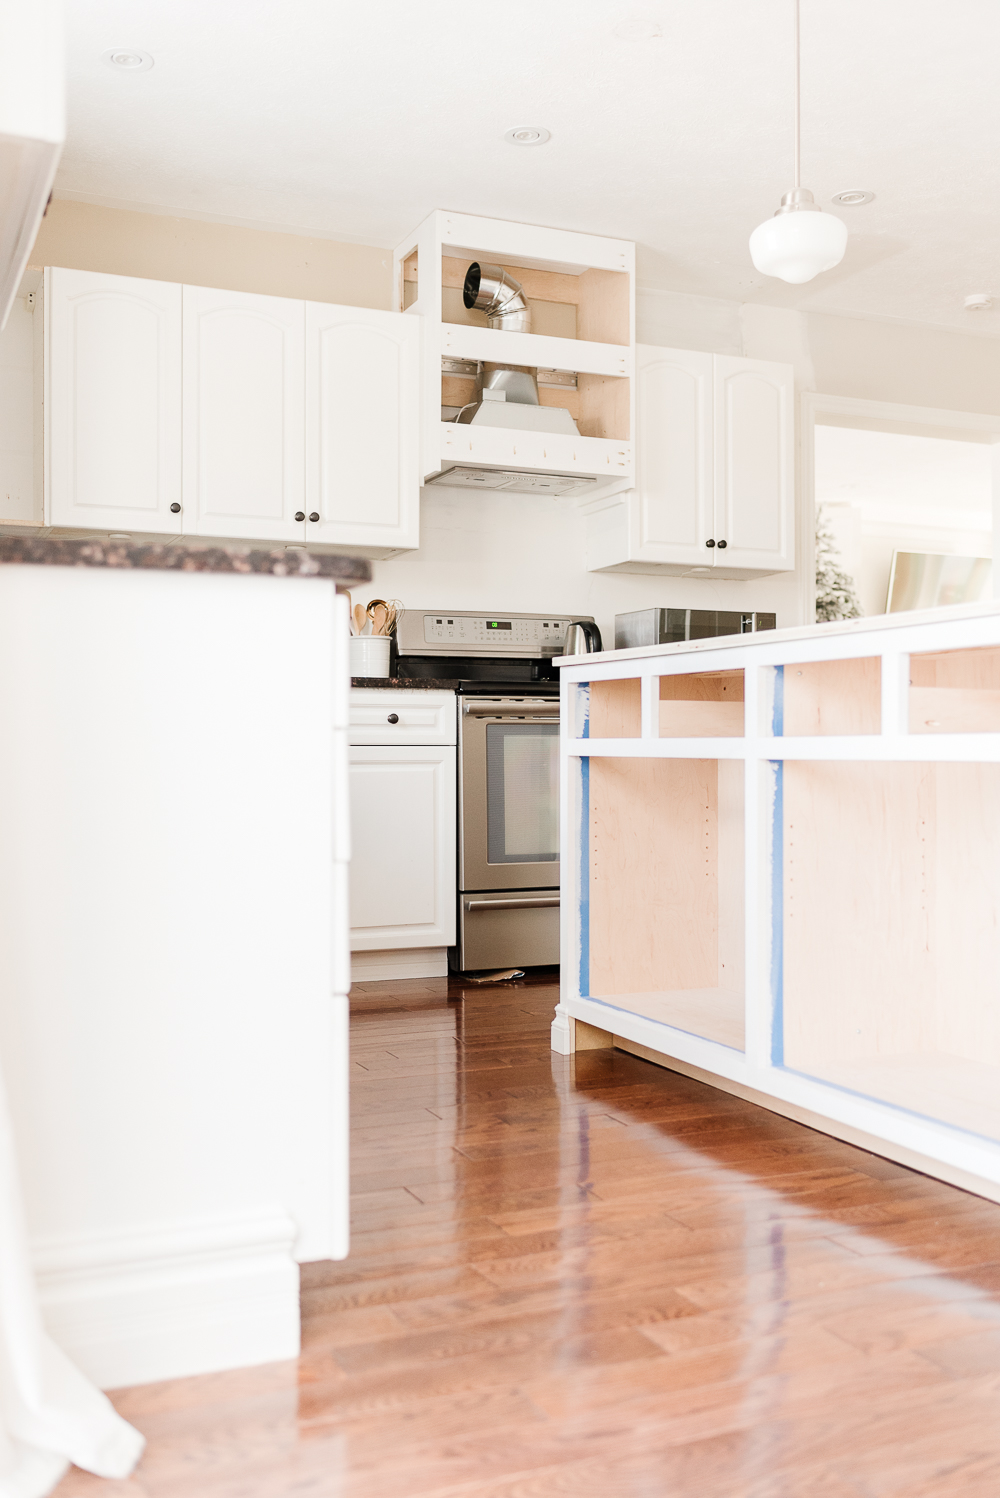
Again, Nick used his Kreg Pocket Hole Jig to build a custom cabinet box that would hold the insert, accommodate the ducting required, and be able to face it with a panel and custom molding.
Refacing Cabinets
Refacing our cabinets is probably going to the biggest project, but definitely the most worthwhile. Nick’s going to build all new faces in a traditional Shaker style, you can read more about it here. It’s the last project on our list so that Nick can chip away at it while the rest of the kitchen is finished and usable. He’s got his work cut out for him because we have almost forty doors and fifteen drawers that need to be replaced.
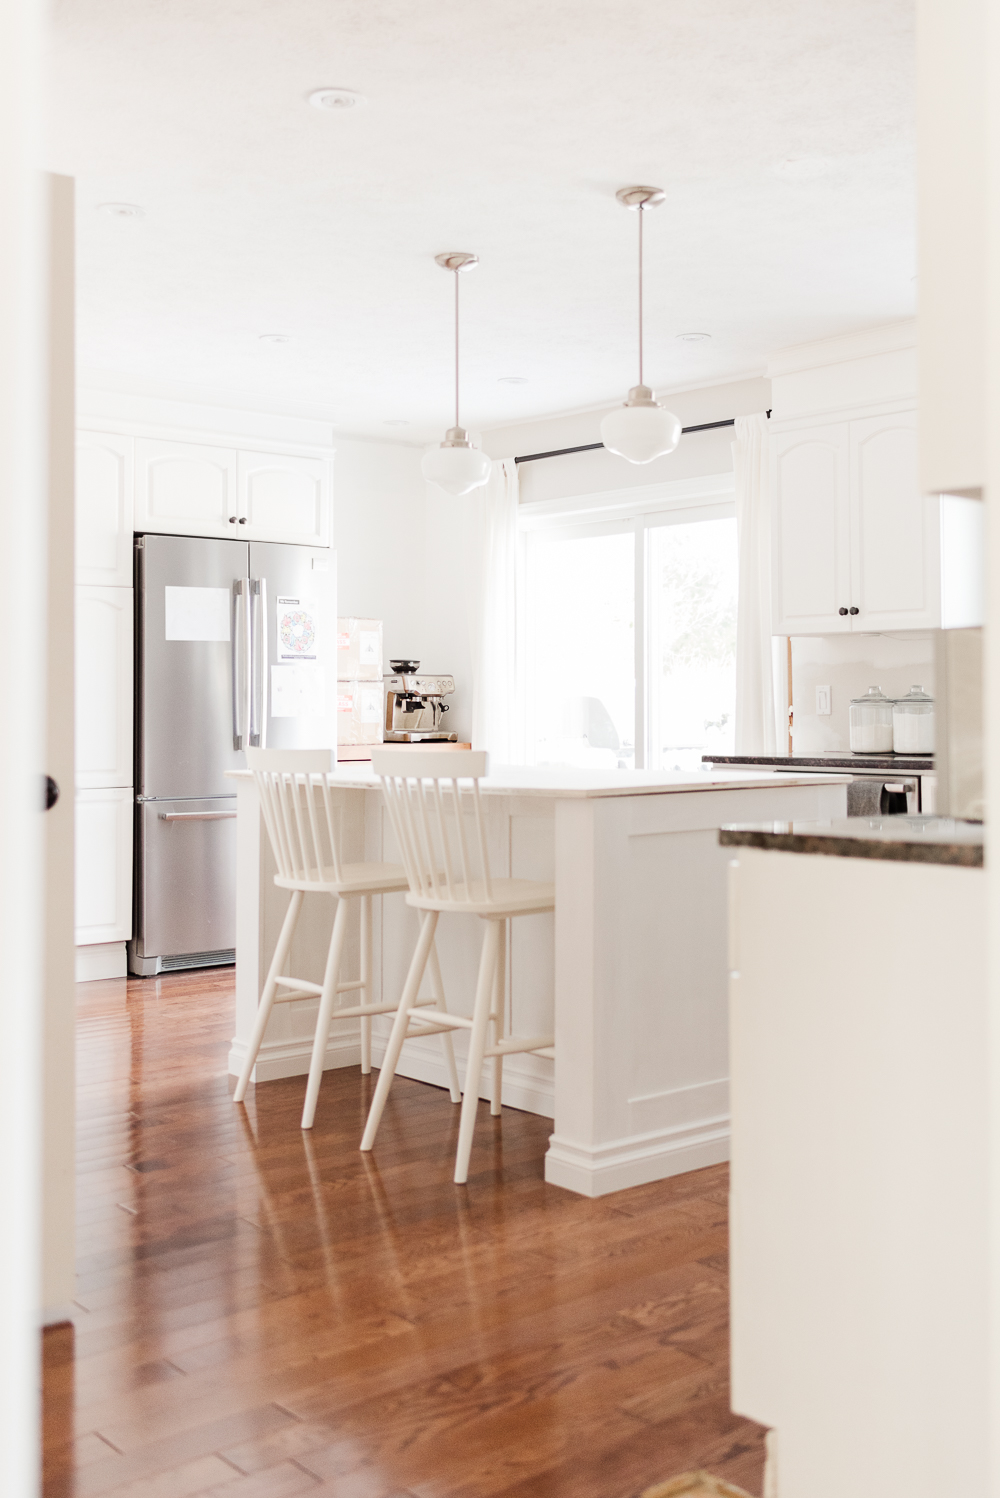
Of course, we’re also still waiting on a number of other tasks to be completed, like the installation of our new kitchen window, quartz countertops, backsplash, farmhouse sink, lighting and hardware. So while we still have a lot of work ahead of us, we’ve come along way too. And don’t forget, we’re sharing the progress as we go on Instagram, so you can follow along to stay up to date.
DISCLOSURE:
This post is sponsored by Kreg Tool Company.
We have received compensation and/or product for this post.
However, as with all of our partnerships, all opinions and ideas are our own.


Mia Tenille says
So beautiful! Thanks for sharing your tipsfor a beautifully designed kitchen!
Contractorfinder says
The kitchen is very bright and spacious! I really like the tall wooden chairs near the bar. But most of all I admire your complete. Is this natural wood right? I did not dare to make a wooden floor in my kitchen, although I really wanted to! I put the tiles because I have dogs and they can ruin the wood floor with their claws. I love dogs, but I love wood flooring just as much. Therefore, I envy you! Of course, kindly envy! … You made the right decision, that you have chosen light kitchen furniture. Everything looks very cozy!
Dorota says
Hi,
Beautiful kitchen design.What colour. was the kitchen furniture painted? I would like to paint the cabinet in my kitchen the same colour.
Thank you
Dorota
Alicia says
Thank you, Dorota! We painted our cabinets Chantilly Lace by Benjamin Moore. We love their Advanced line for painting furniture and cabinets. Happy painting! 🙂