A budget-friendly kitchen renovation turns a builder-grade kitchen into a modern classic kitchen with white cabinets, quartz counters, open shelving, and timeless details.
Thank you to our sponsors, Elkay, Emtek, Hanstone, and Hudson Valley Lighting for partnering with us on this project.
Kitchen renovations are a huge investment and take a lot of patience and time. I mean, this kitchen renovation of ours took us months and it’s still not 100% finished. I think just like any space in your home there will always be adjustments and changes to make. And while there are a few more changes still to come, we are so happy with how our kitchen renovation has progressed. It’s truly been a labour of love, as we’ve tackled the majority of the renovation ourselves, right down to refacing our cabinetry.
We thought it would be best to break down the renovation into sections to share every step of the way…
Cabinets
When Nick and I began planning our kitchen renovation early last year, our initial thought was to keep our existing cabinets. We knew replacing the cabinets or even refacing them was a huge expense and commitment, and we weren’t sure we would be able to make it work within our budget. But we also knew despite the extra cost updating the cabinets would make a huge difference in the overall look and feel of our kitchen. So we decided to review all of our options again and finally settled on a decision. We would do it ourselves!
Over the years Nick has been honing his carpentry and woodworking skills and we felt this was a project he would be able to do. While building kitchen cabinetry is not a task everyone will be able to take on, for us it was a great way to keep our renovation on budget.
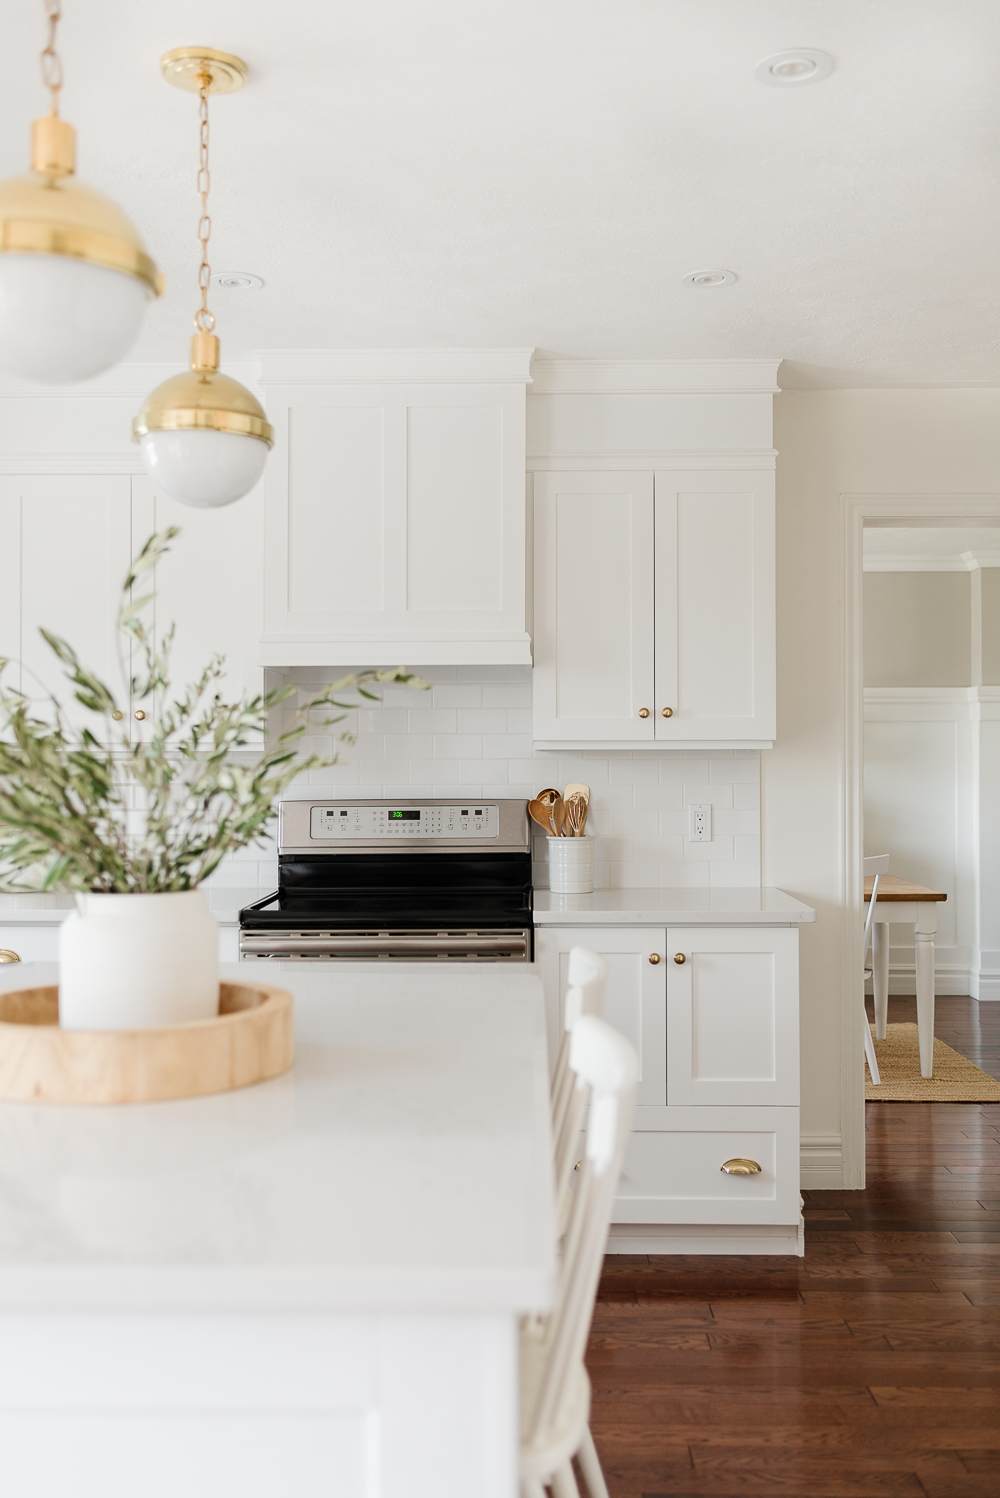
We decided on a traditional Shaker-style design to complement the rest of our home.
Once the cabinet doors and drawers were built we used a spray gun to paint them. A spray gun is such a great investment if you are painting cabinetry or furniture, it saves a lot of time and creates a professional smooth finish. We chose to paint our cabinetry Chantilly Lace by Benjamin Moore, it’s crisp and clean and perfect for a kitchen.
While tackling this project on our own, we also made a few additional changes to the cabinets to create a modern and custom look. Initially, when we refreshed our kitchen shortly after moving in, Nick built bulkheads to fill in the gap between the cabinets and the ceiling. This was such an easy way to create a custom look and visually enlarge the space.
get the look
This time around we had a few more changes we wanted to make. We had an angled corner cabinet that was typical for any 80’s kitchen, it felt dated and bulky, so we decided to change it. Nick reformatted it and built a bi-fold door for a more contemporary look. It’s made such a difference!
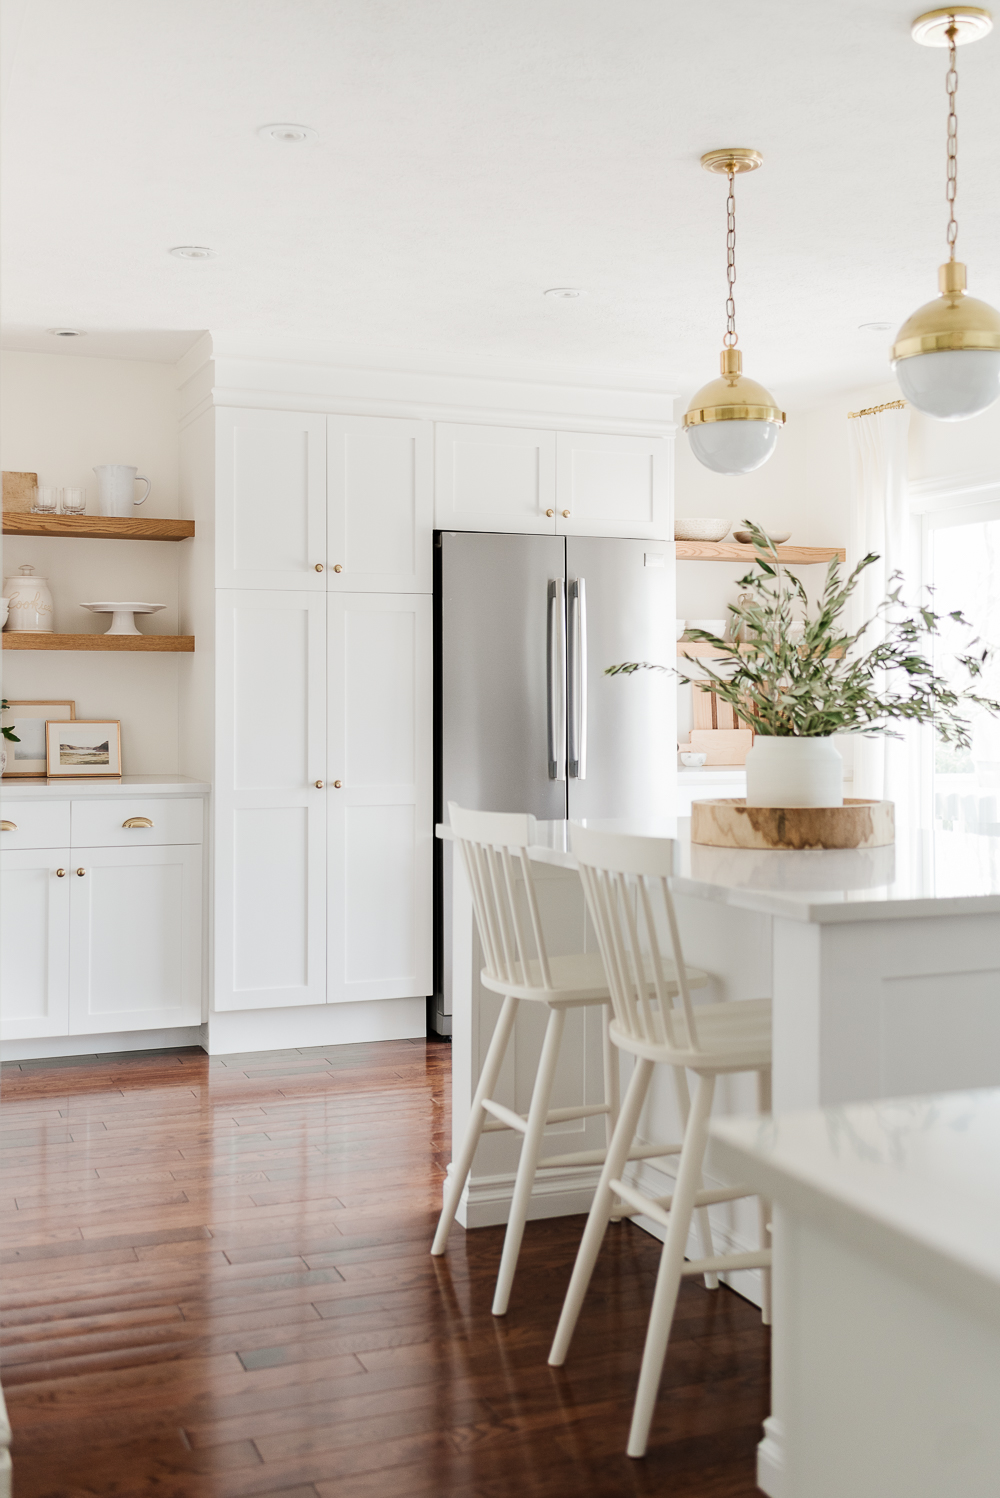
If you remember our kitchen prior to this renovation, we had two desks built-in on either side of the pantry and fridge. This was a DIY project we took on a few years ago, but we felt it was time to update it as well. We removed the existing built-ins and added cabinetry on either side to give us more storage while integrating open shelving above it.
We also considered all of the little details that make a kitchen feel high-end and custom, like slow-close hinges and slides for our cabinetry a custom range hood.
Hardware
Whether or not you choose to reface or update your cabinets, updating the hardware is an easy way to completely elevate the look of your kitchen.
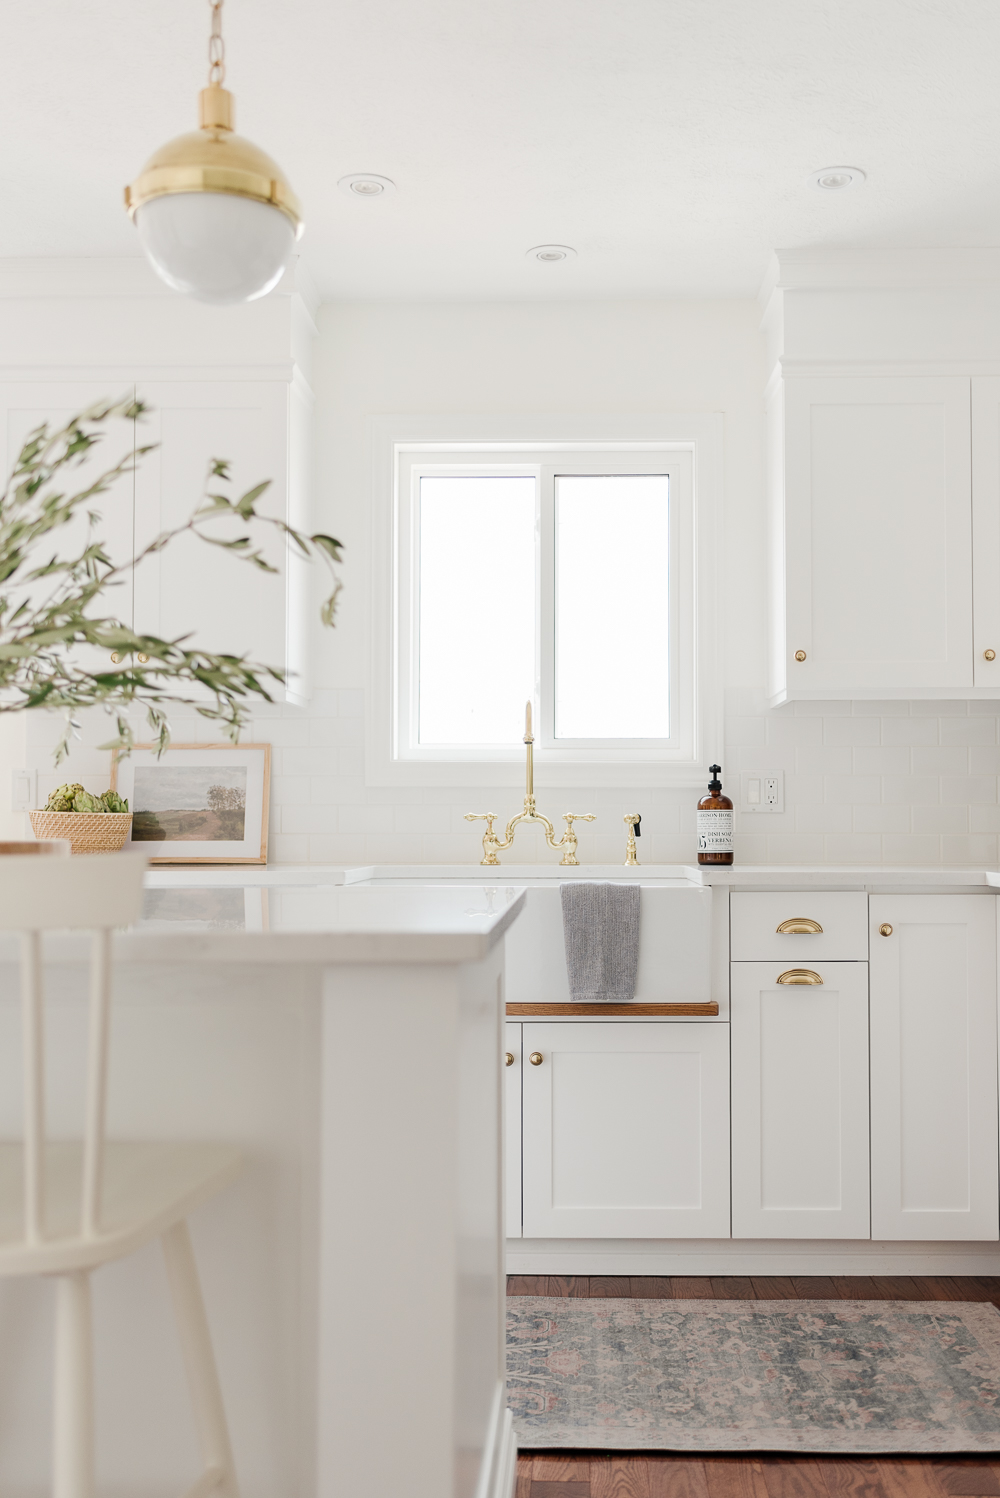
We choose these knobs and pulls from Emtek in French Antique for a timeless look that feels sophisticated and polished. The brass finish adds warmth and a little bit of colour to the space, and I love how the knobs and pulls really dress up the simple Shaker-style cabinet fronts.
Counters
The countertops in our kitchen are what initiated our entire kitchen renovation. Our previous counters were dark granite with shades of black, brown, and rust, and we’ve wanted to change them since we moved into our home eight years ago. It was once we began talking about changing our counters that we decided to give the entire kitchen an overhaul.
We weighed the pros and cons of so many different materials and ultimately settled on quartz. Benefits like being stain and scratch resistant reaffirmed quartz was the best option for our family. And I feel so good knowing it is a low maintenance choice and will stand up to life with kids.
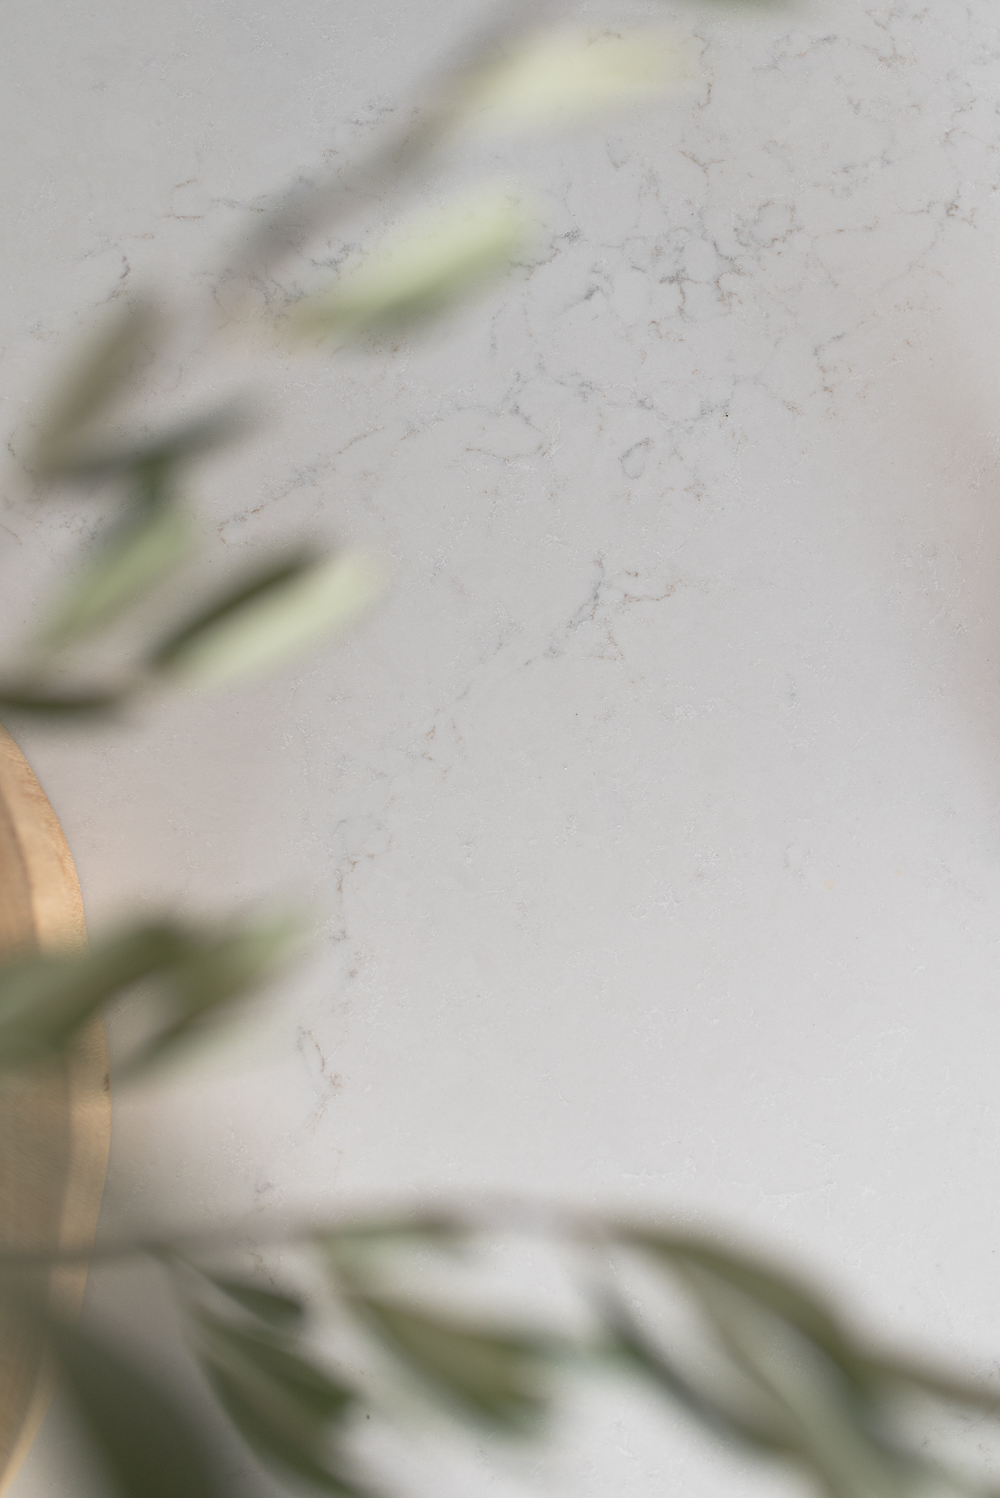
We immediately turned to Hanstone, the number one quartz manufacturing in North America, and after comparing a few samples, we knew Montauk was the colour choice for us. Hanstone describes it as…
Subtle and luxurious. The soft pearl undertone of Montauk is elevated with warm sandy dappling and an ivory marble pattern for a vintage yet modern feel.
It was just what we had hoped for while envisioning our dream kitchen, the subtle pattern and soft colours feel classic and bright. We chose a 3 cm thickness with a slightly rounded edge for a modern feel.
Apron Sink
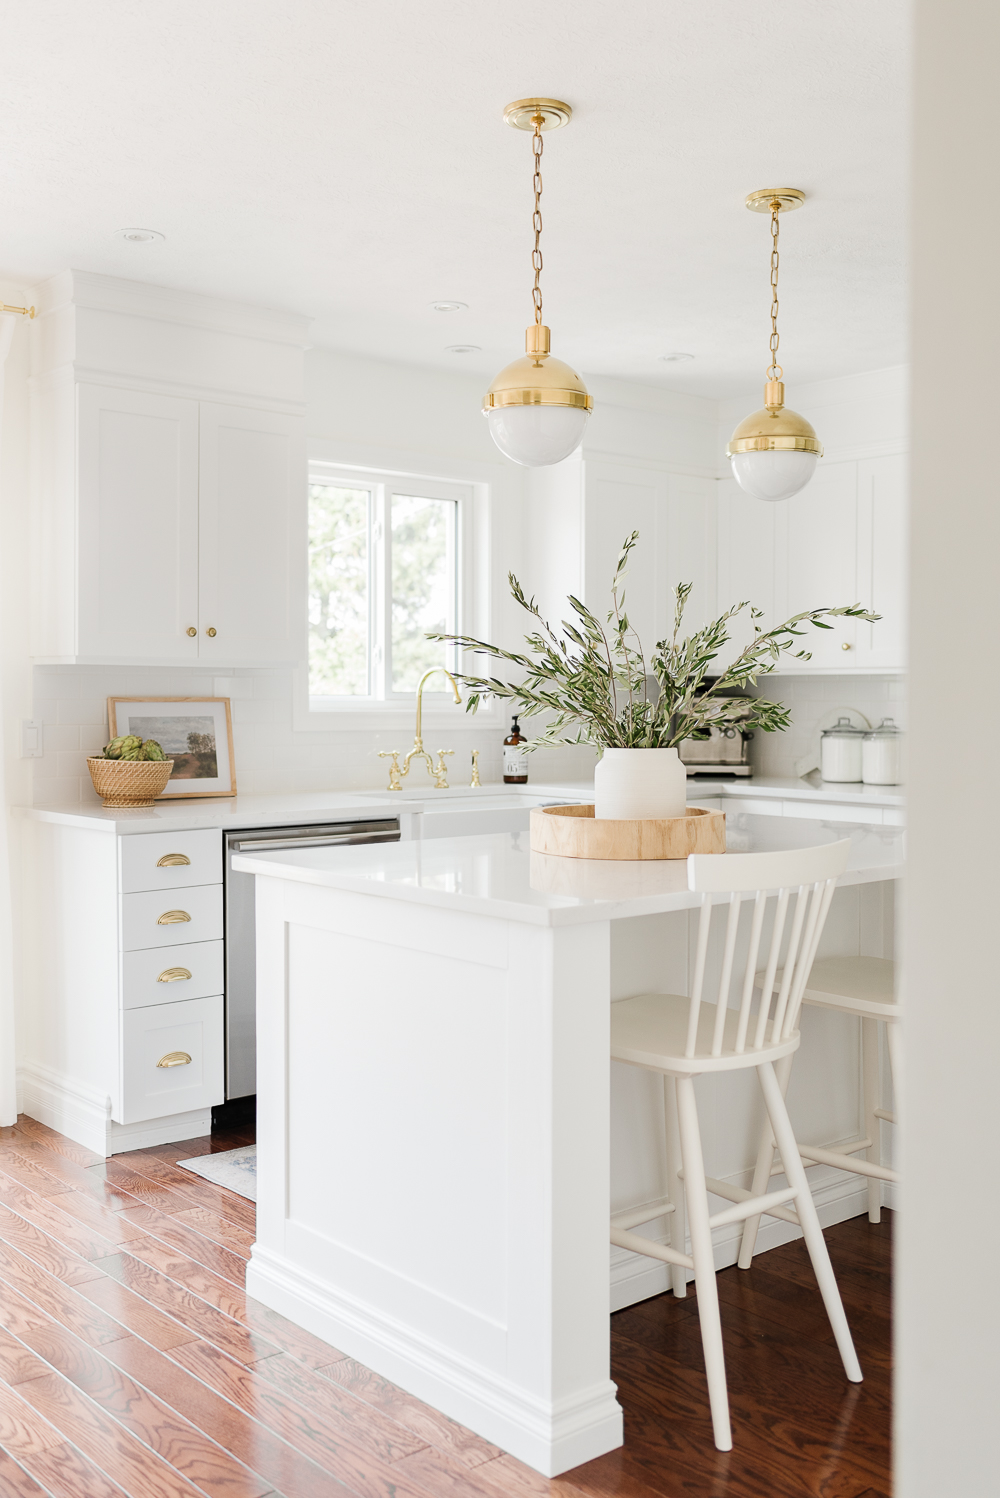
I’ve always wanted a farmhouse sink, and I’m so glad we were able to incorporate one into our new kitchen.
We choose a beautiful fireclay sink with a divide from Elkay. It’s sturdy and substantial and adds lovely detail to our kitchen. But our decision to include a farmhouse sink in our renovation was about more than just appearances. The sink we chose is handcrafted of fireclay making it a great choice for our busy kitchen, it’s extremely durable and is resistant to stains and scratches.
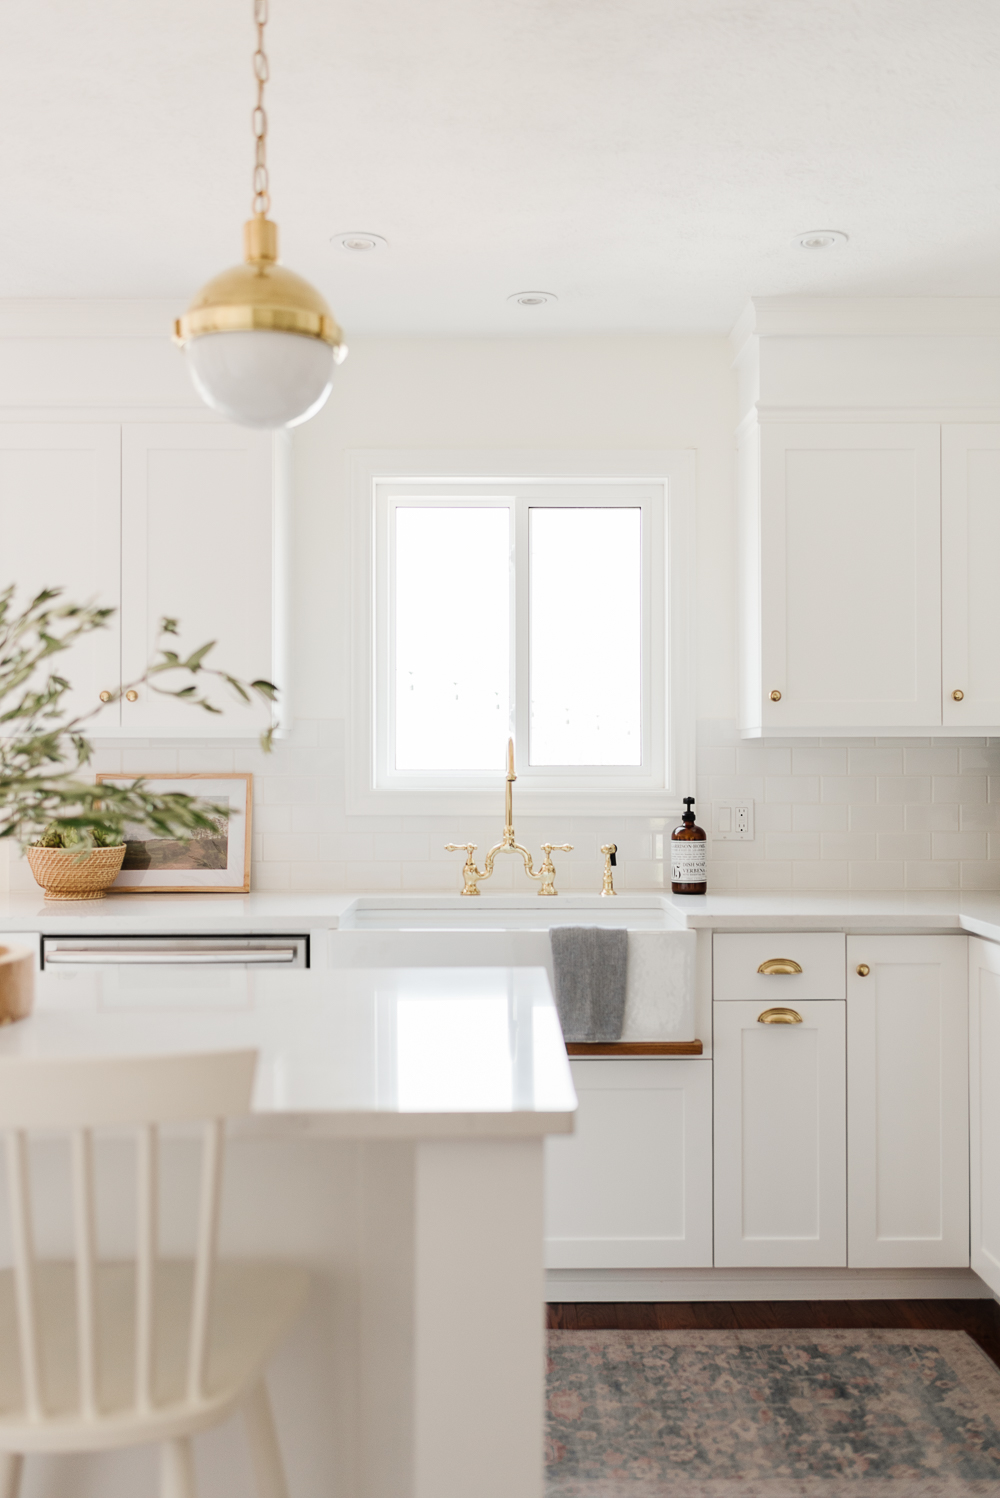
I opted for the sink with a divide because I felt it would be more convenient than a single basin sink. I can still wash dishes while having a basin available for food prep or hand washing.
Another detail you may have noticed while looking at our sink is the drip edge.
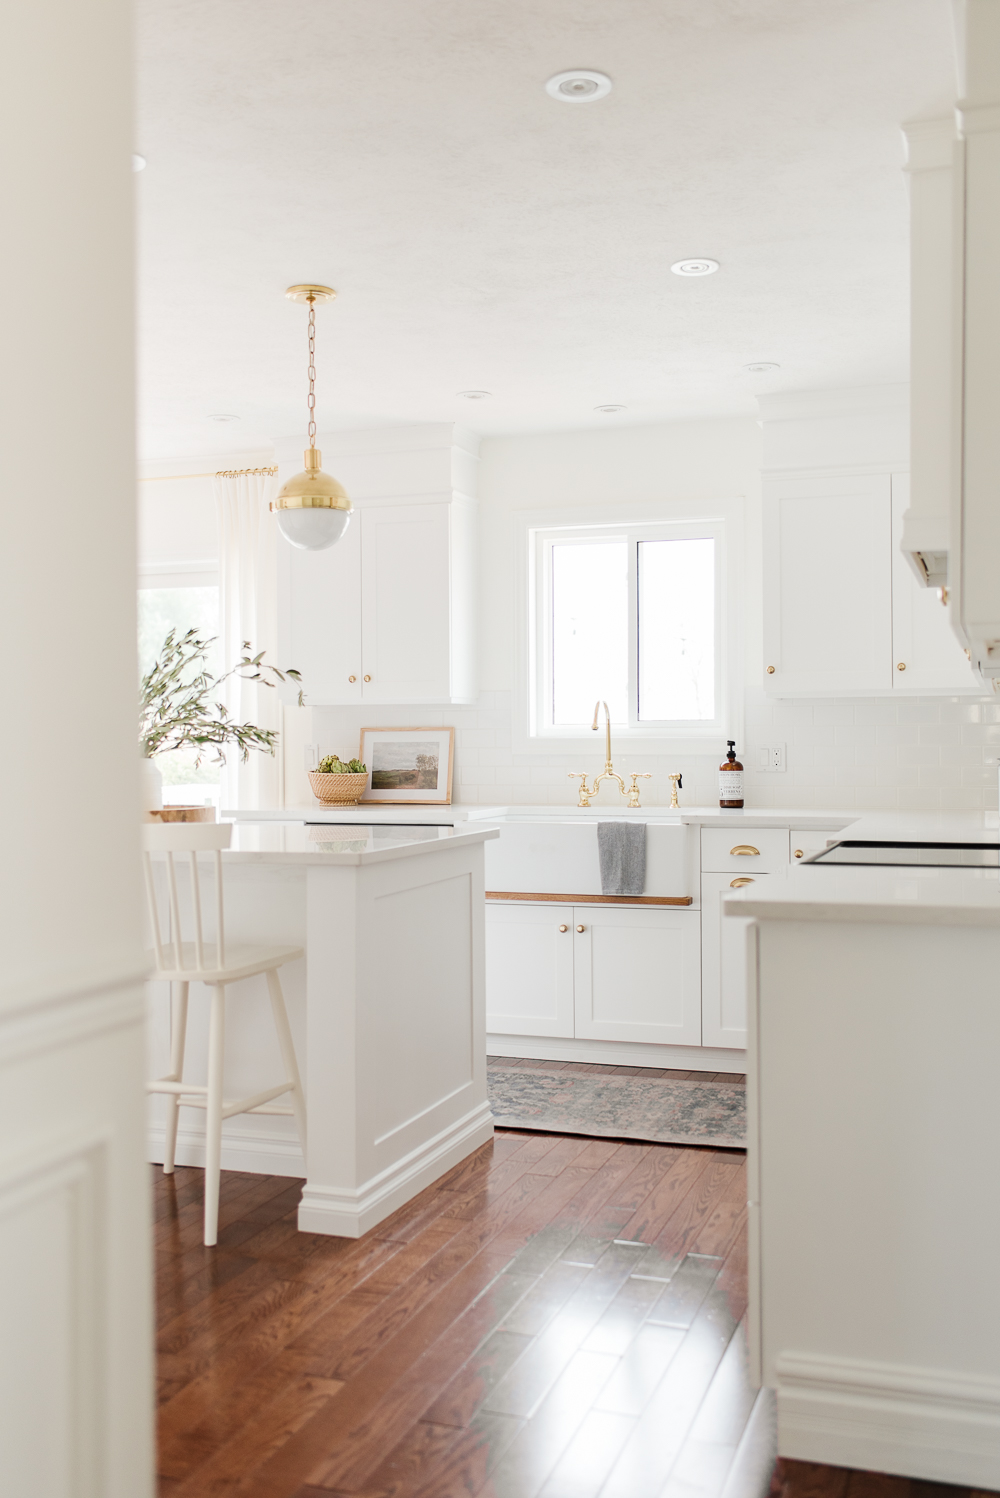
Late last year I began to see drip edges pop up more and more in kitchen designs and I loved the extra detail it provides. Drip edges add an interesting element to kitchens, but more than that they have a function as well. Drip edges were designed to prevent water from dripping down the front of the sink and onto the cabinets below causing water damage over time. So cool, right?
Backsplash
We had a hard time deciding on a backsplash for our kitchen. I love the look of weathered Zellige subway tile and I was set on including it in our kitchen. I thought it would be a great way to add a little bit of interest and texture to the space, but Nick was worried we would tire of it easily. So in the end we went with a classic white subway tile instead and used this grout in Snow White.
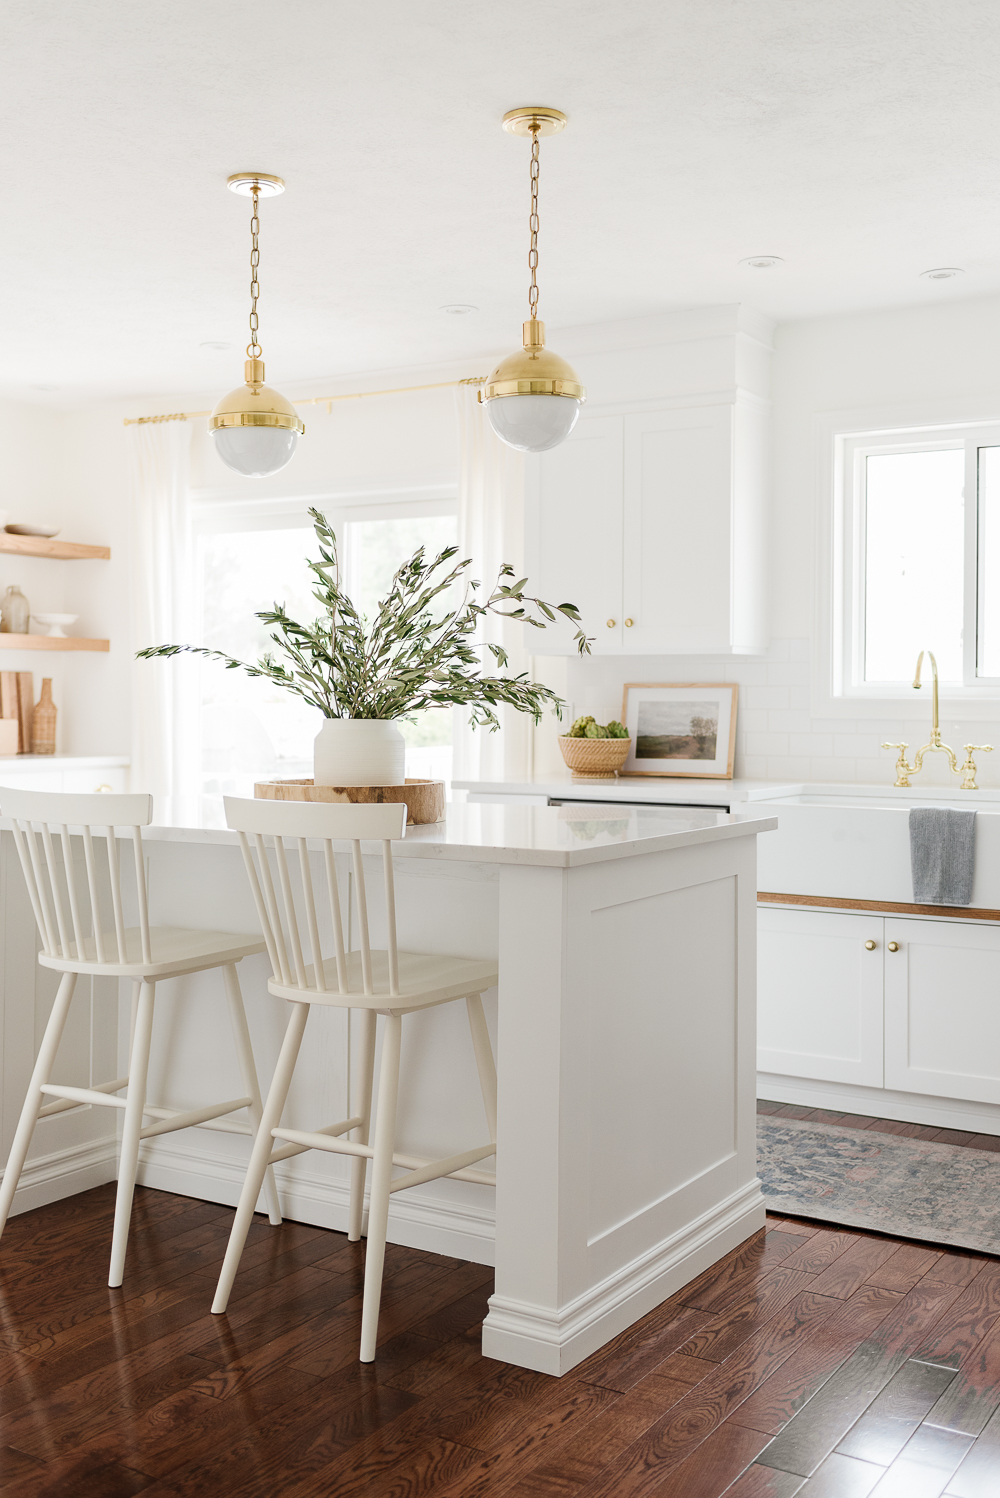
And even though I still love Zellige tile, I’m happy with our choice. It’s both timeless and budget-friendly, two things I can’t argue with.
Lighting
Lighting plays an integral part in any space, and generally, each room in your home should have three types of lighting, ambient, task, and accent lighting. Needless to say, lighting is an important design detail.
Previously, we had two simple schoolhouse pendants above our island. They were pretty but lacked any interest and I felt like they just blended right into the space.
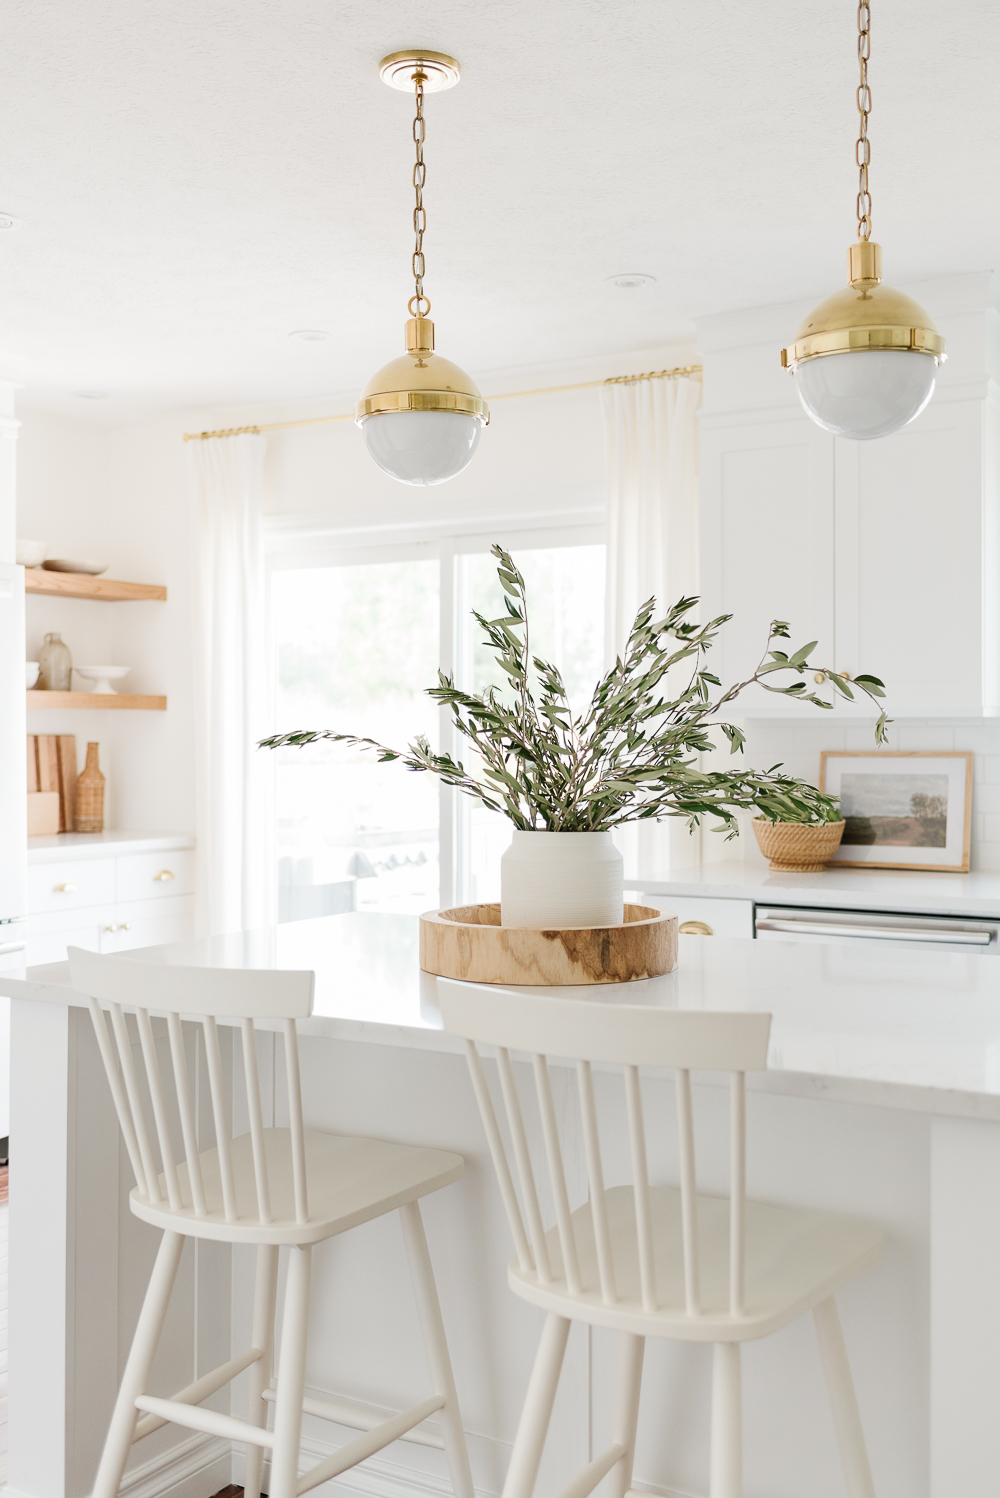
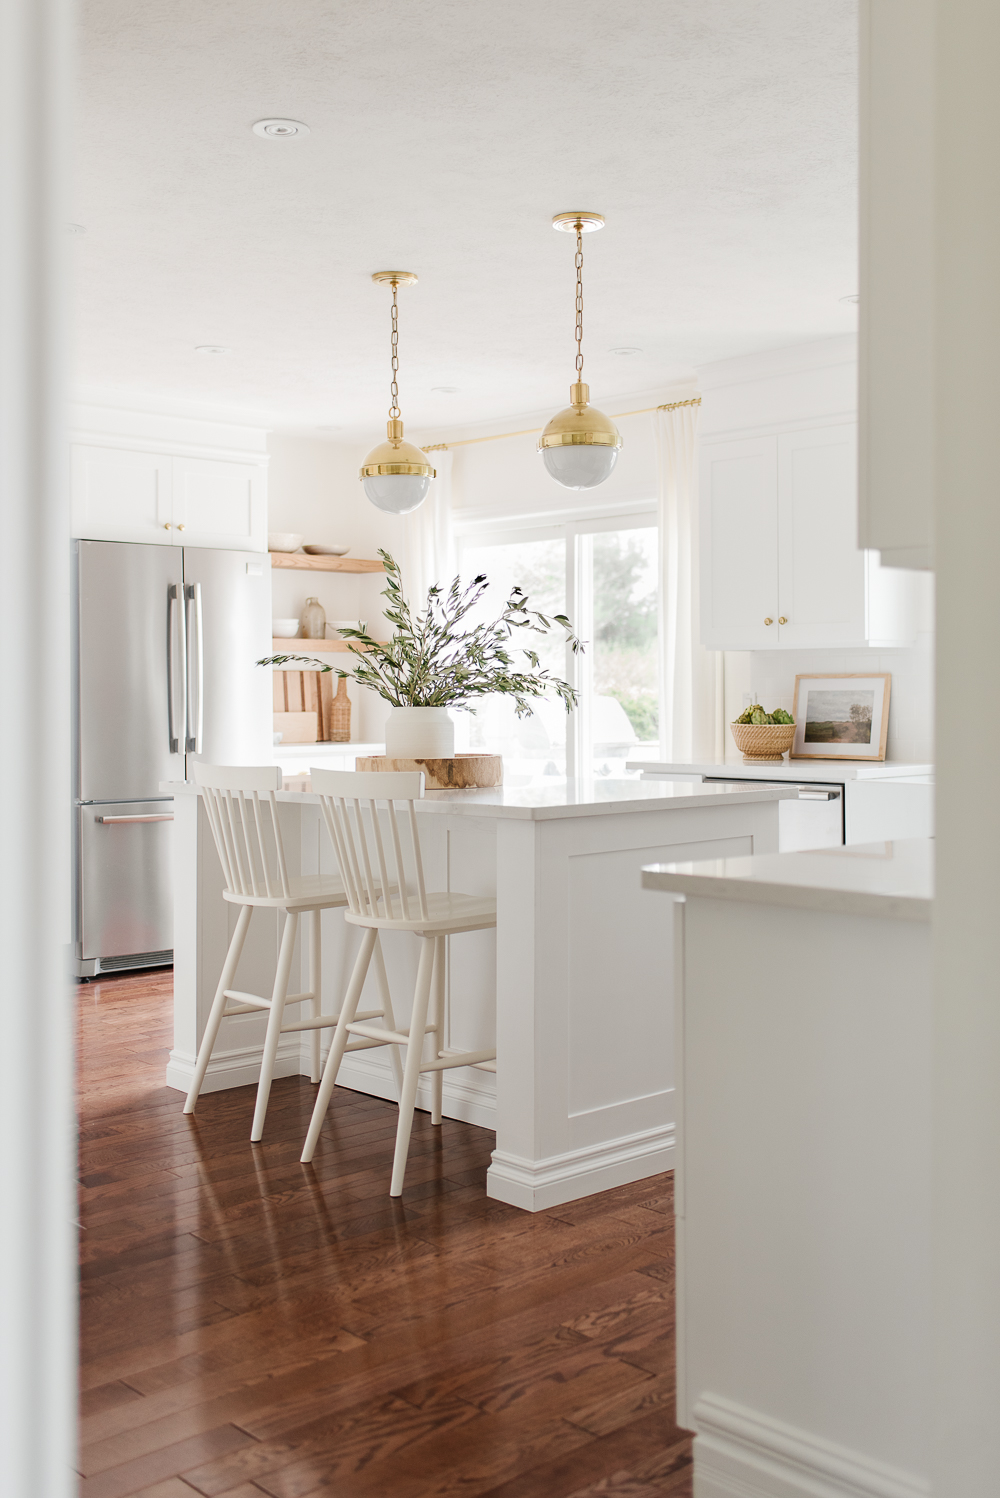
So when it came time to choose lighting for our new kitchen, I knew I wanted fixtures that would make an impact. We choose these substantial globe pendants in aged brass from Hudson Valley Lighting, and I still can’t get over how much I love them. They add a subtle warmth to our kitchen while bringing in some major design impact.
The Details
Once the renovation was complete it was time to layer in the details to create a space that felt lived in.
I brought in pieces in natural finishes, like wood and rattan to warm up the kitchen and add texture.
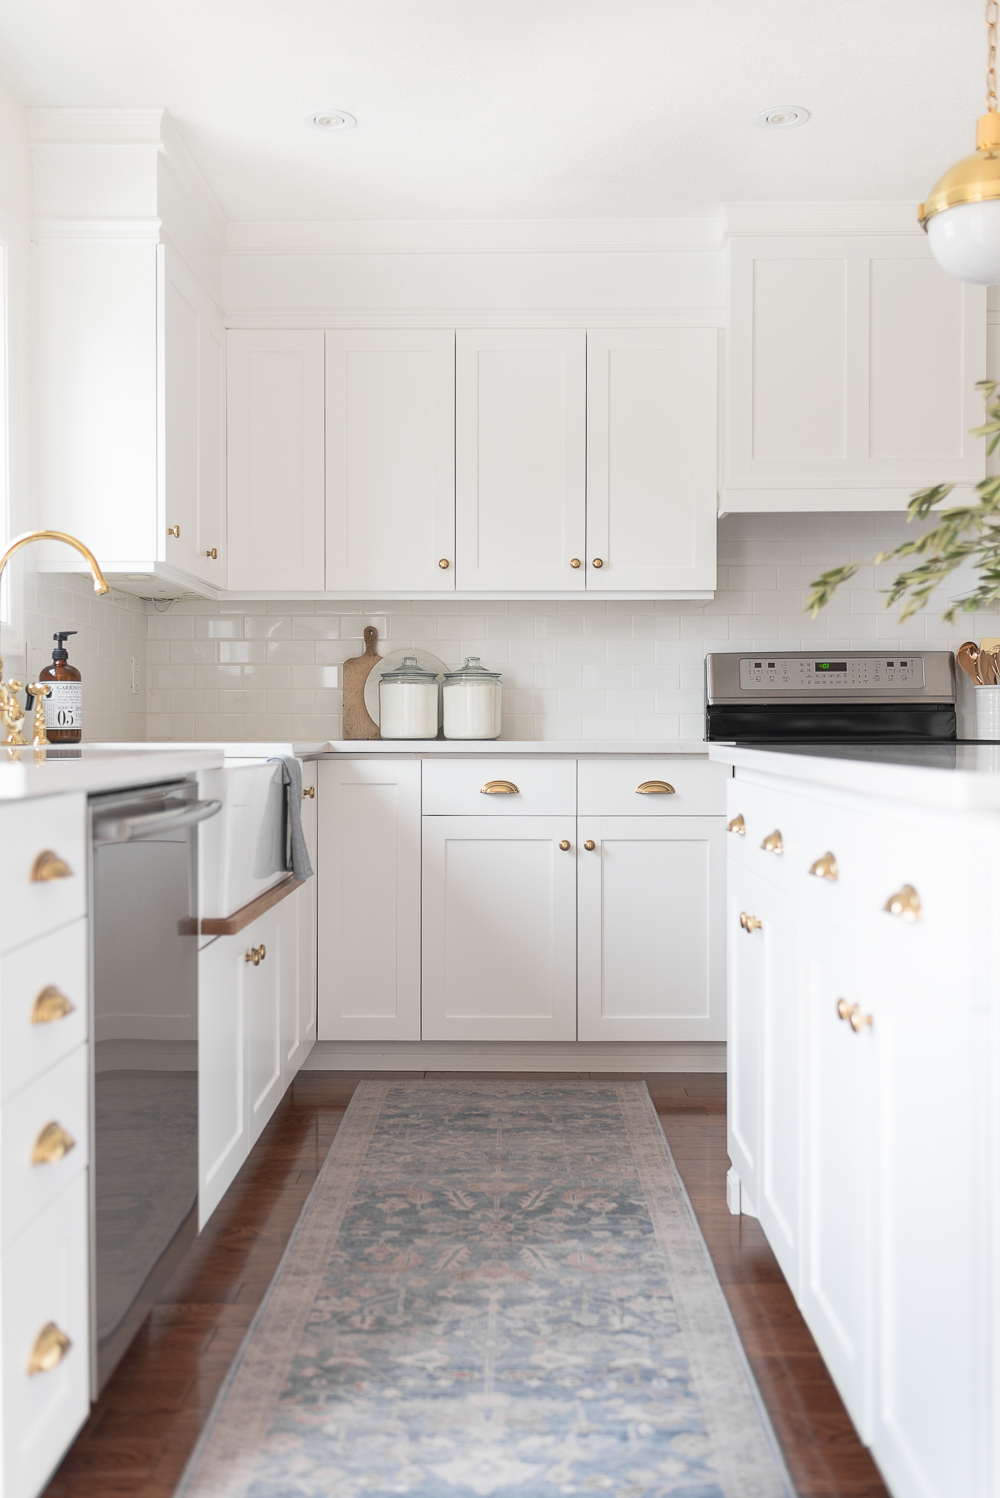
A runner laid in front of the sink provides colour, pattern and helps to soften the space. It’s the perfect length and it has proven easy to clean.
I selected a few vintage prints to add character to the space as well. I love vintage art, but the price point is usually very high, choosing prints online is an inexpensive way to get the look at a budget-friendly price.
We’ll be sharing a few more posts in the coming weeks that go into more details about our kitchen renovation, but please let us know in the comments below if there are any questions you might have!


Dianne Gingrich says
It looks gorgeous! Love the timeless look.
Your hubby is a master of cabinetry!
Were starting a main floor reno this July with taking walls down, moving the kitchen which
will have white shaker cabinetry (cloud white) and quartz countertops!
A huge job but will be worth it.
Enjoy your new kitchen!
Alicia says
Thank you so much, Dianne! He did such an incredible job, right! I hope you enjoy your kitchen reno, they are a lot of mess and work but so worth it! 🙂
Dee says
It looks awesome! All the details came together beautifully! Love it!
Alicia says
Thank you so much, Dee! It was so much work, but definitely worth it in the long run! xo
Nadia Najjar says
Greetings from Perth, Western Australia…! As you know, I’ve been following you for quite a while now and I still love your whole colour scheme, which I’d adore having in my own small home…?. After 29 years in my present place I’m contemplating moving to live closer to my son and family and, believe me, when that happens I’ll be bringing in so many of your lovely ideas……. lots of white and pastels have so much appeal for me, even at 81…! Keep on posting, Alicia, and I’ll keep on enjoying every photo you show me…☺️
Regards to you and Nick and your lovely daughters, from Nadia. ?
Alicia says
Nadia, your comments always make our day! You are so kind and we love having you follow along! We hope when you decide to make the move, you have the best time decorating your home! xo
shawnna says
hey girl- love the kitchen! so pretty!
Alicia says
Thank you, Shawnna, so glad to hear you like it! 🙂
Sally Church says
Did you do the kitchen titling yourself? We’re considering a peel and stick white subway tile backsplash but not sure if it’s easiest to apply the old fashioned way.
Nick says
Hi Sally,
I would go ahead and do it the old-fashioned way! This was only my second time tiling, and the other one was a small and easy job. it was actually a lot easier than I thought it would be. I had it done in two days!
Nick
Misty Taylor says
What color did you use on the walls??
Your kitchen is gorgeous
Alicia says
Hi Misty, the walls are Simply White by Benjamin Moore!
Heather Crittenden says
Love your kitchen remodel. I have a question…where did you hide a microwave?
Alicia says
Thank you, Heather! We hid our microwave in the lower cabinet beside the range. I was happy to get it off of the counter!
Jackie says
Your kitchen is beautiful! Are the wood shelves in the bar nook custom made? Thanks!!
Alicia says
Thank you, Jackie! Yes, Nick made these shelves himself. They are made of white oak and stained Early American by Verathane. I hope that helps, if you have any other questions please let us know!
Ellie E says
Love this!! Your kitchen is what my ‘inspiration’ picture is! I’m struggling with paint colors though-my cabinets are BM Simply White..but still needing something for the walls (and ceiling). Any recommendations? Simply White is so warm-I don’t want to put anything on the walls or ceiling that will clash. Any suggestions or tips to lead me in the right direction?
Alicia says
Thank you, Ellie, that is so nice to hear! We painted our cabinets Chantilly Lace and our walls Simply White, both by Benjamin Moore. It’s so hard to say without seeing the space. If you’re looking for a colour, I would suggest something warm and neutral, like Soft Chamois or Pale Oak, or if you’re leaning towards another white, I would try White Dove or Swiss Coffee. Just make sure you’re always testing the colour (on different walls and at different times of the day) to make sure you love it!
Tammie McIntire says
Thank you so much for sharing your experience! My countertops are the reason I’m starting a remodel too. I have a dark black and silverish granite style and I’m not loving it. I am going back and forth between quartz or granite countertops Hopewell Junction, NY. How have yours held up? I am absolutely obsessed with how your renovation turned out. From the lighting and gold accents and how light and airy it feels.
Alicia says
Thank you Tammie, it’s so nice to hear you are inspired by our kitchen renovation! We still love our Quartz countertops. They have held up very well and we love how durable and low maintenance they are. Enjoy your reno, and let us know if you have any other questions – we’re always happy to chat!
Sue Warner says
Love your renovation! Did you use Ben Moore Advance on your cabinets?
Nick says
Yes, we’ve always used Benjamin Moore Advance for any cabinet or furniture painting! Always make sure to prep the wood well (clean, lightly sand) and then apply a primer like BIN 123 or Kilz, lightly sand again and then paint away with Advance!