Dollhouses are so incredibly charming and fun, especially when you have the opportunity to build and decorate your own, so we’re sharing how to build your own wooden dollhouse.
This post is sponsored by Kreg Jig
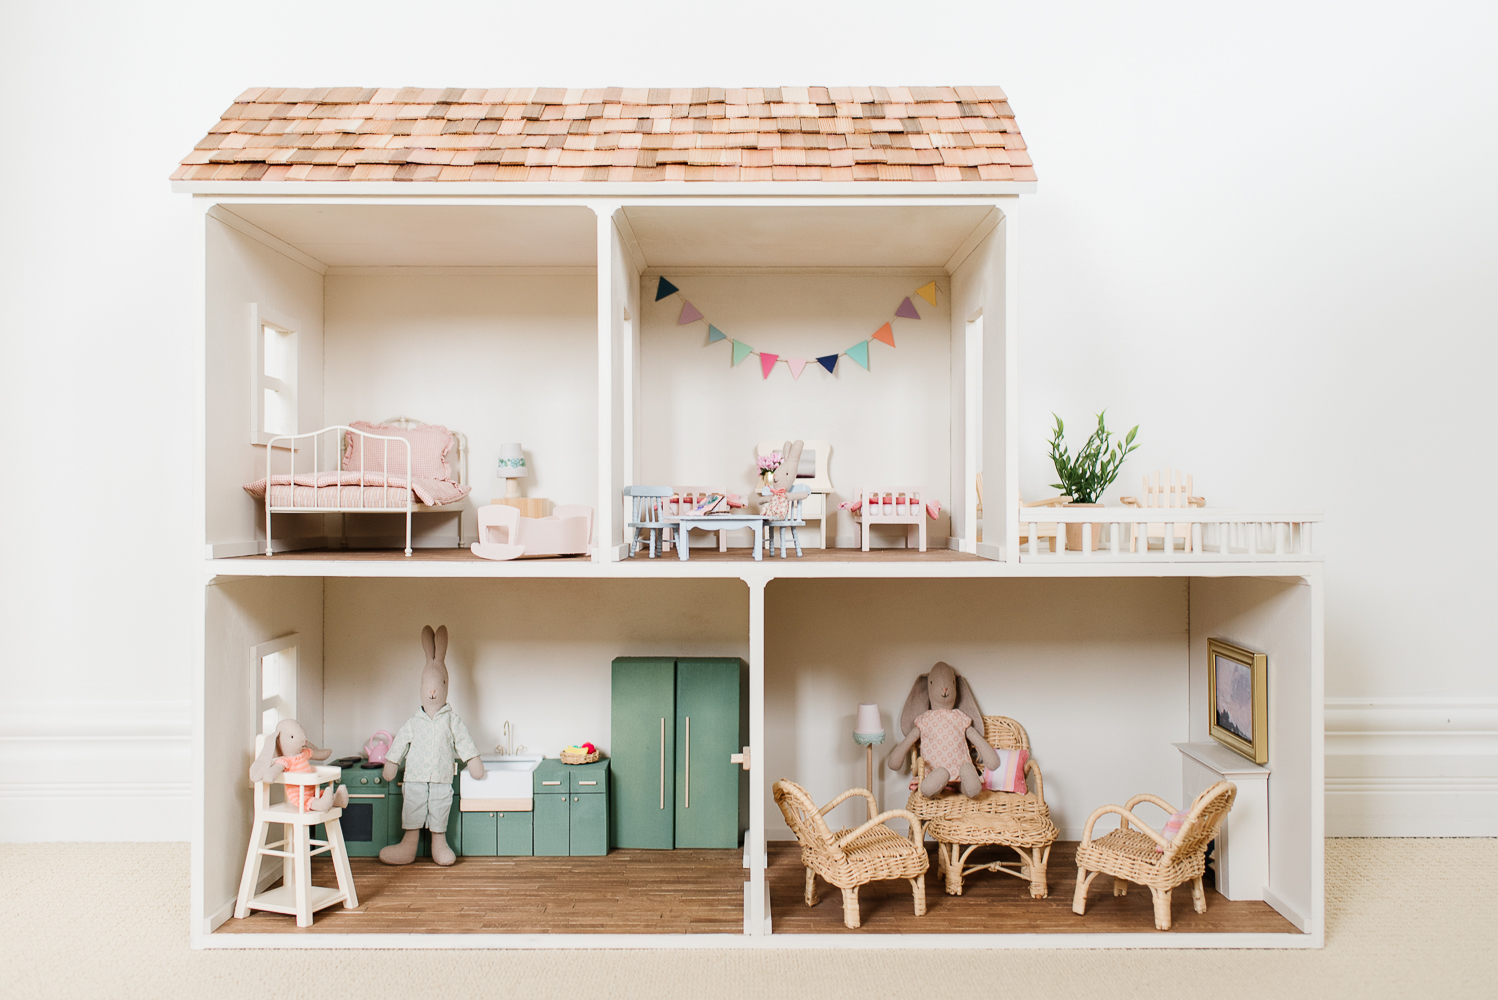
This dollhouse has been a dream of ours for a few years now and to see it finally come to life has been so exciting. We’ve loved designing the house, and DIYing all of the little details, like the sweet kitchen, hardwood floors, and playful art.
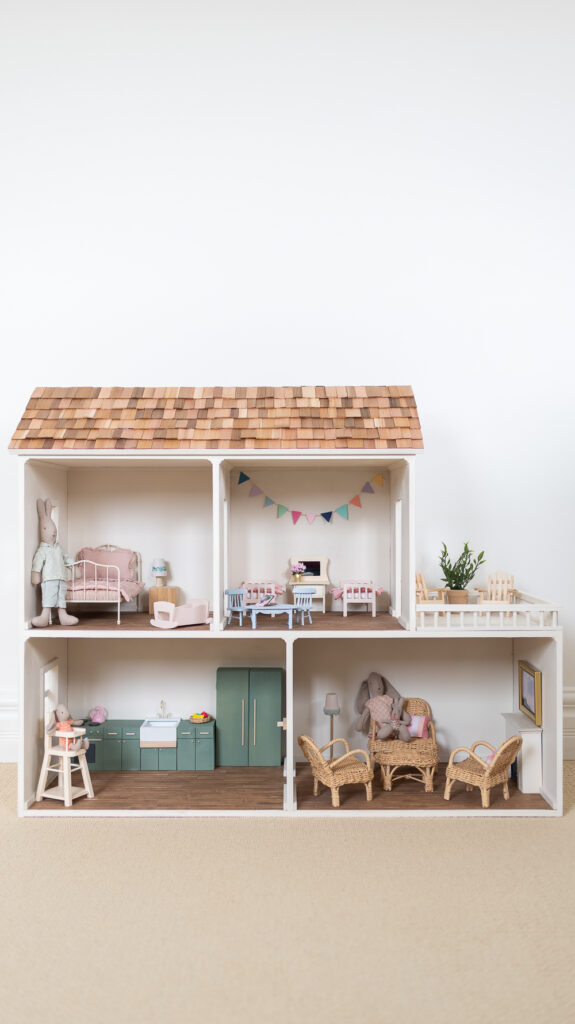
We debated keeping it as a Christmas gift for the girls because a homemade dollhouse would make the best gift, but we knew we would have a hard time hiding it from them. On the plus side, it was so fun letting them get involved in the design process. They helped determine the layout of the house, chose furniture and accessories, and even gave us a hand painting the unfinished wood furniture.
Nick has a lot of projects under his belt (like the girls’ playhouse and an adorable play kitchen), but this is the first time we’ve built a dollhouse and we learned a lot along the way.
Click the button below to access the building plans for the dollhouse
Build Your Own Wooden Dollhouse
Consider the Scale
This was the first major consideration we faced when we began planning our dollhouse. The dollhouse scale refers to the ratio of a dollhouse or accessory to an object in real life. Generally, dollhouses and their accessories come in either a 1:12 scale or a 1:6 scale.
We quickly learned that 1:12 is the most popular, with so many options for furniture and accessories available. You can find anything in a 1:12 scale, including every piece of furniture you can imagine, and accessories like picture frames, food, and decor.
Furniture and accessories in a 1:6 scale are much more limited.
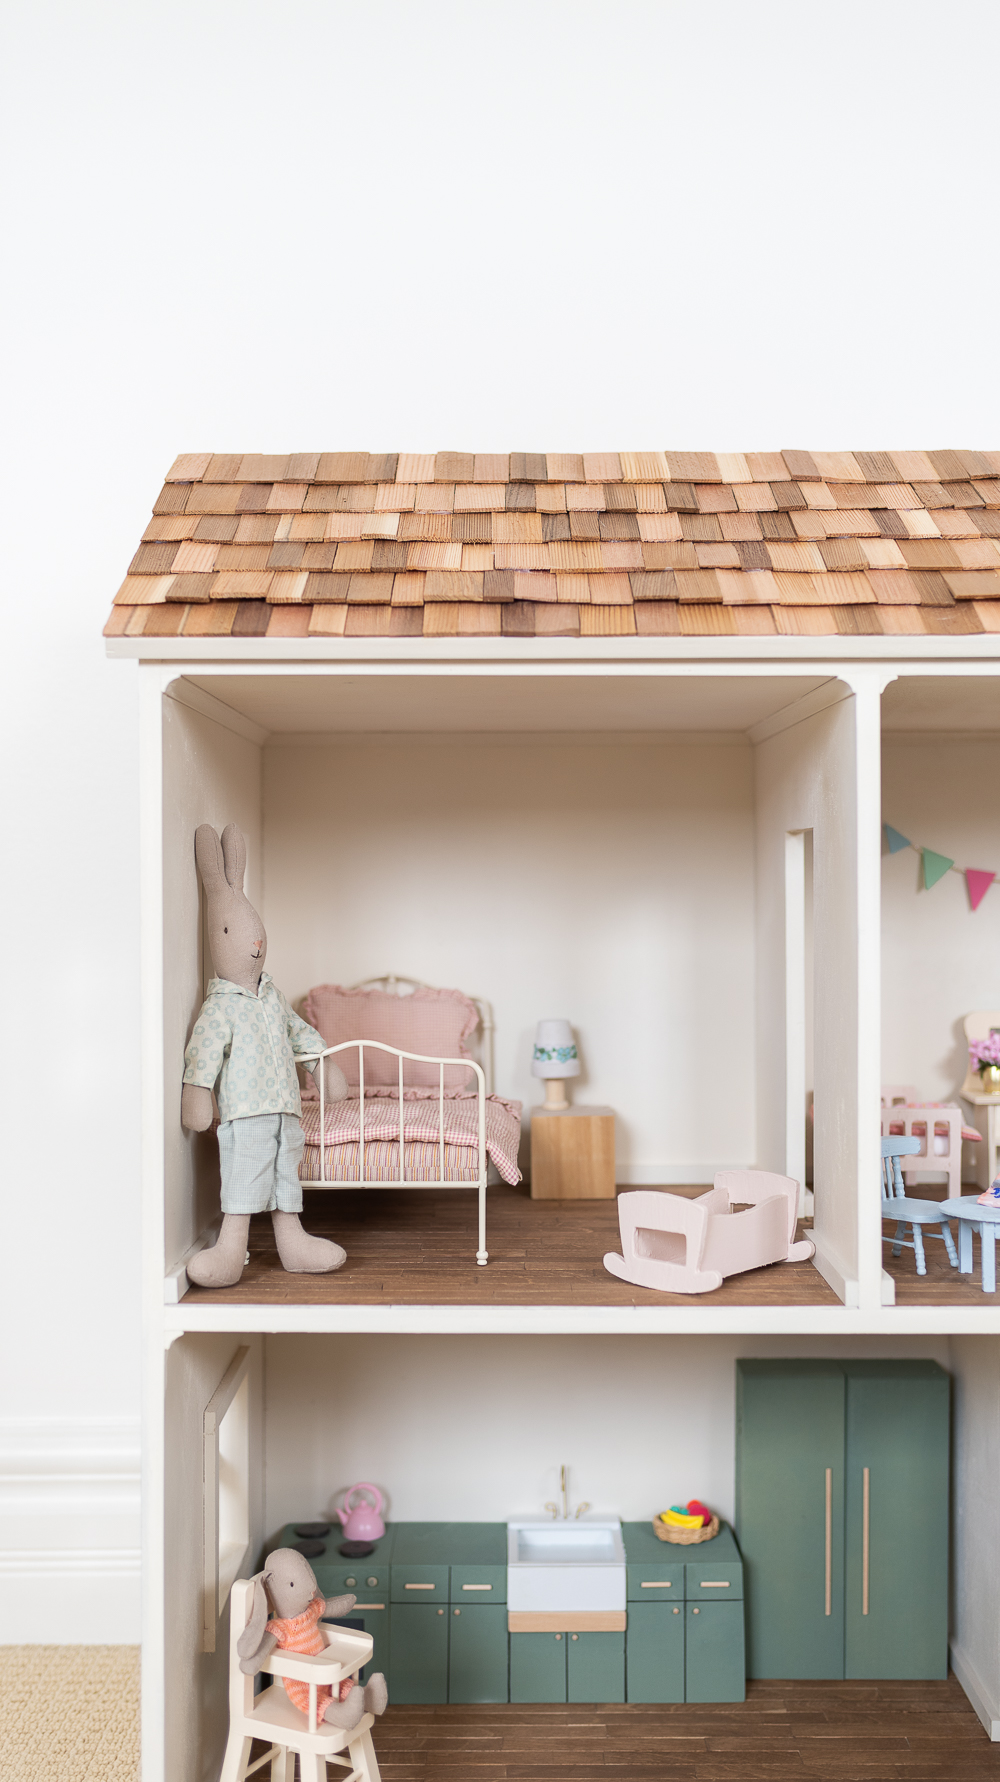
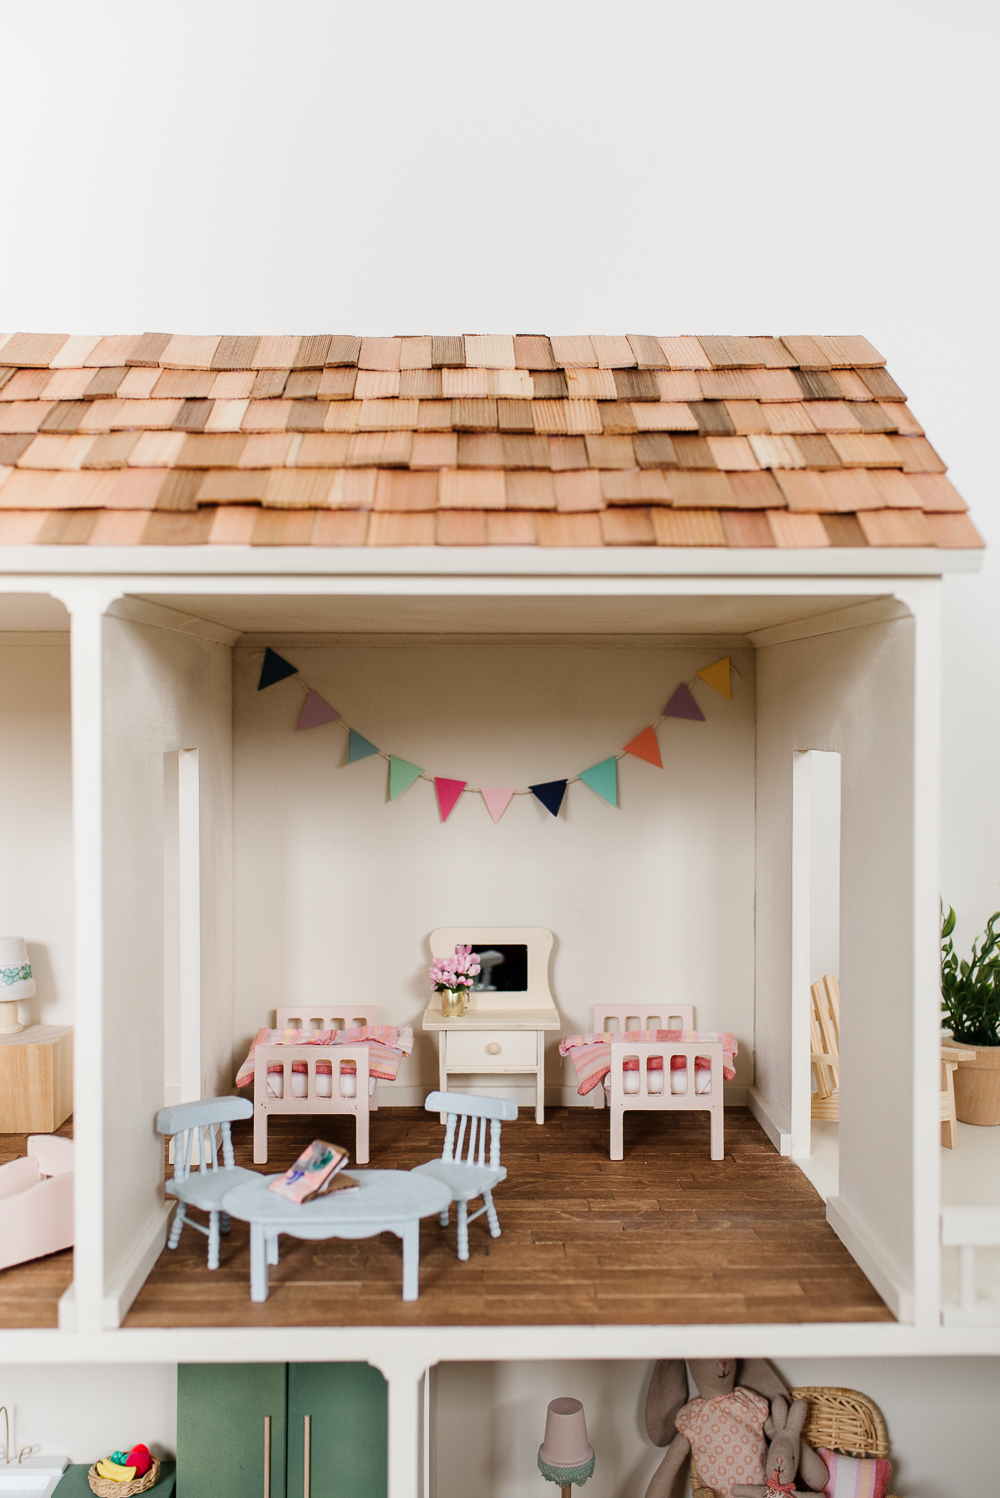
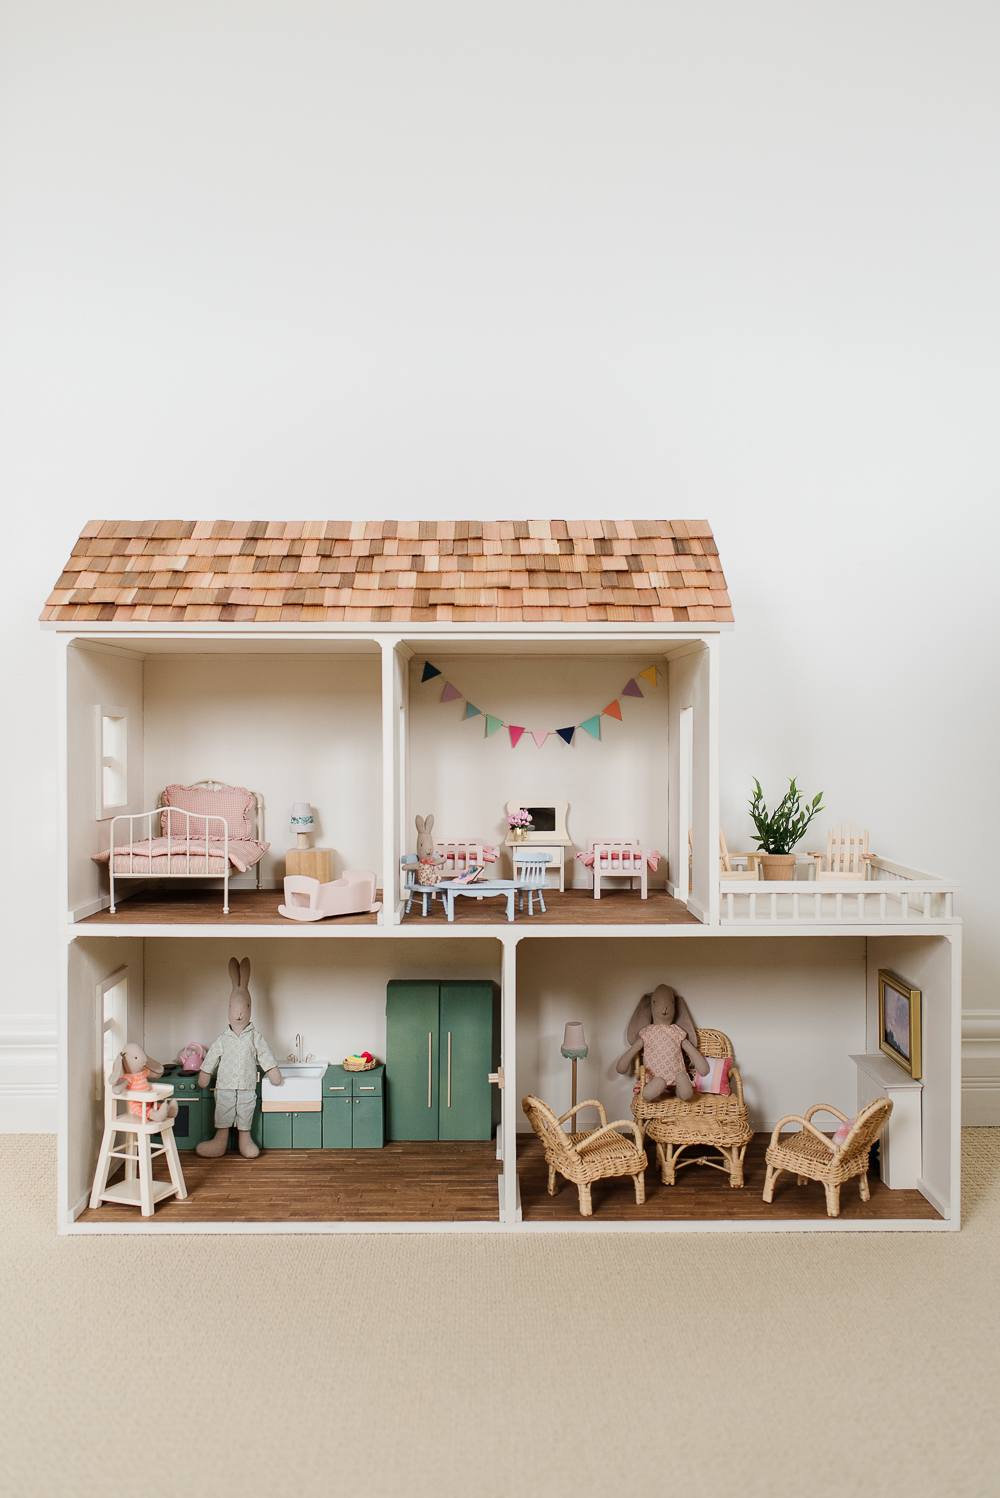
Ultimately, we decided to build our house in a 1:6 scale, because we wanted the girls to be able to use it with their Barbie dolls too. So while it made finding furniture and accessories a little more difficult, it wasn’t impossible.
Think About the Details
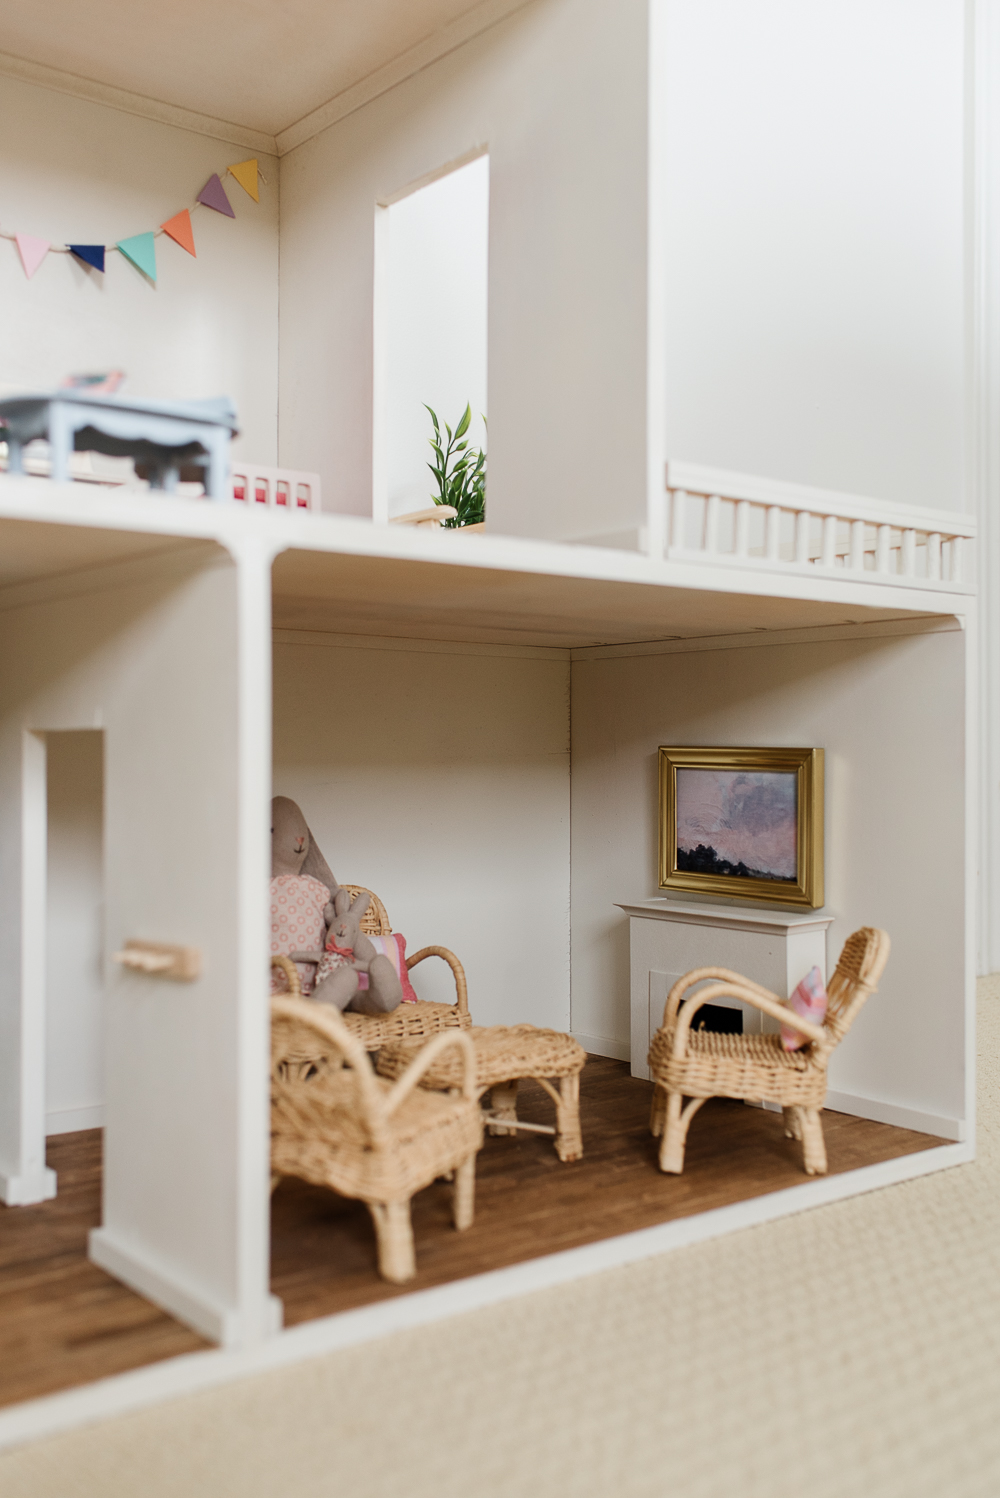
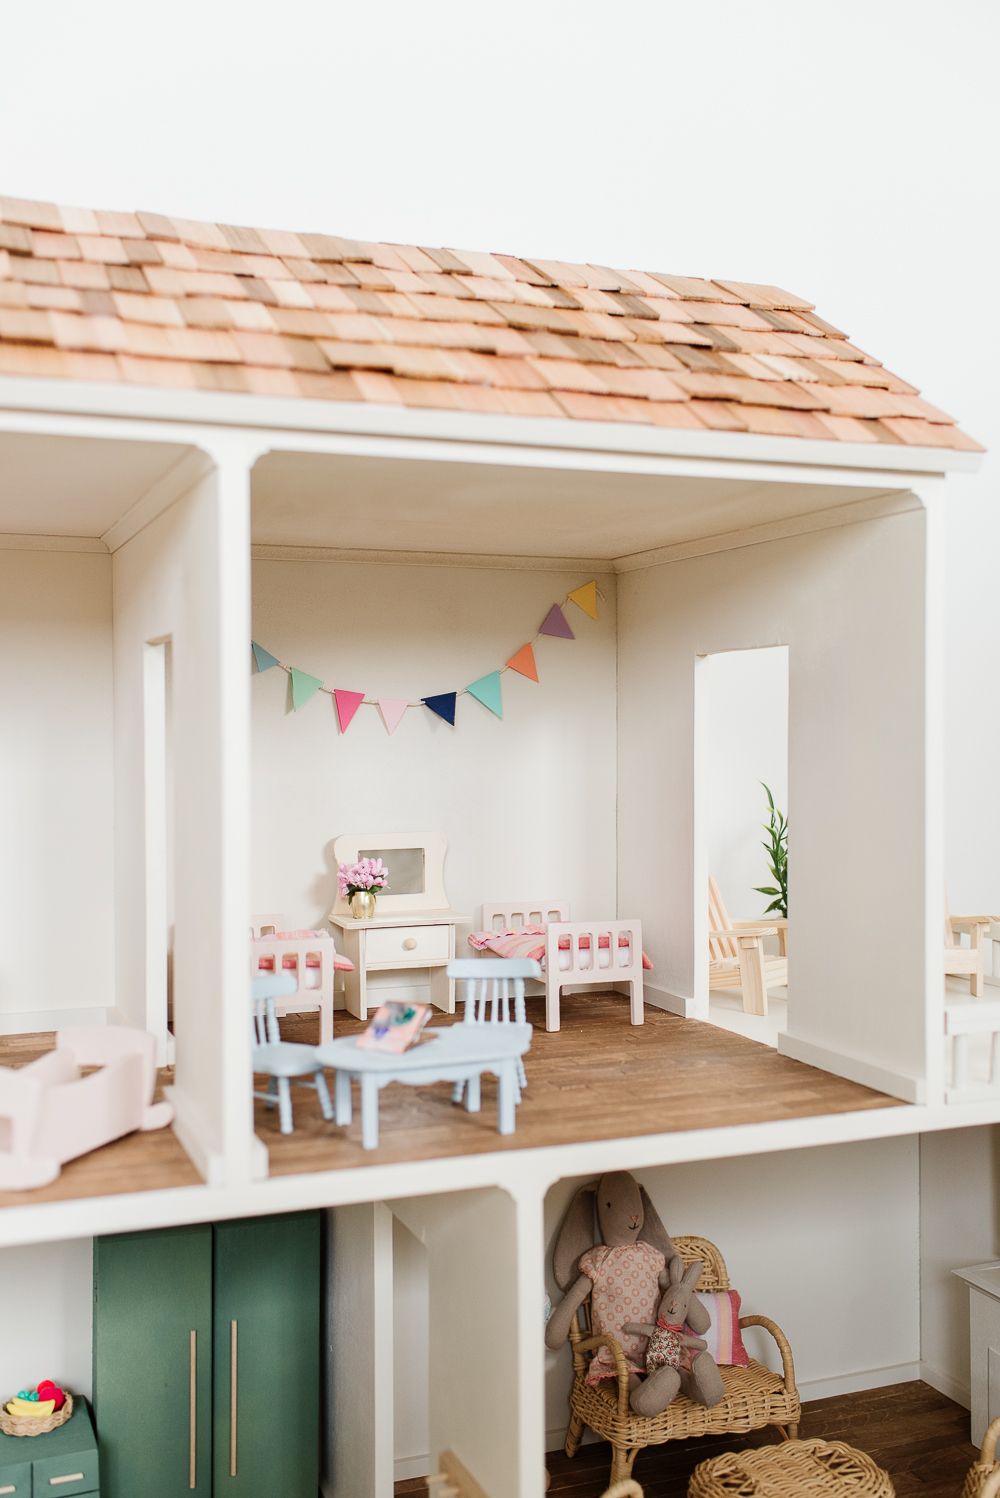
I think this is where we had the most fun! We modelled the layout from this dollhouse, and Nick built the frame using half-inch plywood for all of the pieces. He used his Kreg Pocket Hole Jig to make pocket holes for the majority of the joints which will make it very sturdy. Building the basic dollhouse was fairly easy and it was completed in a single weekend.
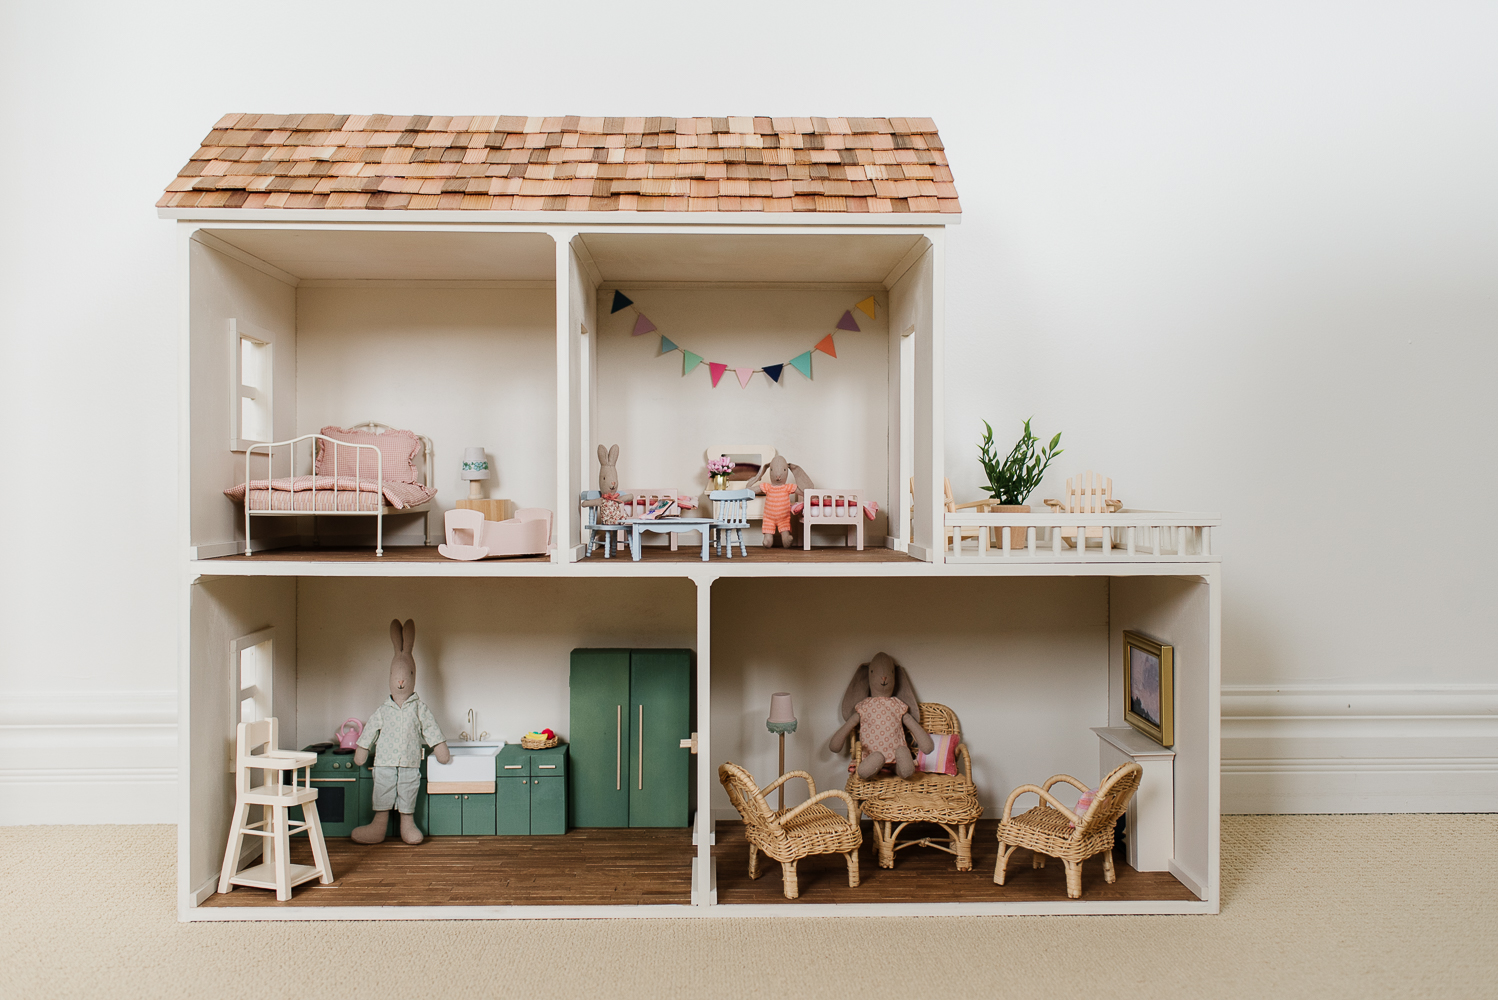
You can download our free plans through Kreg Jig’s website. They offer a lot of plans for various skill levels.
Click the button below to access the building plans for the dollhouse
1. Paint
Originally, Nick was going to spray paint the exterior of the dollhouse, but decided he wanted to create a more realistic look. He added a very thin layer of drywall compound to the exterior sides and let it dry before sanding. While sanding he left just a few imperfections to create a realistic look and feel, almost like painted masonry.
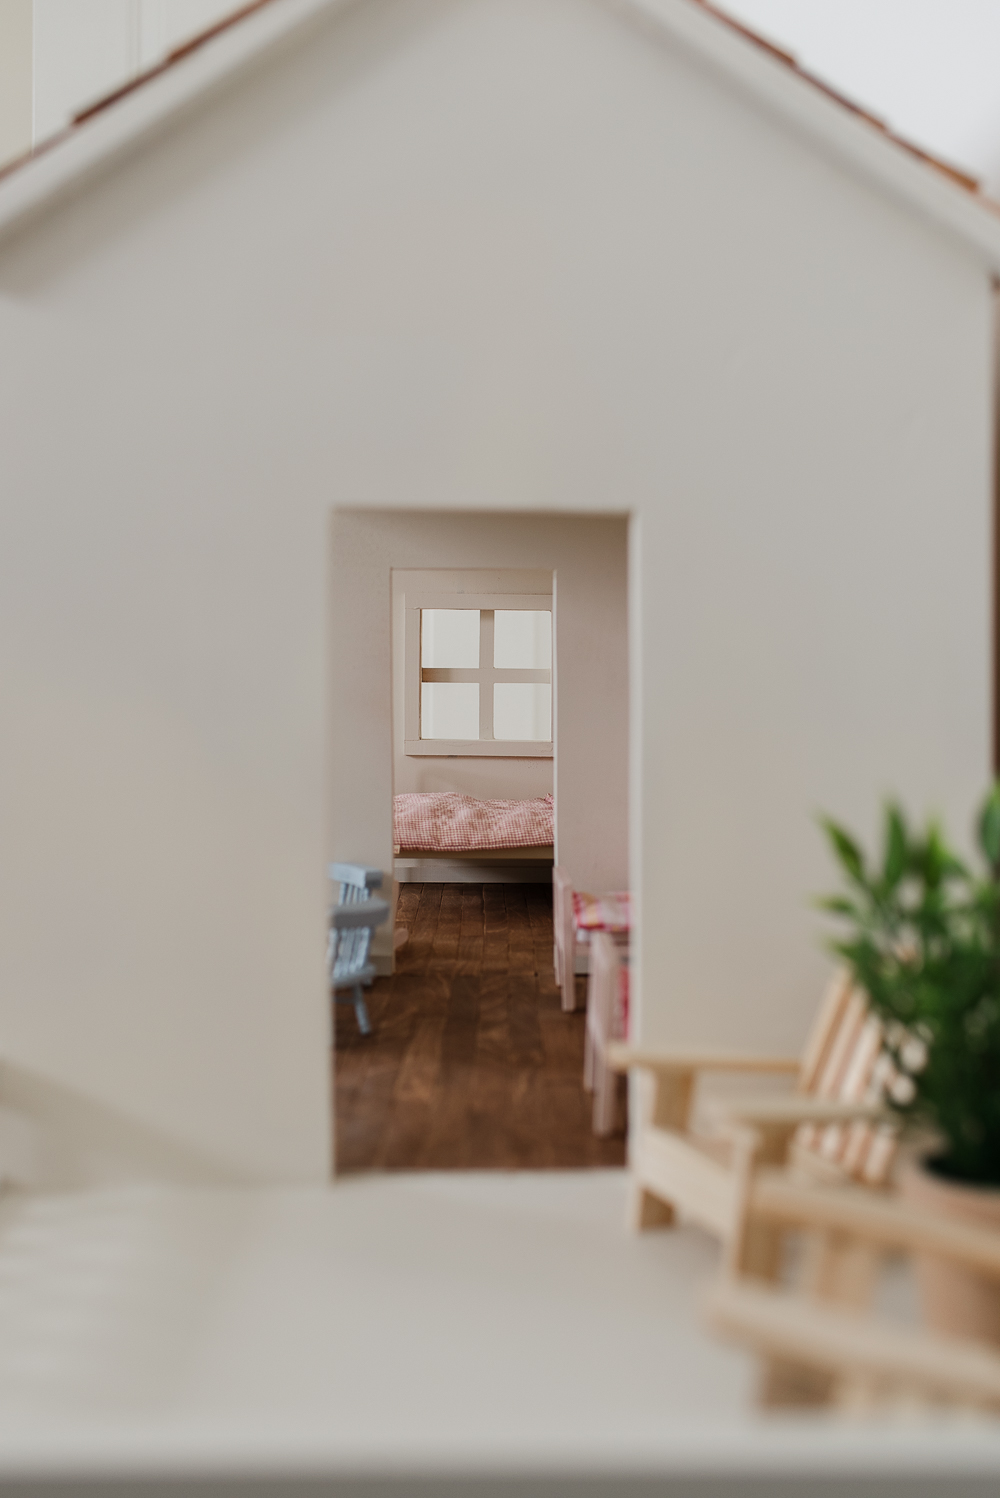
Then Nick used off-white spray paint to cover the exterior and interior of the house. We debated using a bright white, but ultimately went with the off-white to give it more of an antiqued look. He used one of these spray paint can triggers which helped him get smooth coverage and made it a lot easier on his hands.
2. Floors
Once the shell was built and painted, Nick added beautiful hardwood floors using jumbo popsicle sticks! He had looked at several options (all of which would have worked and may have been easier) like shelf liner, wood flooring samples cut into smaller pieces, leftover hardwood flooring pieces ripped down to 1/4″, or simply painting the floors. But after testing these options we found the jumbo popsicle sticks gave us the look we wanted.
In the beginning, we thought this would be a quick process but soon found out that it was going to take a lot longer than planned. Nick started by trimming the ends of each popsicle stick with very sharp scissors to square the ends. Then he cut them into various lengths so that not all pieces would be the same, similar to real hardwood flooring.
Next, he started at the front of each room and laid the popsicle sticks flush with the front edge. That way if the popsicle sticks weren’t exactly the same width throughout the variance would be at the back of the room where it could be hidden with furniture or mini-baseboard. Nick applied superglue to the floor the same size as the stick he was laying down (don’t apply too much or it will squeeze out), and then he used an accelerator and applied it to the back of the popsicle stick and laid it down on the glue. The curing time is a matter of seconds with the accelerator so make sure you work fast with your positioning. You could probably glue them without the accelerator and you could also use plain wood glue, but we really wanted to make sure these would stick and hold up over time! When you get to the end of a row, cut the last stick to fit.
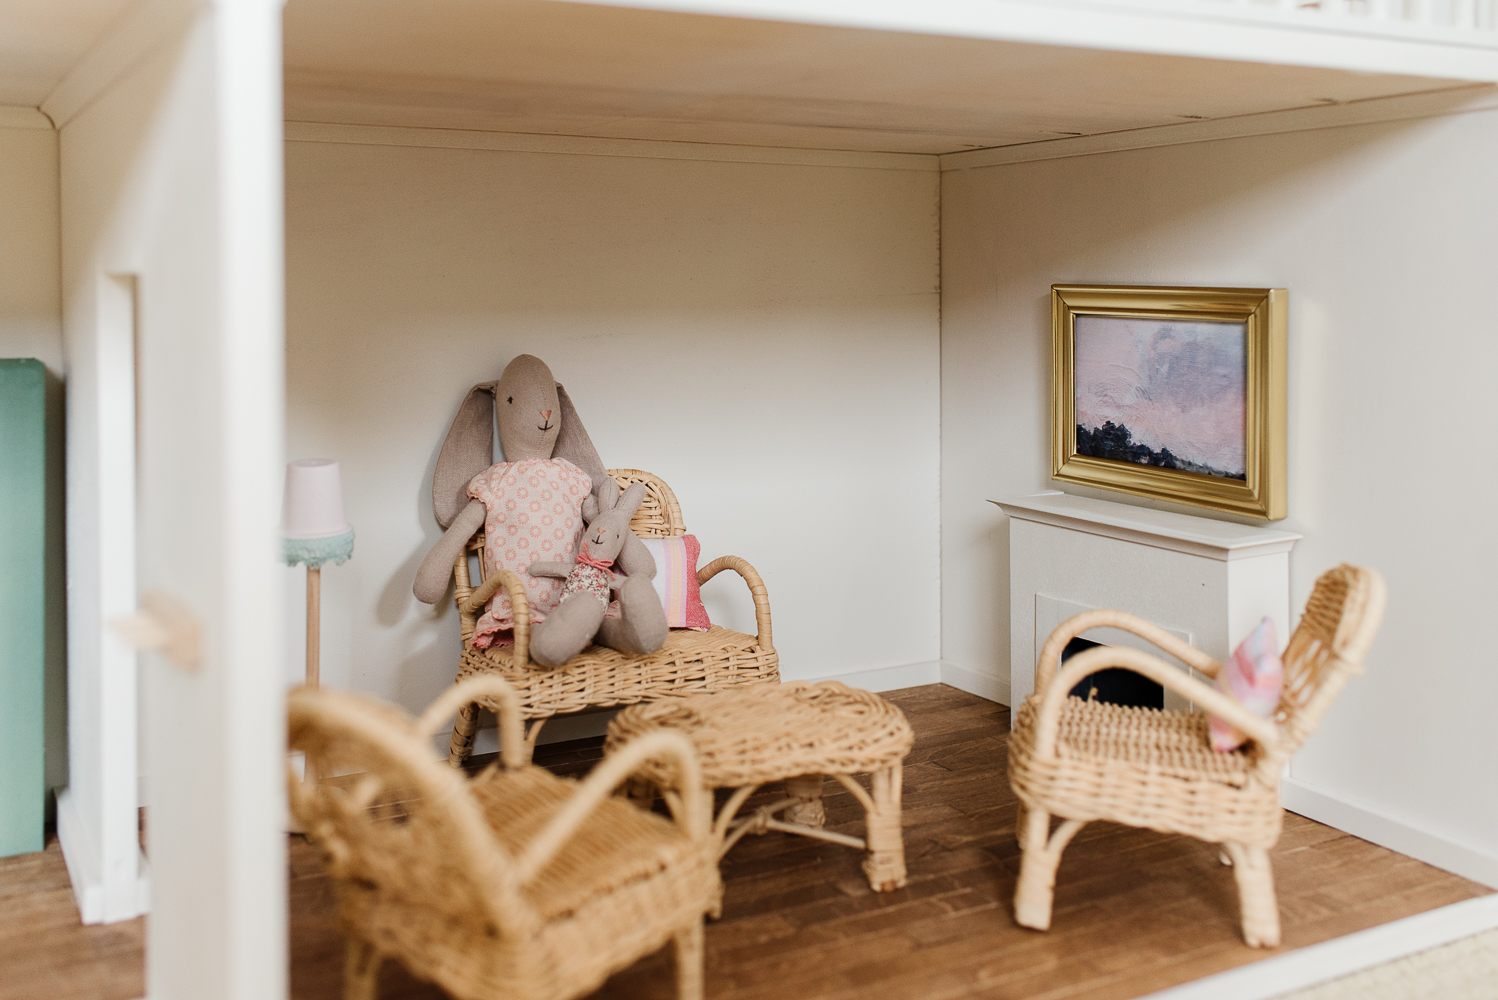
We stained the floors with one light coat of Varthane Early American and finished them with dead flat varnish (which Nick uses on most of his projects).
It was tedious and time-consuming, but so worth it in the end. I mean, look at those floors!
3. Roof
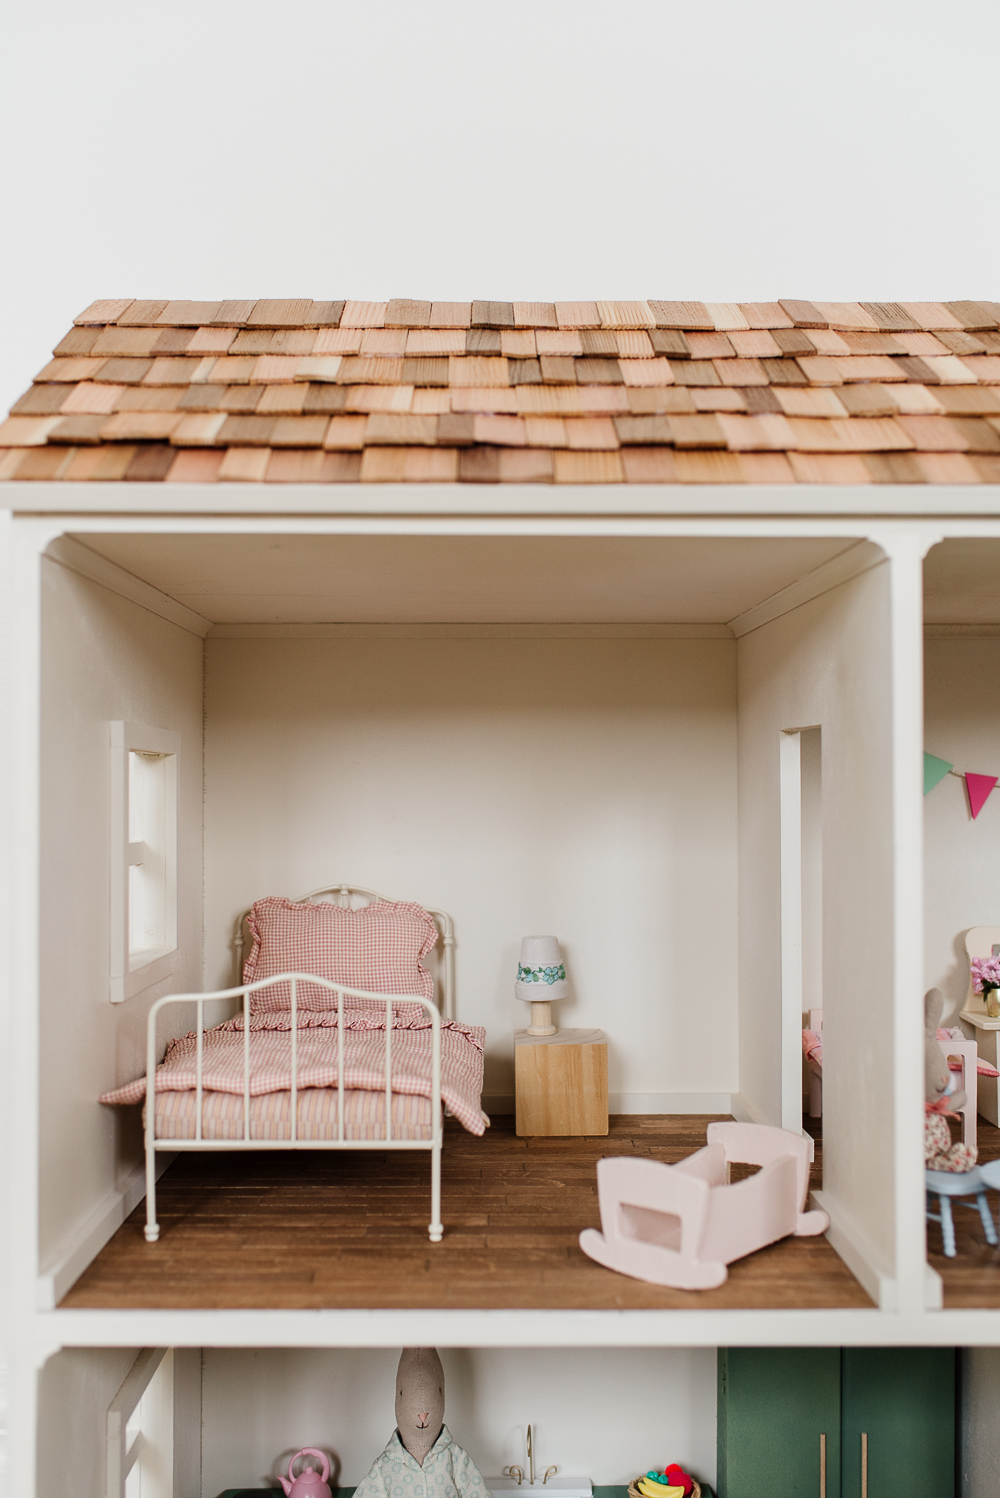
From the beginning, we knew we wanted our dollhouse to have cedar shake shingles. They add so much character and warmth to the house that it would otherwise lack. Nick purchased dollhouse shingles (we used cedar but the pine shingles are beautiful too) and used hot glue to attach them to the roof. Depending on the size of the shingles you get, you will want to ensure you space them evenly. Lay out a couple of test rows to make sure they cover the 10″ of the roof.
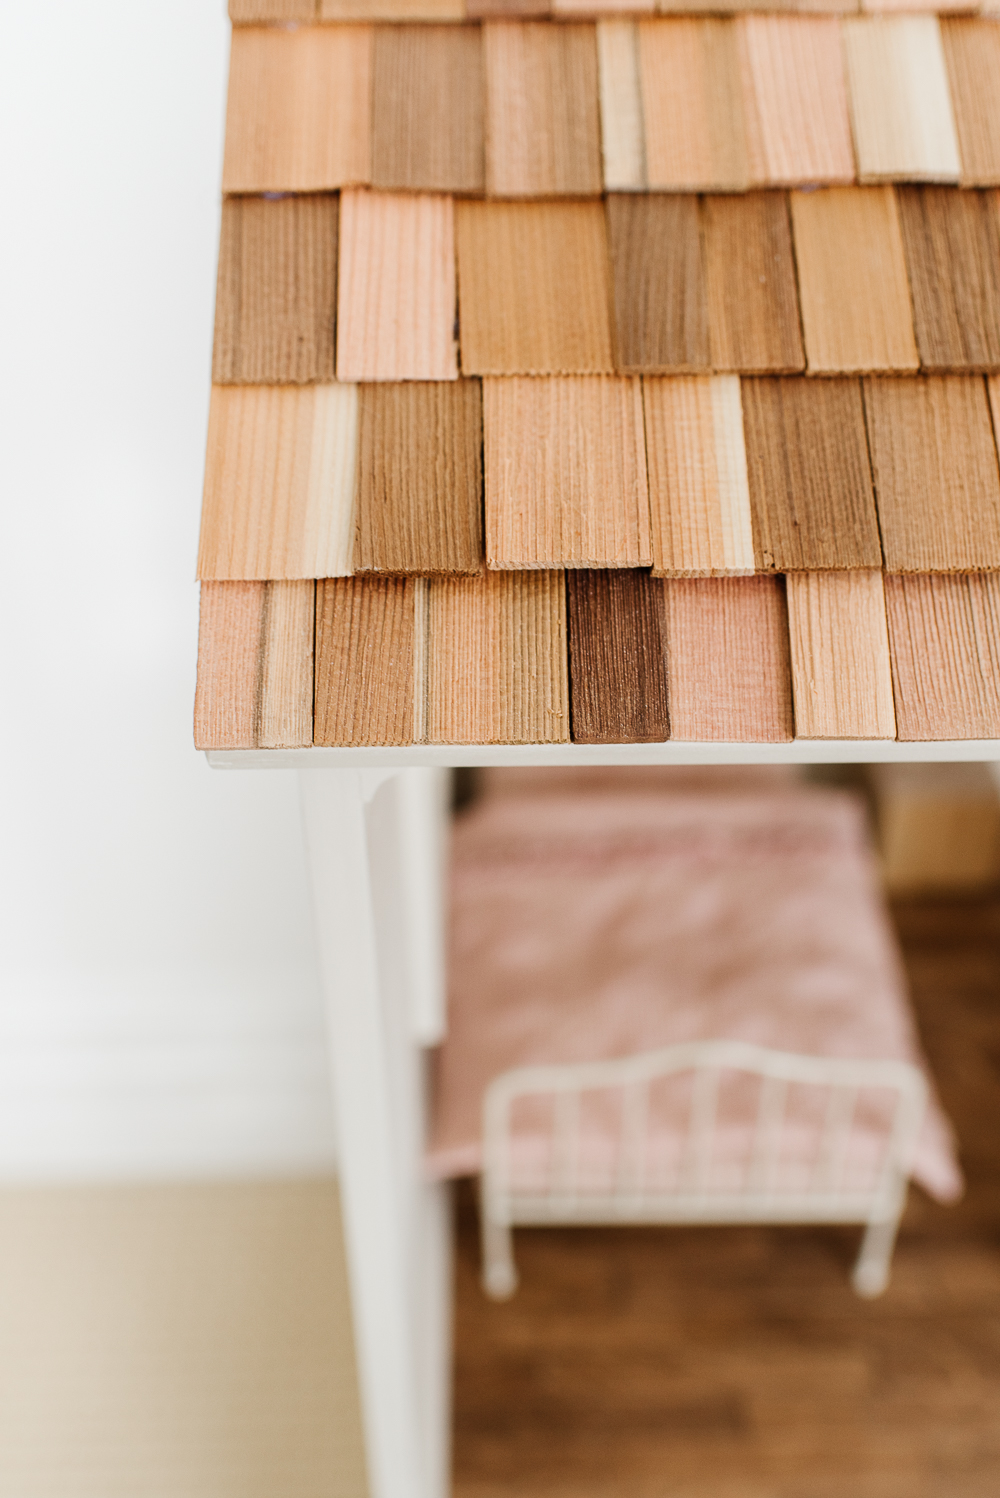
Nick used hot glue instead of superglue because it is thicker and would provide better adhesion since the shingles are partially overlapping.
4. Trim and Moldings
Nick didn’t overlook any details when it came to finishing this sweet dollhouse. He used some 1/4″ x 1/2″ wide trim for the baseboard and 3/8″ x 3/8″ cove trim (found in the molding aisle at most hardware stores). This worked perfectly for the baseboard and crown molding. He spray-painted this prior to installing it with super glue so that he wouldn’t risk getting paint on the hardwood floors.
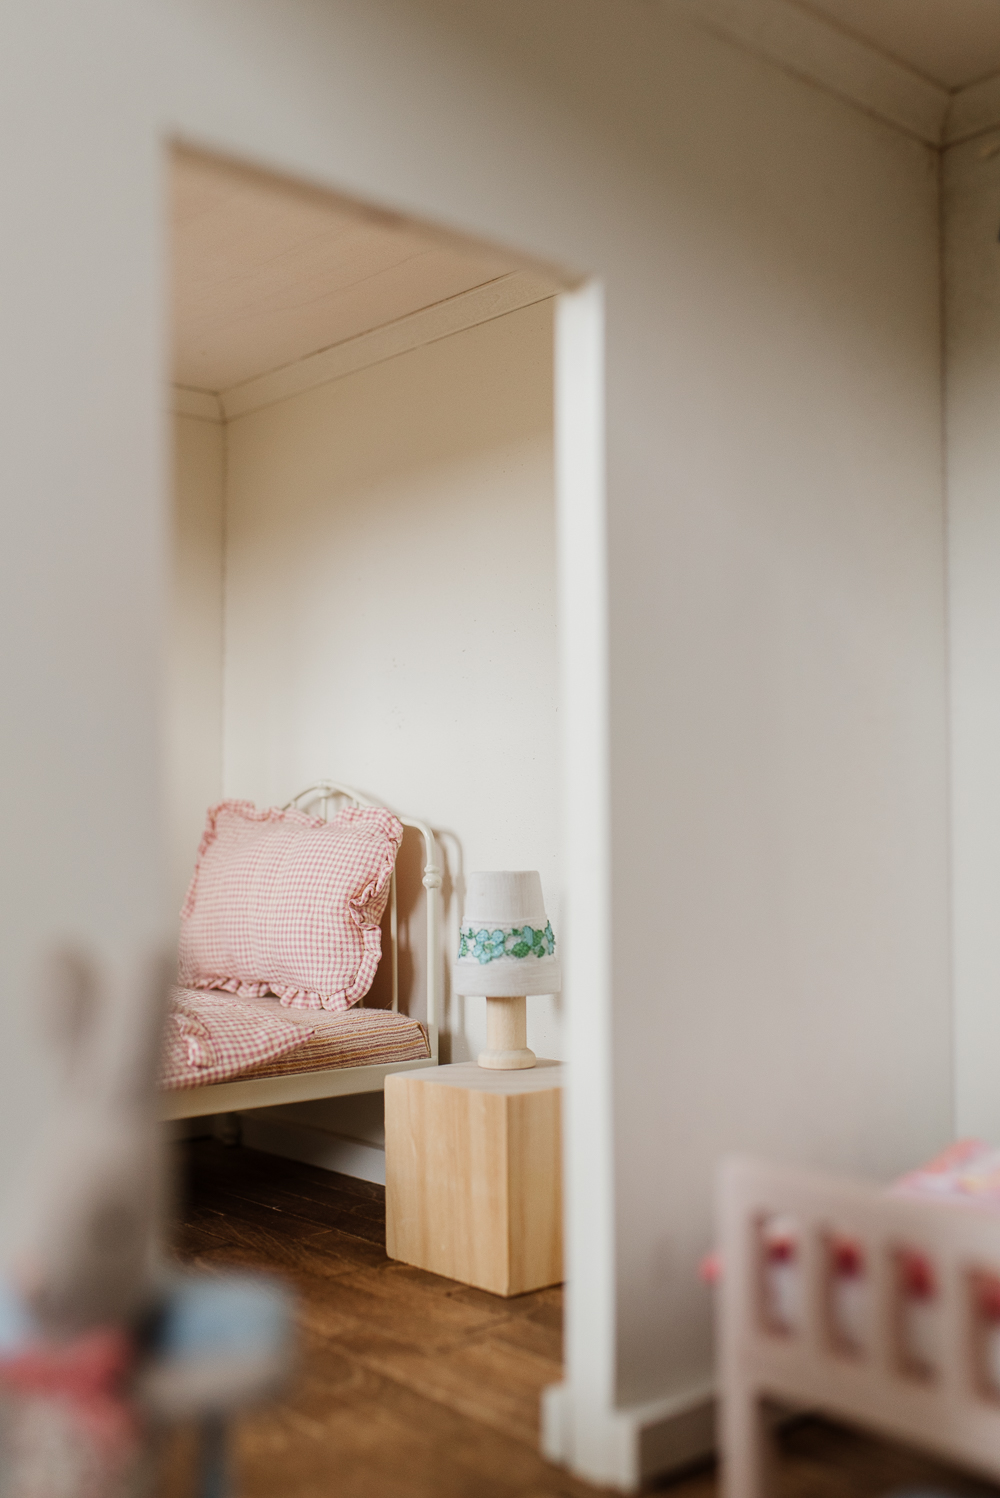
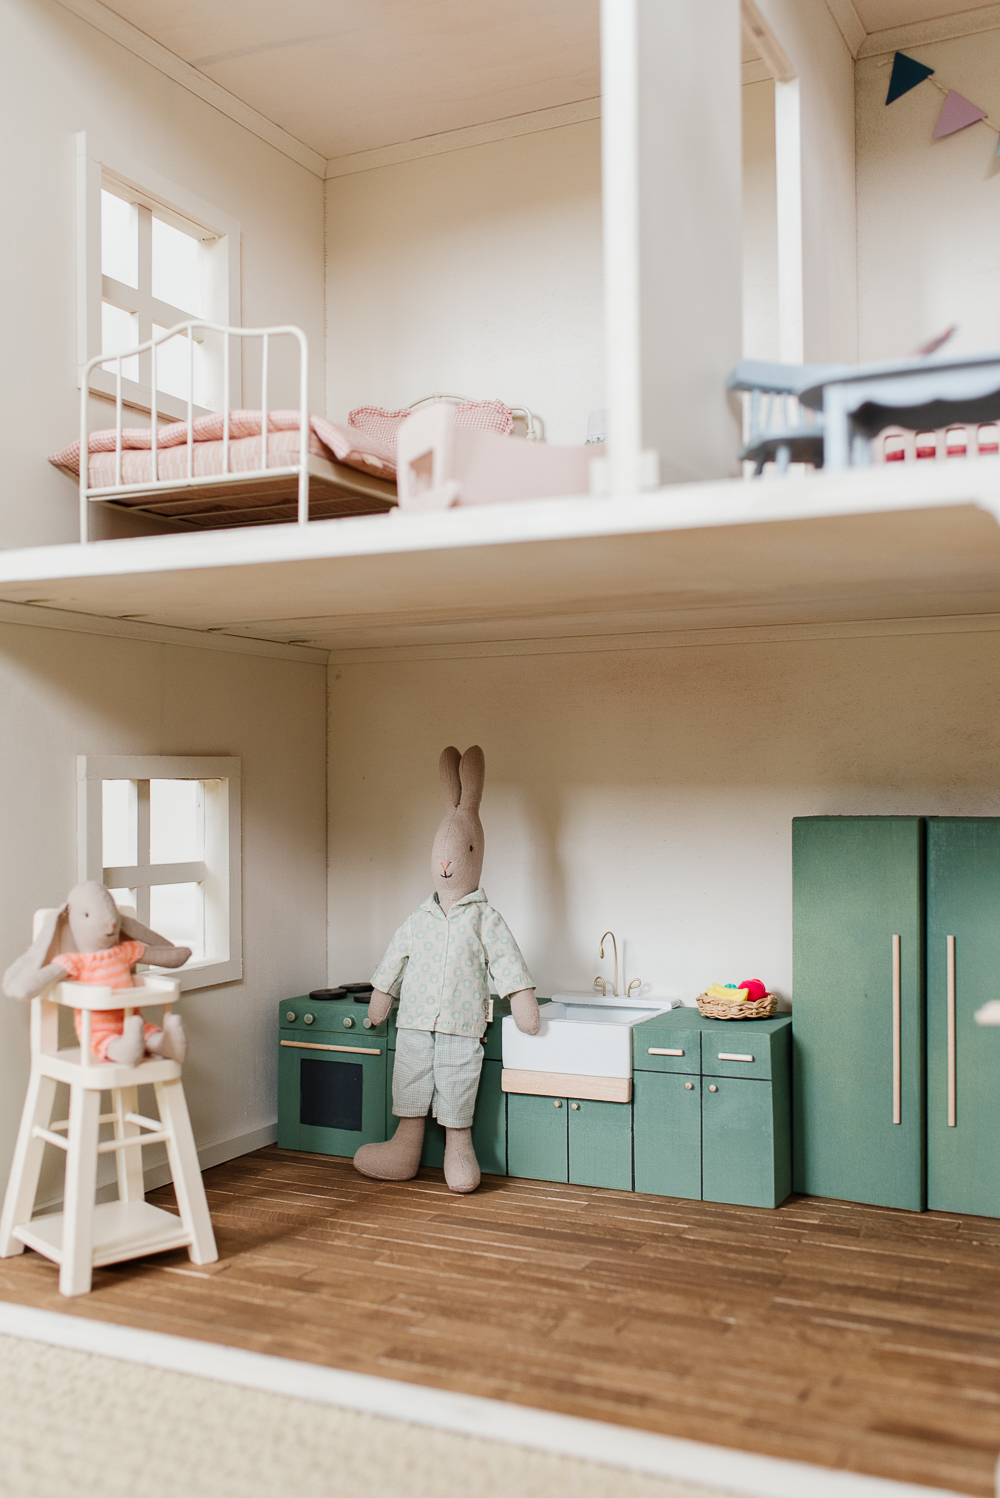
Nick also used the 1/4″ x 1/2″ trim to make the windows. He simply framed each side and then created a grid in the center of the window. He worked with superglue to create these.
Choose the Furniture and Accessories
While Nick had fun building the actual dollhouse, I had the best time filling it with the sweetest accessories.
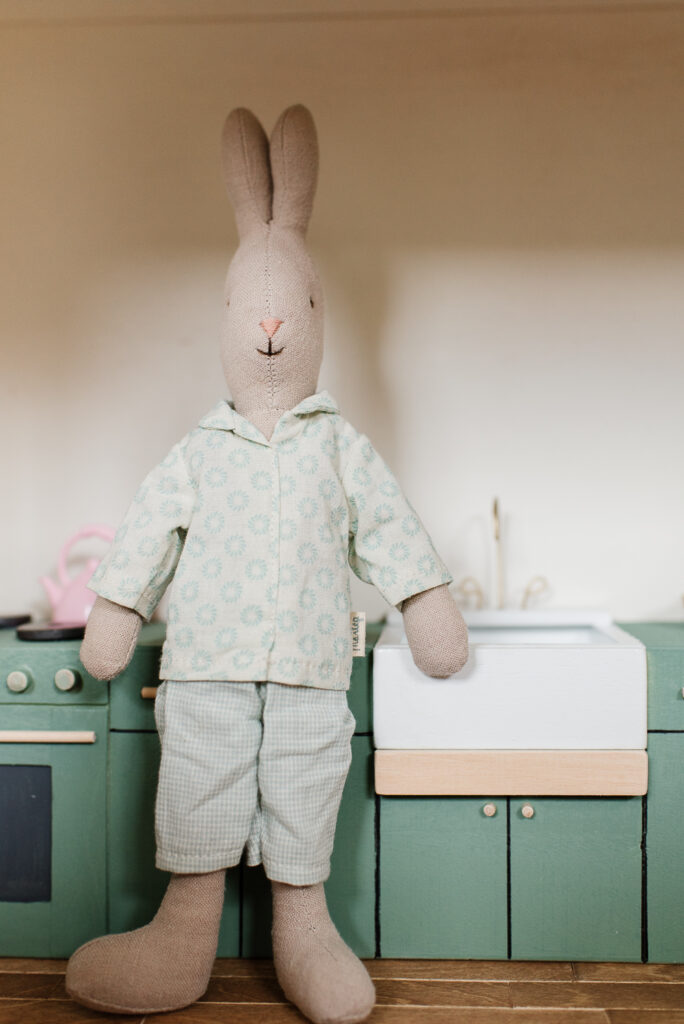
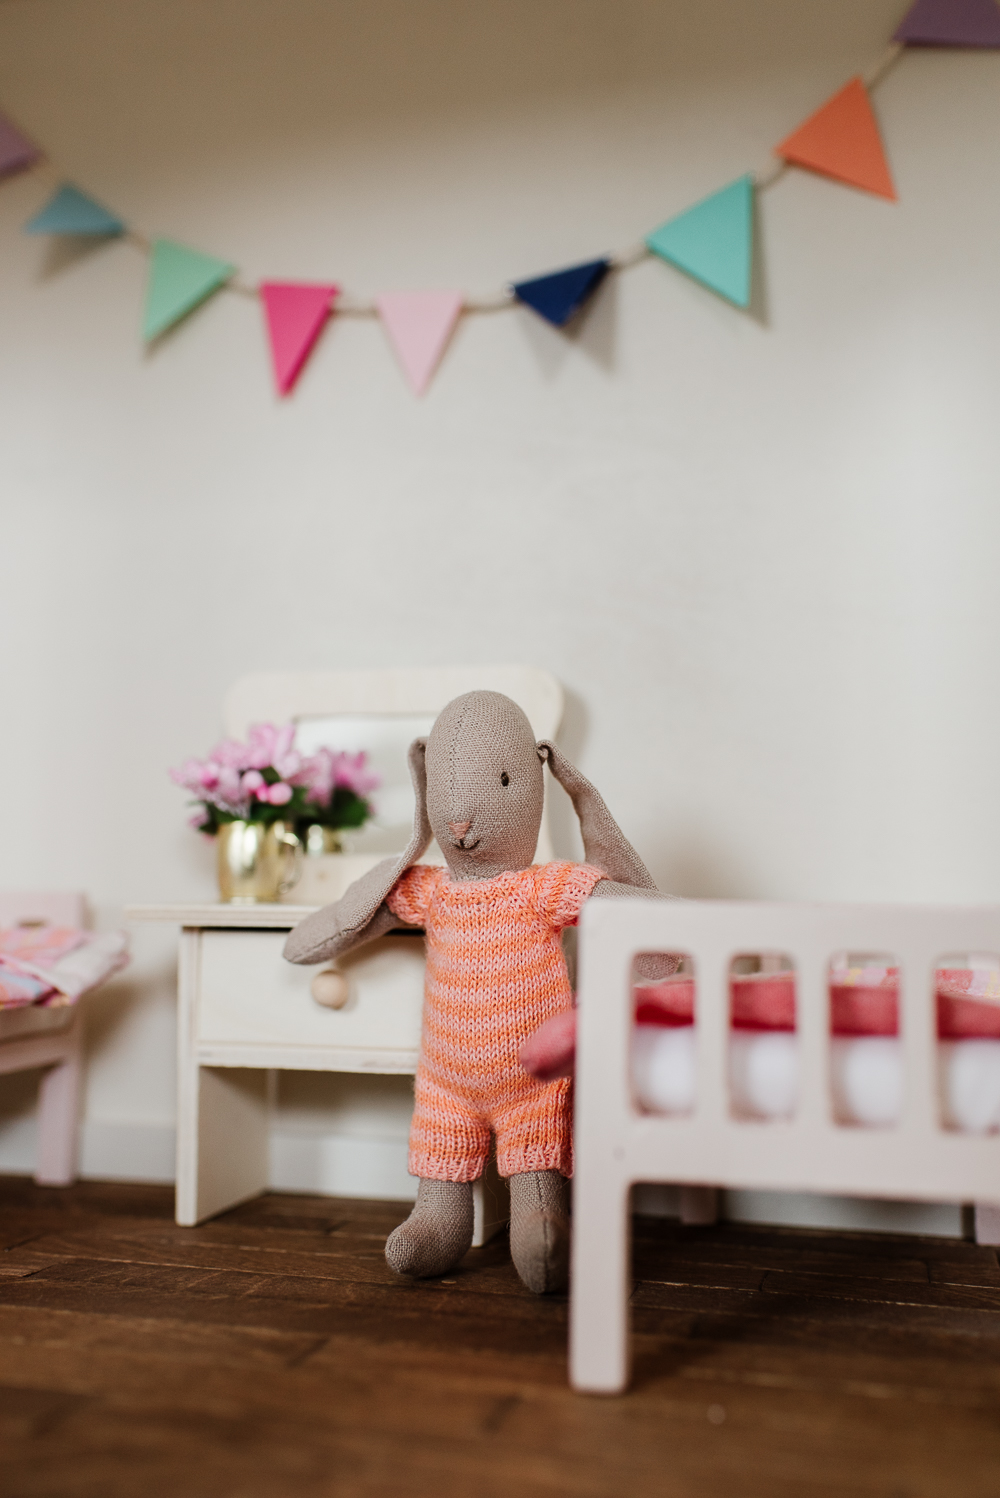
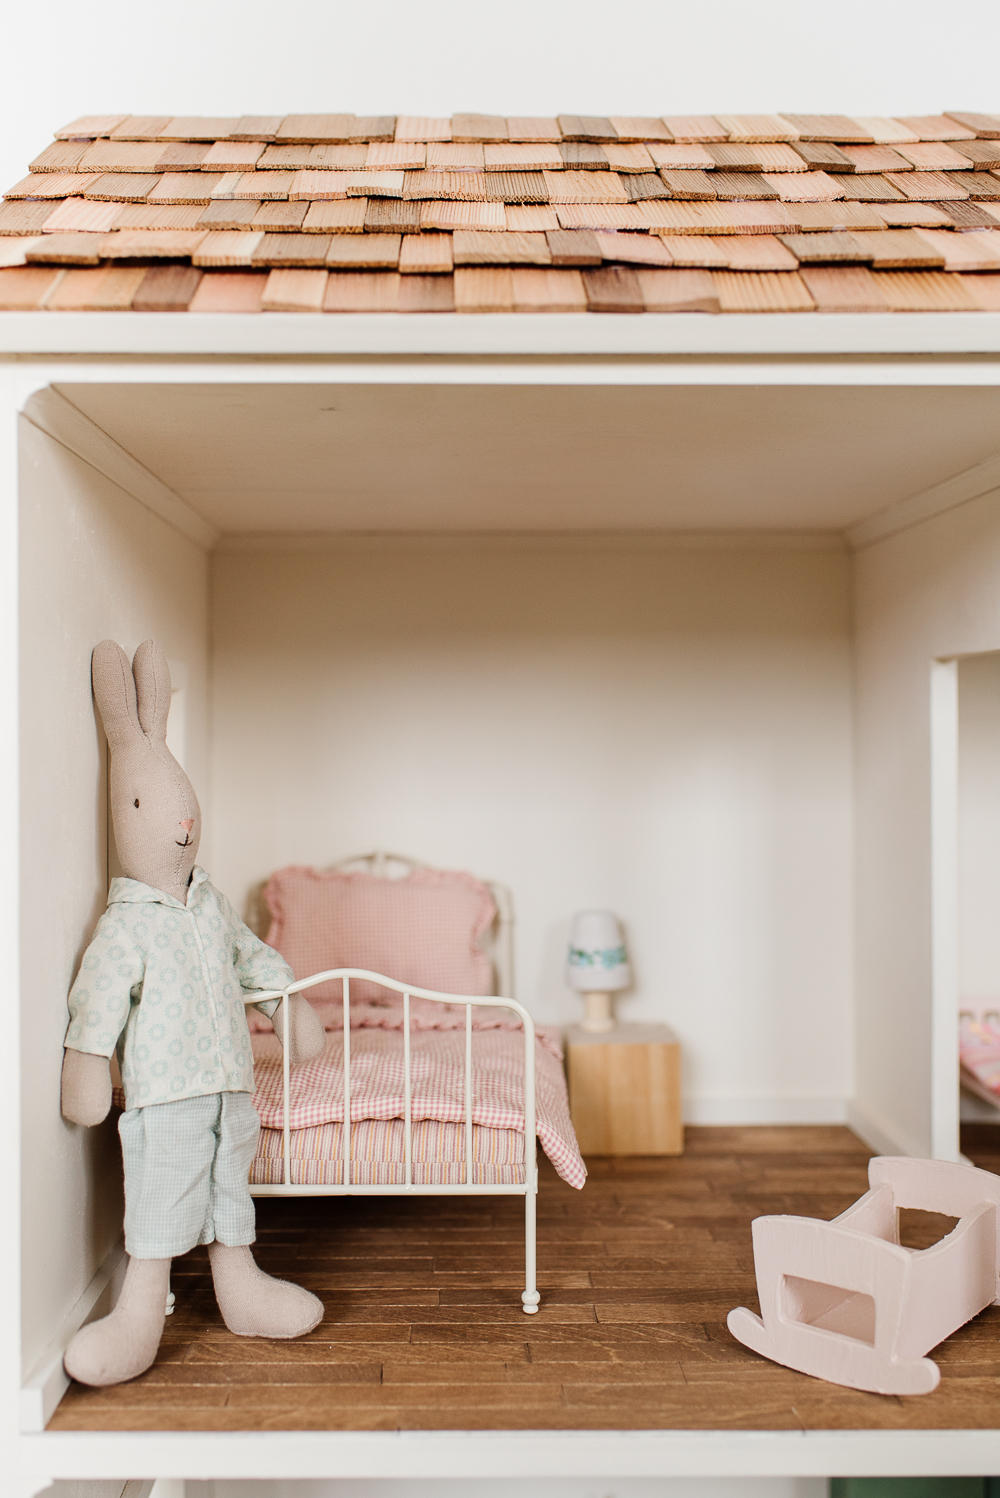
For years I’ve been daydreaming of gifting the girls these sweet bunnies and mice, and now that we had an adorable dollhouse I finally had the chance. We ended up buying two Size 1 Bunnies (mom and dad) and My and Micro Bunnies (kids), along with a bed and highchair. These are pieces that will work with Barbies too, so we were happy to invest in them.
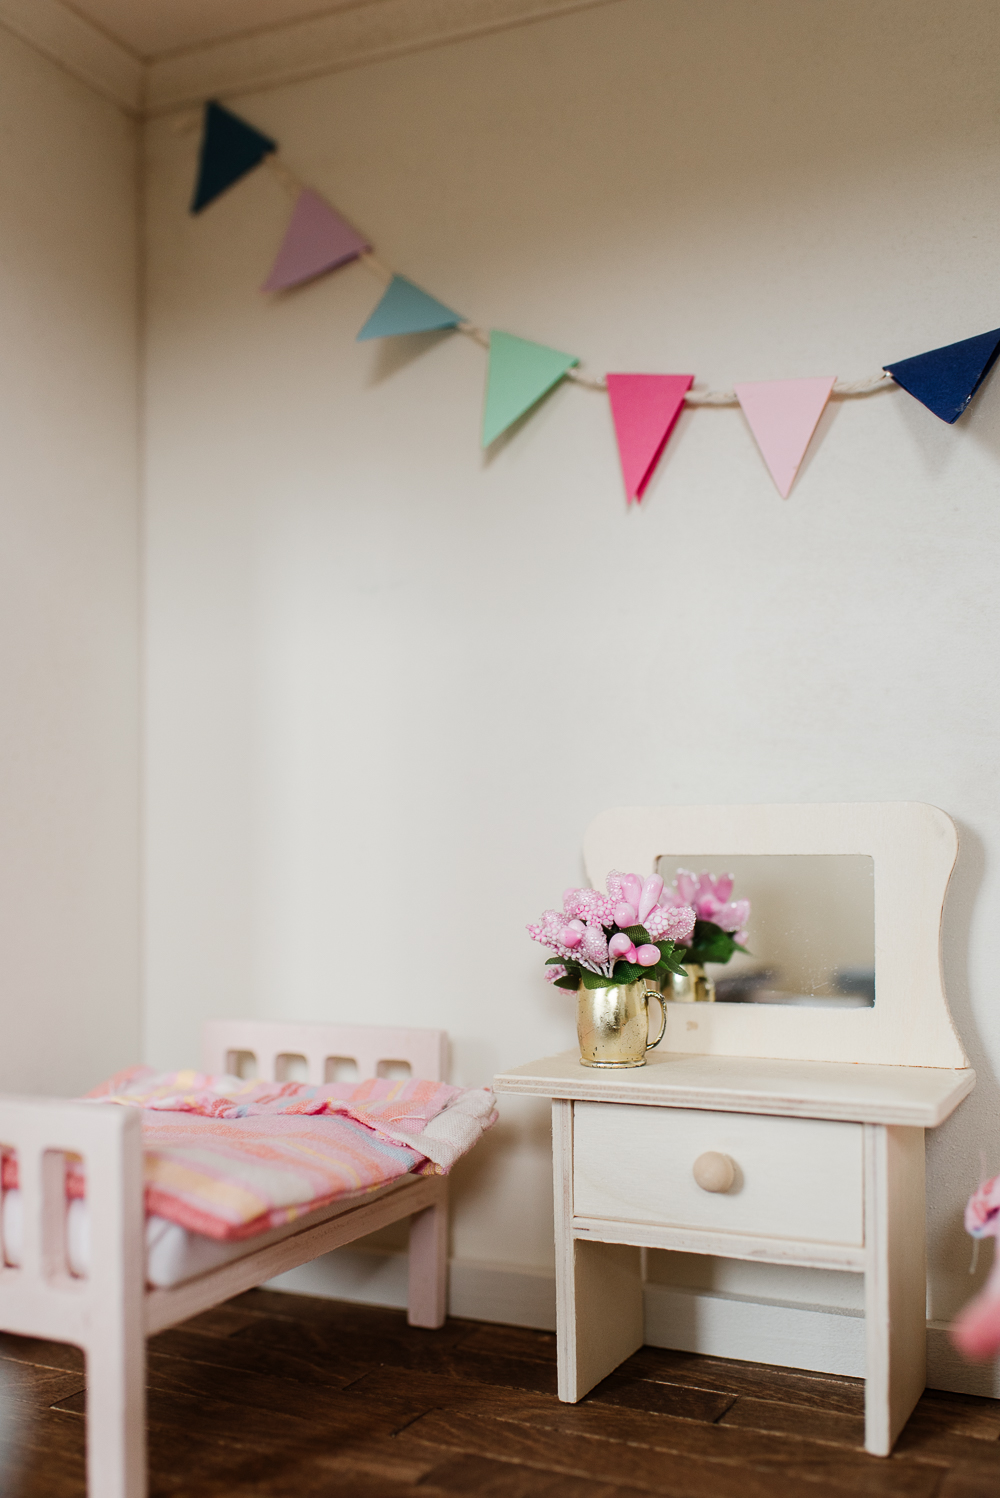
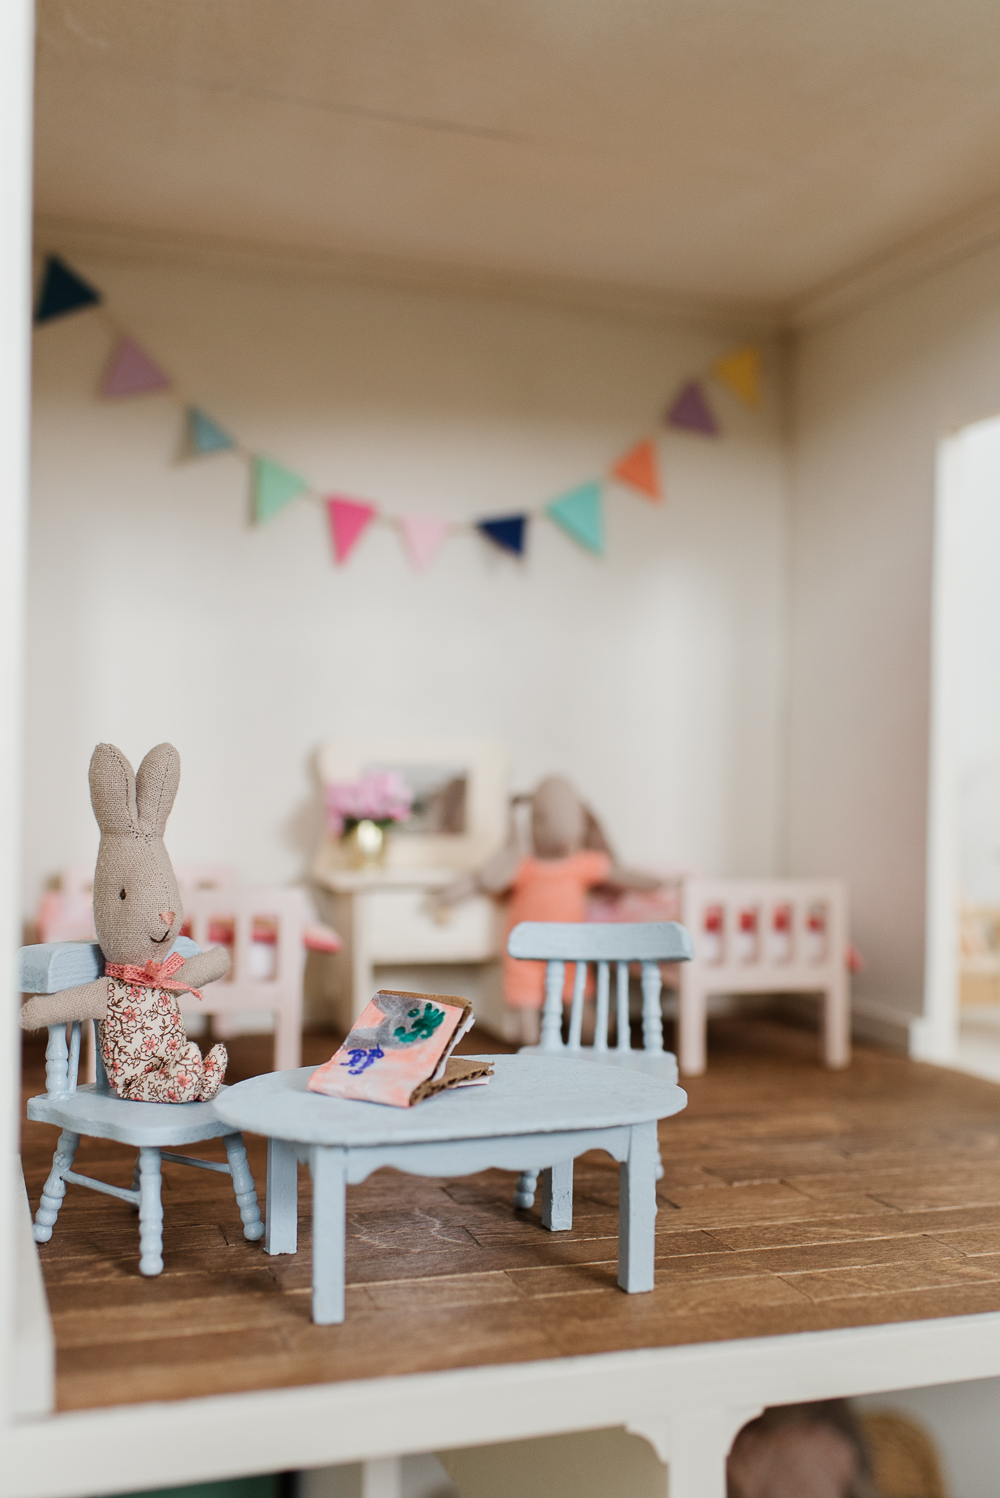
We also found some unfinished wood furniture from our local dollar store that worked well for the children bunnies’ bedroom. We painted a cradle, small beds, and table and chairs that were just the right size.
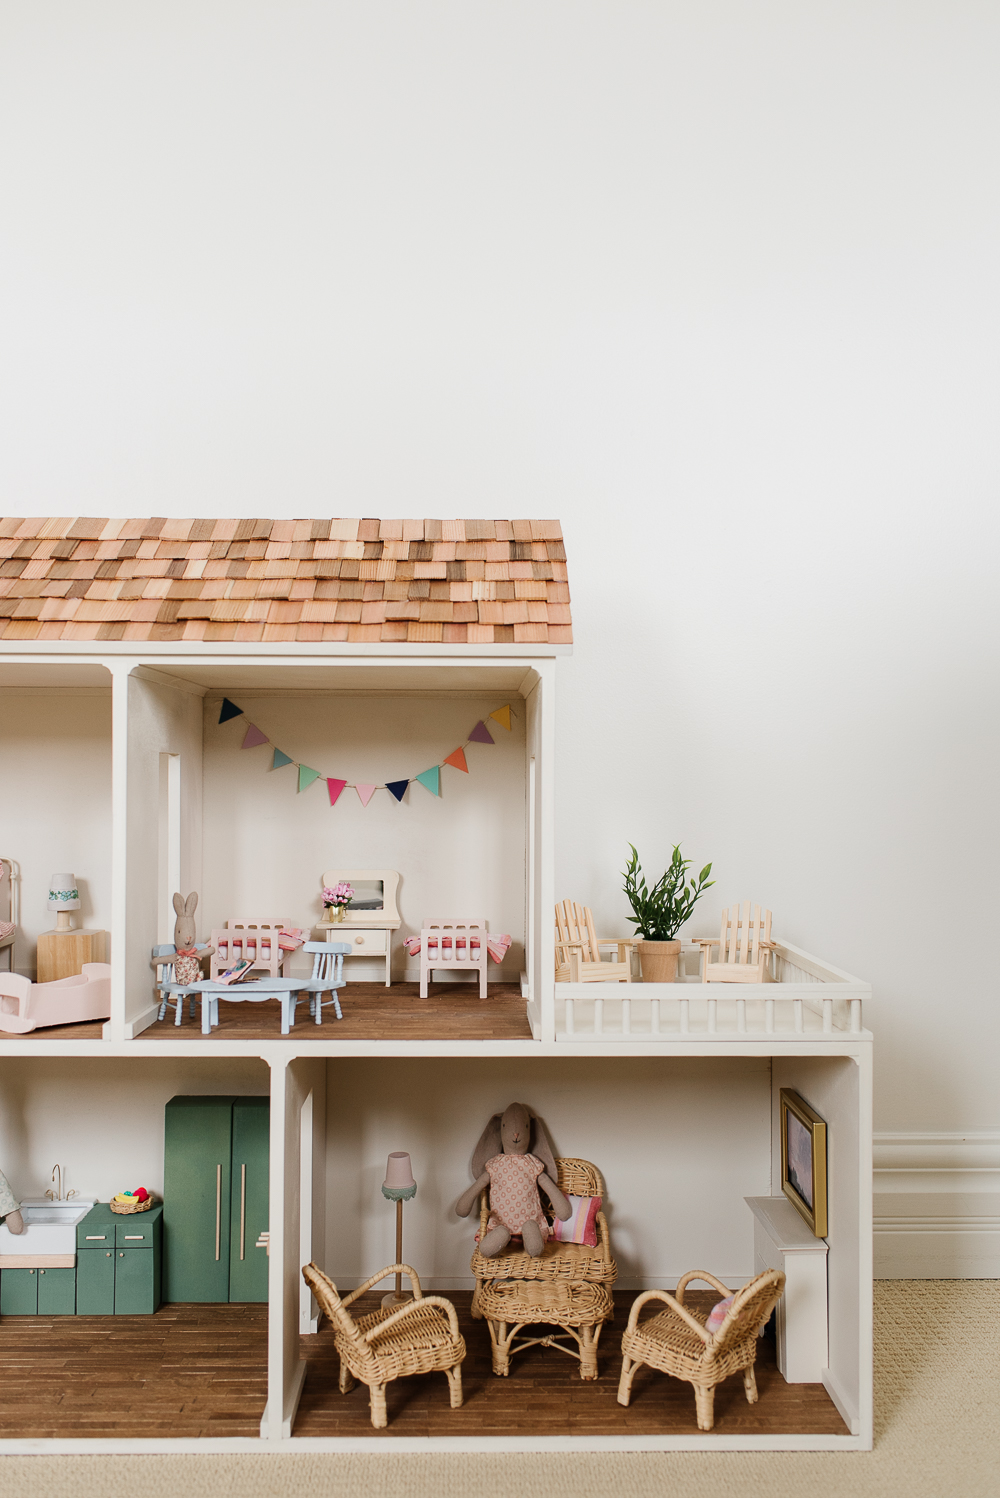
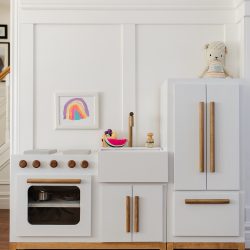
Nick built the adorable kitchen using wood blocks for the base, added small dowels for the handles and magnets for the stovetop, and even incorporated an apron sink with a drip rail (just like our kitchen). We painted it with this beautiful shade of green which is so fun and playful!
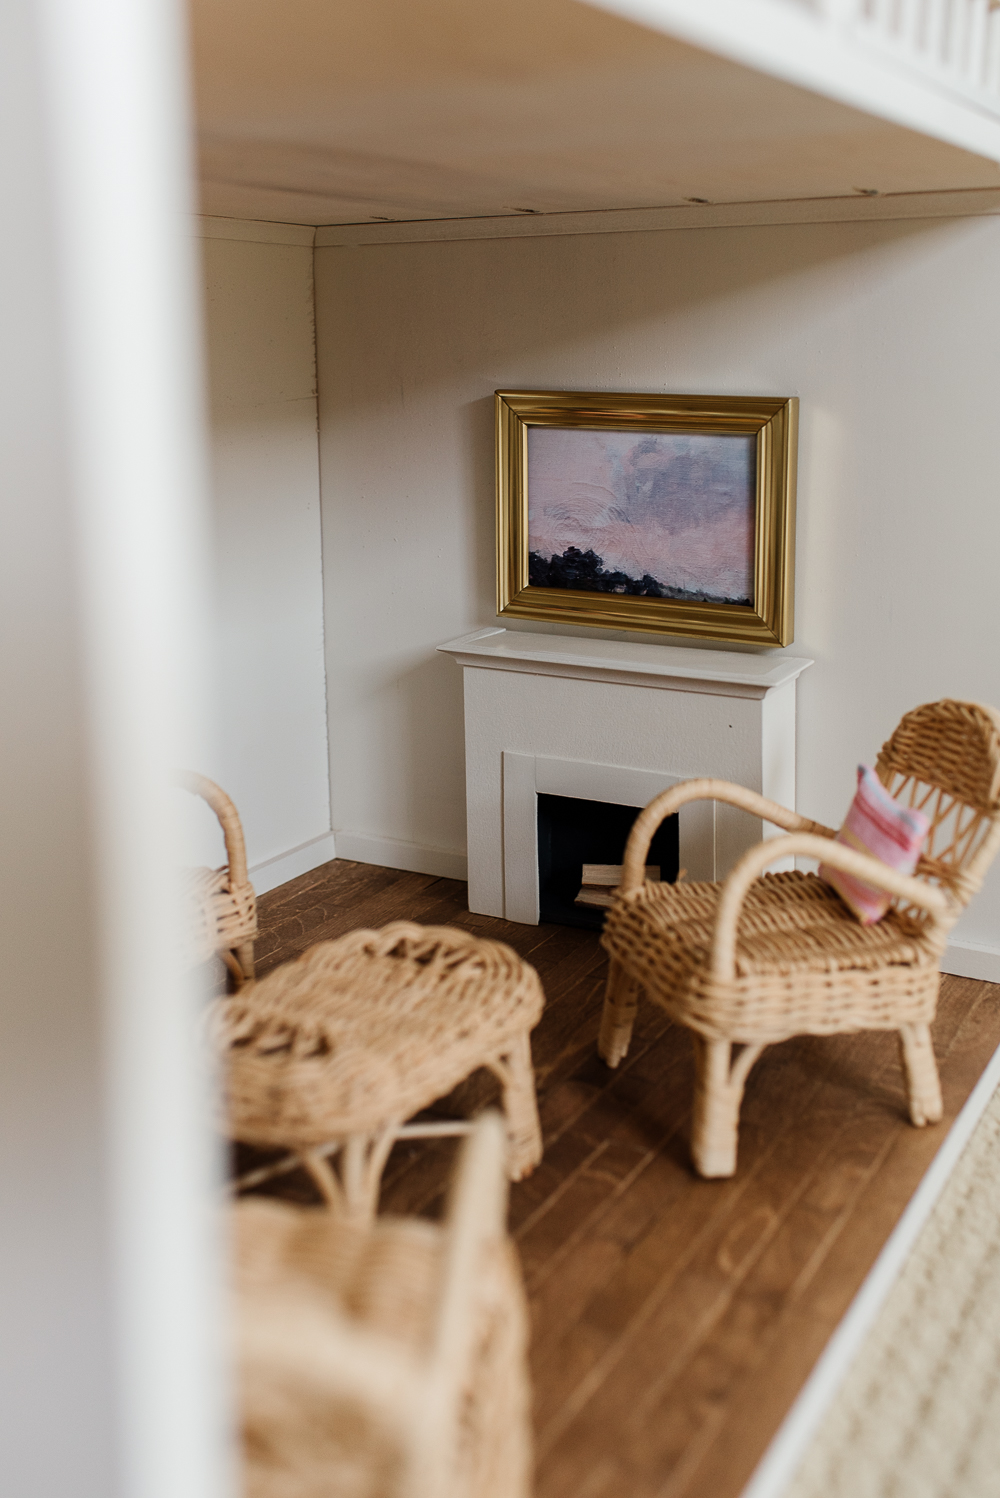
The wicker furniture is actually Barbie furniture from when I was a child, and the art above the fireplace is simply a printed vintage painting framed in a miniature frame we found at the thrift shop.
We made the lamps using wooden dollhouse flower pots, dowels, paint, and ribbon. It was these little accessories that were the most fun to make.
The girls and I are looking forward to adding more pieces to the dollhouse over time, and we are certainly looking forward to decorating it for the holiday season! This little dollhouse has been a labour of love and we know it is going to provide hours of fun for our girls!
Click the button below to access the building plans for the dollhouse



James says
Hi! Love the design and build of this. I was wondering if you also used a drywall compound on the interior walls too? And also did you use a veneer on the front edges of the plywood? I don’t see the layers of plywood so I was curious how this happened.
Alicia says
Thank you, James! We did not use drywall compound on the interior walls, but used it on the edges of the plywood instead of veneer, as well as the exterior walls.