
I really think every child dreams of having a playhouse. A magical little hideout they can escape to and spend hours playing make-believe.


We knew we wanted to make this dream come true for our girls, so Nick built this adorable playhouse for them. Nestled into a corner of our backyard, this sweet little house has provided endless hours of entertainment for our girls and their friends.
It’s such a fun addition to our backyard and I am so happy we decided to create this space for them!
Custom Built Kids’ Playhouse
The Exterior
The playhouse is 8′ x 8′ which gave us just the right amount of space to fit in a play kitchen and table and chairs while not taking over our limited outdoor space. Nick also built it this size because it stayed under the threshold for needing a building permit, and was the most efficient use of materials, having almost no waste at the end of the build.
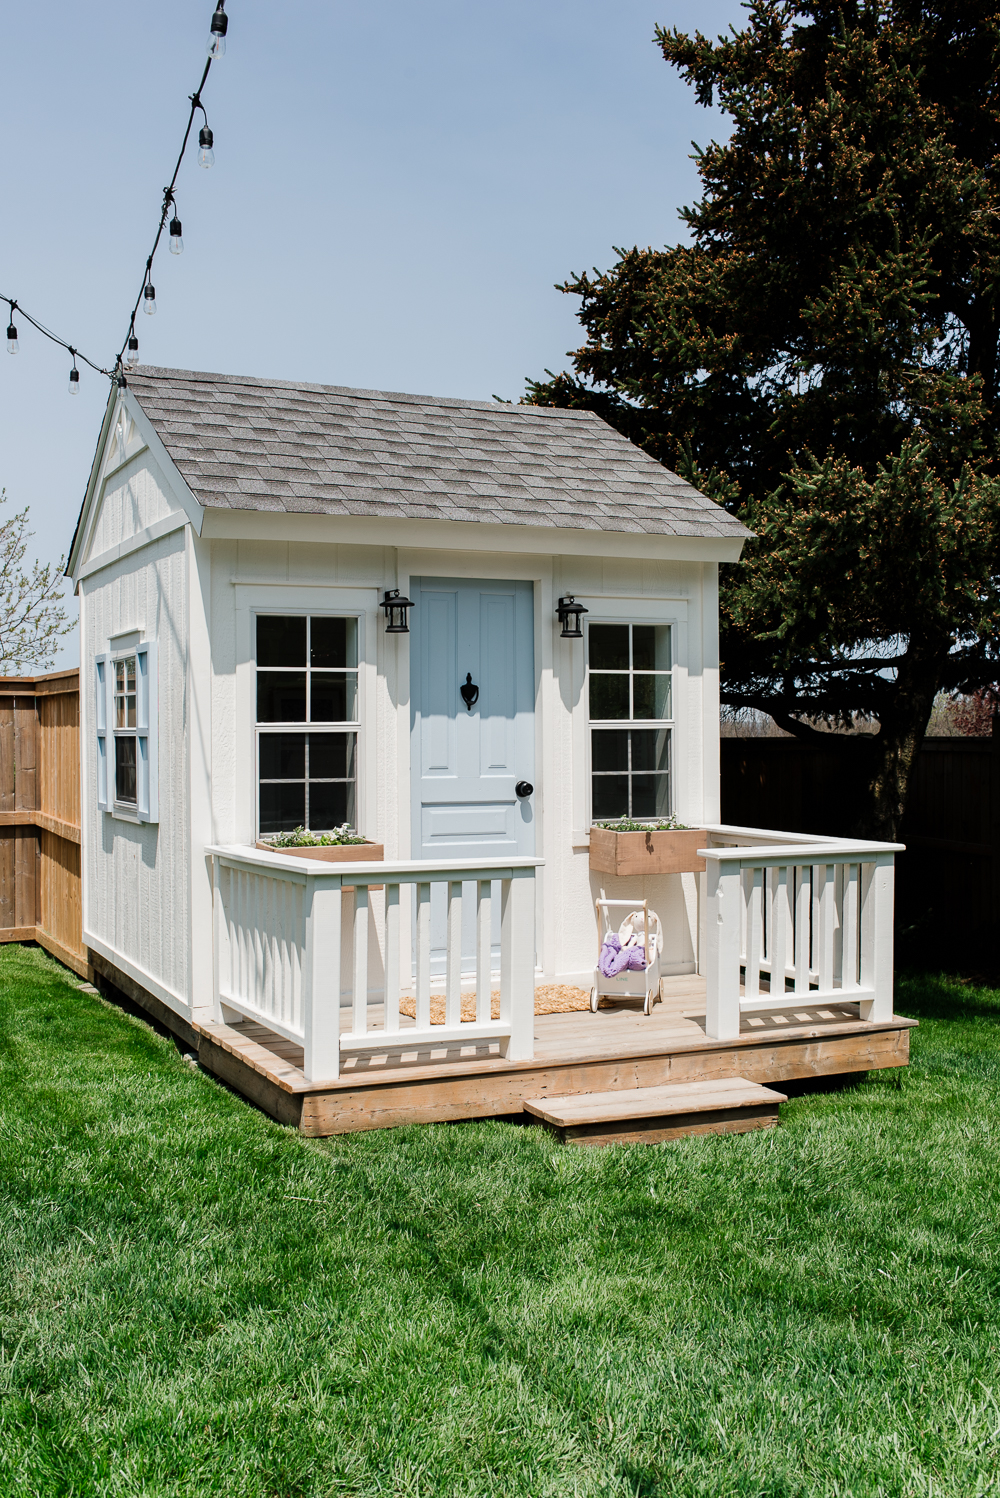
We wanted a low-maintenance and lightweight material that was resistant to moisture, weather, and pests, so we used LP SmartSide engineered panels. Nick found it extremely easy to use, both in terms of cutting and installing. You can also purchase SmartSide trim pieces or use real cedar trim like we did to give the windows, corners, and base a matching finish. These panels come pre-primed which saves you time and ensures there’s a smooth base to apply paint to. We used Benjamin Moore Outdoor Satin finish in Simply White.
The shingles are the standard asphalt variety, and you can choose any colour to coordinate with your own home. We recommend adding a good underlayment that will offer the best protection possible. It’s a small area to cover and we get pretty extreme winters here, so Nick used an ice and water shield.
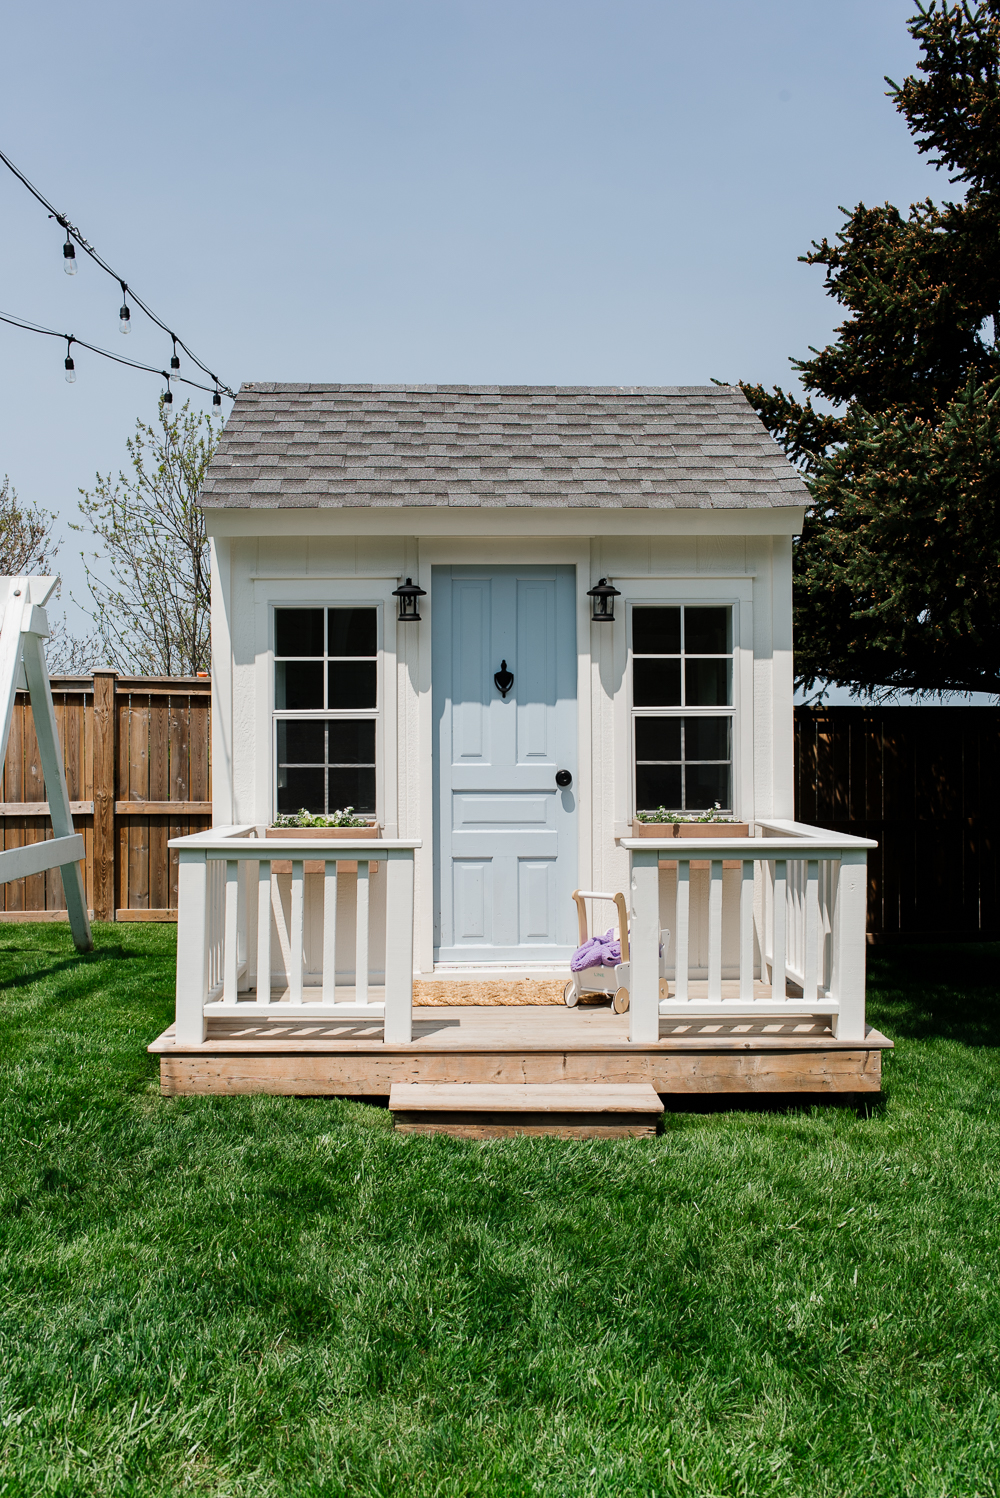
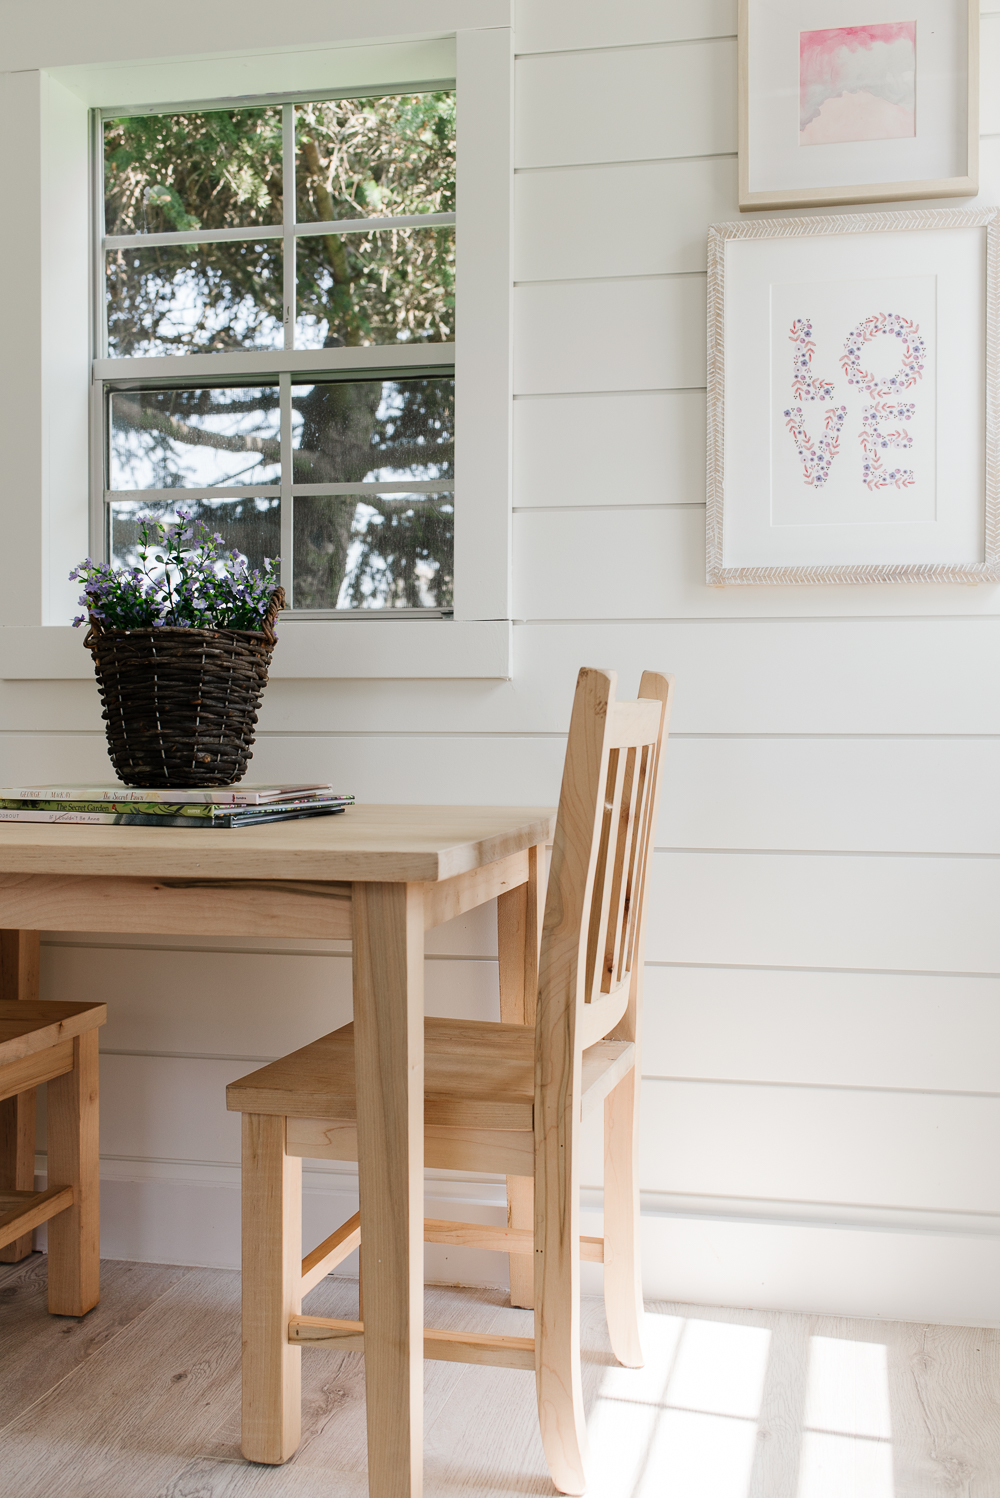
We installed four windows to let in a lot of light. We chose windows with screens so we could let in a breeze on warm days while keeping out the bugs. We purchased our windows here and have been really happy with them. We also added shutters to the side windows and painted them Birds Egg by Benjamin Moore in a satin finish.
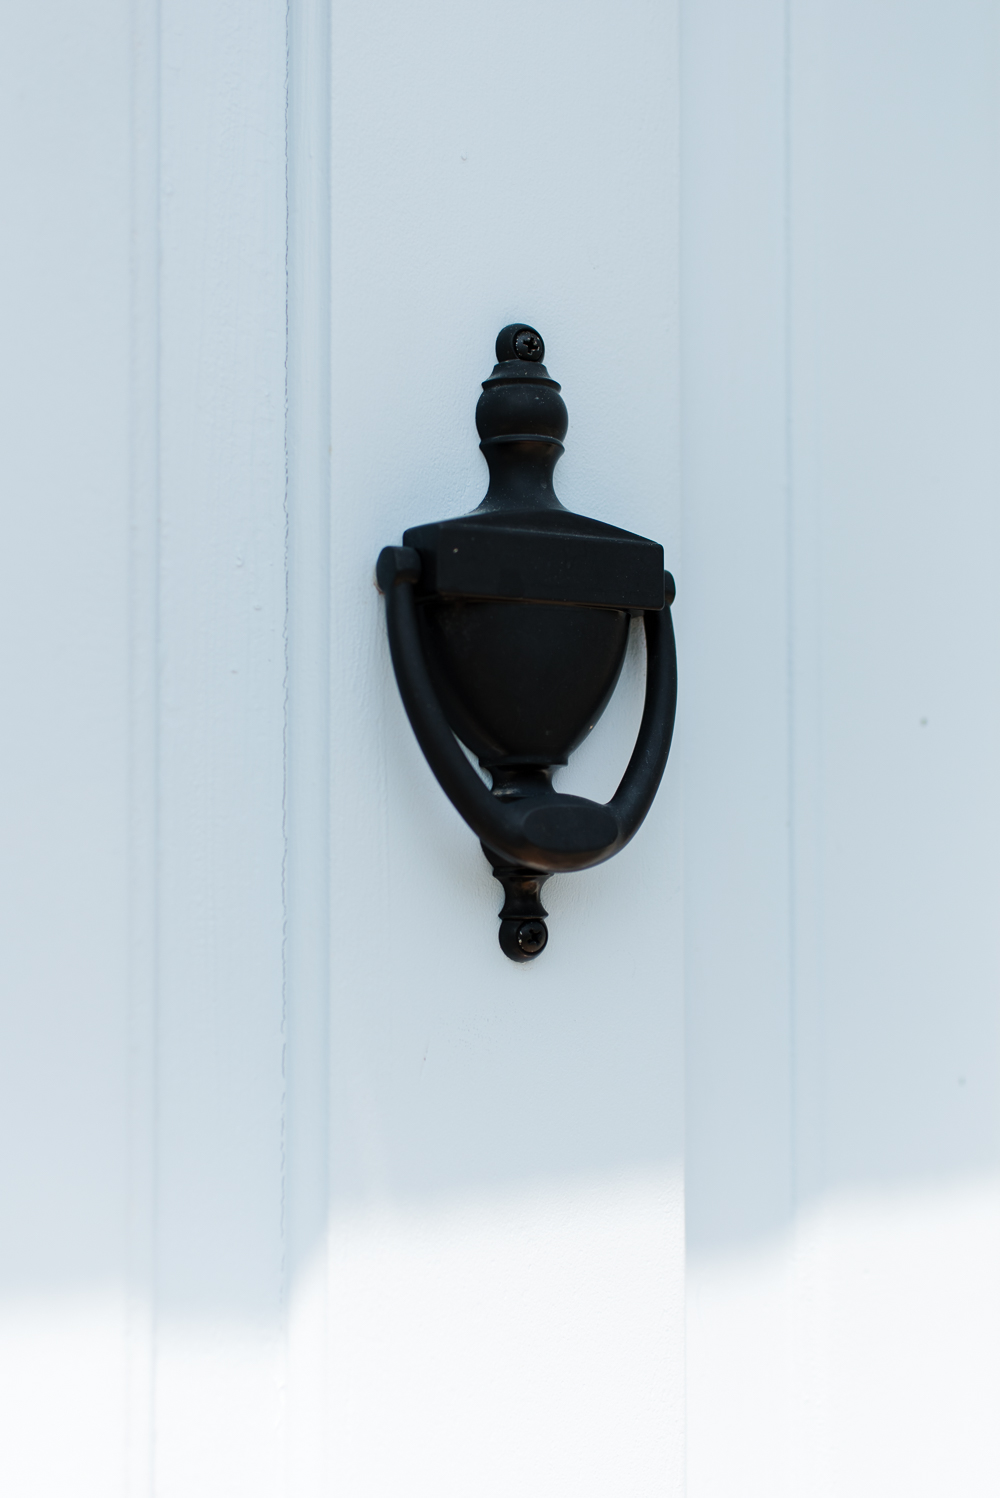
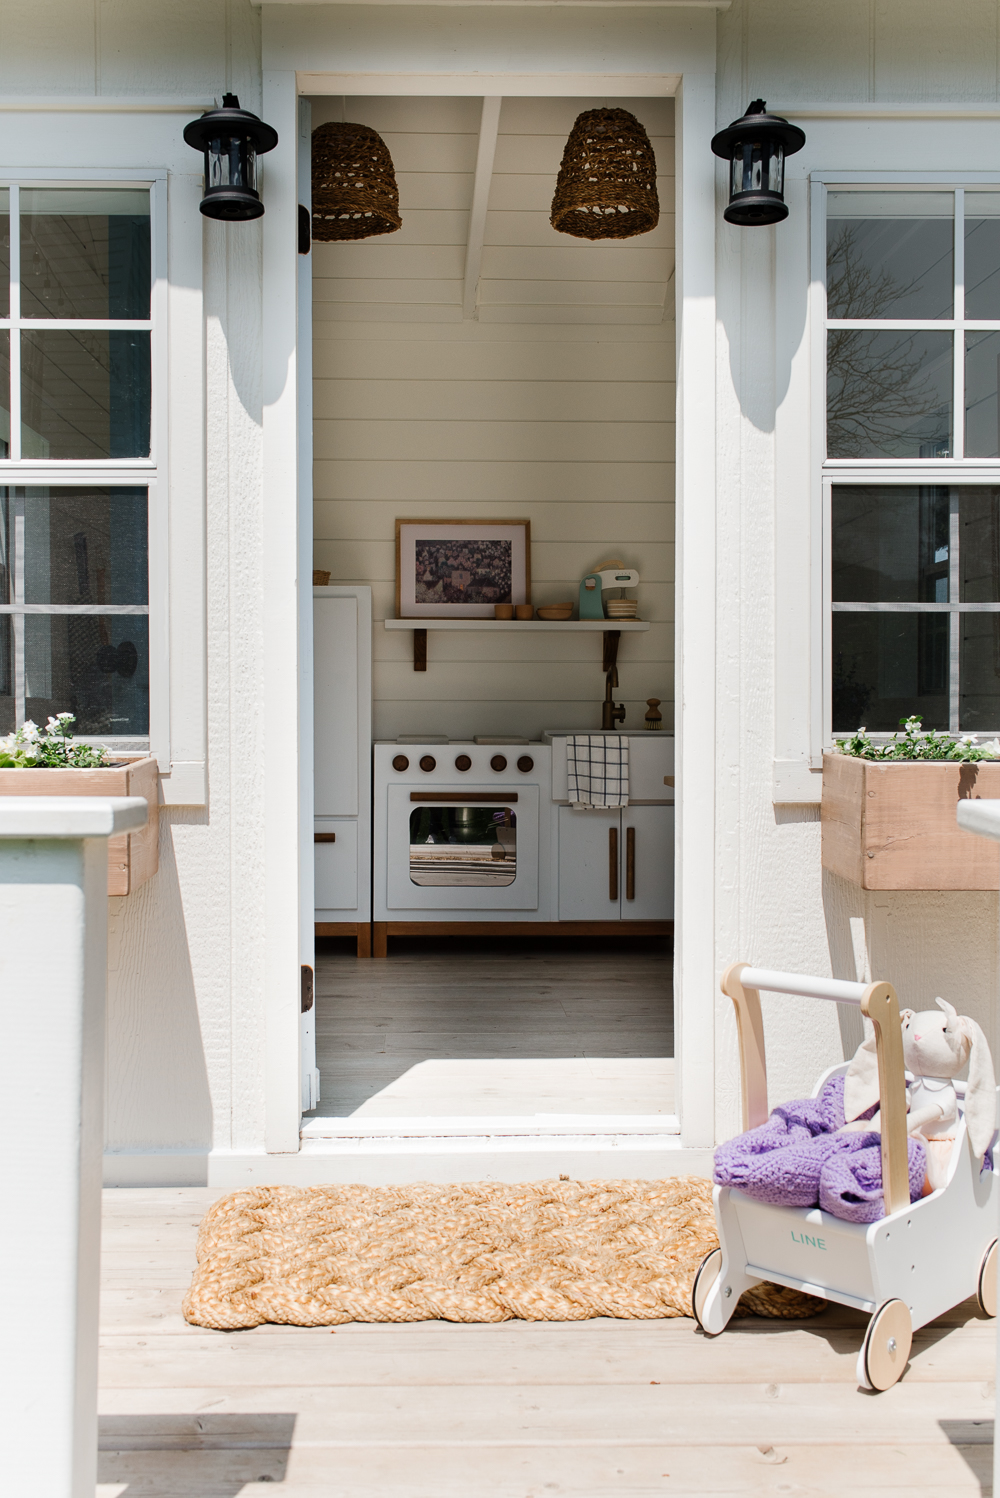
The front door is an antique exterior door my parents had been holding on to from their home. We cut it down in size to fit the playhouse and painted it the same colour as the shutters, Birds Egg by Benjamin Moore. I love that we were able to incorporate it into the playhouse! We also added a simple door knocker as a fun detail!
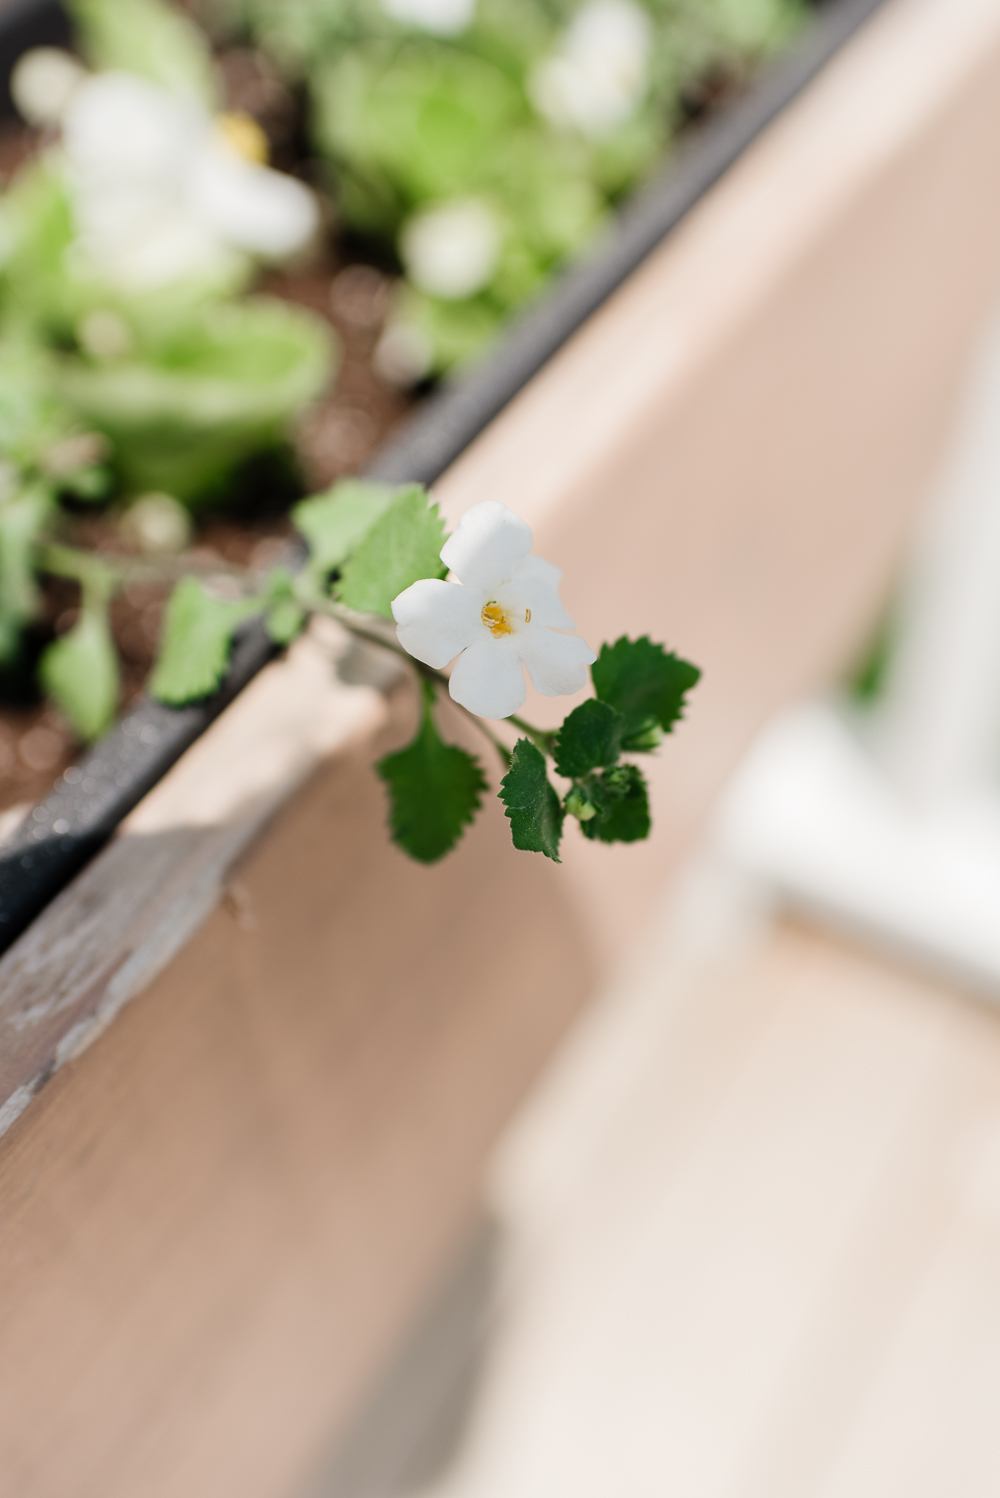
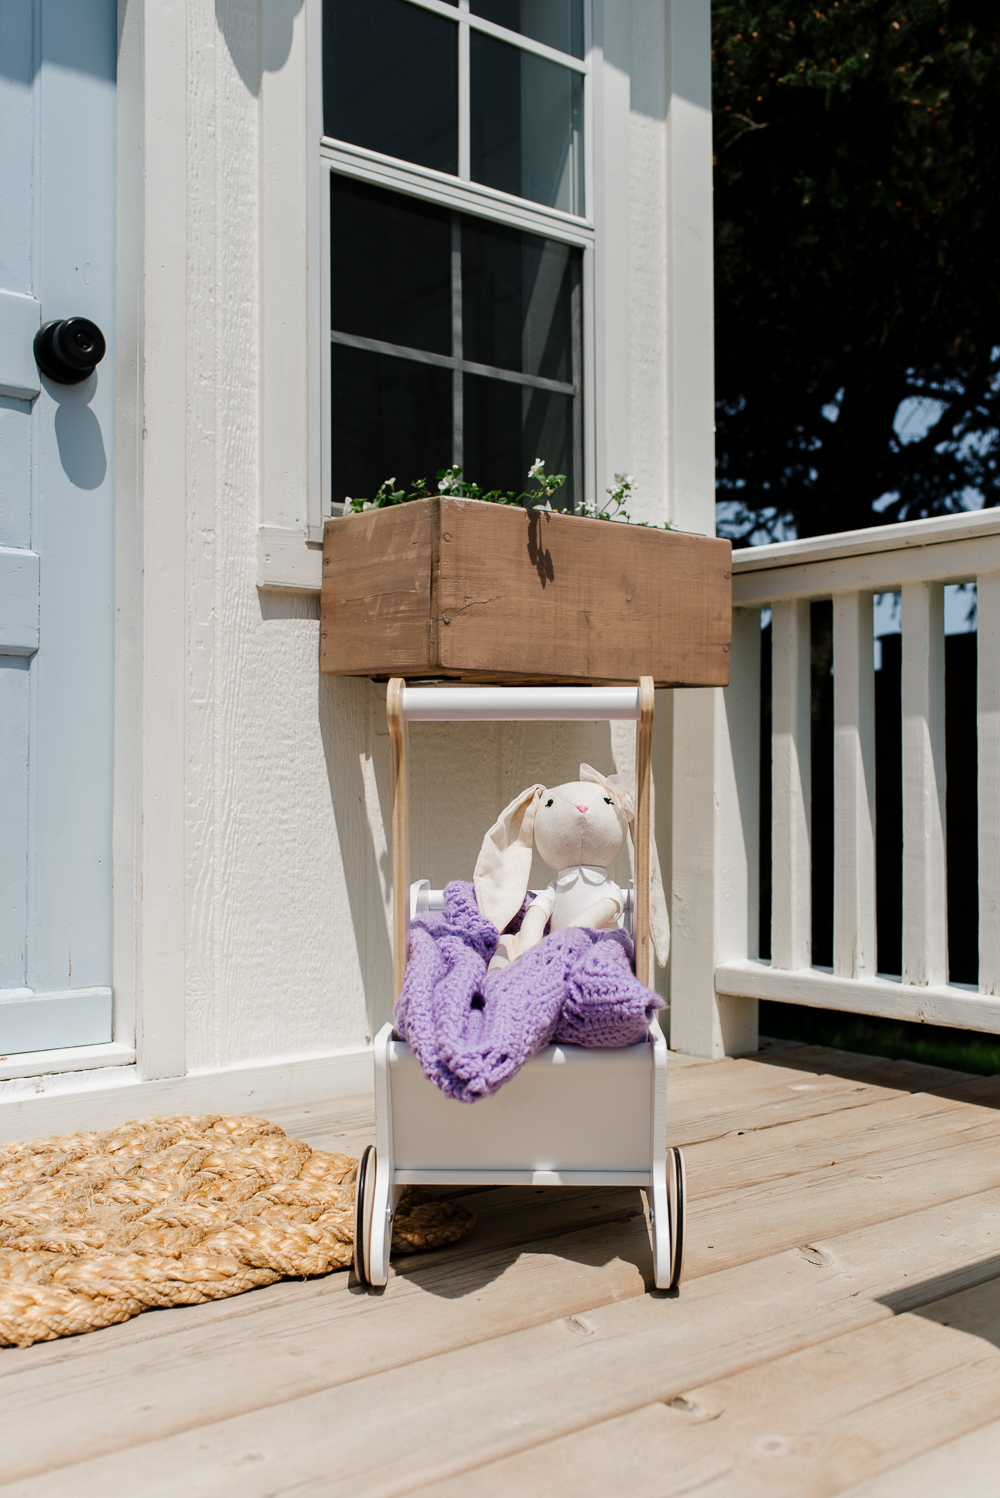
We finished the exterior with a few sweet details, like these handmade window boxes. I really love the whimsical look of window boxes and wanted to include them in the playhouse design. Nick built these ones for the front windows, and every spring the girls help me plant a few simple flowers in these boxes, which will be overflowing with blooms by the middle of the summer.
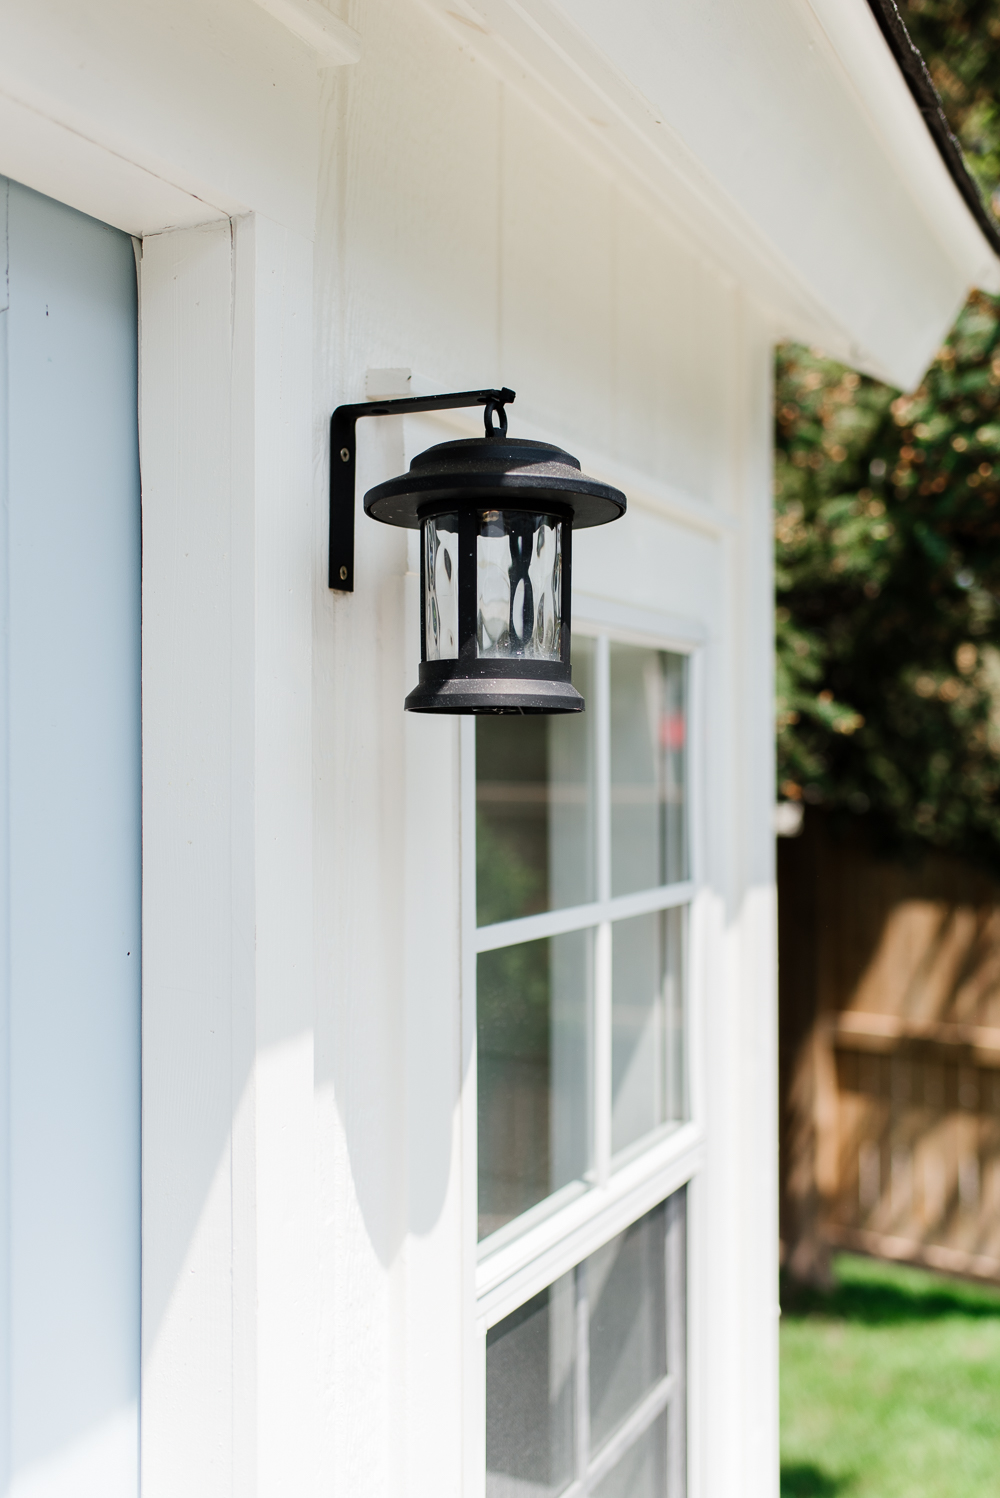
We also added these hanging lanterns which give off a nice glow in the evenings. We simply used solar-powered garden lights, discarded the ground stake, and hung them on brackets on either side of the door.
The Interior
The interior of the playhouse is just so sweet and the girls and I had a lot of fun decorating it. We wanted to recreate the look and feel of a cozy little home and I think we did a pretty good job!
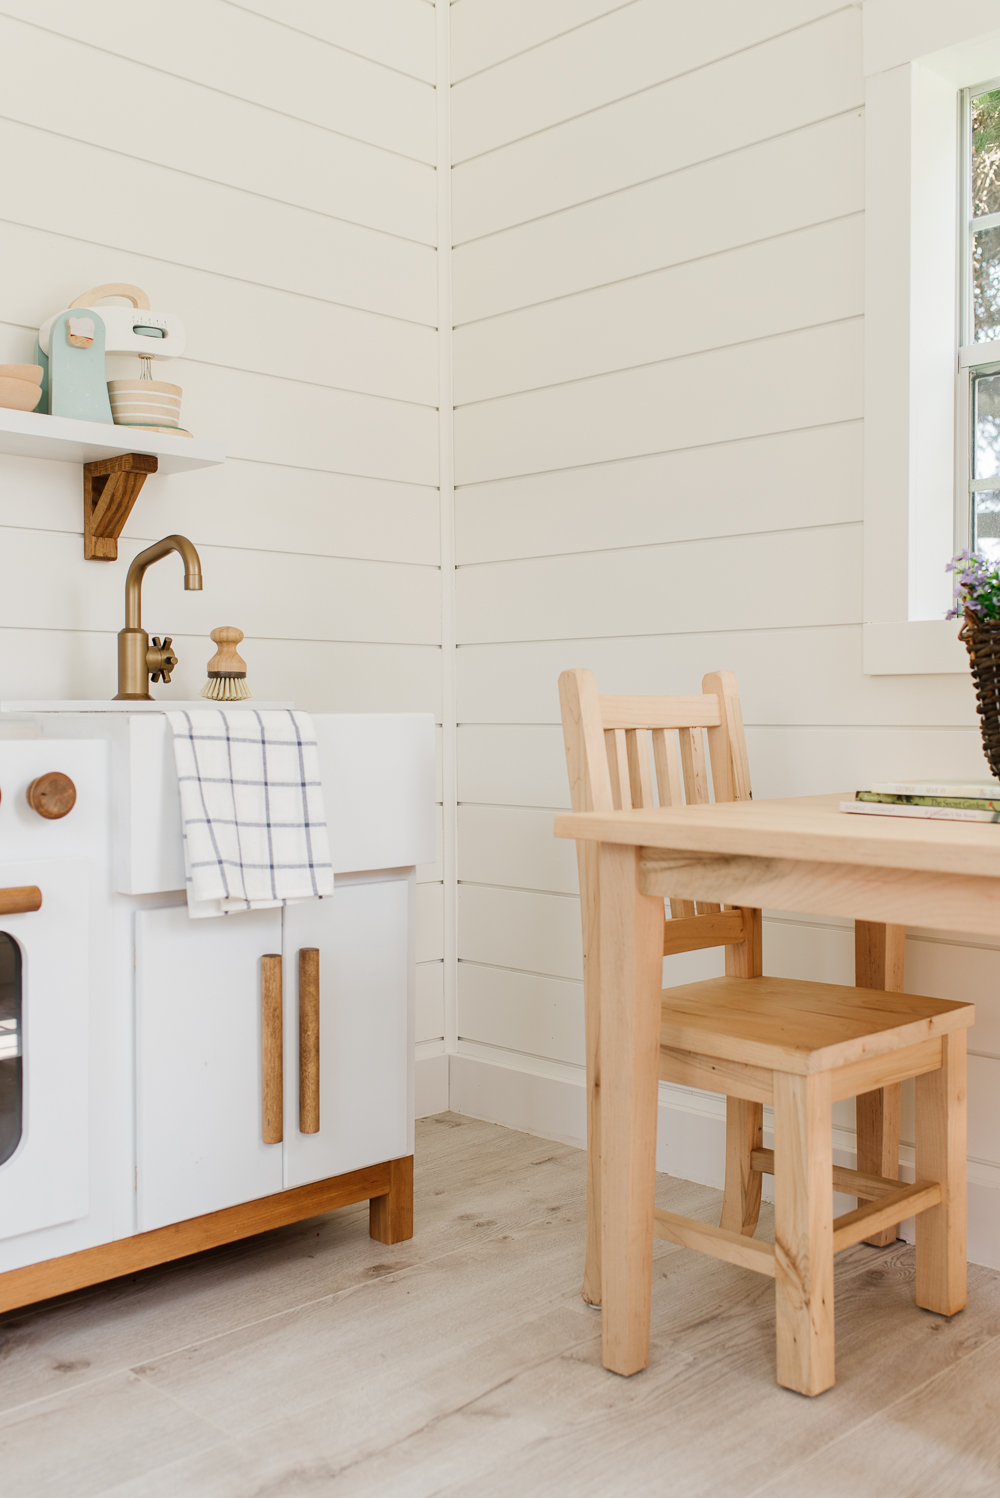
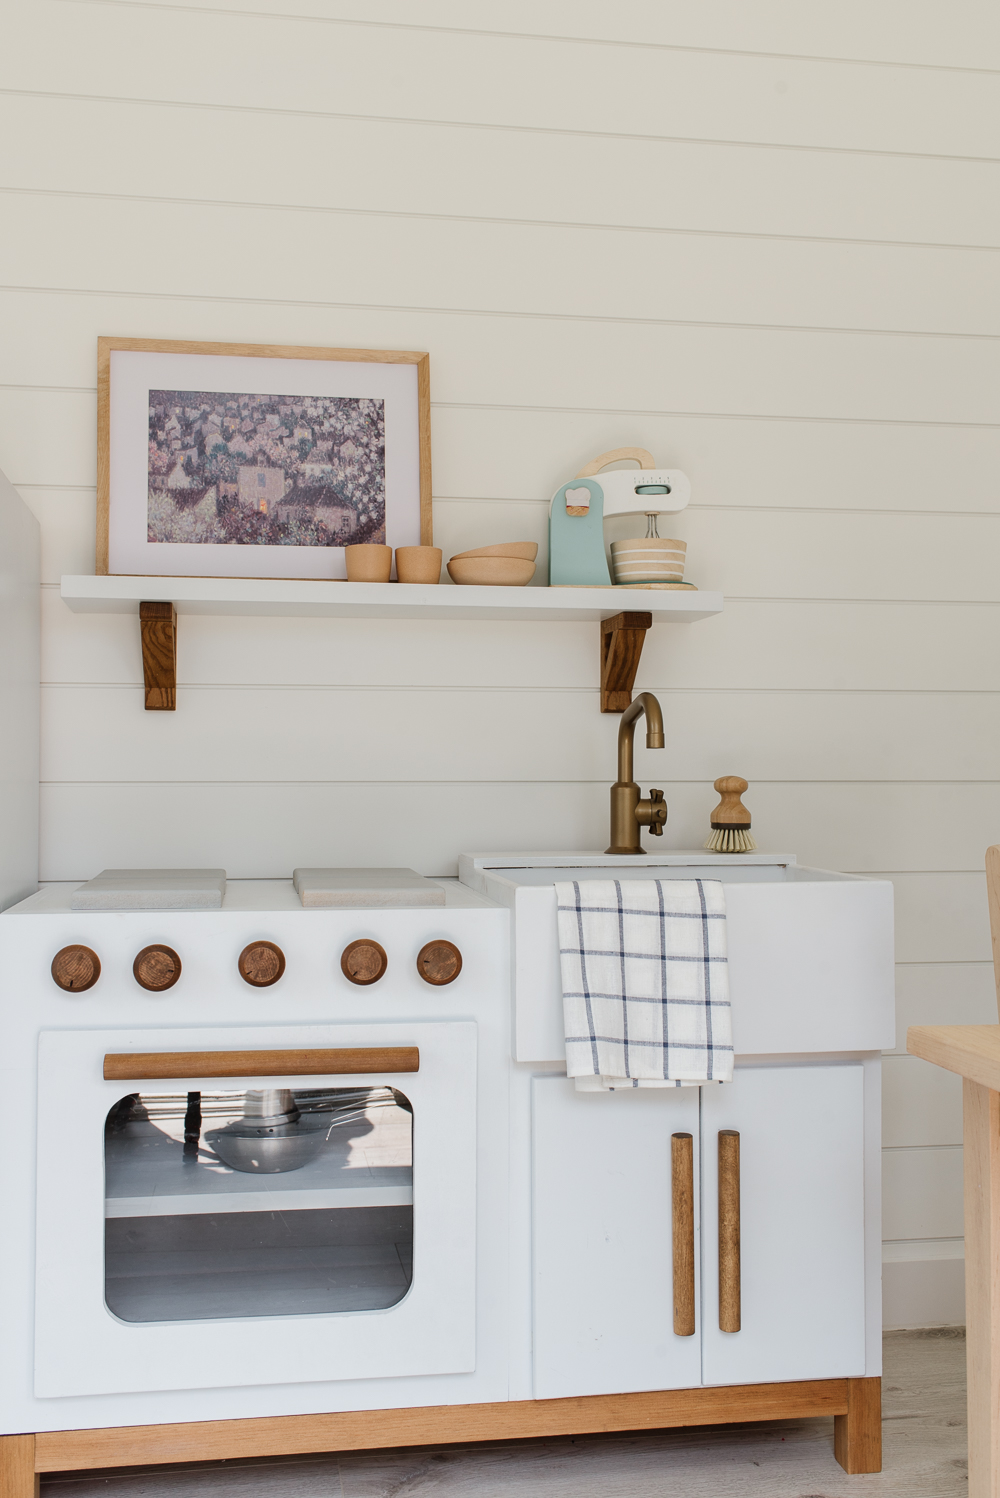
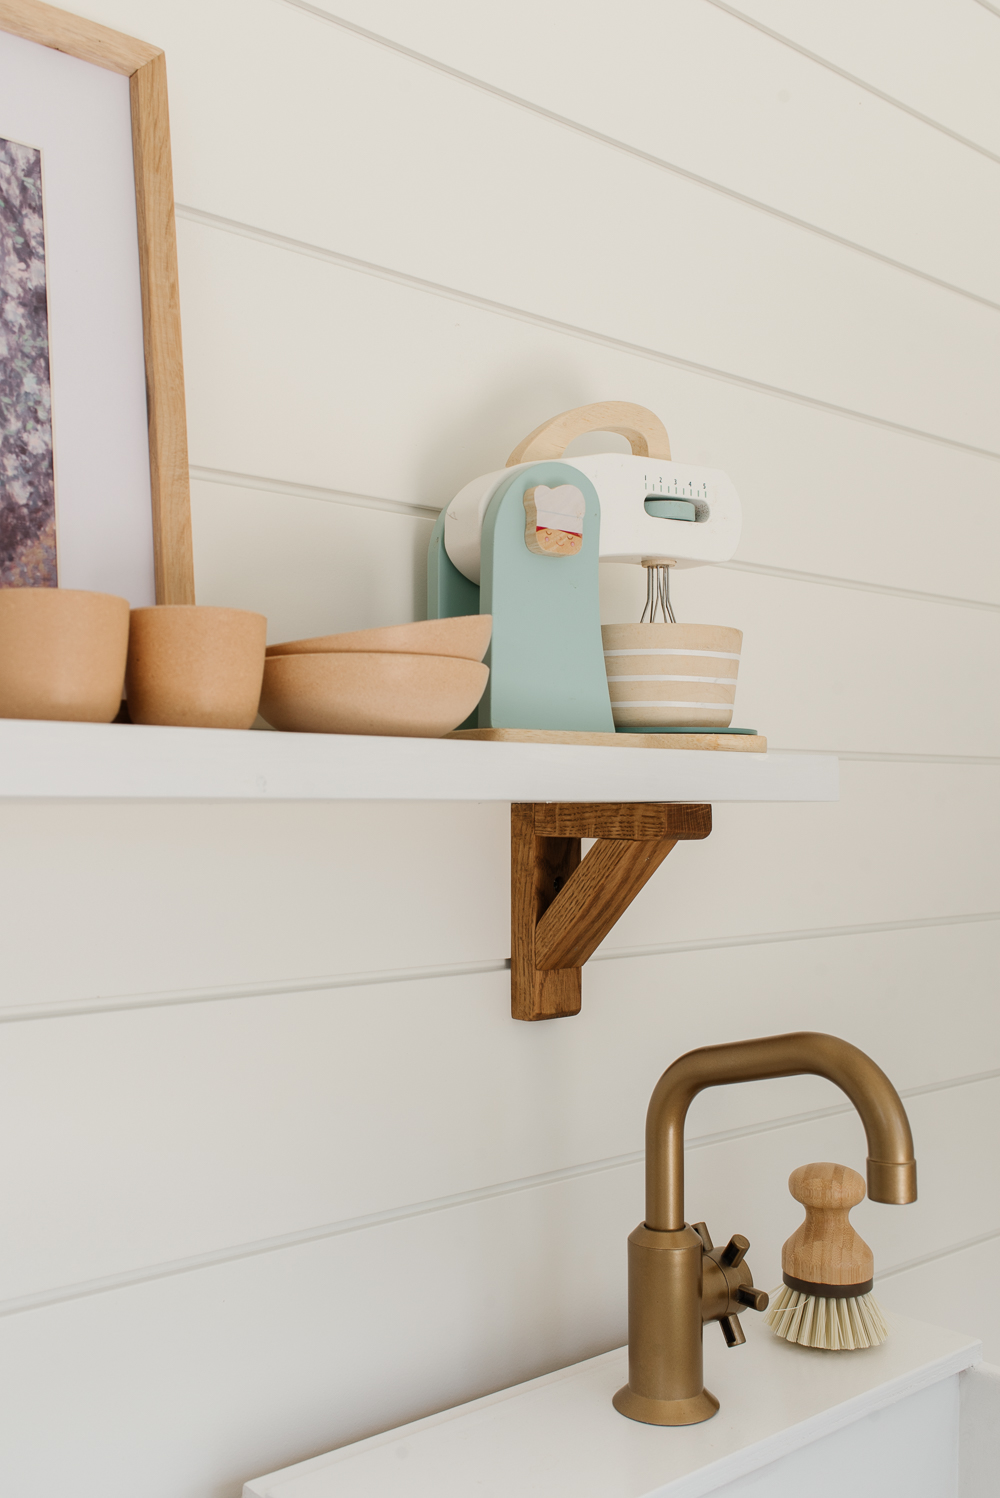
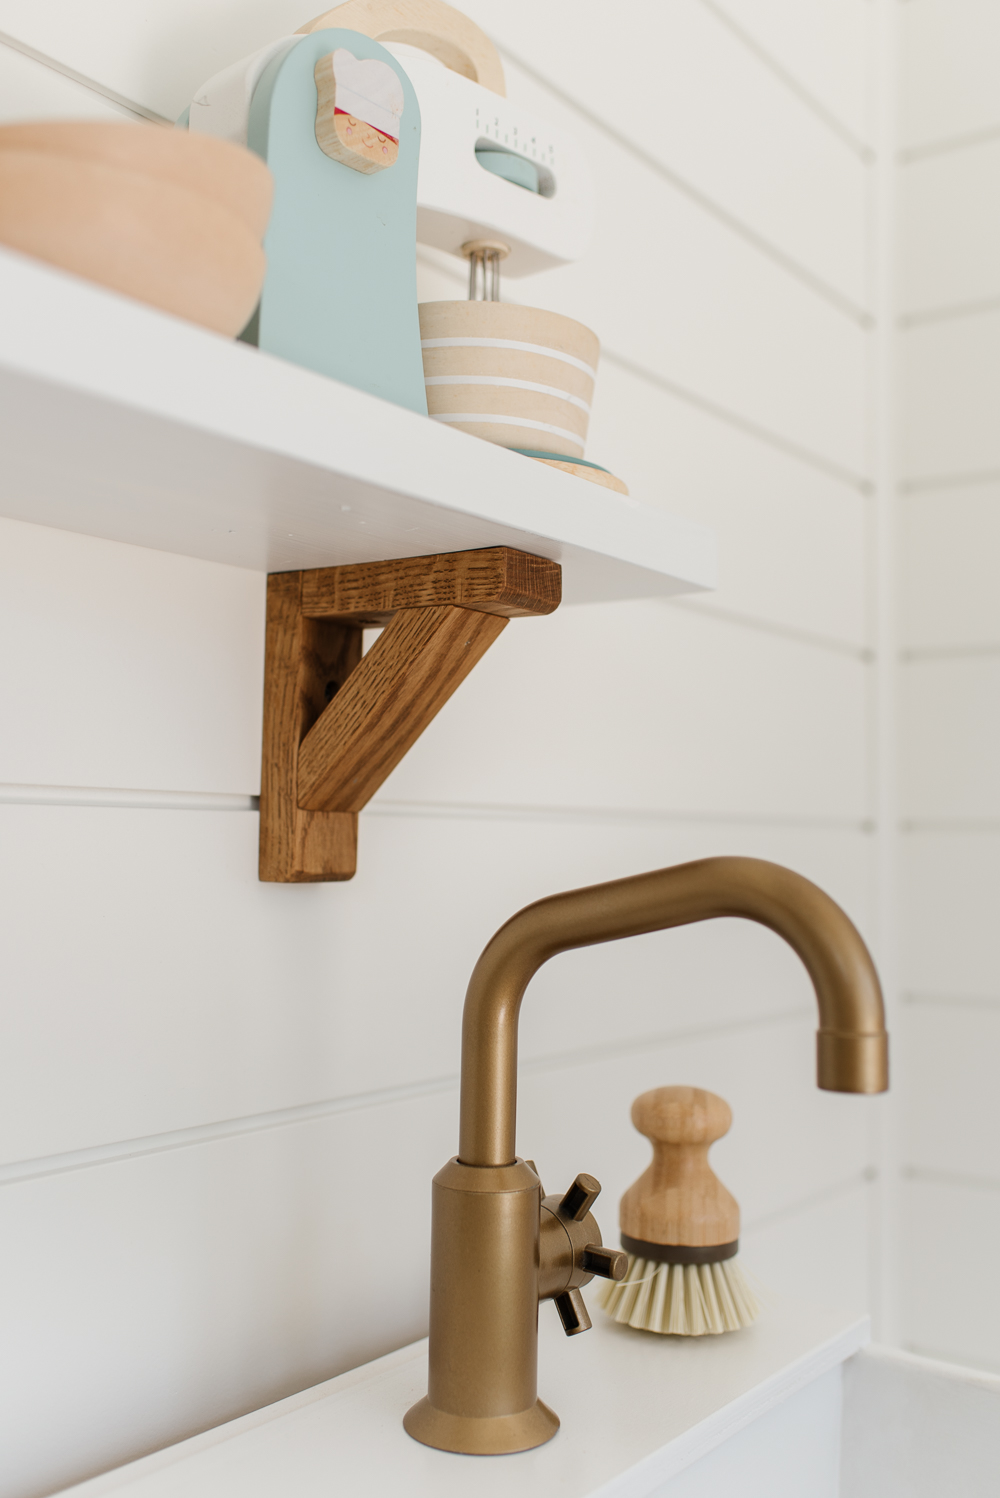
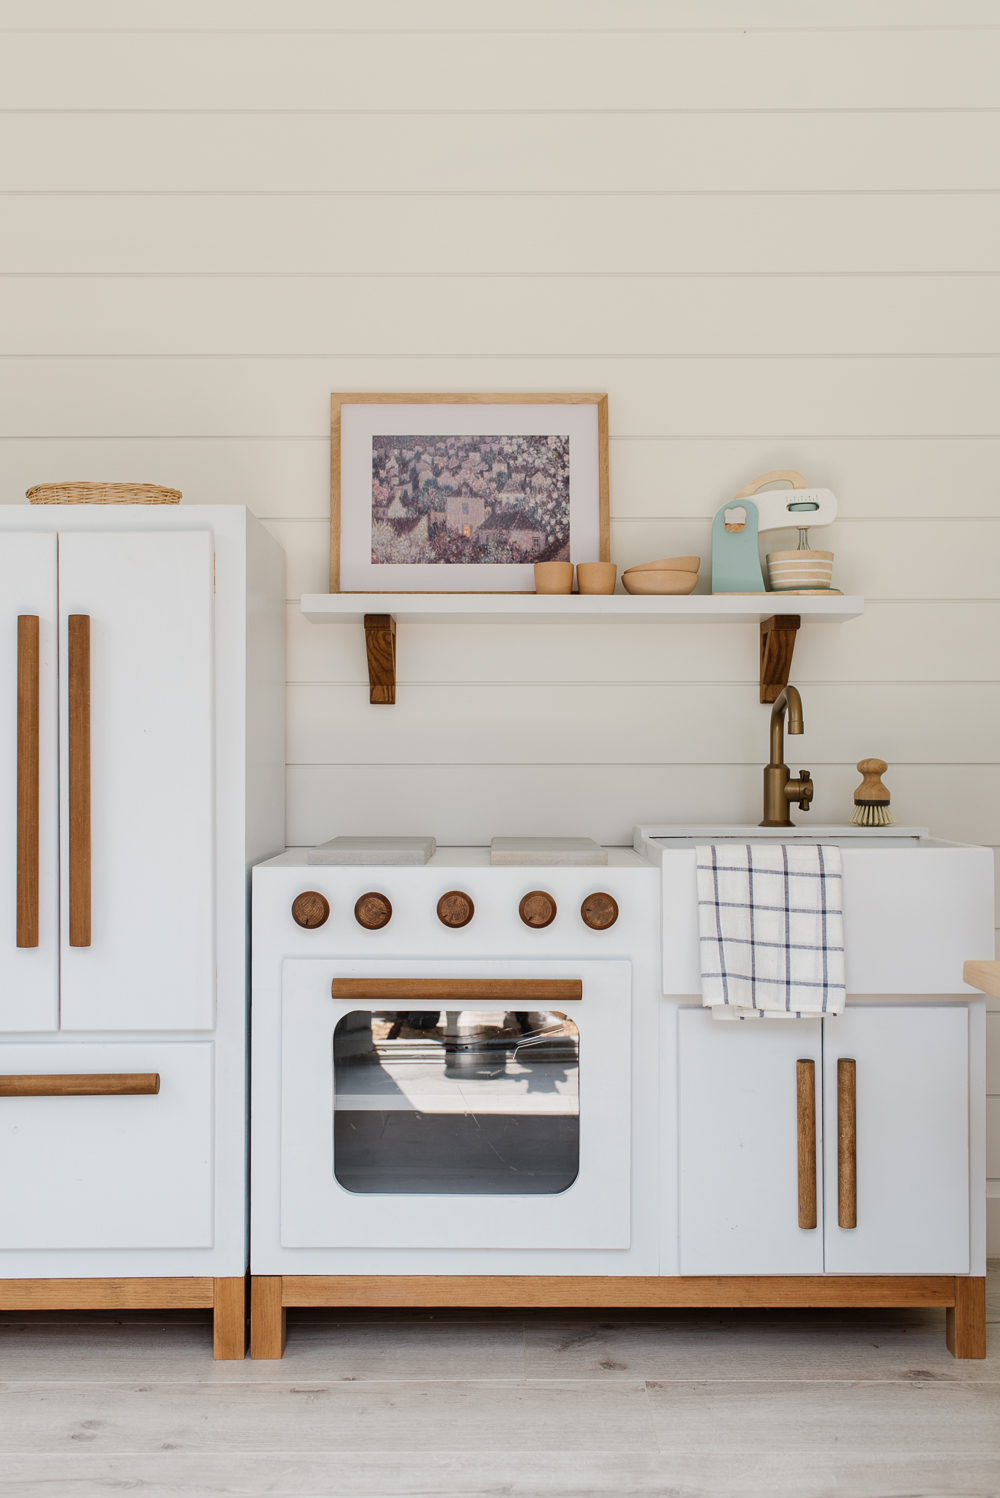
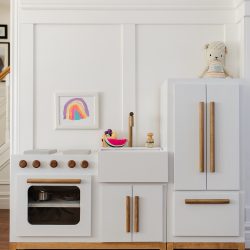
Nick built this adorable play kitchen and it fits perfectly along the back wall of the playhouse. We added a single shelf with brackets where we display art and some of their kitchen accessories. We filled the kitchen with the cutest felt play food and accessories like a mixer, pots and pans, dish brush, and kitchen towel.
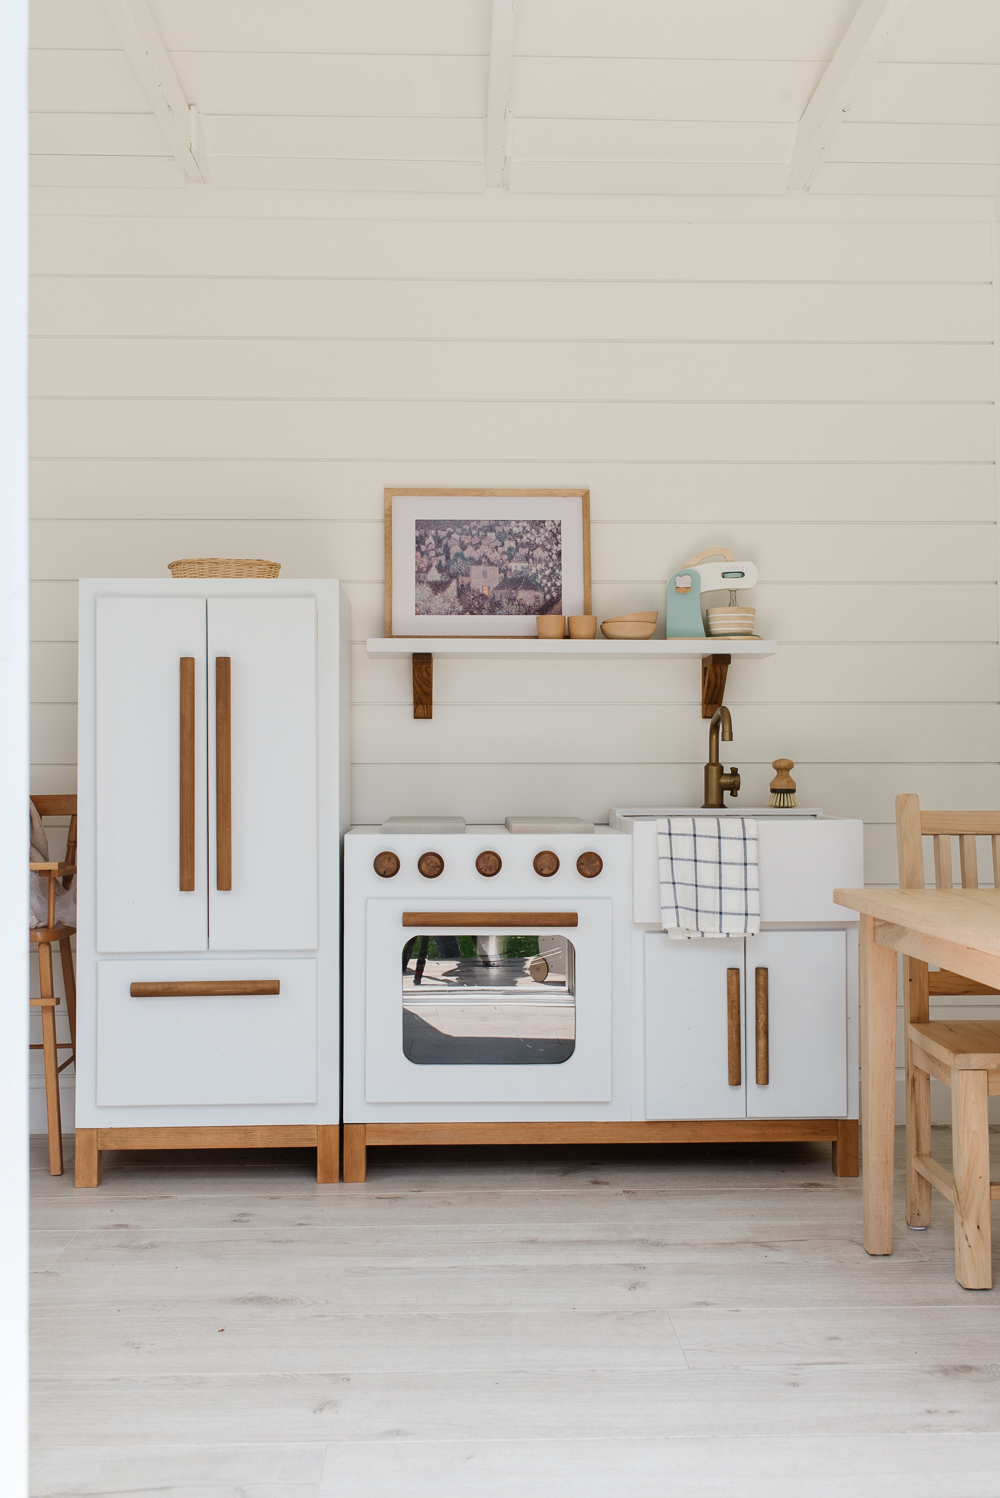
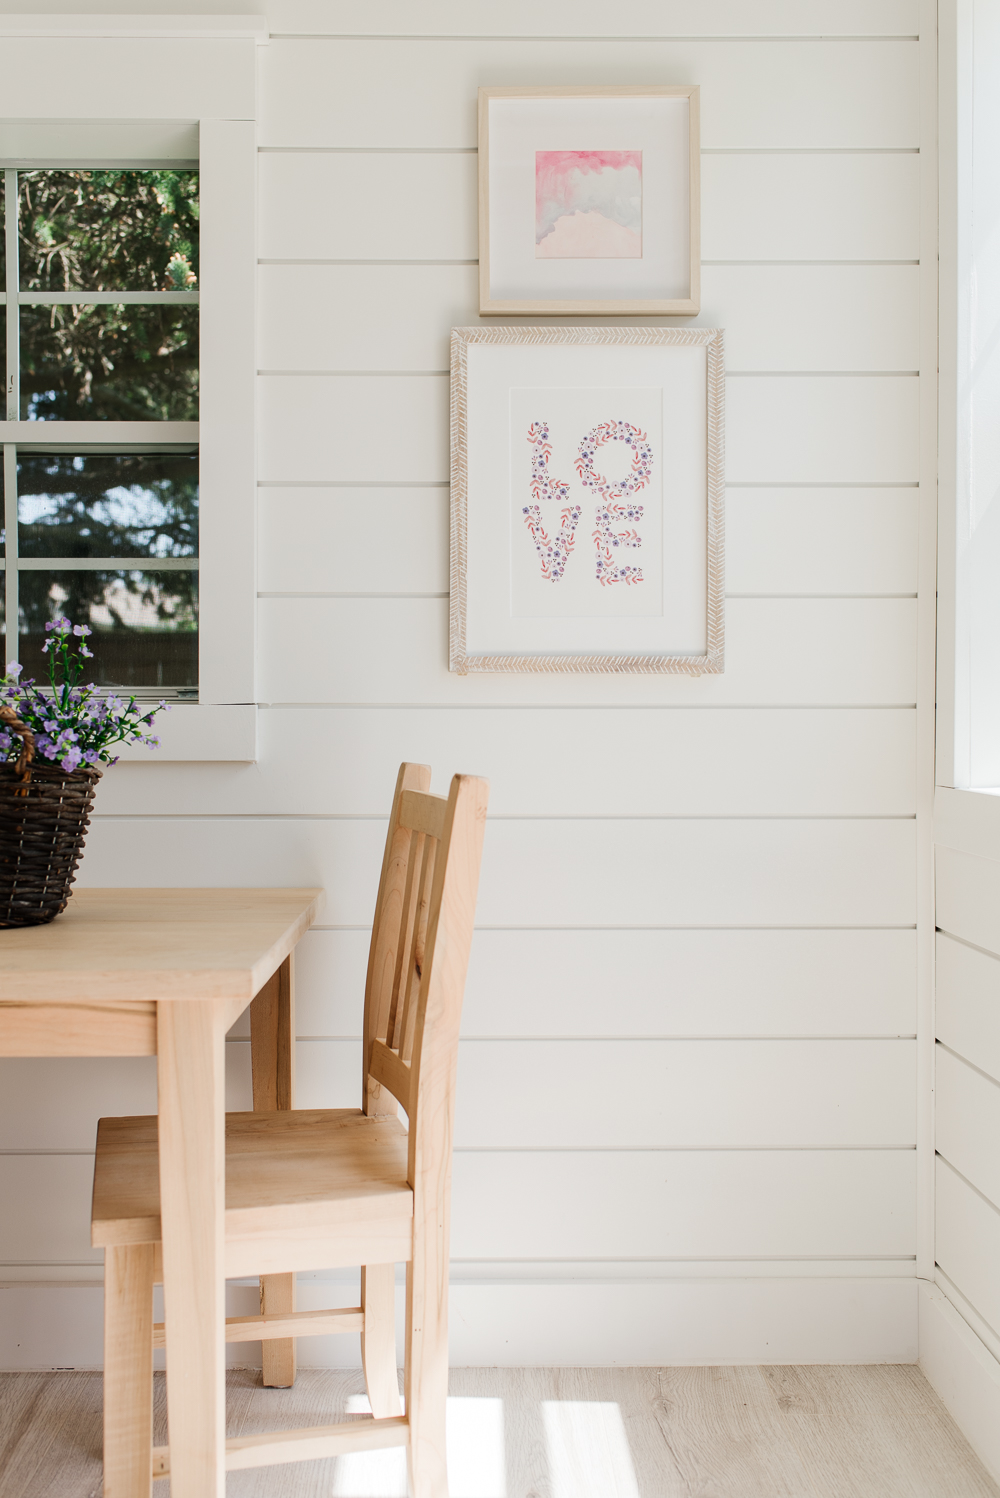
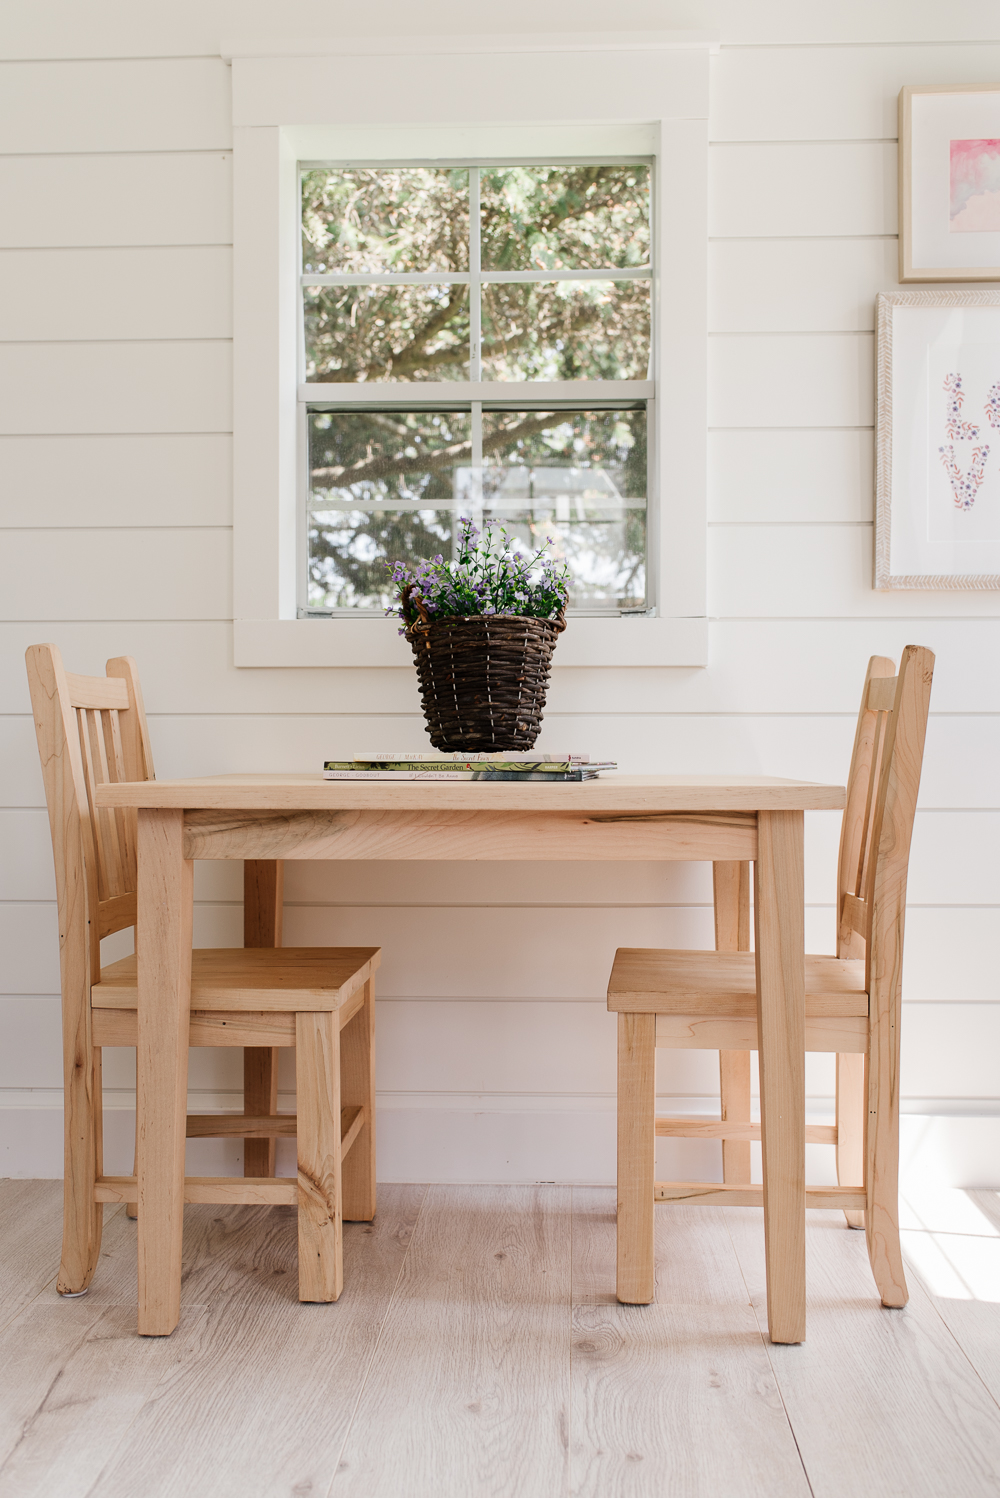
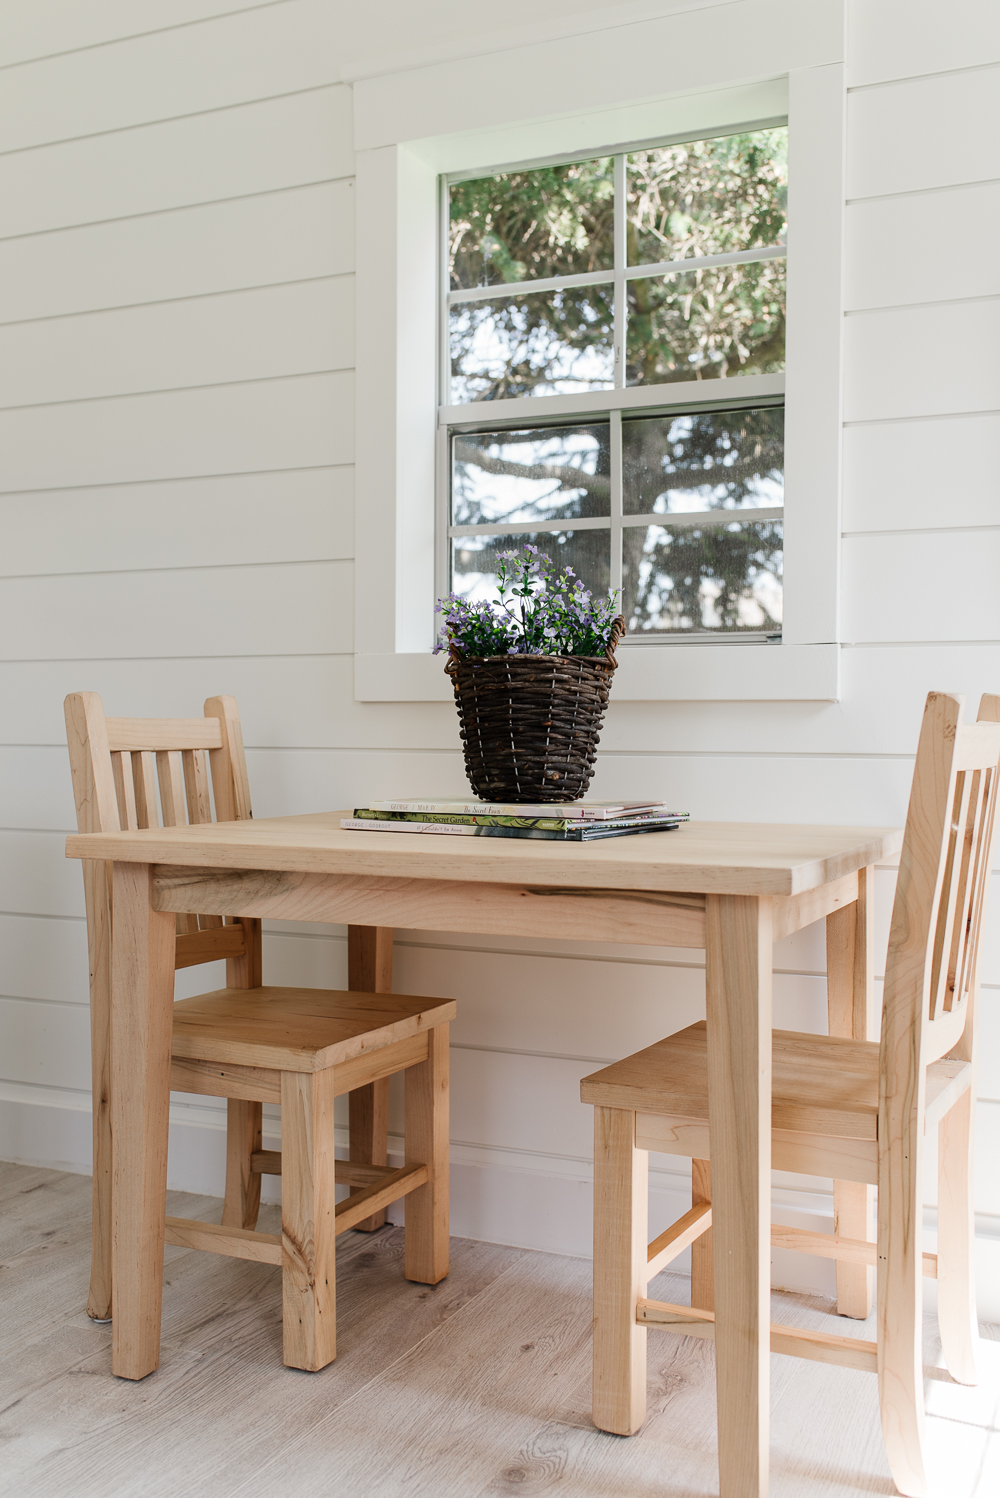
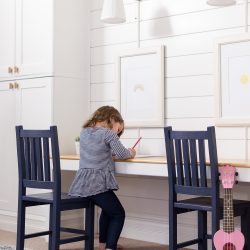
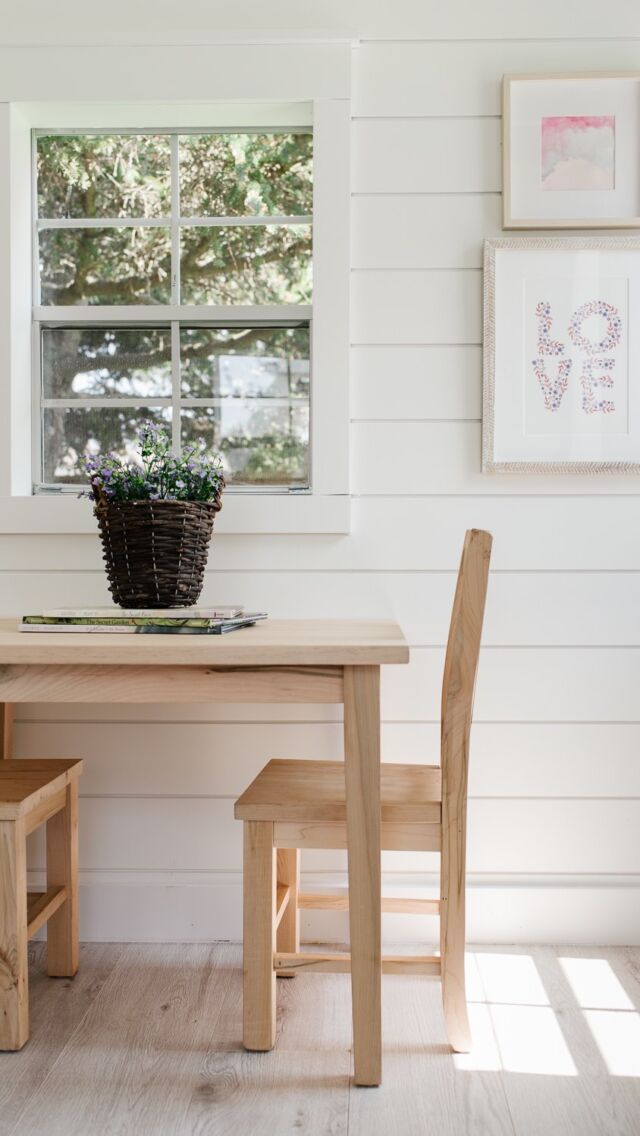
We added this locally-made kids’ table and two chairs, which gives them the perfect spot to serve dinner! The girls also really like to spend time out here crafting, colouring, and reading, so this table and chairs have really come in handy.
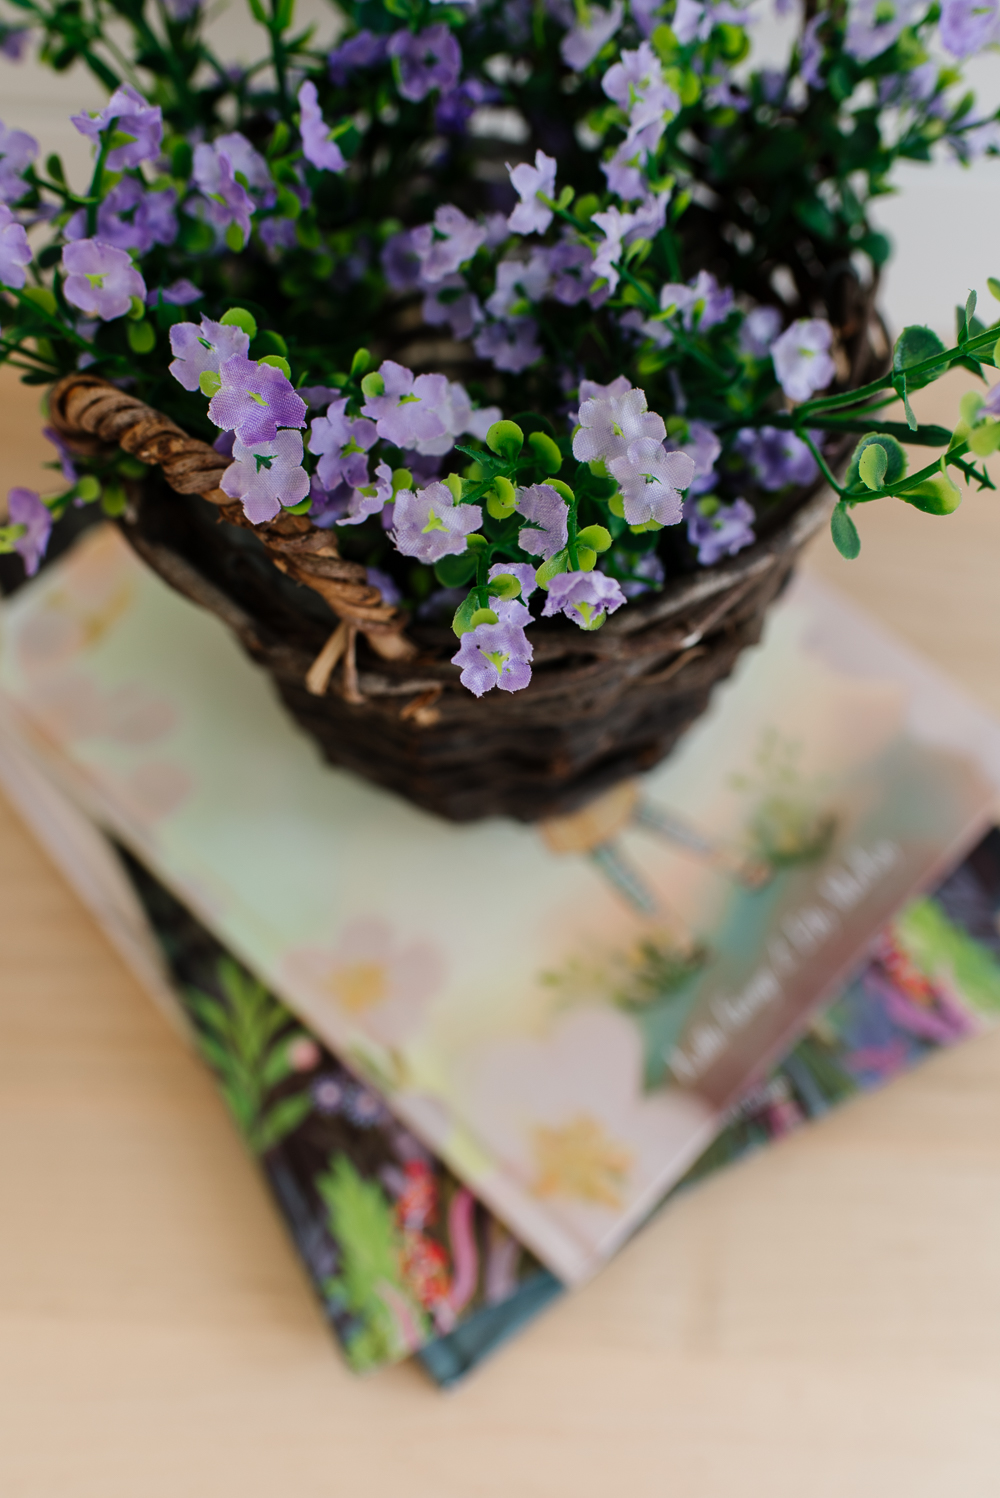
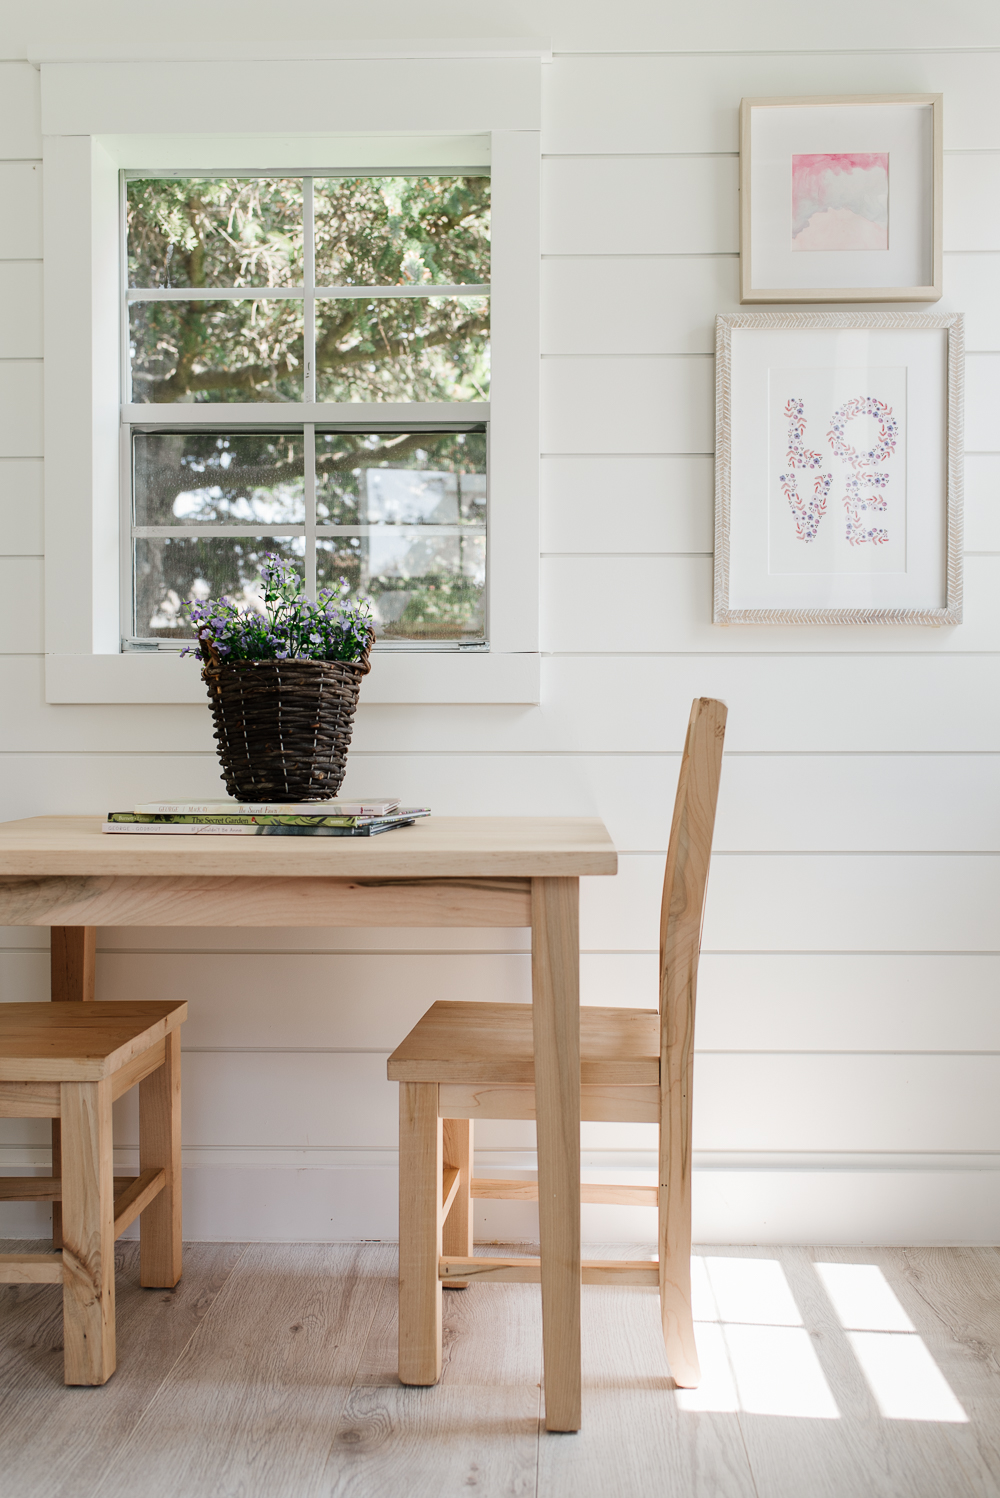
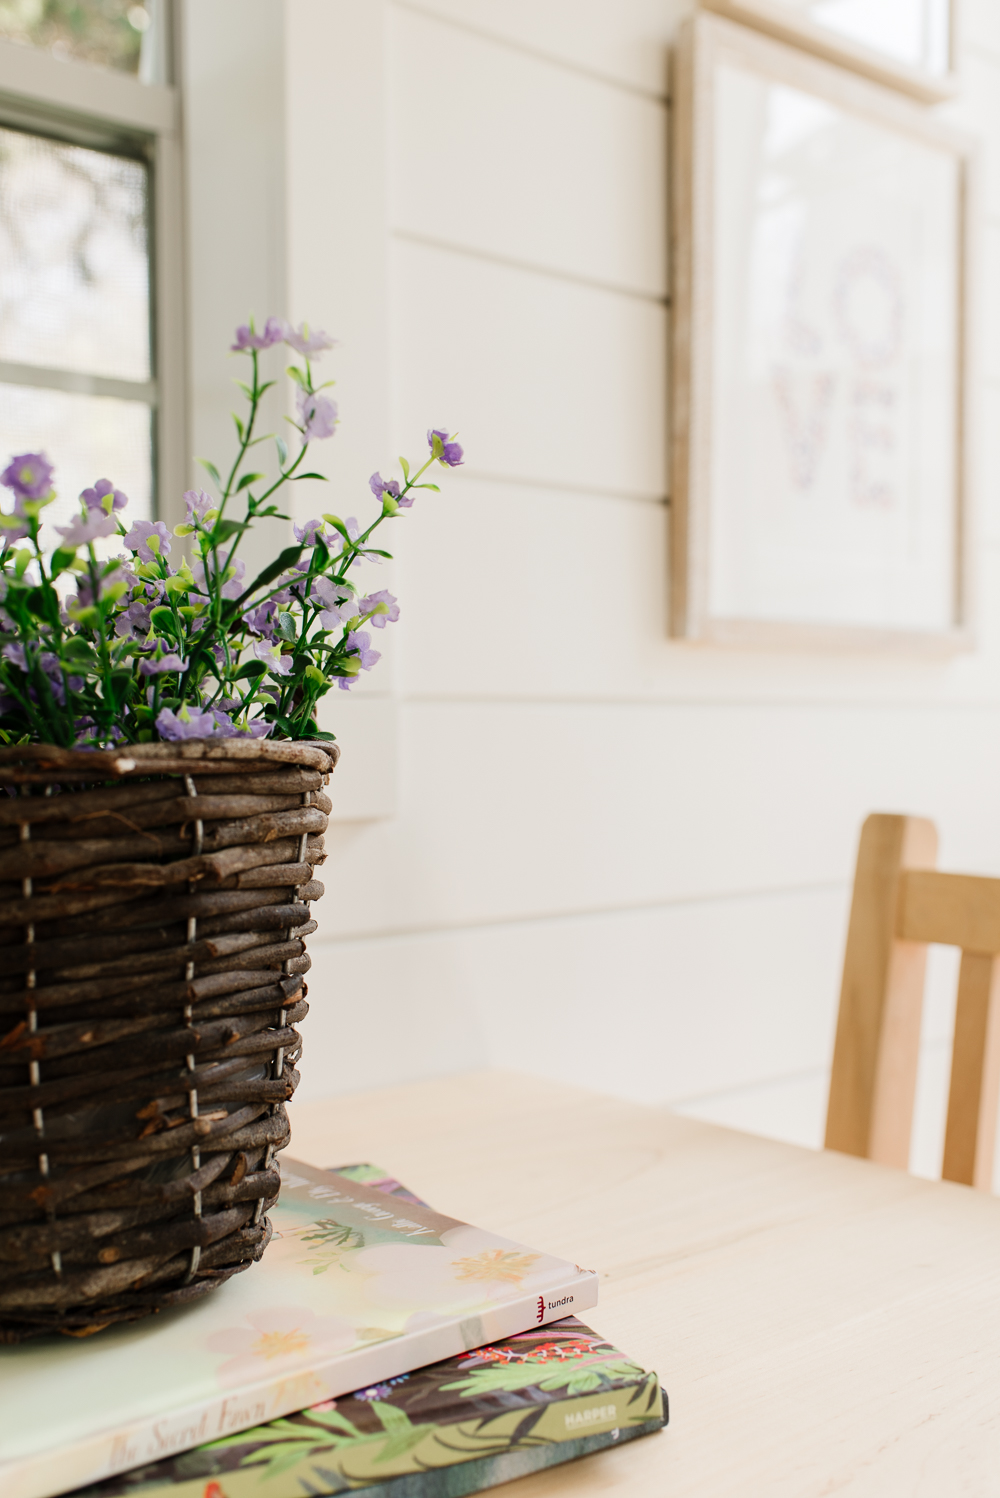
Playful children-inspired art adorns the walls and adds a magical touch, like these watercolour hearts and vintage summer landscape prints. Zoe even made a beautiful watercolour painting to coordinate with them. They are all framed in simple wood frames. I remove the glass or use frames with plexiglass in case any of the pictures are knocked off the walls while the kids are playing.
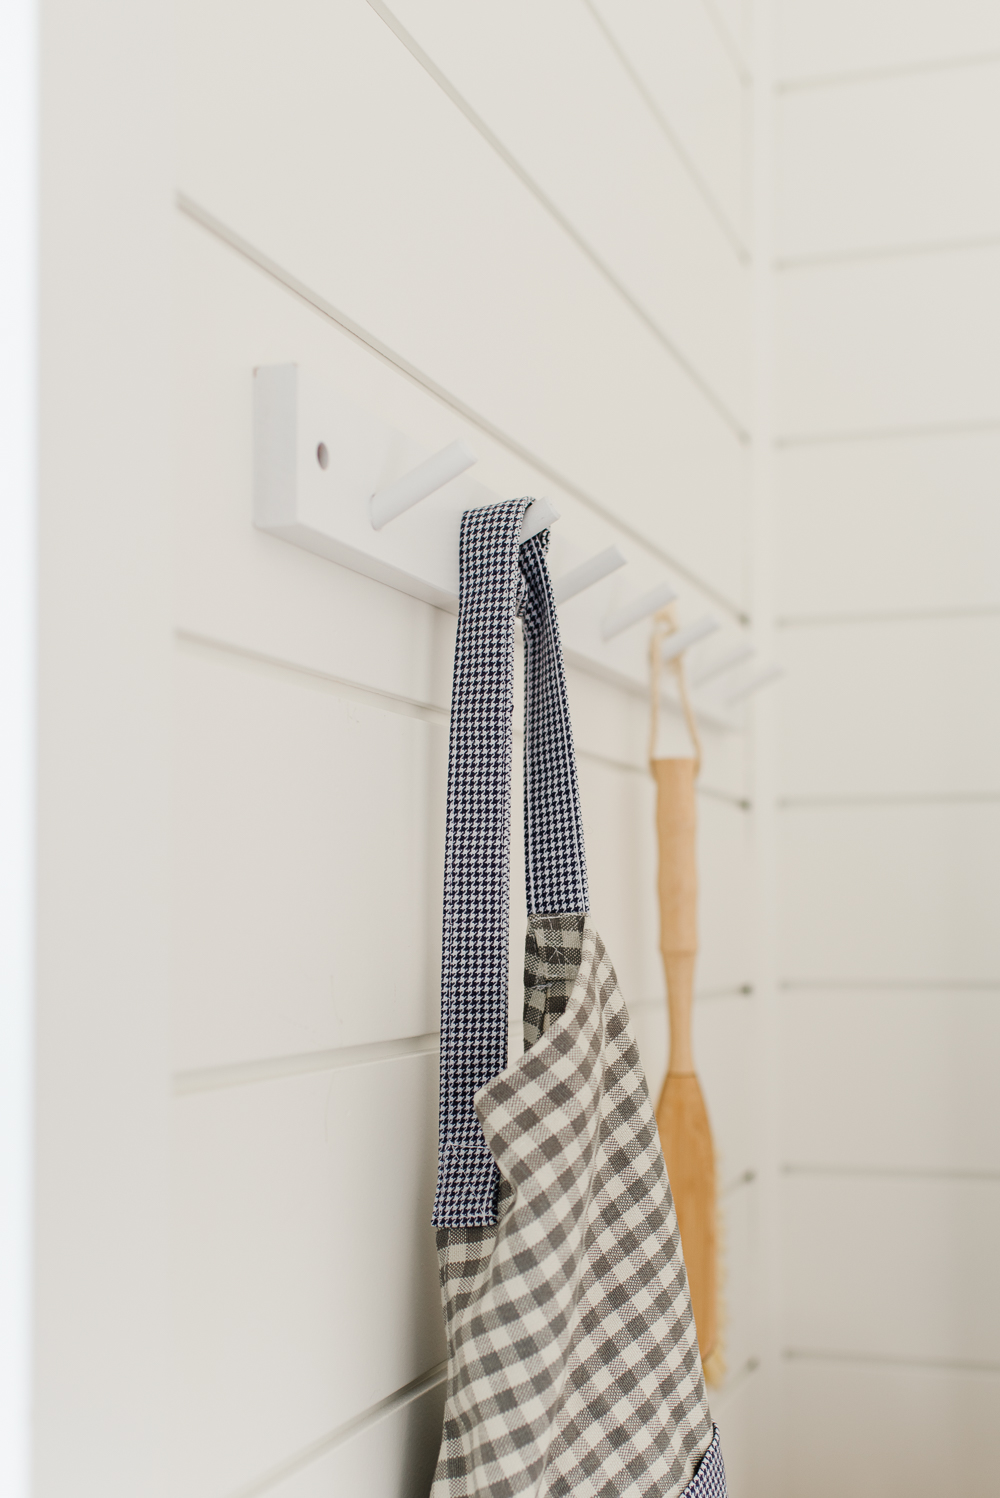
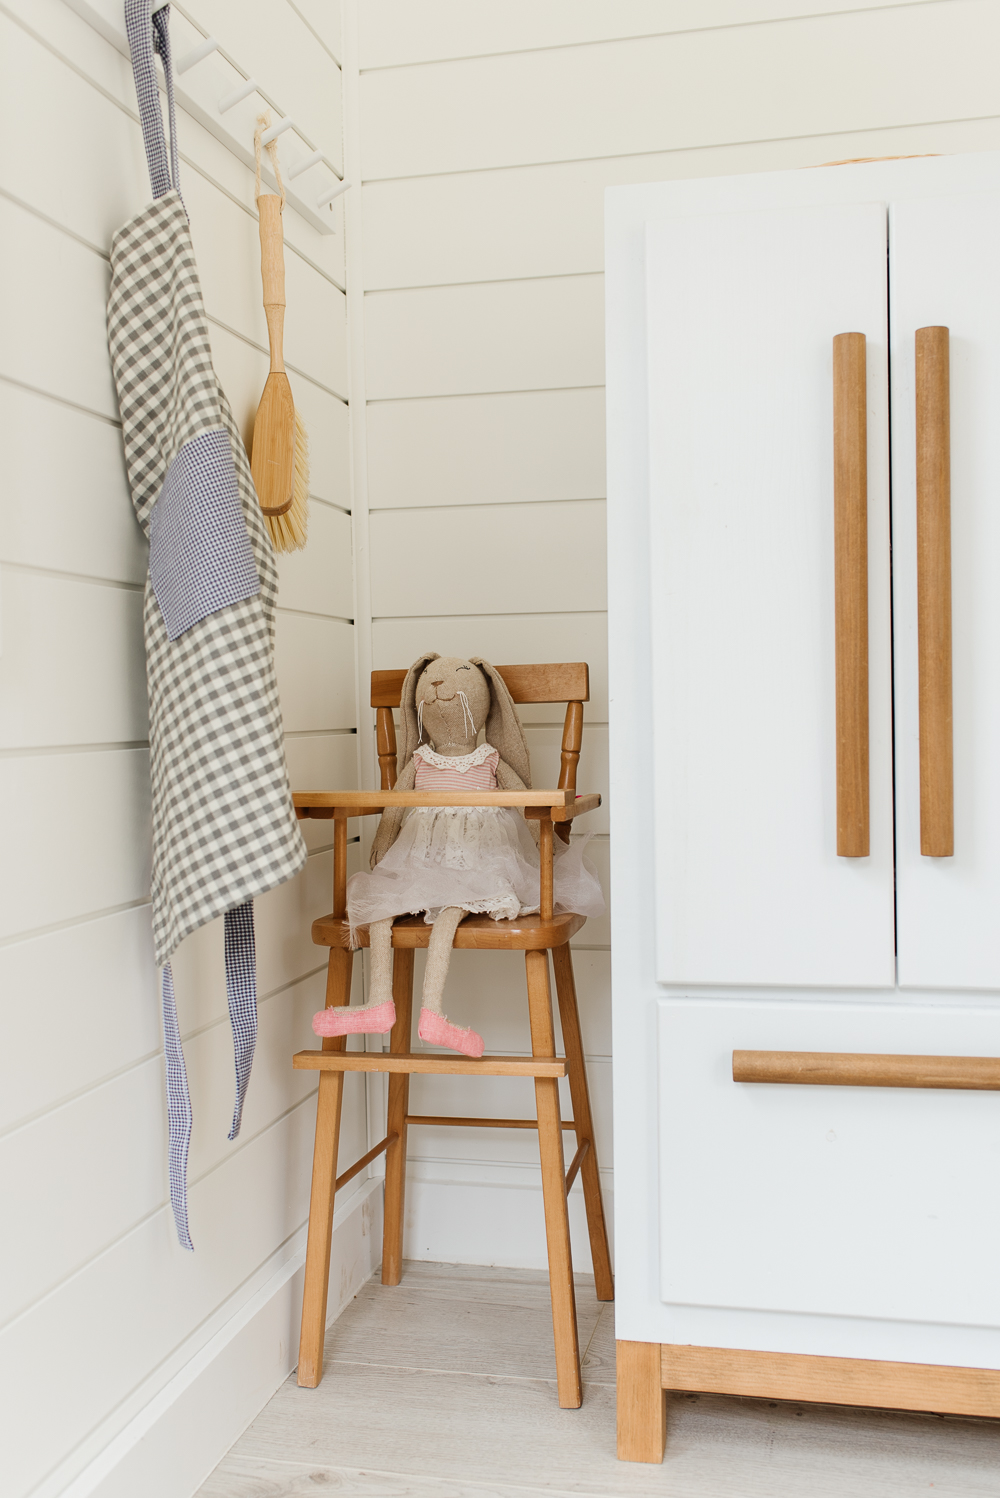
These simple white wall hooks also act as easy wall decor while giving us a spot to hang a play apron and dust broom.
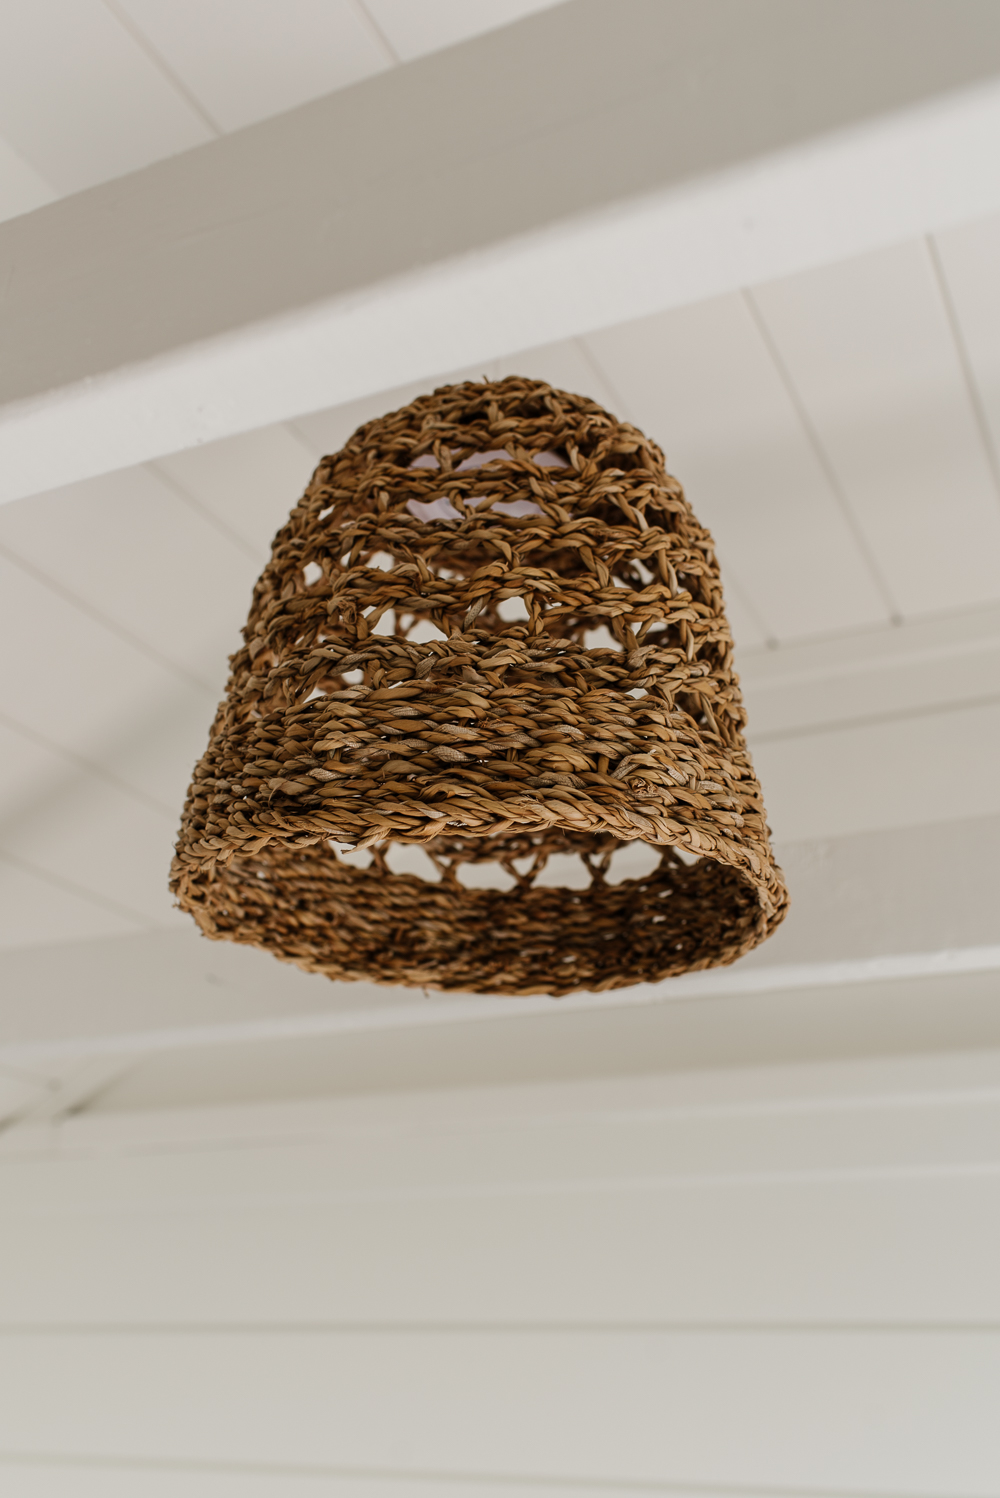
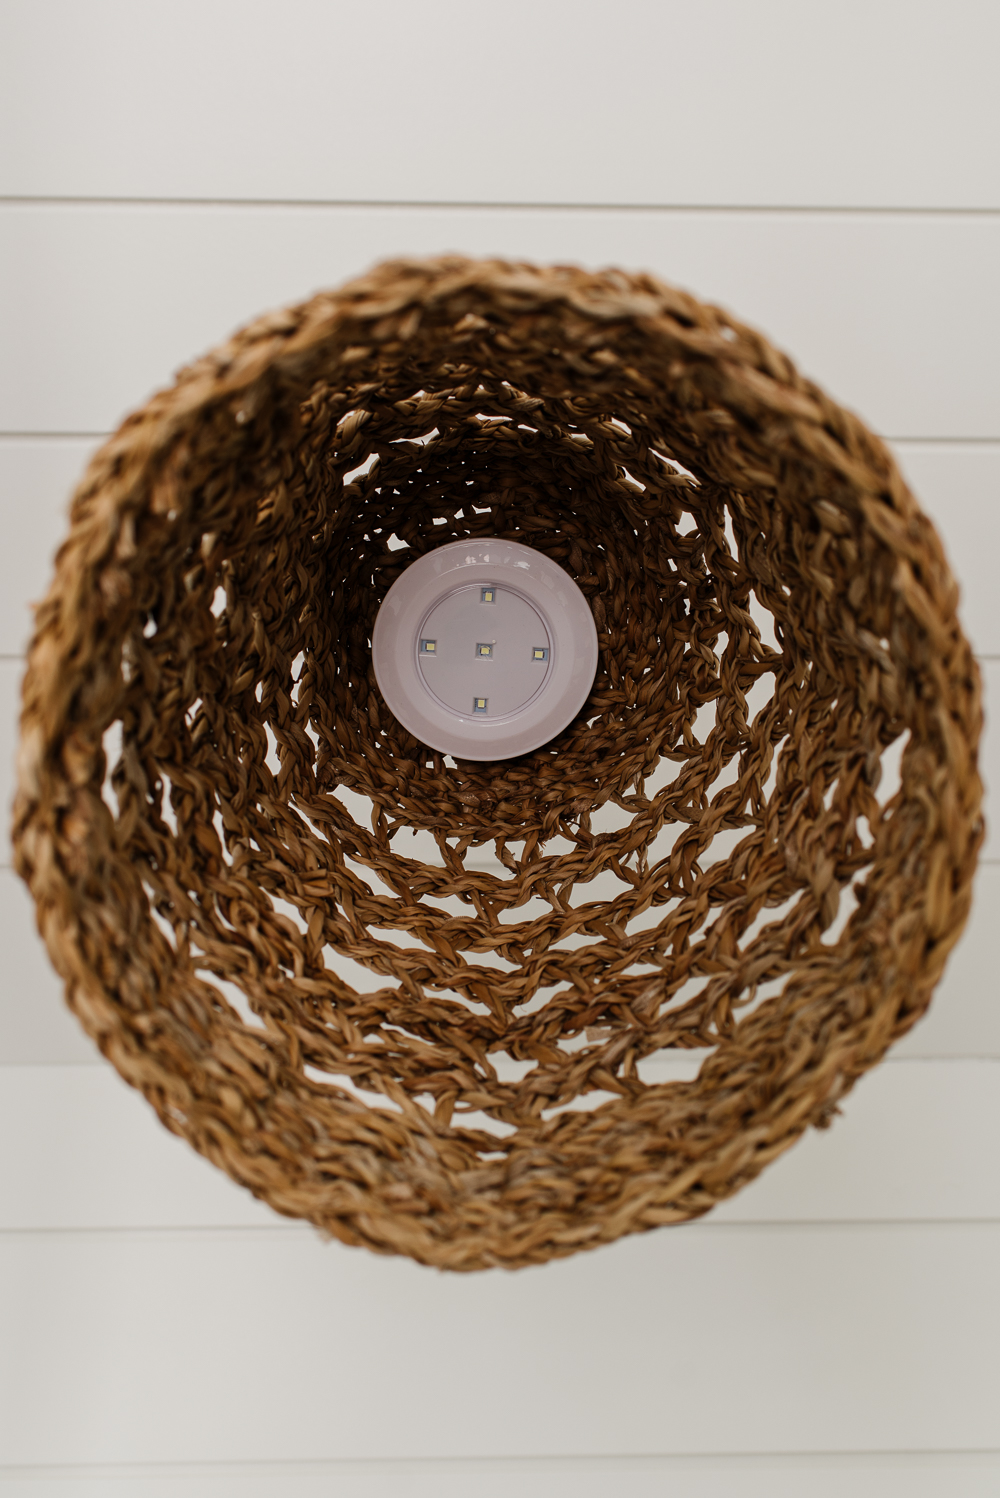
We also made these fun woven ceiling lights. We used inexpensive baskets, white rope, and battery-operated puck lights. We attached the puck lights to the inside of the baskets with double-sided tape and tied them to hooks in the ceiling using white rope. The girls use a remote to turn them on and off and it allows them to keep playing, even when the sun starts to set.

We put a lot of time and thought into this little space and we are so happy with how it turned out. It was so much fun collecting and incorporating all of the sweet little details that make it feel so playful and magical.
There is nothing more rewarding than seeing our girls and their friends enjoy their adorable playhouse, it made all of the hard work worth it!

Erika K says
Can you share the play house plans
Alicia says
Hi Erika, unfortunately we built this playhouse a few years ago and we never did draft up plans for it.
Lydia says
Is there an approximate total cost or cost breakdown?
Nick says
Hi Lydia,
It cost about $3,000 once all was complete!