Blindsgalore provided a product for this space.
Three months ago Nick and I embarked on our biggest project to date. We decided to take on a complete remodel of our shared family cottage. It’s been an incredible journey and we’ve learnt a lot along the way. While we originally hoped to complete the remodel in two months in the end it took three months, a lot of hard work and many late nights. It feels incredible to have completed this project and we couldn’t be happier with how it’s all come together.
Our Cottage Remodel Room by Room
Kitchen
Dining Room
Living Room
Primary Bedroom
Bathroom
Bunk Room
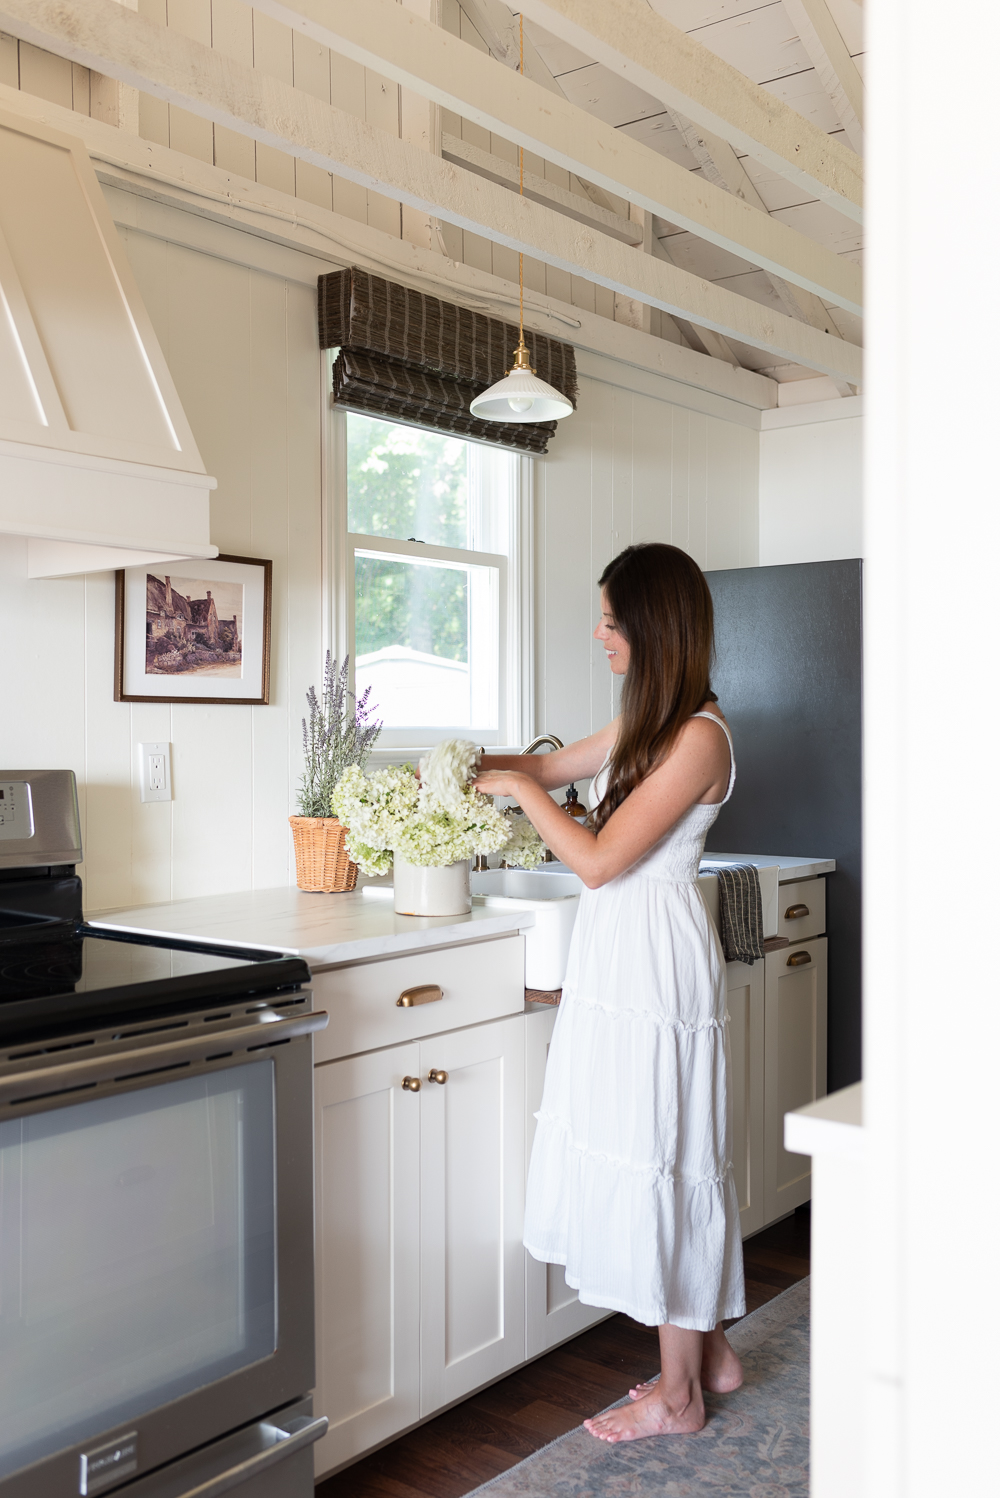
Built in the 1950s this sweet little 575-square-foot cottage is nestled at the water’s edge and encapsulates cottage life at its best. Nick’s grandfather purchased it in 1975 and Nick’s family has been enjoying it every summer since.
While it’s seen updates over the years, Nicks’ family graciously agreed to let us take on a complete remodel this spring. Drawing inspiration from the idyllic charm of the English seaside, we created a cozy and inviting space that feels timeless, yet incorporates all of the comforts of the modern-day conveniences we are accustomed to.
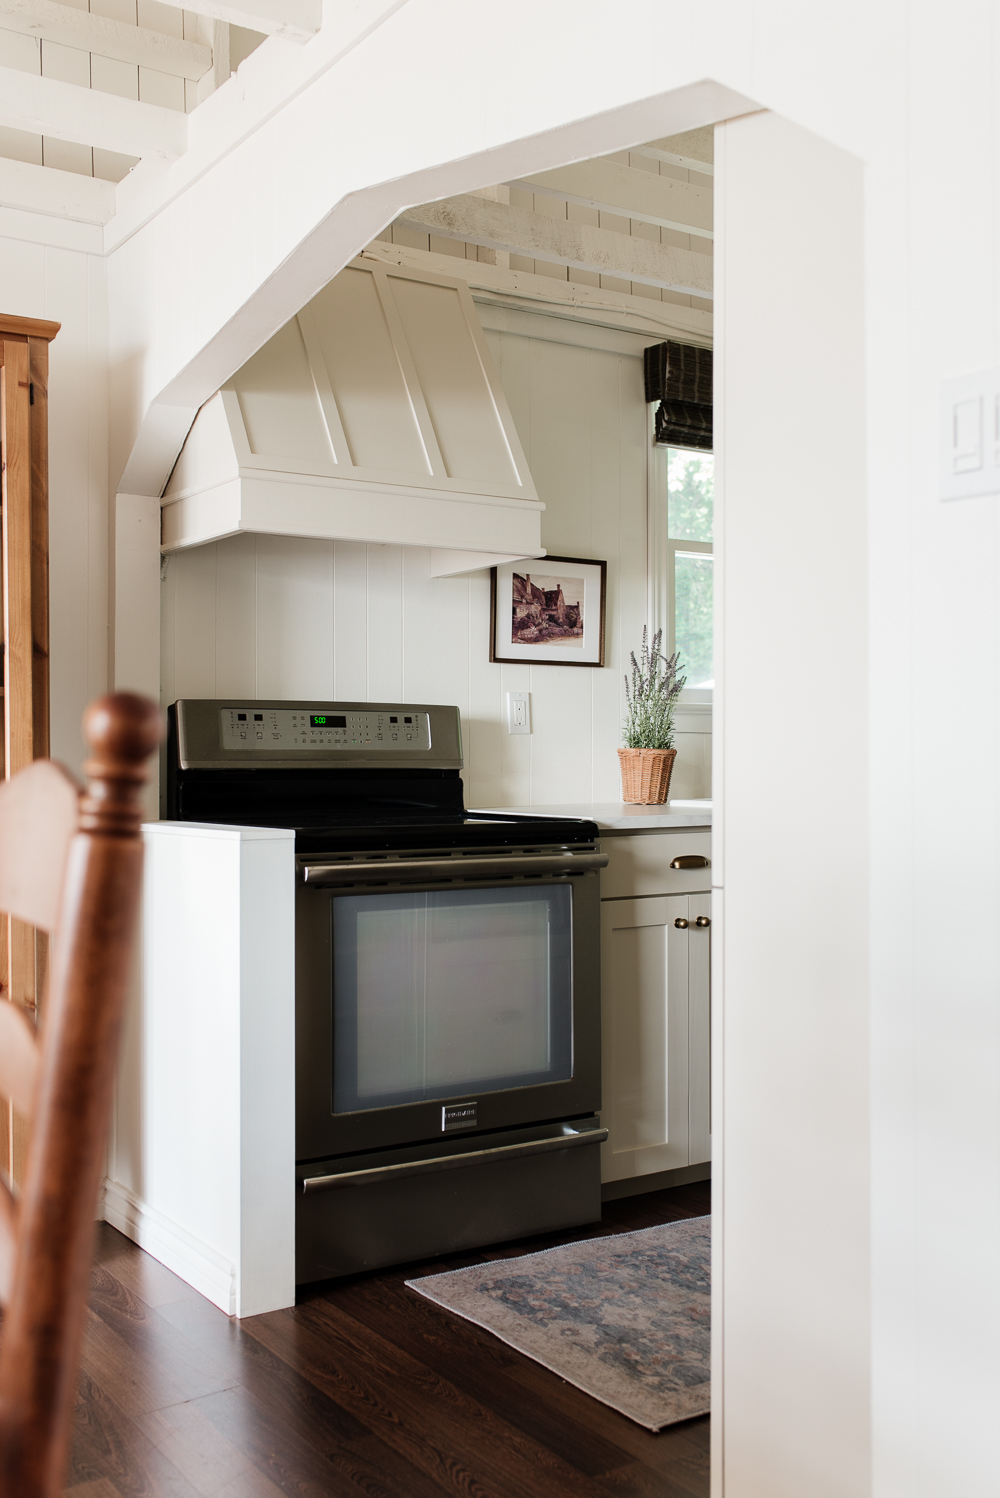
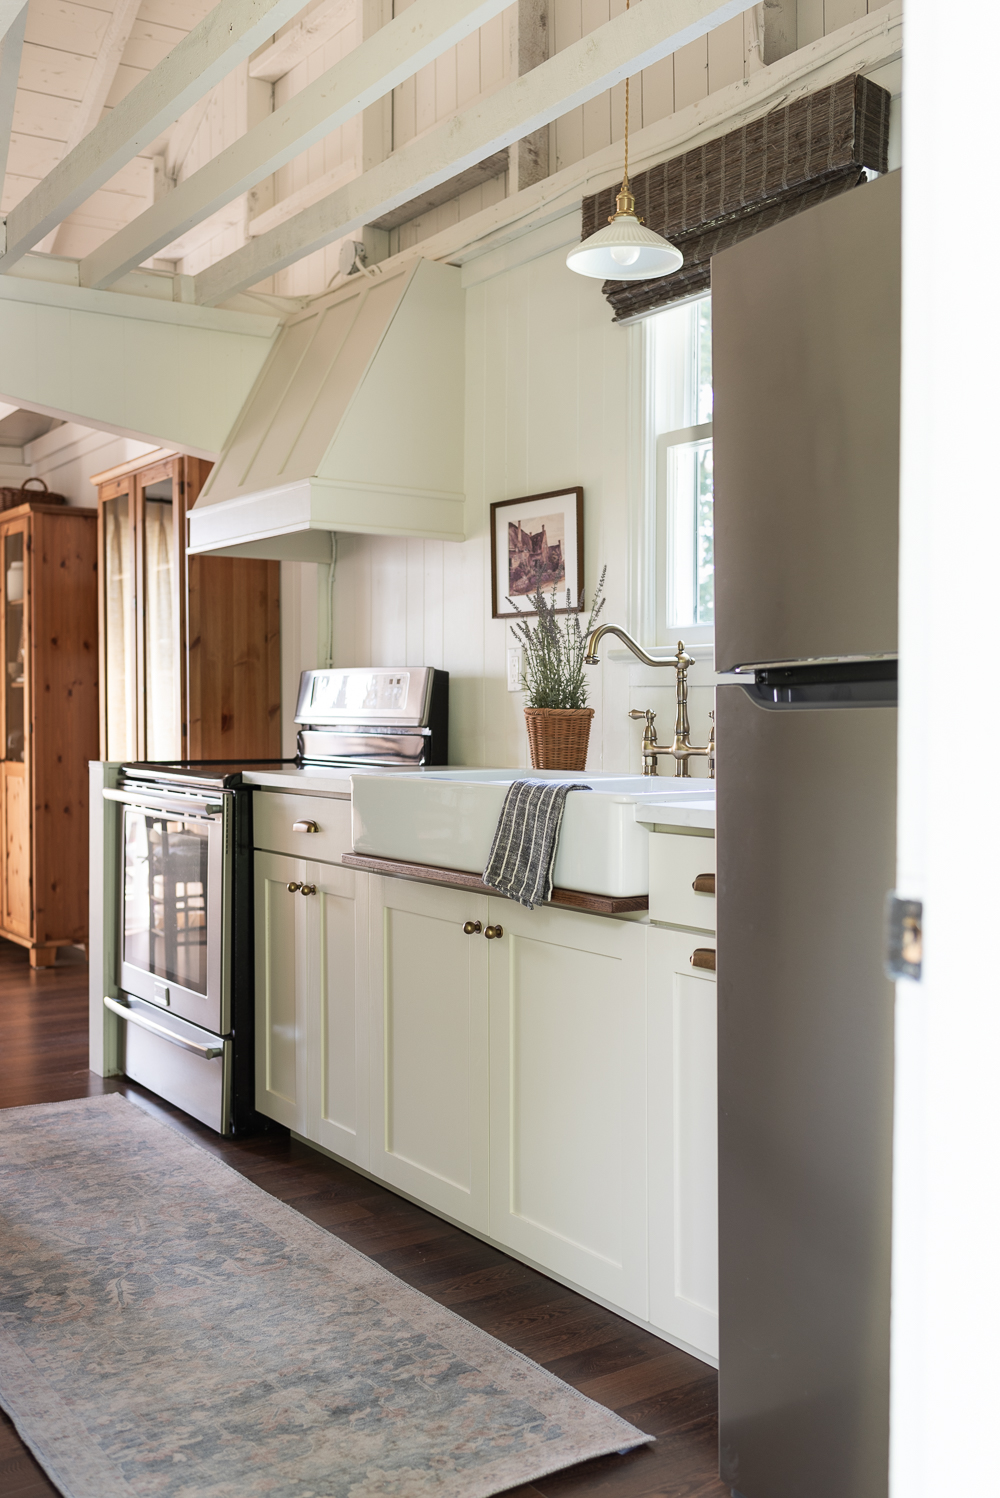
Since March we’ve shared the full story behind the remodel, a look at the cottage before we started the renovations and the design plans for each room. Now that we’re finished with the project, we will gradually reveal the cottage room by room over the coming weeks, starting with the kitchen.
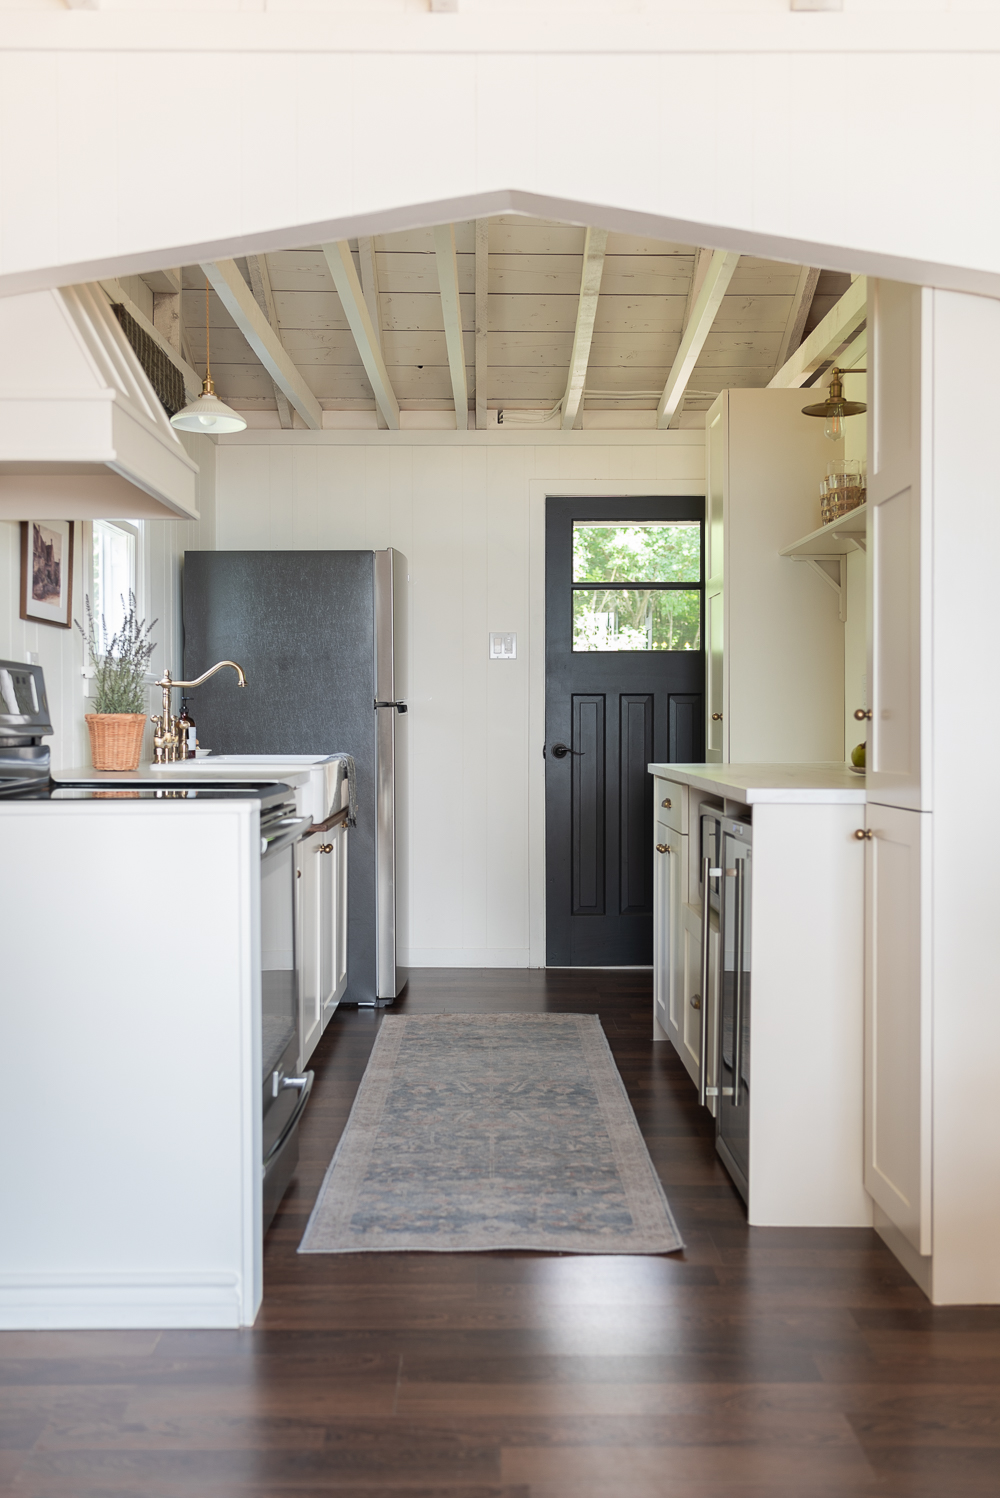
The kitchen proved to be the most demanding space, as it necessitated extensive work, including ceiling removal, laying new flooring, and everything in between. We can easily say it was well worth all of the hard work because we now have the sweetest little kitchen for prepping summer meals and sneaking our favourite snacks.
Here’s a closer look at how we created our charming cottage kitchen…
The Ceiling
The first project we tackled in the cottage remodel was removing the ceiling tiles from the main living space, which included the kitchen, dining room and living room. We knew it was going to be a huge undertaking, so it was a decision we gave a lot of thought to.
The first thing Nick did was ensure the ceiling tiles didn’t contain asbestos, this was a concern because we know the cottage was built sometime in the 1950s. We had a sample of the tiles tested and were given the all-clear to go ahead with the removal. As soon as we had the results back Nick began the process of tearing out the ceiling.
Removing the tiles was the easy part as they were just stapled to strapping. Once the tiles were removed, he began bagging and removing the old insulation and removing all of the strapping. During the process, Nick noticed a few areas of the ceiling that could use some supporting, like the old collar ties, so he made the necessary upgrades to ensure the ceiling was in the best shape possible before he began painting.
While painting the exposed beams and ceiling, we gave the entire cottage a fresh coat of Simply White by Benjamin Moore.
In the end, we are all so glad we removed the tiles because it’s made the biggest impact in our tiny cottage. It immediately made the space feel larger by creating a higher sight line and letting in more light. It also added so much character.
The Floor
When we started the remodel we hoped we could uncover and refinish the original floors. Unfortunately, over the years the original floor had been covered with an outdoor carpet which was glued down using carpet adhesive and it was impossible to remove.
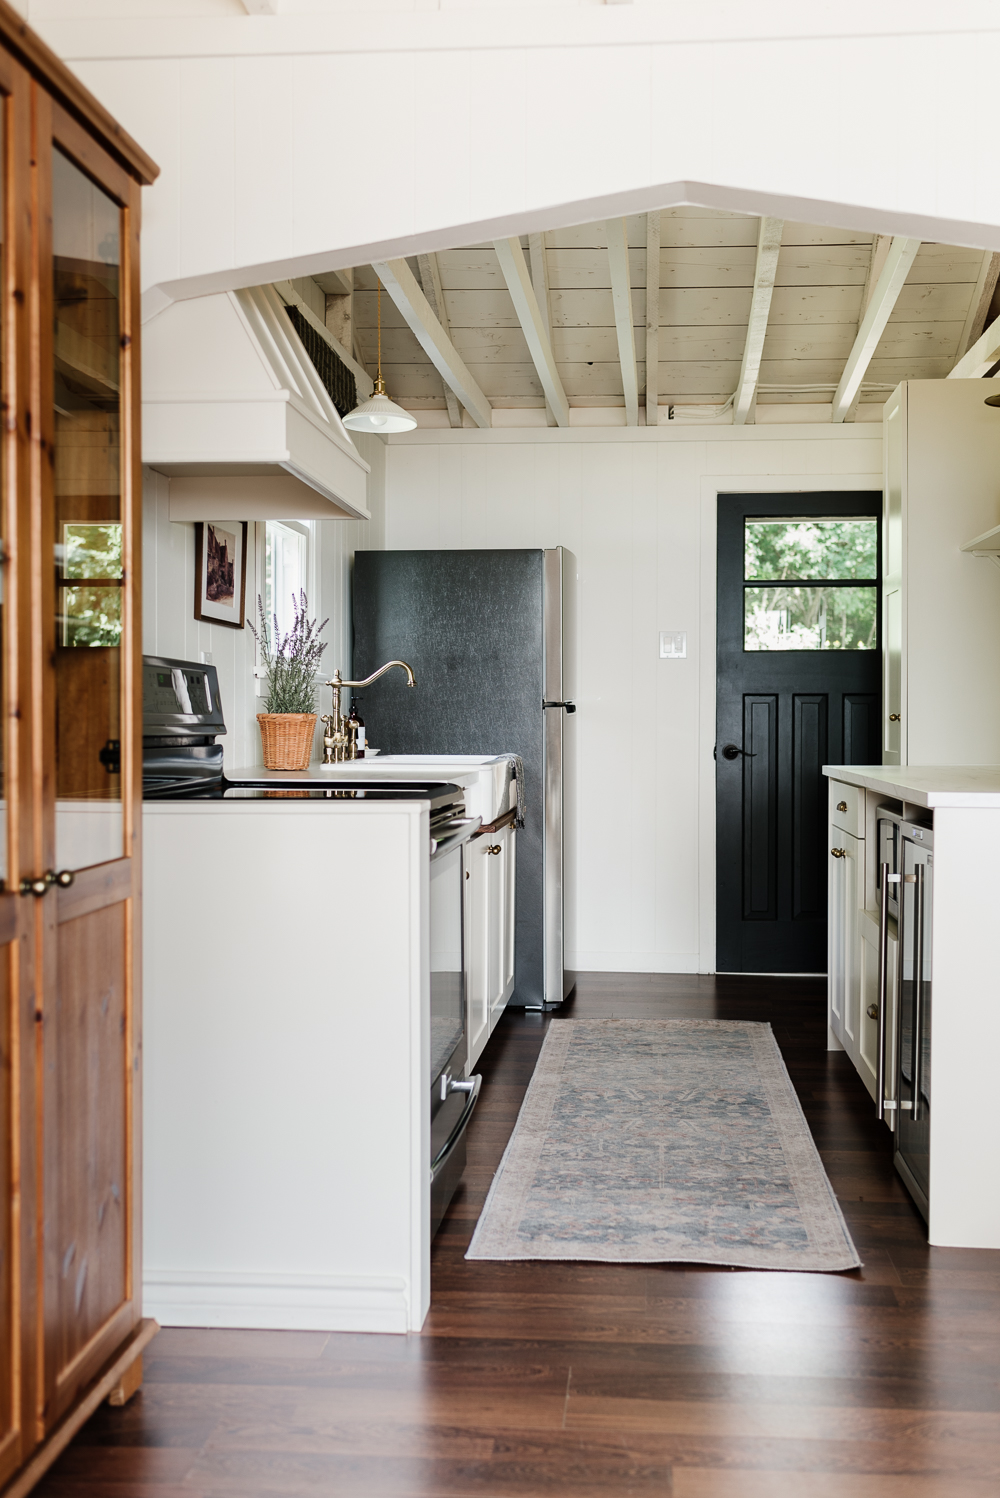
We moved on to our next plan, which was using the existing laminate hardwood Nick had installed in the living room and dining room about 15 years ago. It was still in great shape and we knew it was an opportunity to help us stay on budget. We luckily had enough flooring left over to continue it into the kitchen which helps to create a seamless transition from room to room.
The Cabinetry
The existing kitchen was a mixture of original cabinets and newer additions, which left the kitchen feeling outdated and lacking a cohesive style. We took our time creating a layout that would maximize the potential of our tiny kitchen so we could create a beautiful space that functioned for our family.
Whether it is a casual Sunday night dinner or a large get-together with family and friends, we knew our tiny cottage kitchen needed to function for a lot of people and a lot of different needs.
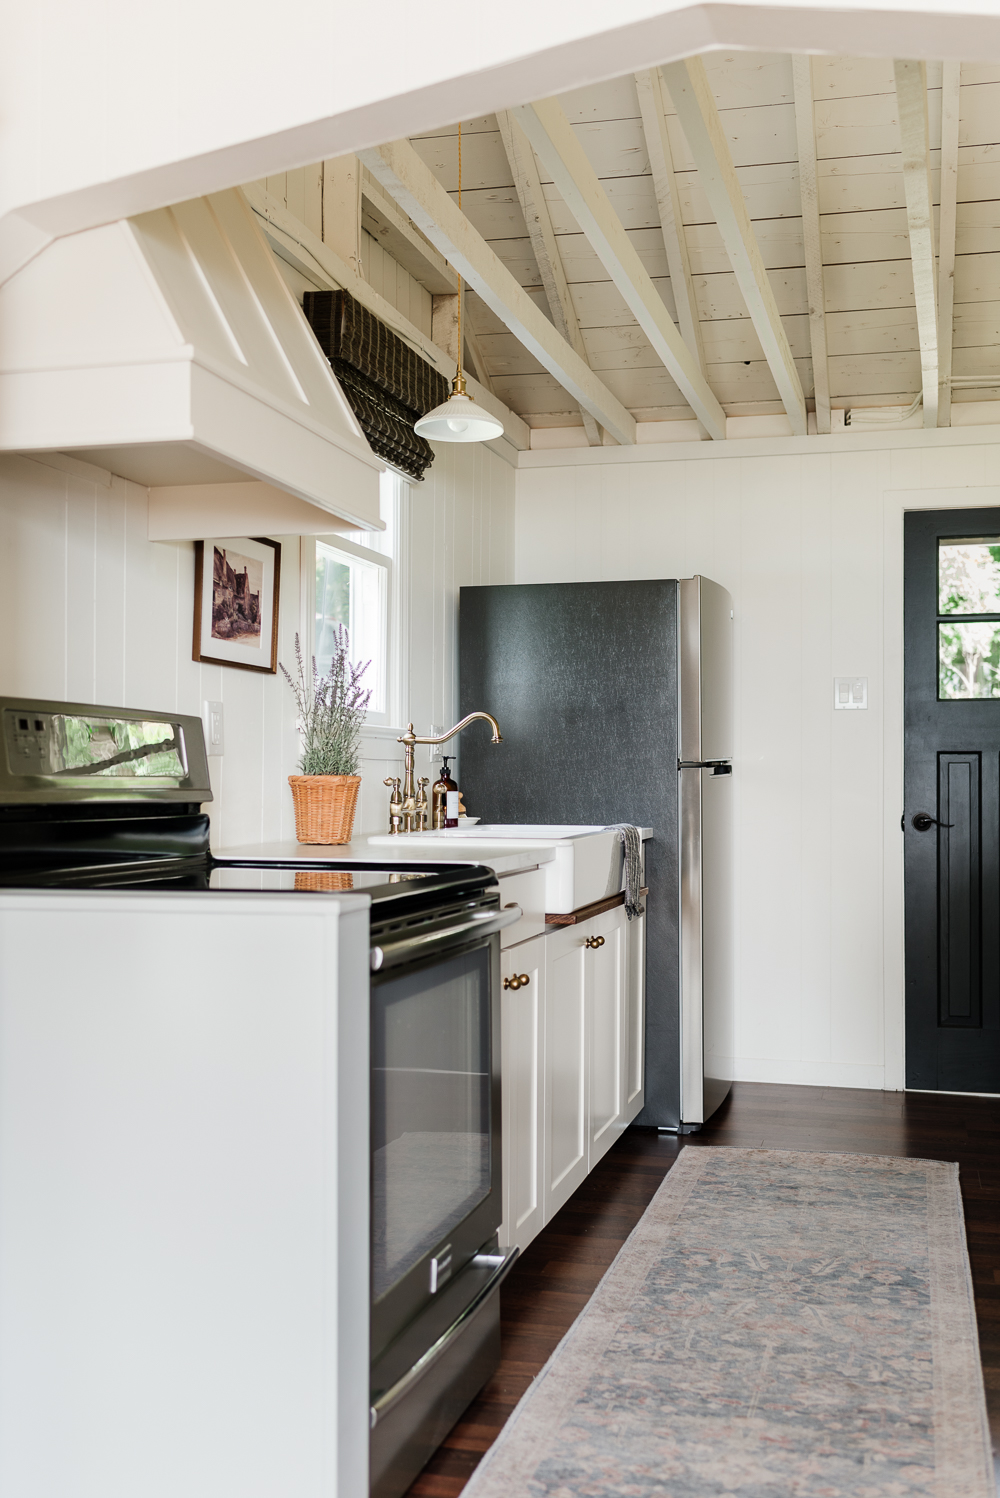
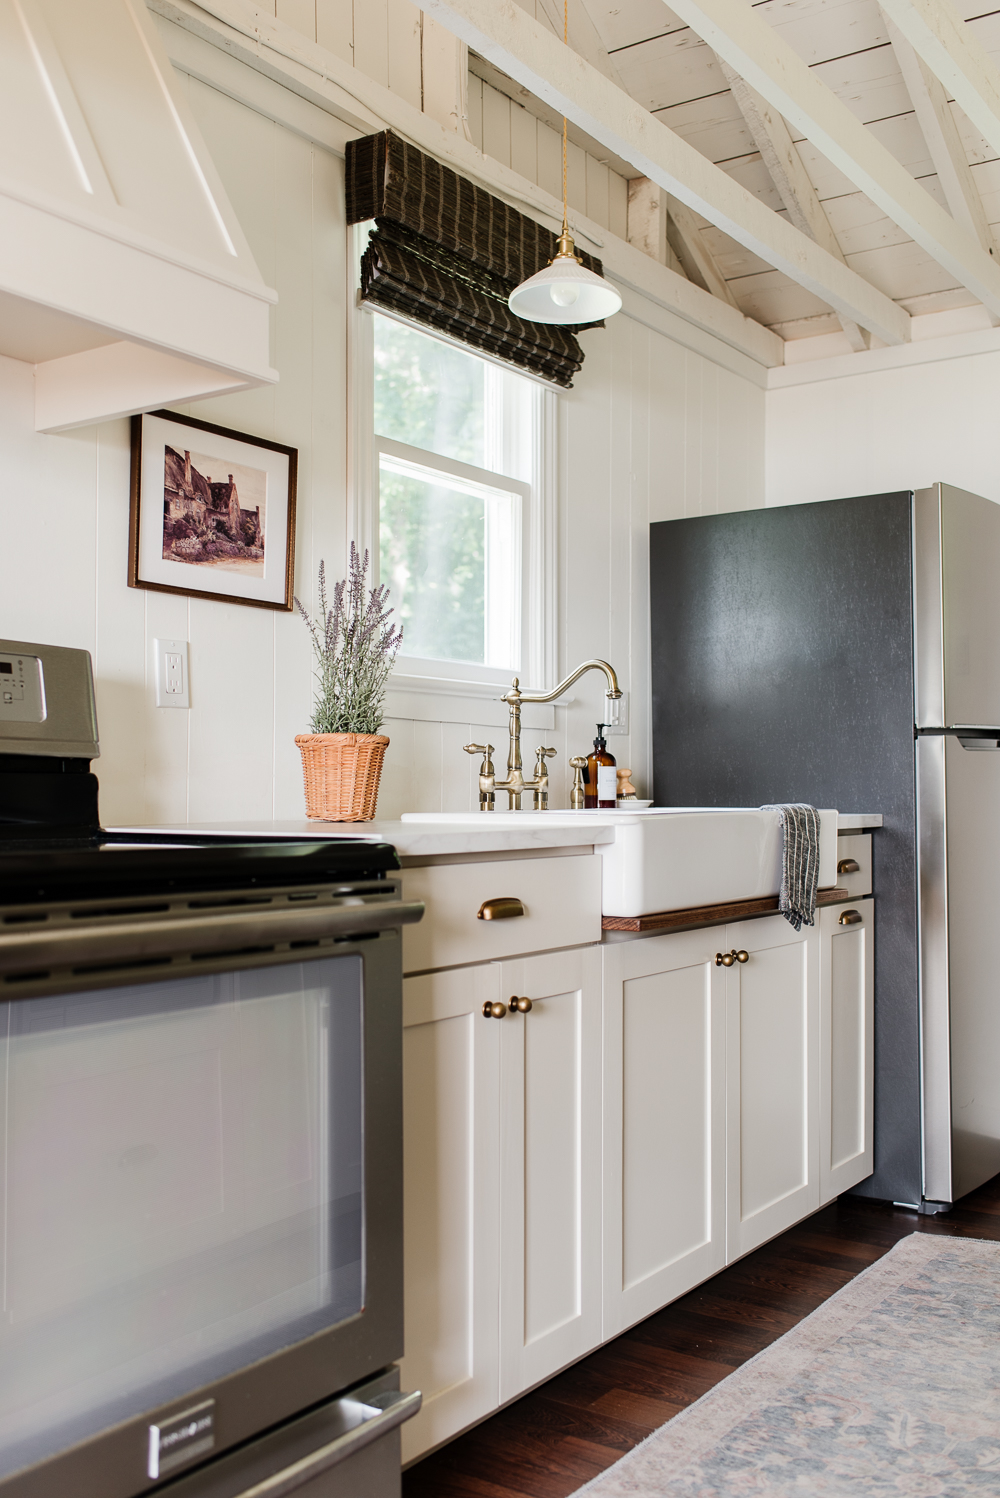
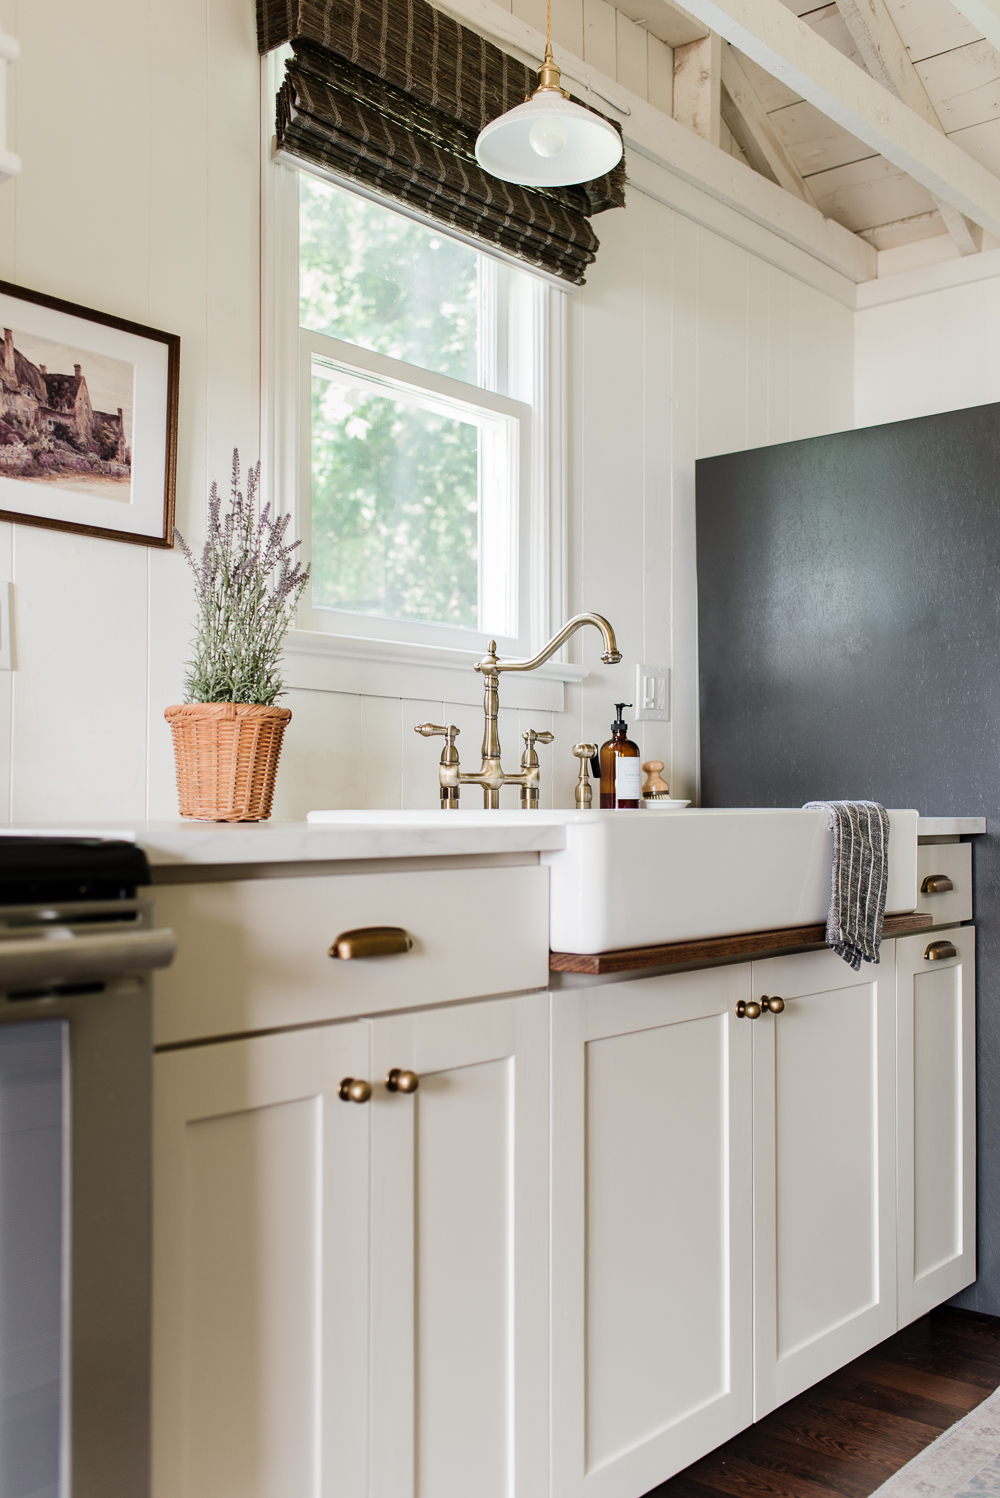
We removed the old cabinetry entirely, making room for more innovative solutions. We opened up the space by removing the upper cabinets on the north side of the kitchen, letting the small window be the focal point. A row of lower cabinets provides space for storage and a pullout garbage can.
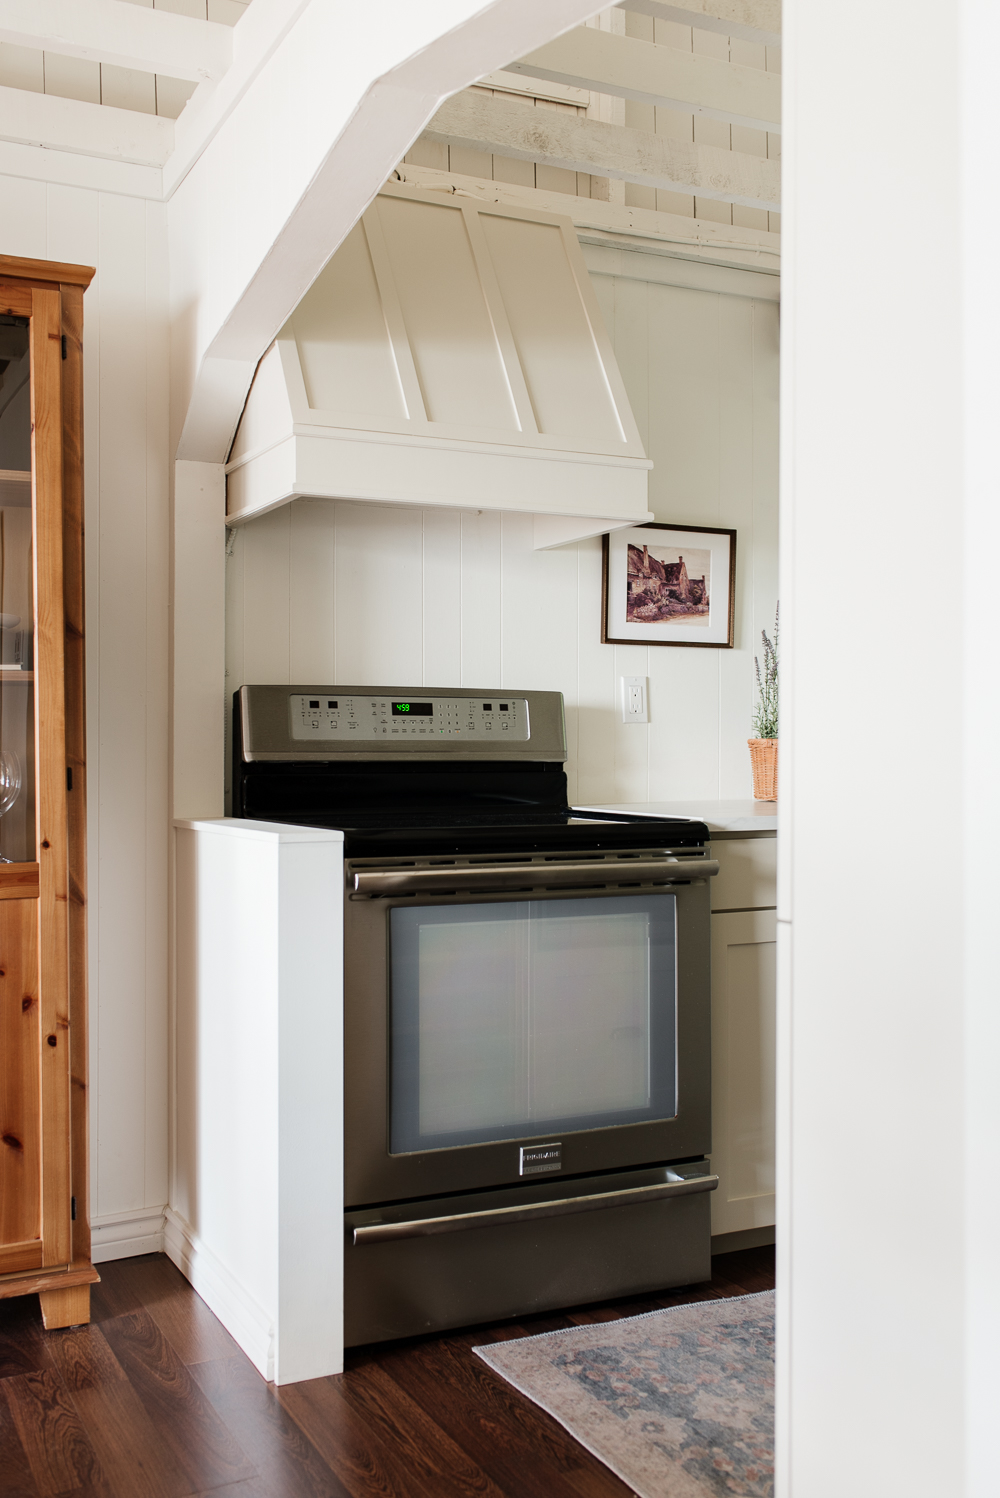
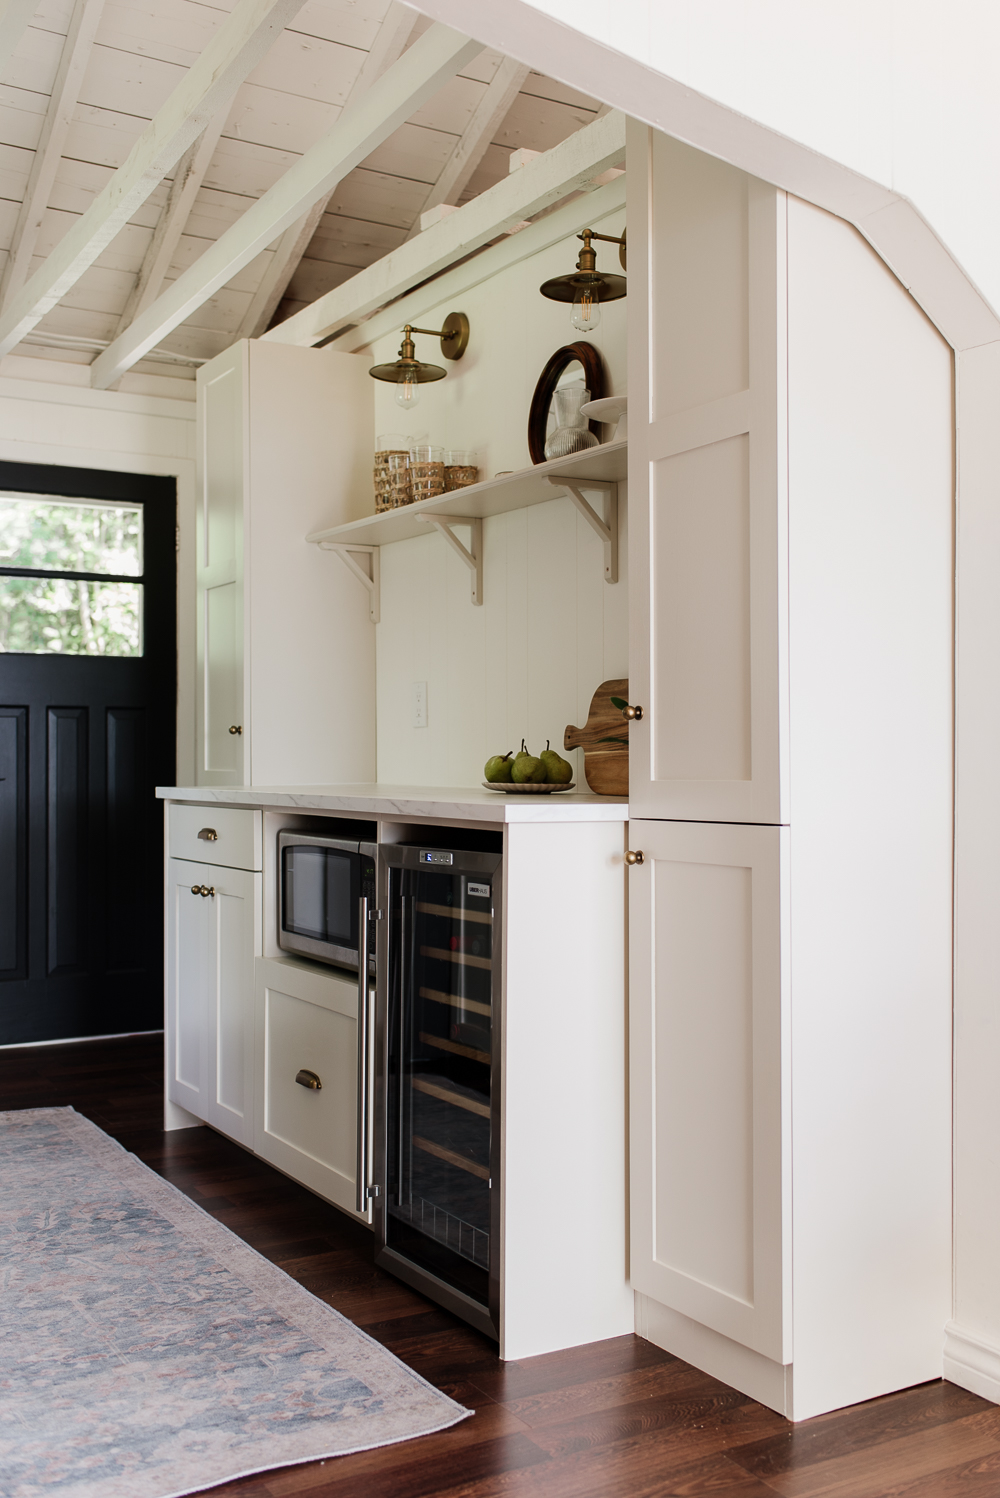
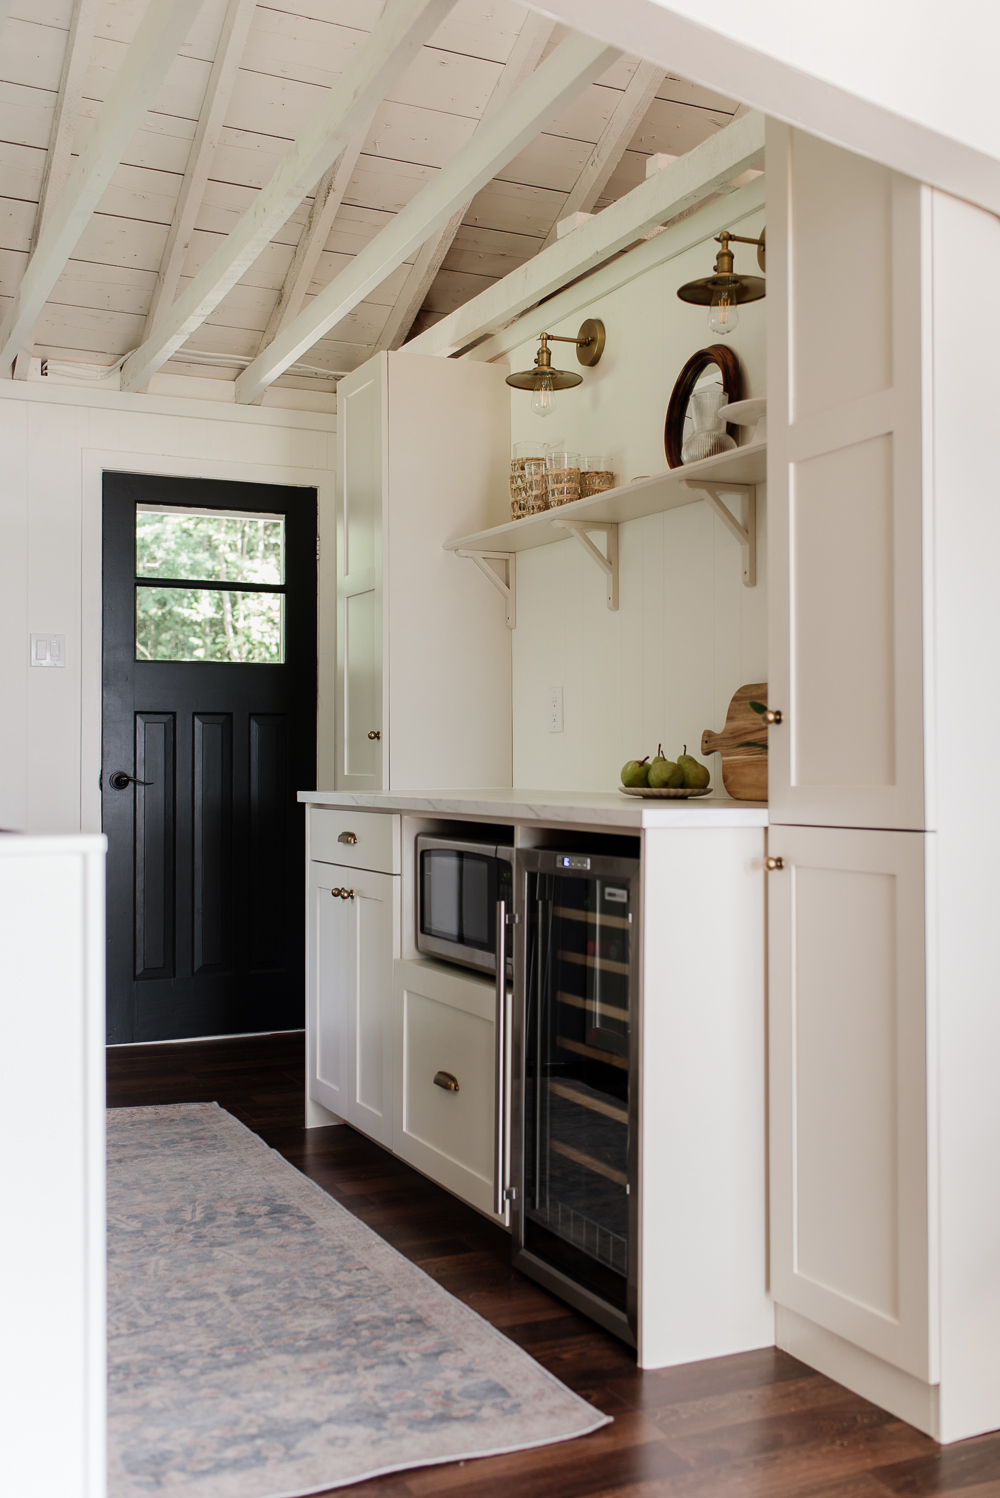
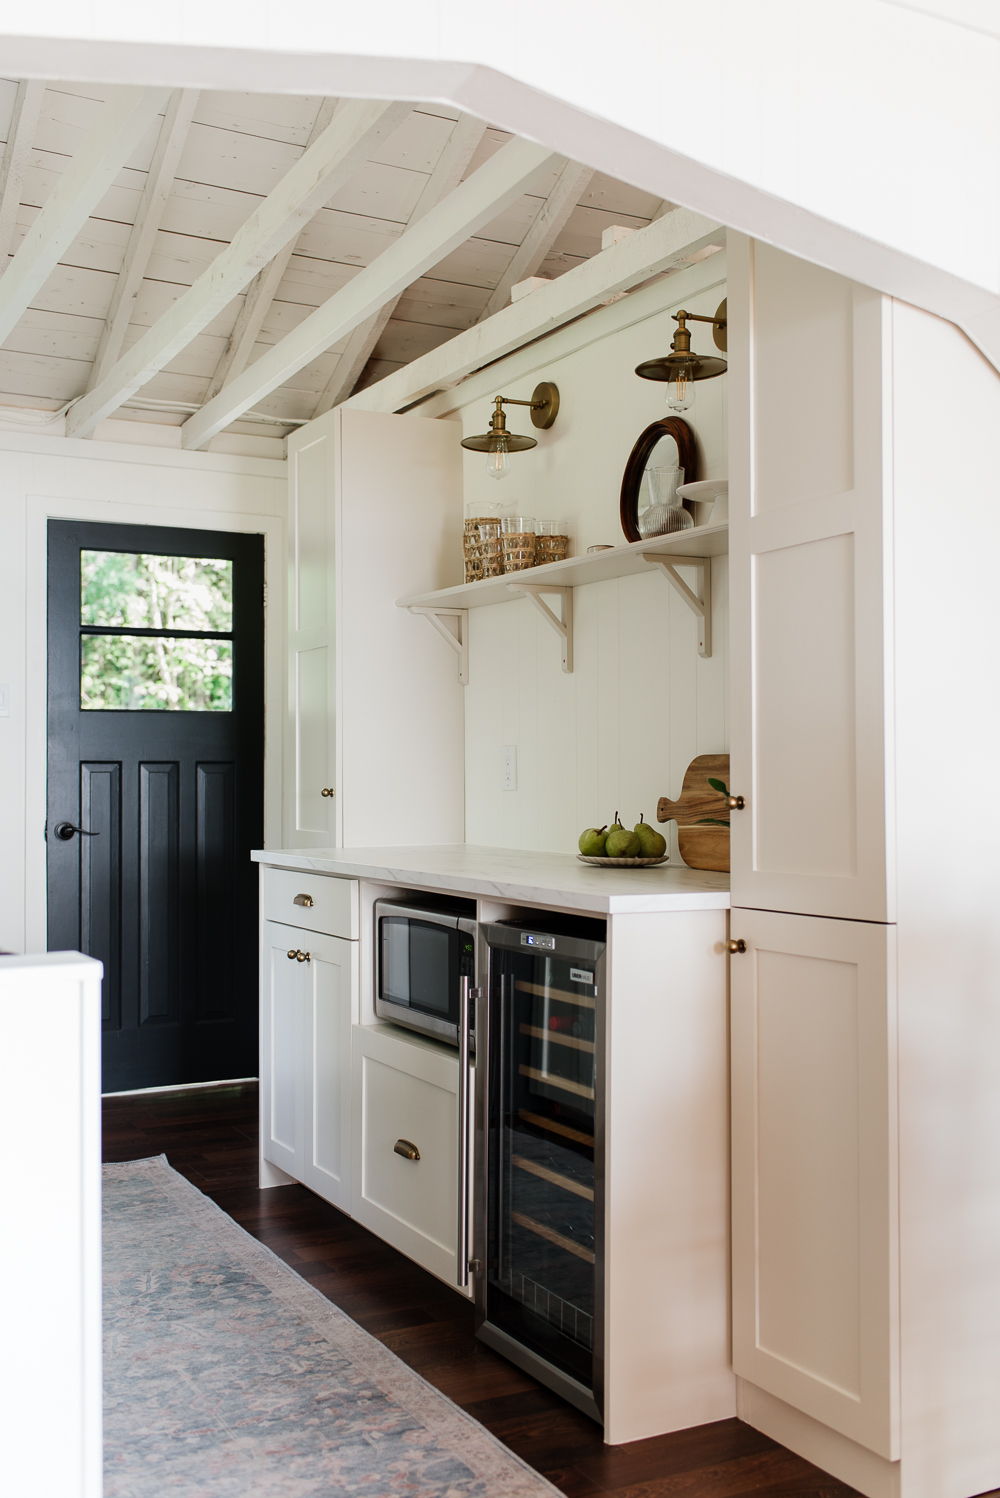
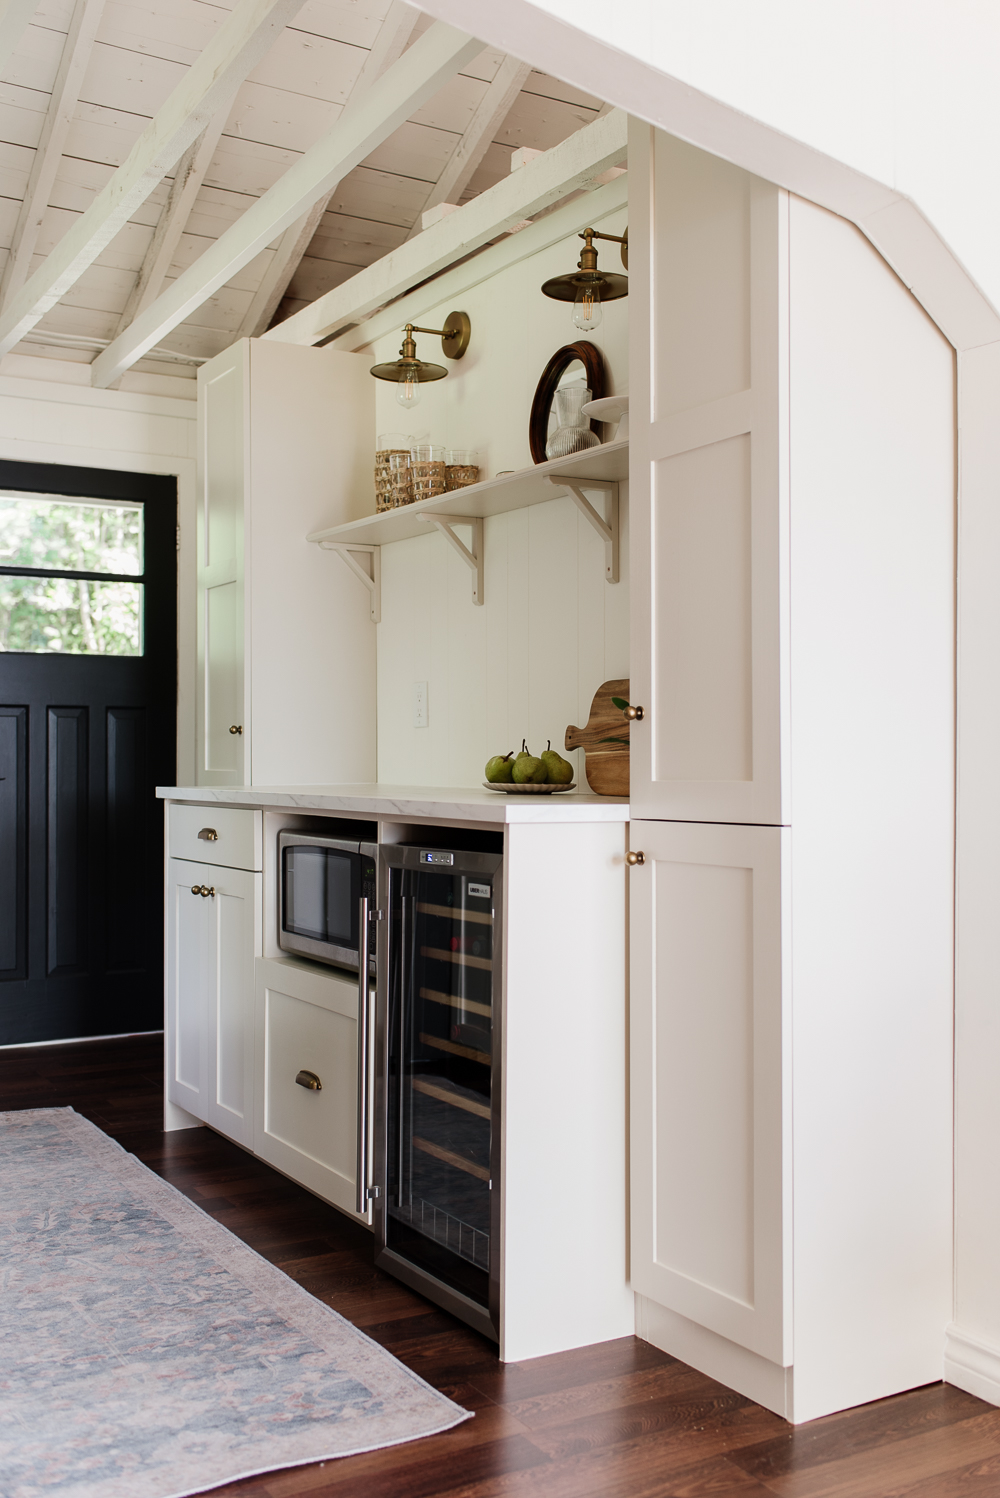
We incorporated additional storage on the south side of the kitchen by adding a floor-to-ceiling pantry on either side of the counter. The pantries not only give us extra storage for dishware and food but one pantry also conceals our water cooler.
Another space-saving improvement we made was integrating the microwave and wine fridge into the design, which not only saves valuable floor and counter space but also adds a touch of modern convenience.
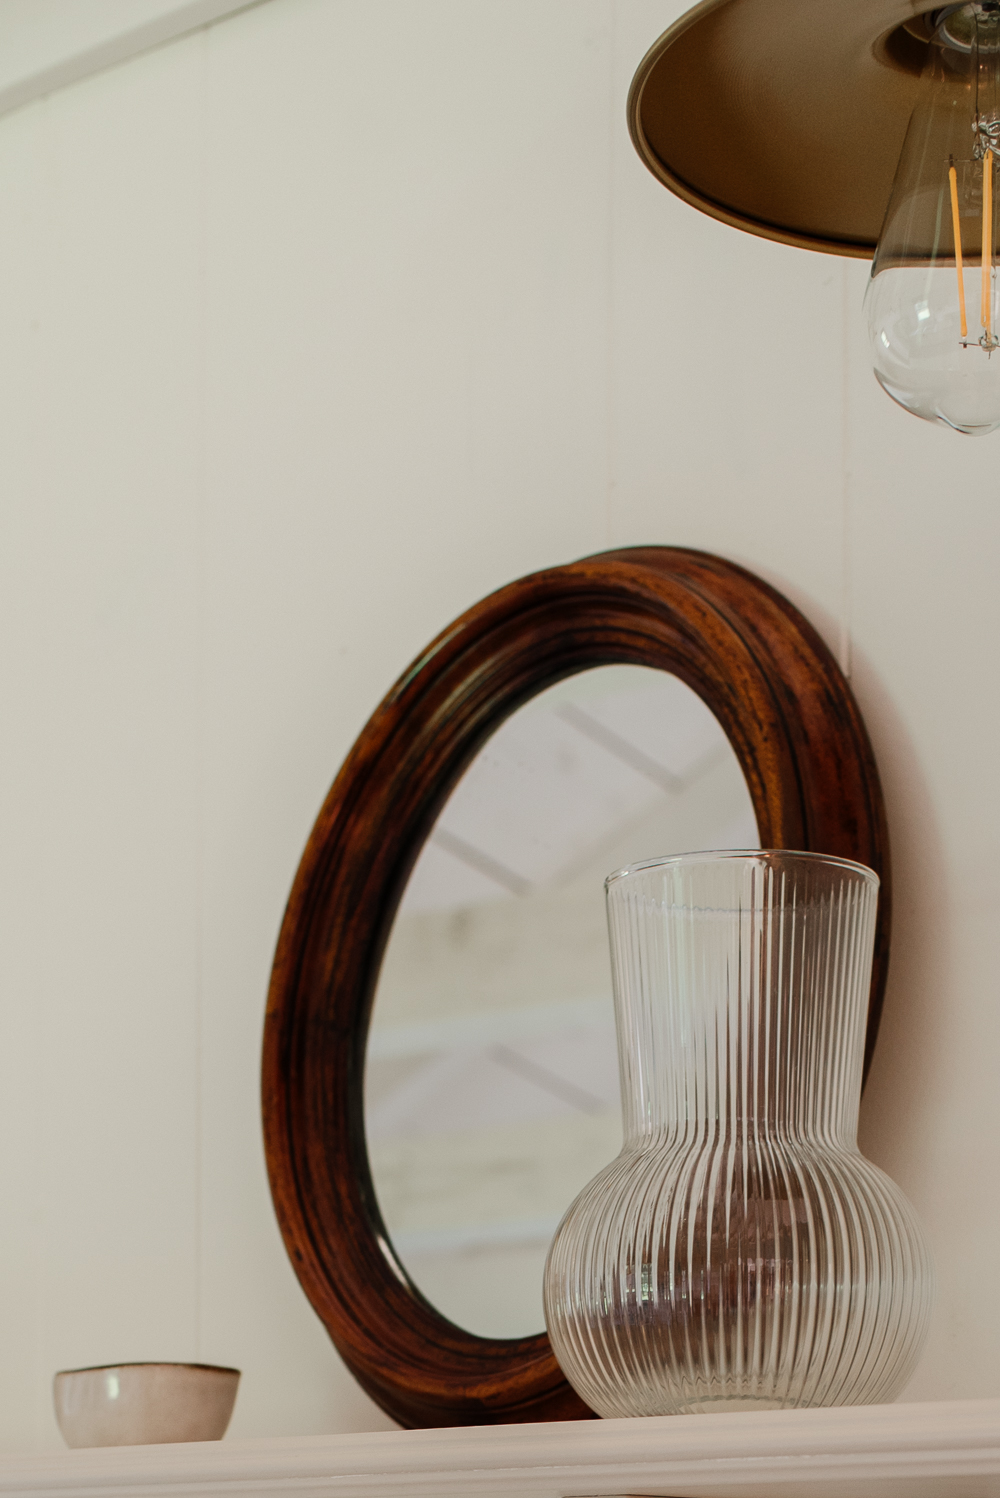
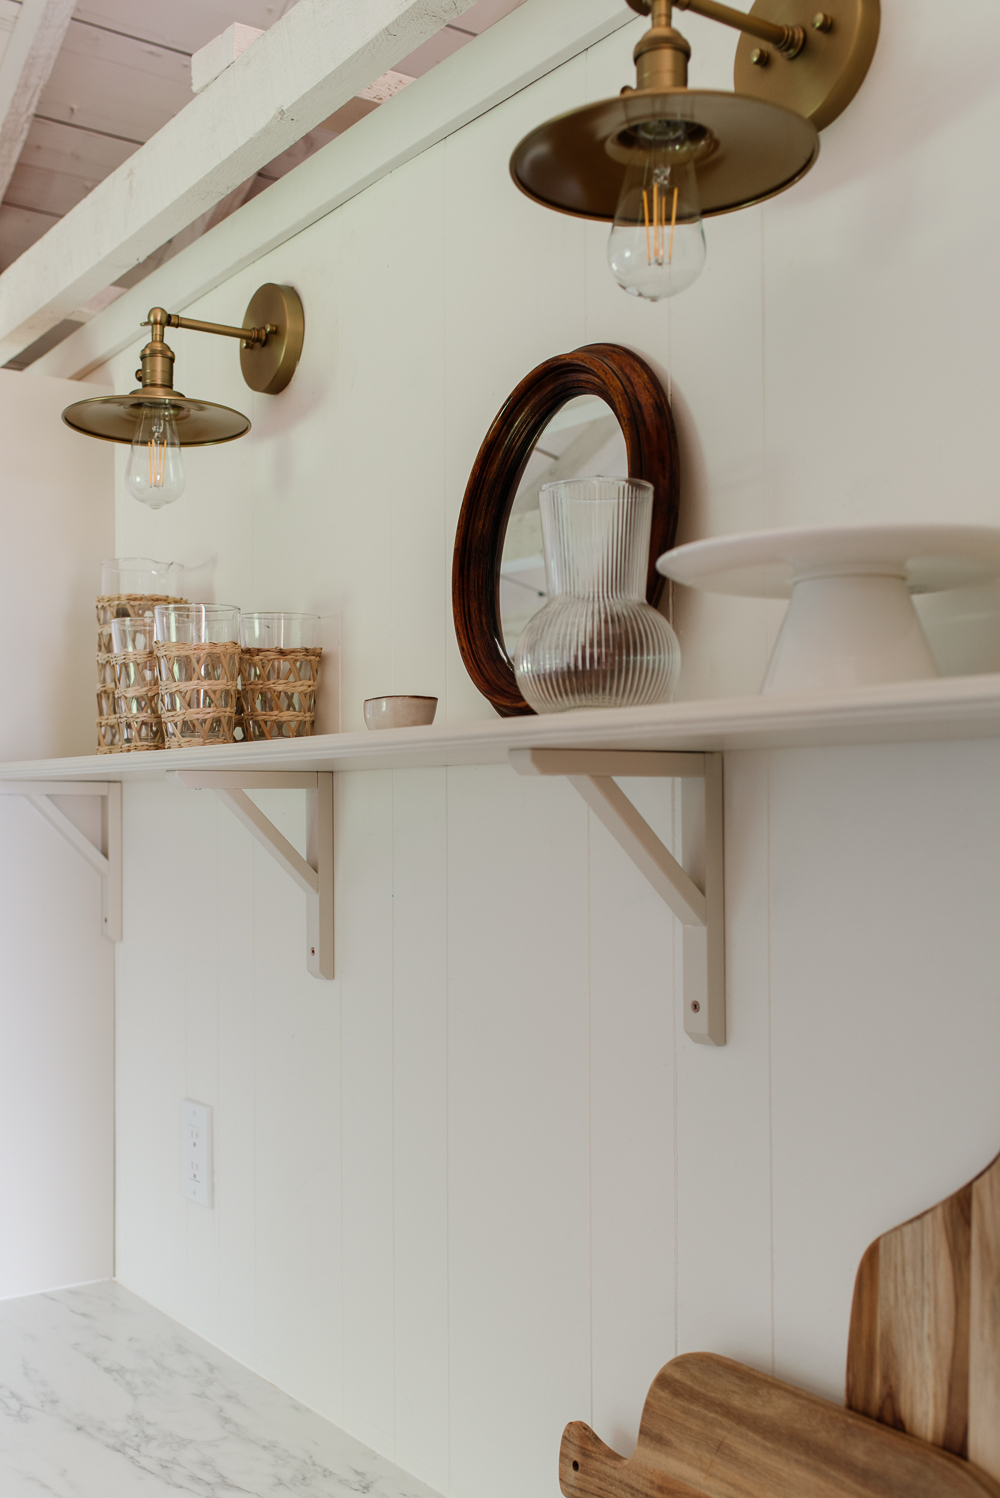
A single shelf mounted between each pantry adds a vintage feel to the space while providing the opportunity to display some of our favourite pieces, like a rattan-wrapped pitcher and glasses, a vintage mirror and a miniature cake plate.
We chose a simple Shaker-style design for the cabinets to fall in line with the cottage’s traditional aesthetic and painted them Natural Cream by Benjamin Moore. It’s such a beautiful option for cabinetry as it adds warmth while still being neutral. To finish the look we added inexpensive ball knobs and cup pulls in an antique brass finish.
The Appliances
Frigidaire provided product for this remodel.
Two years ago when we renovated our own kitchen we replaced our existing Frigidaire appliances with newer versions. Our original appliances were still in great condition so we repurposed them and moved the range to the cottage. Until then, we had been using the original 1950s stove, which was adorable but did not work very well.
So while we had a beautiful and practical range we knew the kitchen renovation wouldn’t be complete without a fridge that was just as functional.
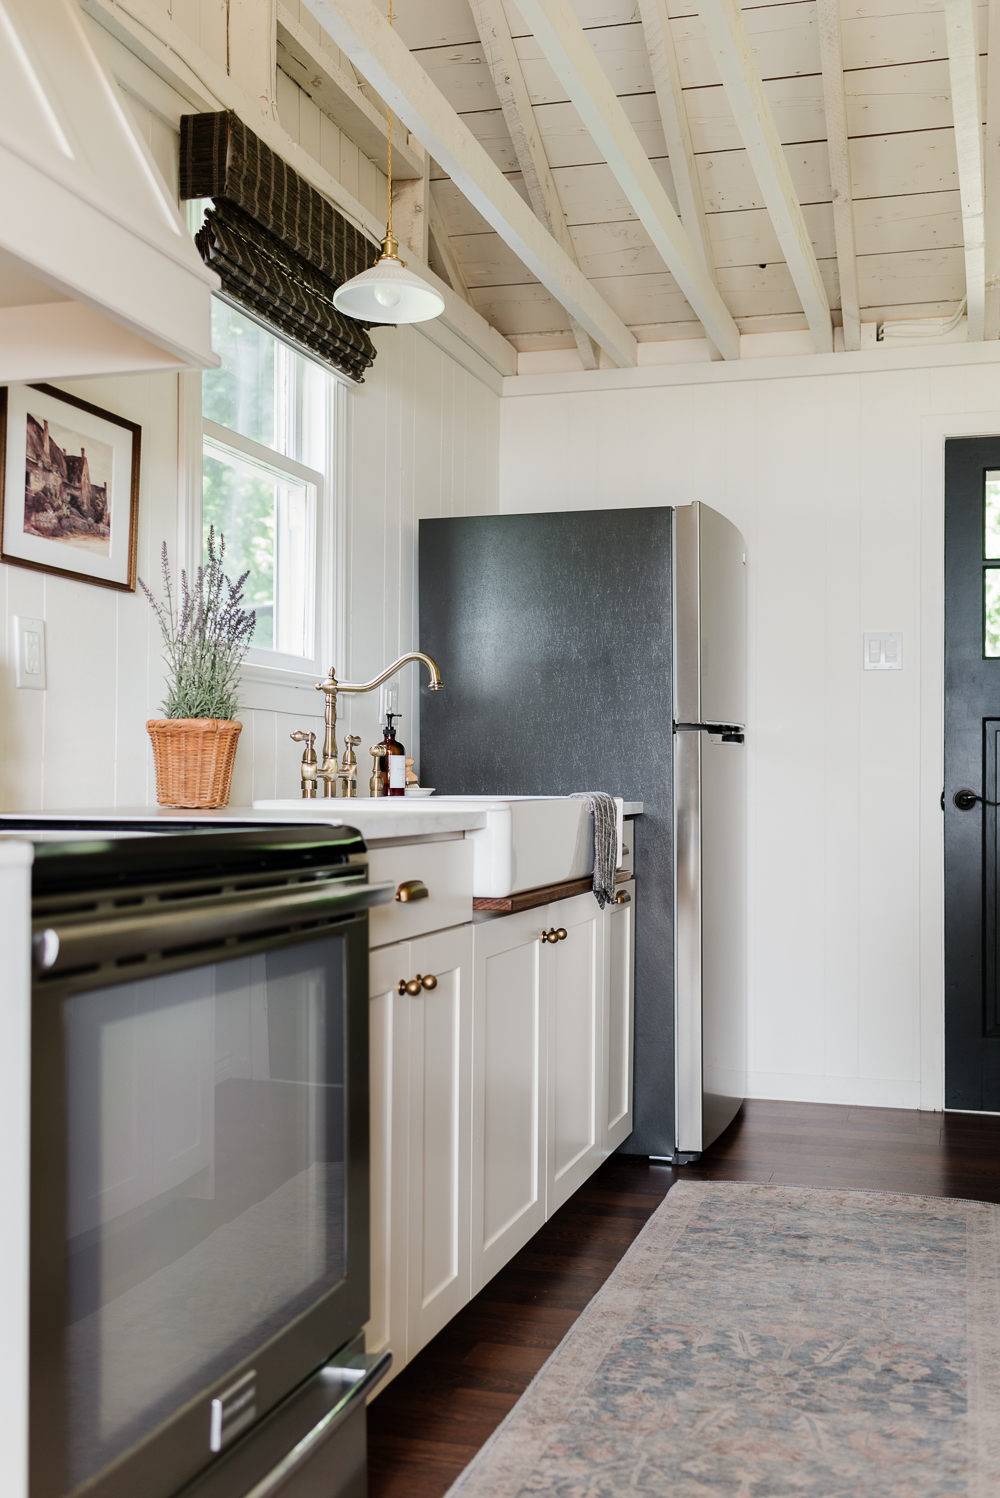
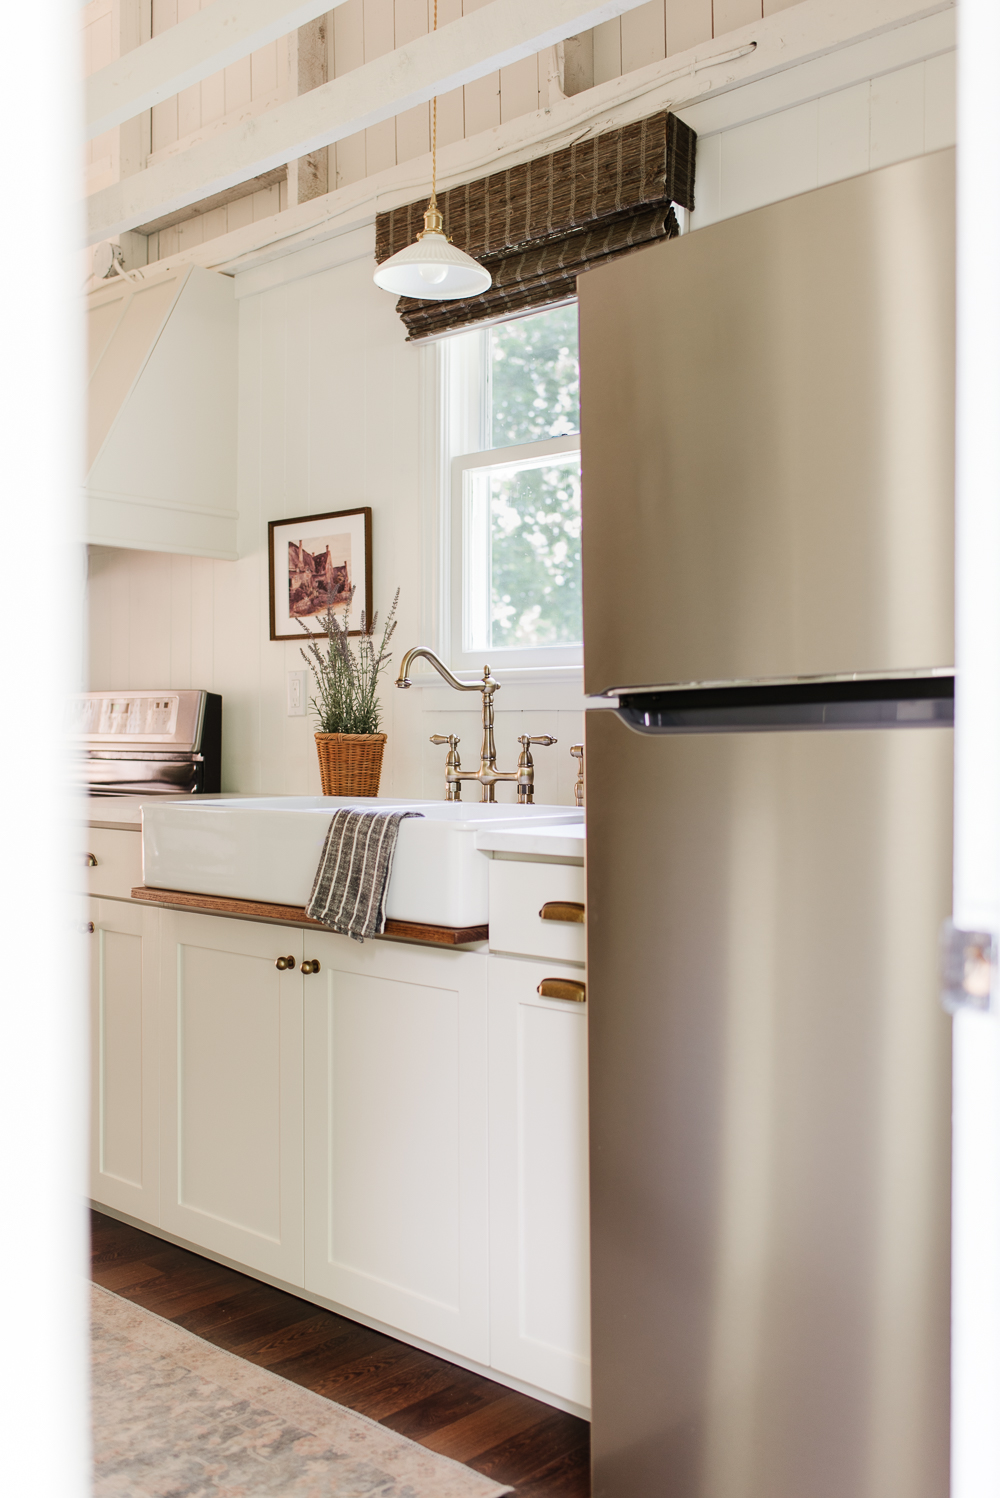
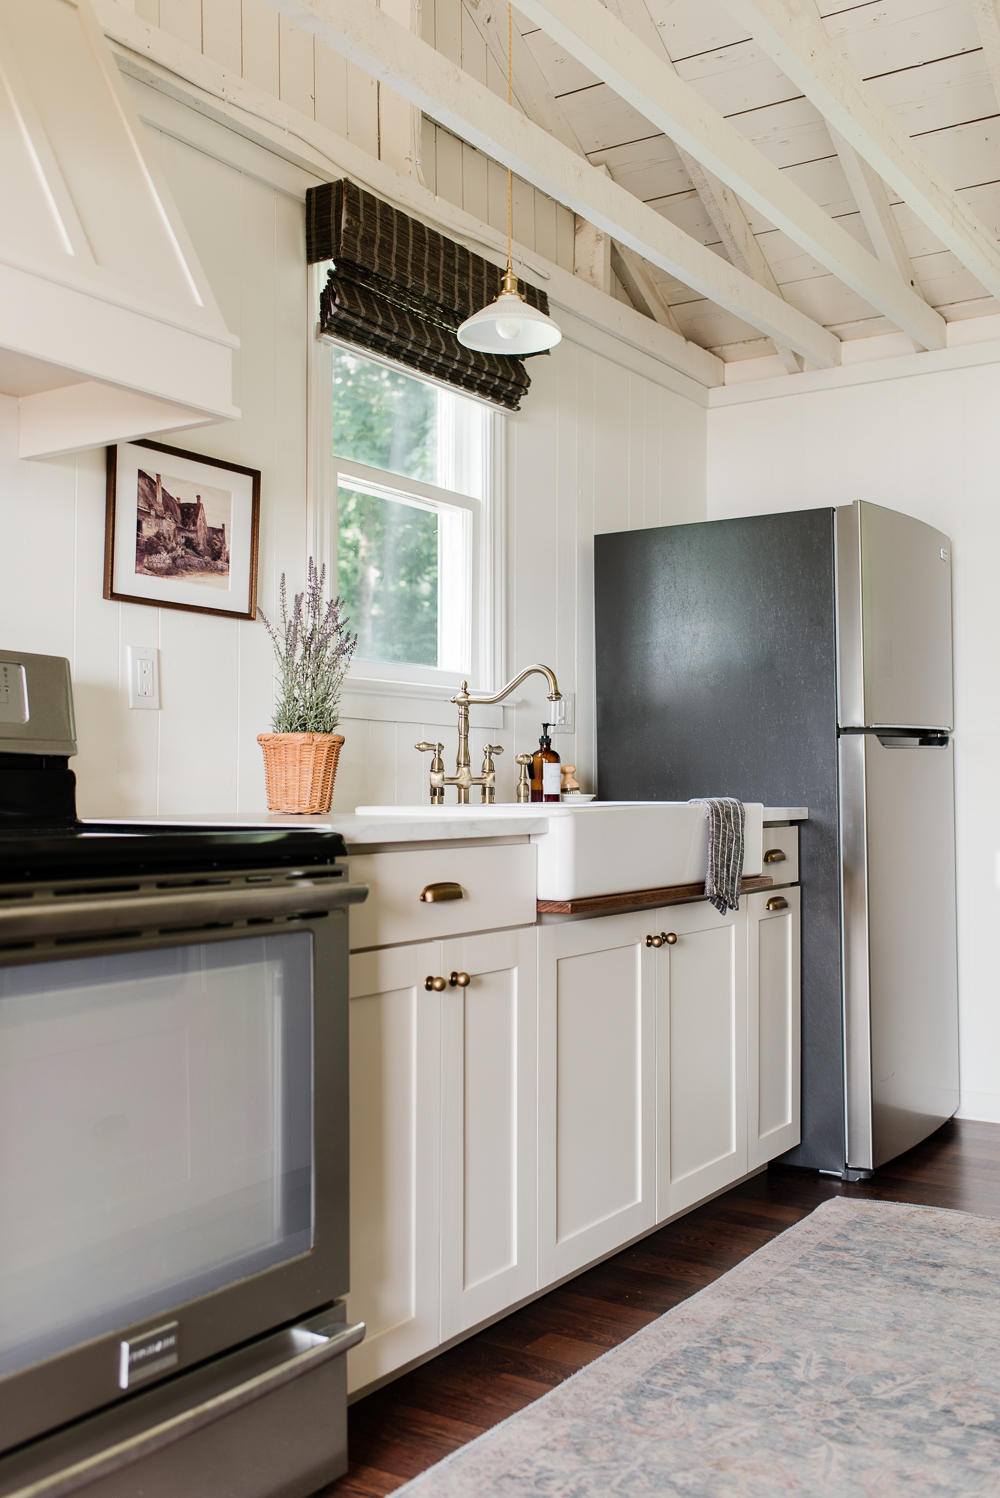
With space being tight, we added a traditional top freezer fridge from Frigidaire. It fits a standard 18 cu. ft. fridge cutout, but maximizes space with 20 cu. ft. of storage. It gives us ample space for seasonal produce, chilled beverages, and our favourite summertime treats.
Not only was it a practical change, but it also helped the kitchen feel more cohesive and intentional in design.
The Countertops
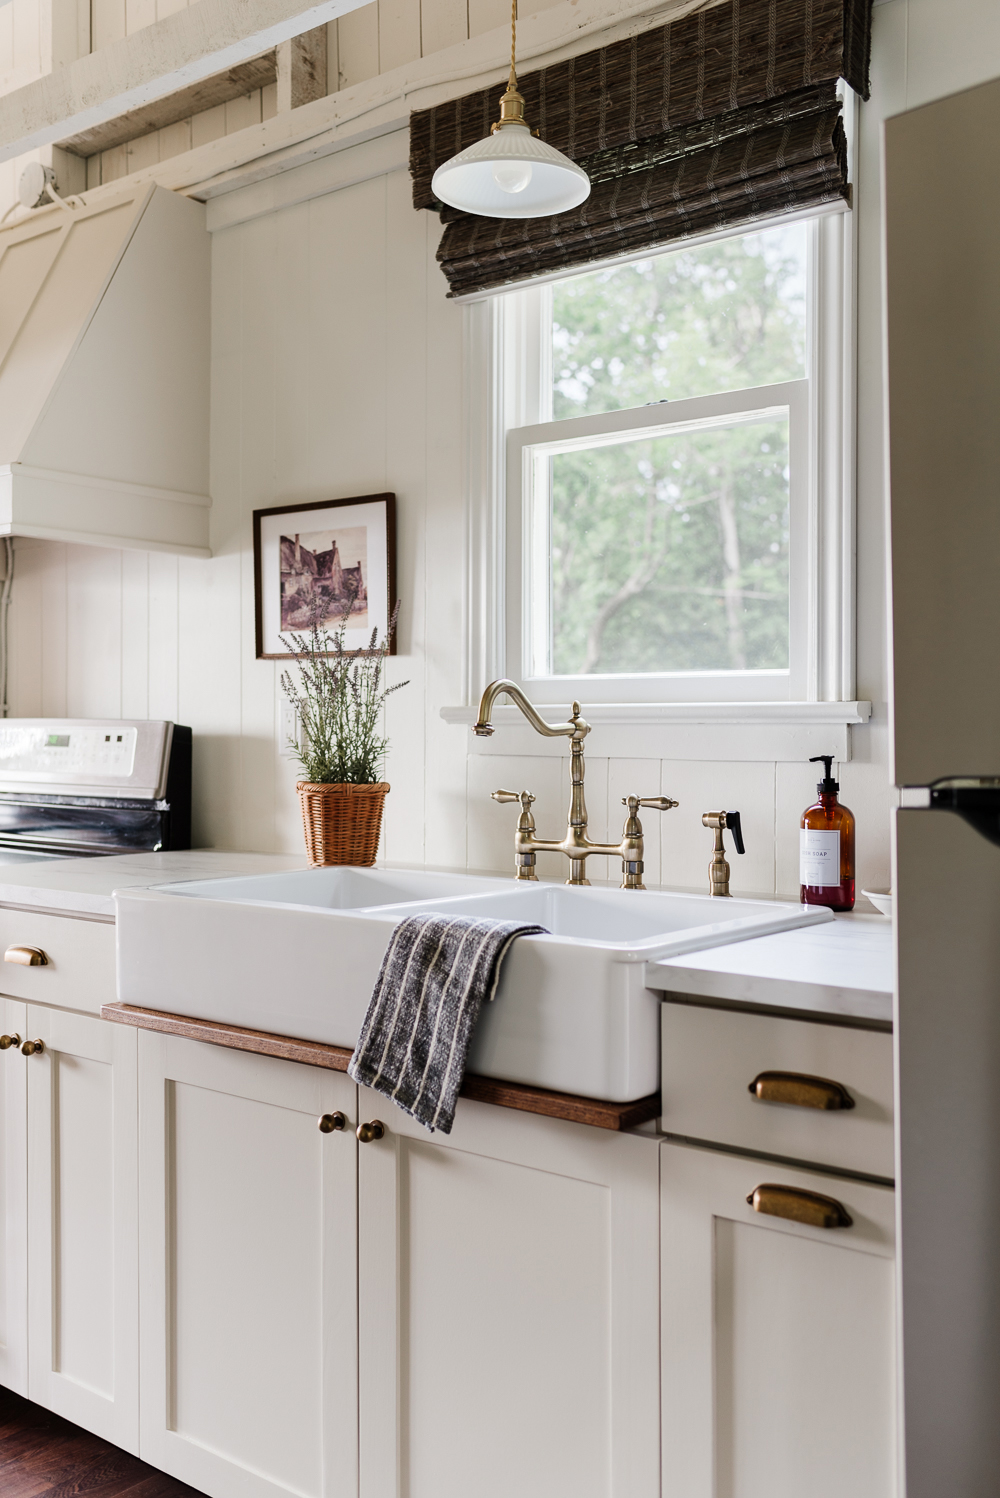
Would you believe me if I told you the counters are laminate?
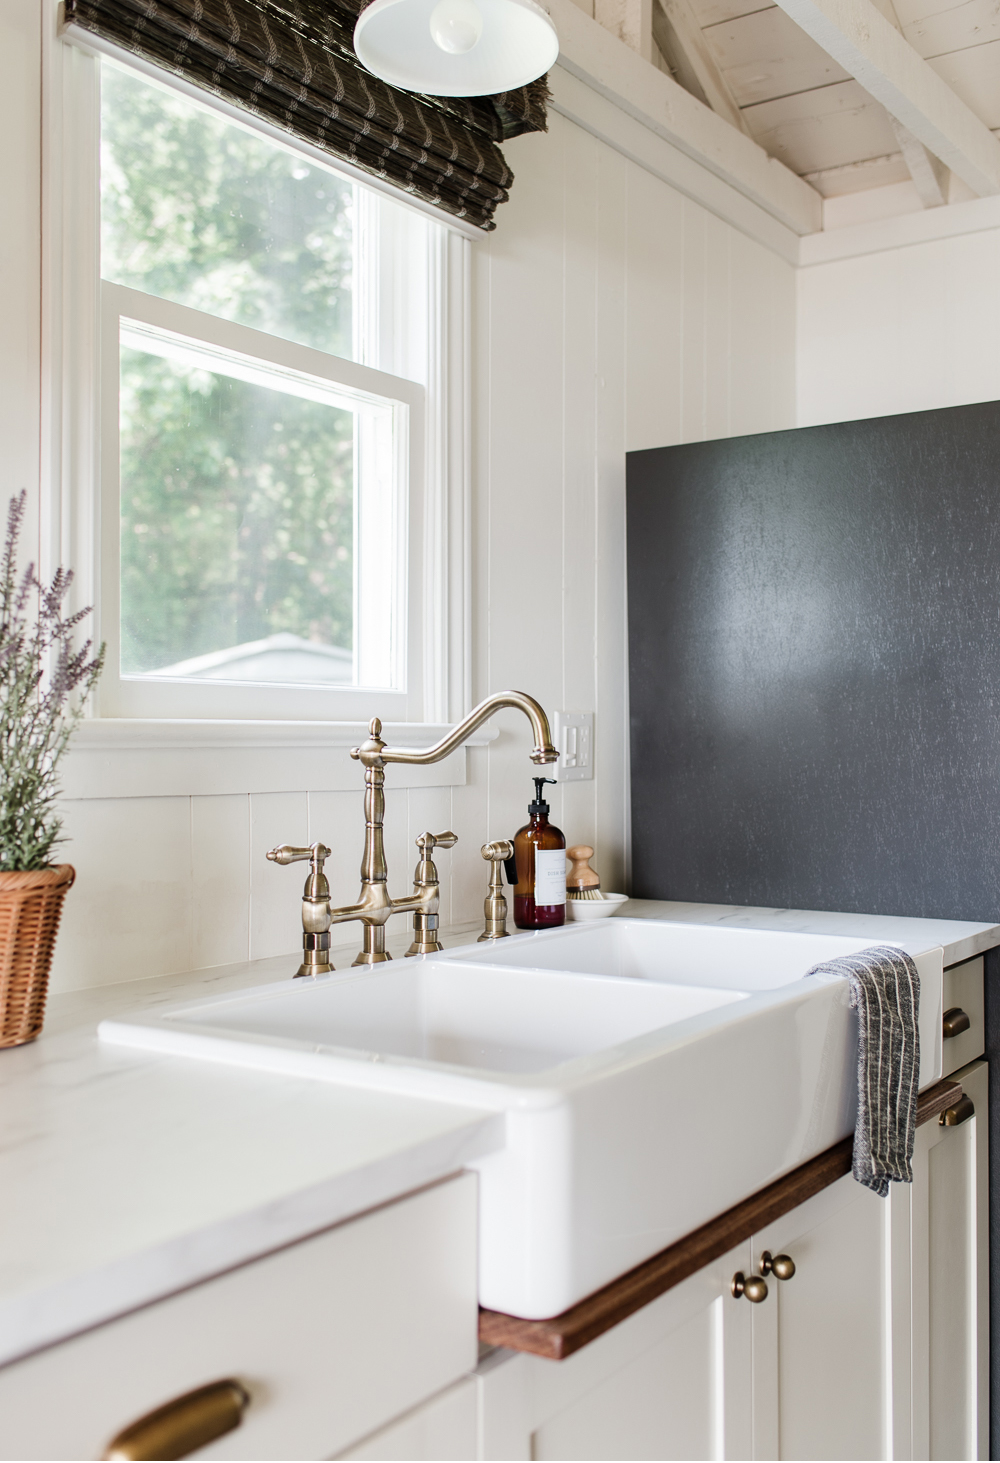
We opted for inexpensive and practical laminate countertops with a marble effect. We wanted to choose a material that would be long-lasting and could easily stand up to cottage life. Laminate is durable and easy to maintain with very little upkeep, so we knew it was a safe choice for our kitchen renovation.
The Details
When it came to the little details we chose pieces that felt timeless and added character to the space. After all, we’re firm believers that design is in the details.
Window Treatments
Blindsgalore provided product for this remodel.
After living with woven wood shades in our home for the past seven years, we knew they were the right choice for the cottage too. They’re timeless and are an easy way to add character, colour, and texture to any space.
Choosing Blindsgalore again for our window treatments was an easy decision. Their exceptional service, high-quality products, and wide range of options made the process seamless and enjoyable. Each time we’ve dealt with Blindsgalore, their customer service, expert guidance, and attention to detail have been incredible and we knew we could trust Blindsgalore to deliver the perfect window treatments every time.
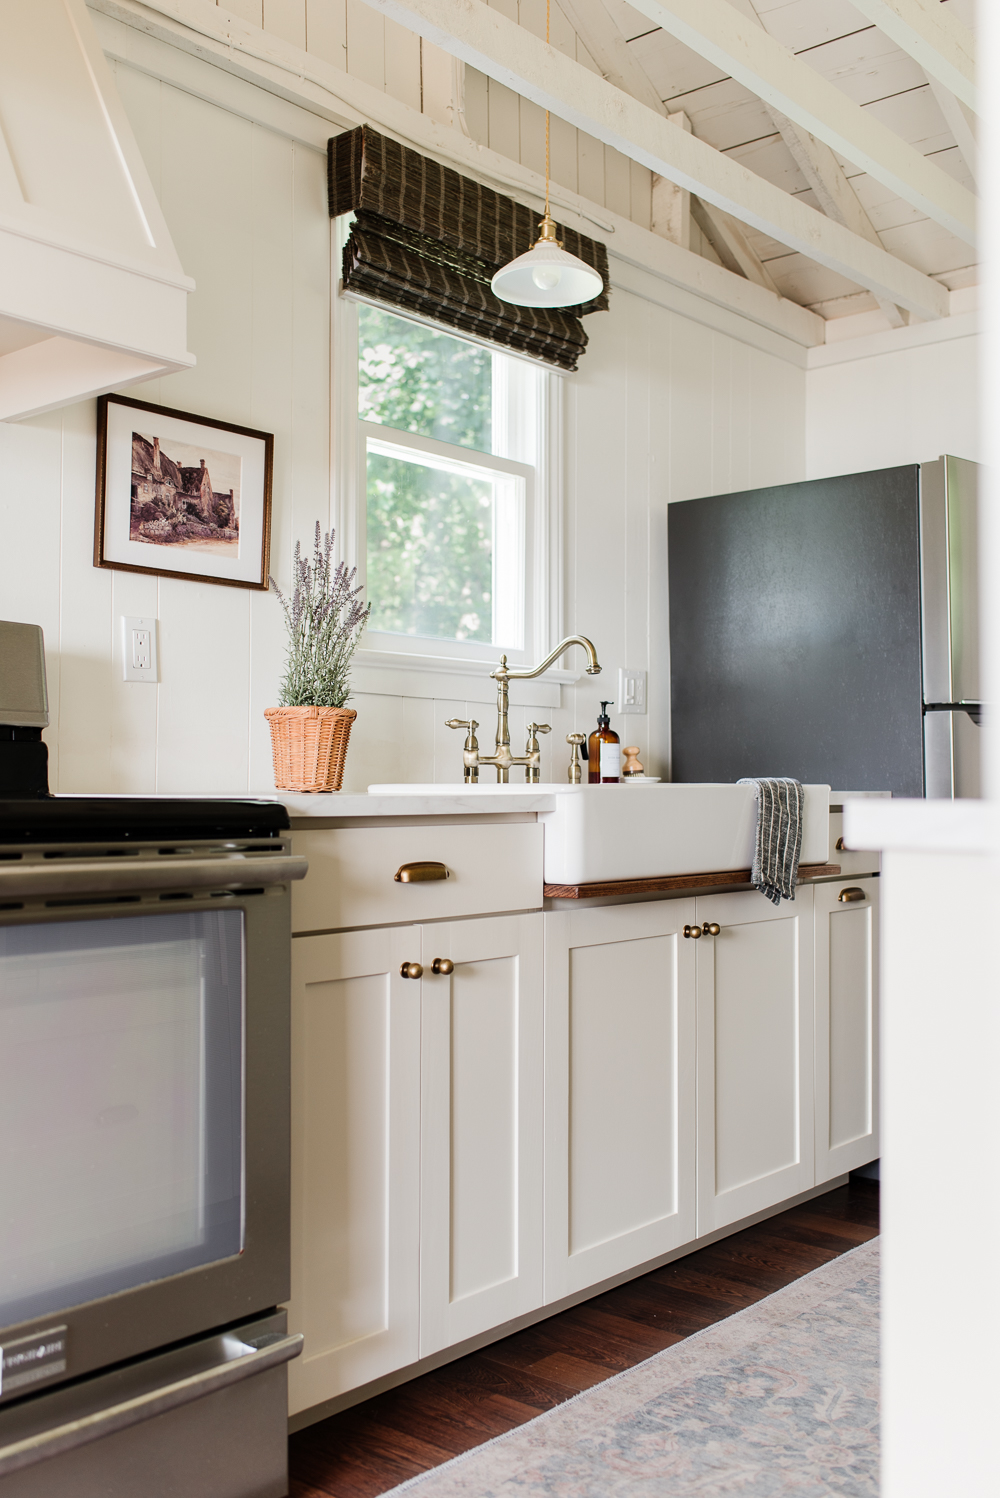
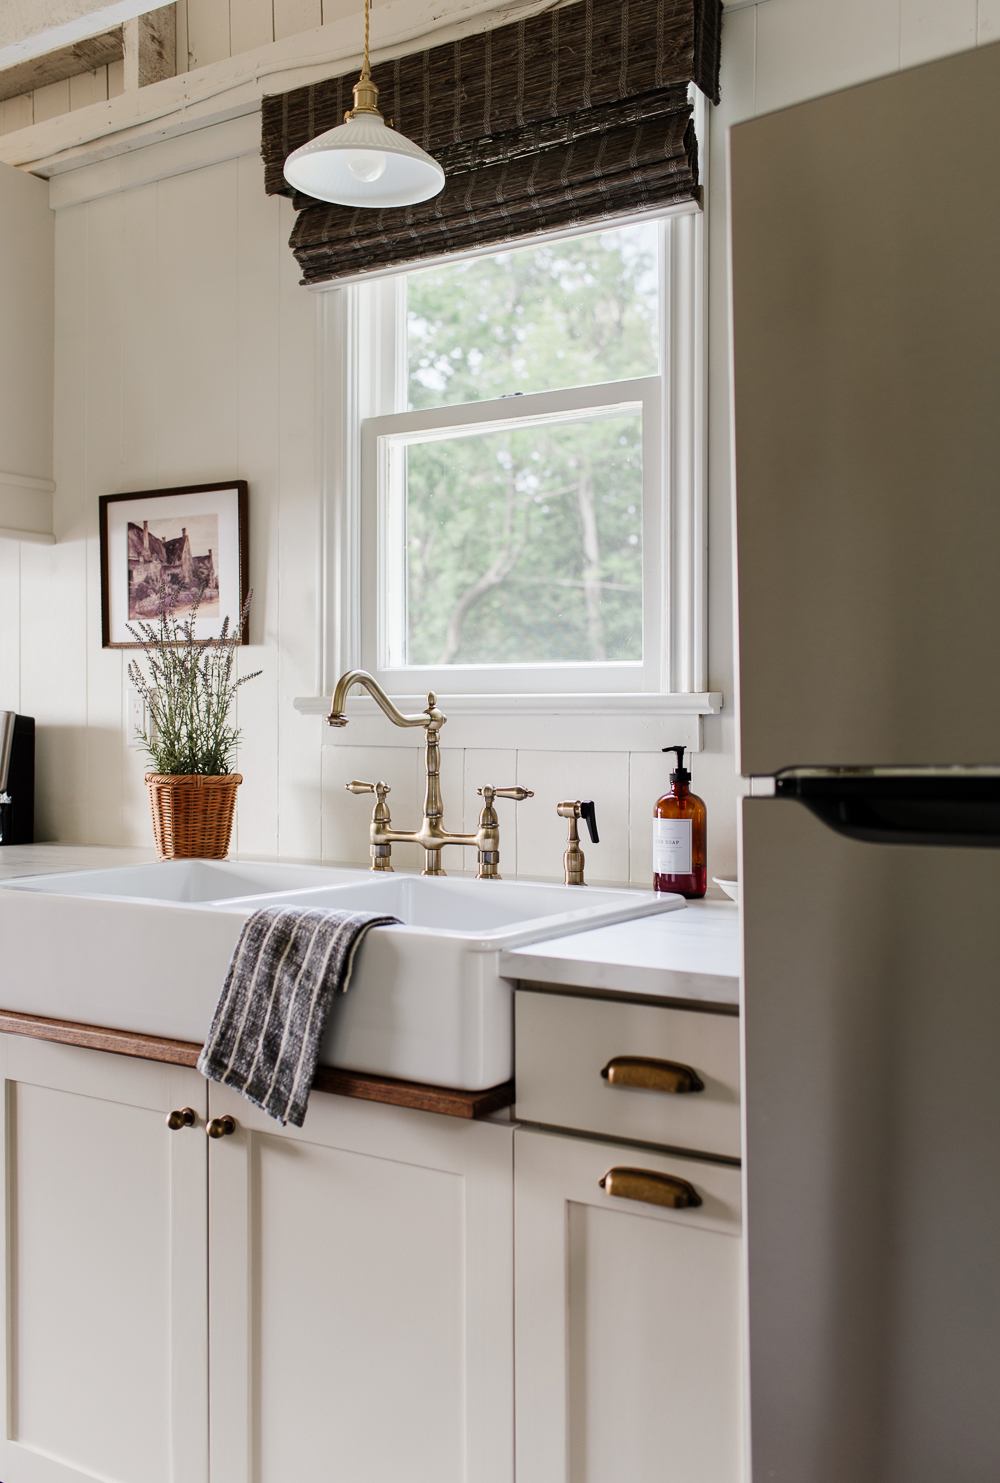
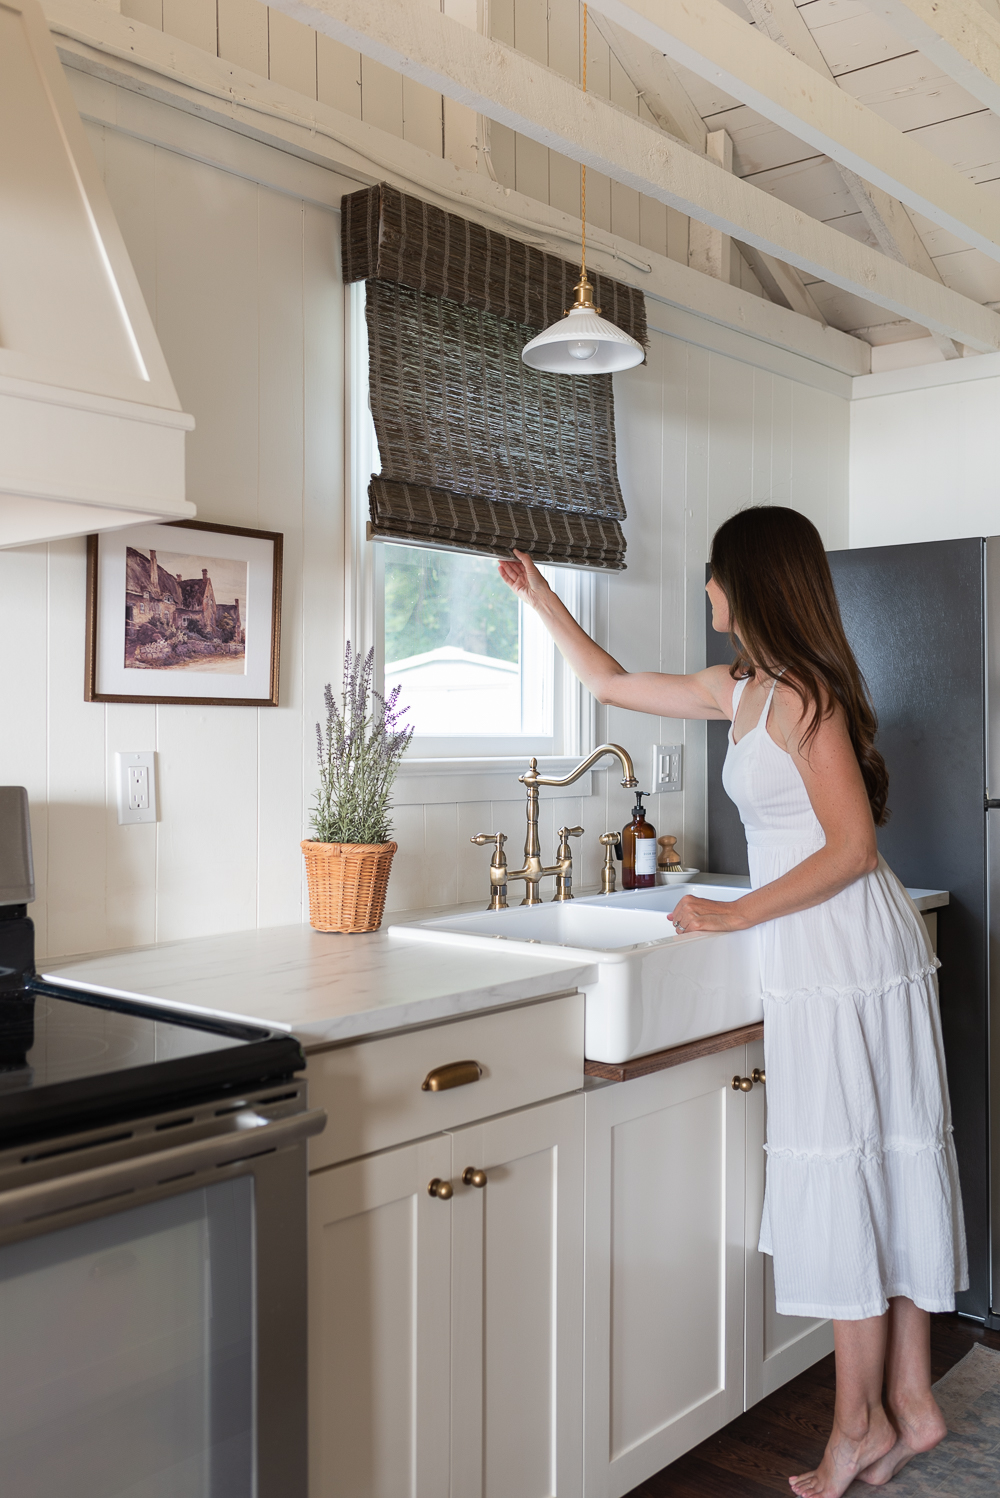
As with any aspect of design, I think it’s important to create a feeling of cohesion by repeating patterns, colours, and materials. So when it came time to consider window treatments for the cottage I created this same feeling by repeating materials and colours throughout each room. For our remodel we installed a combination of textured woven wood shades and soft drapery panels.
In the kitchen, we installed shades made from a grass material in a beautifully rich shade of brown to elevate the space while providing privacy. Just like everything in the cottage, the windows are tiny too, so we opted for shades with an outside mount to provide the illusion of bigger windows while letting in as much light as possible.
We chose the cordless option again, as it not only provides a streamlined look but also eliminates the chance of little ones or pets becoming tangled in the cords.
Sink and Faucet
A beautiful apron sink was top of mind when we started the design process. Not only are they a beautiful and timeless choice, but I knew a large double-basin sink would give us ample space for washing dishes. We don’t have a dishwasher at the cottage so we chose the next best thing, and everyone has agreed that it’s definitely made washing the dishes a bit more enjoyable.
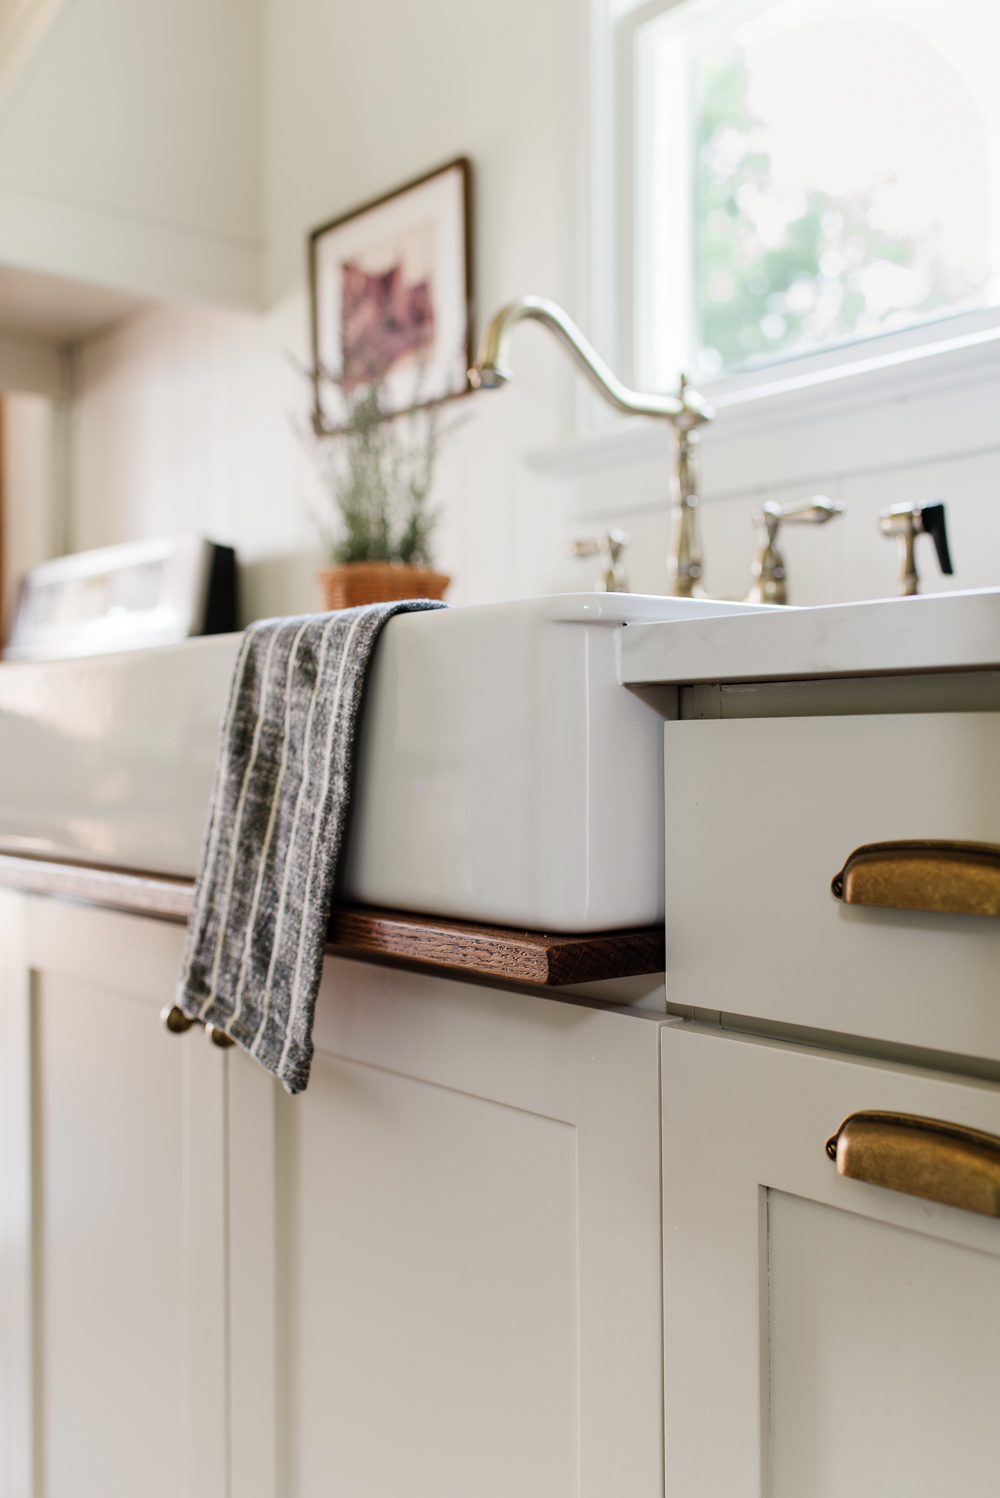
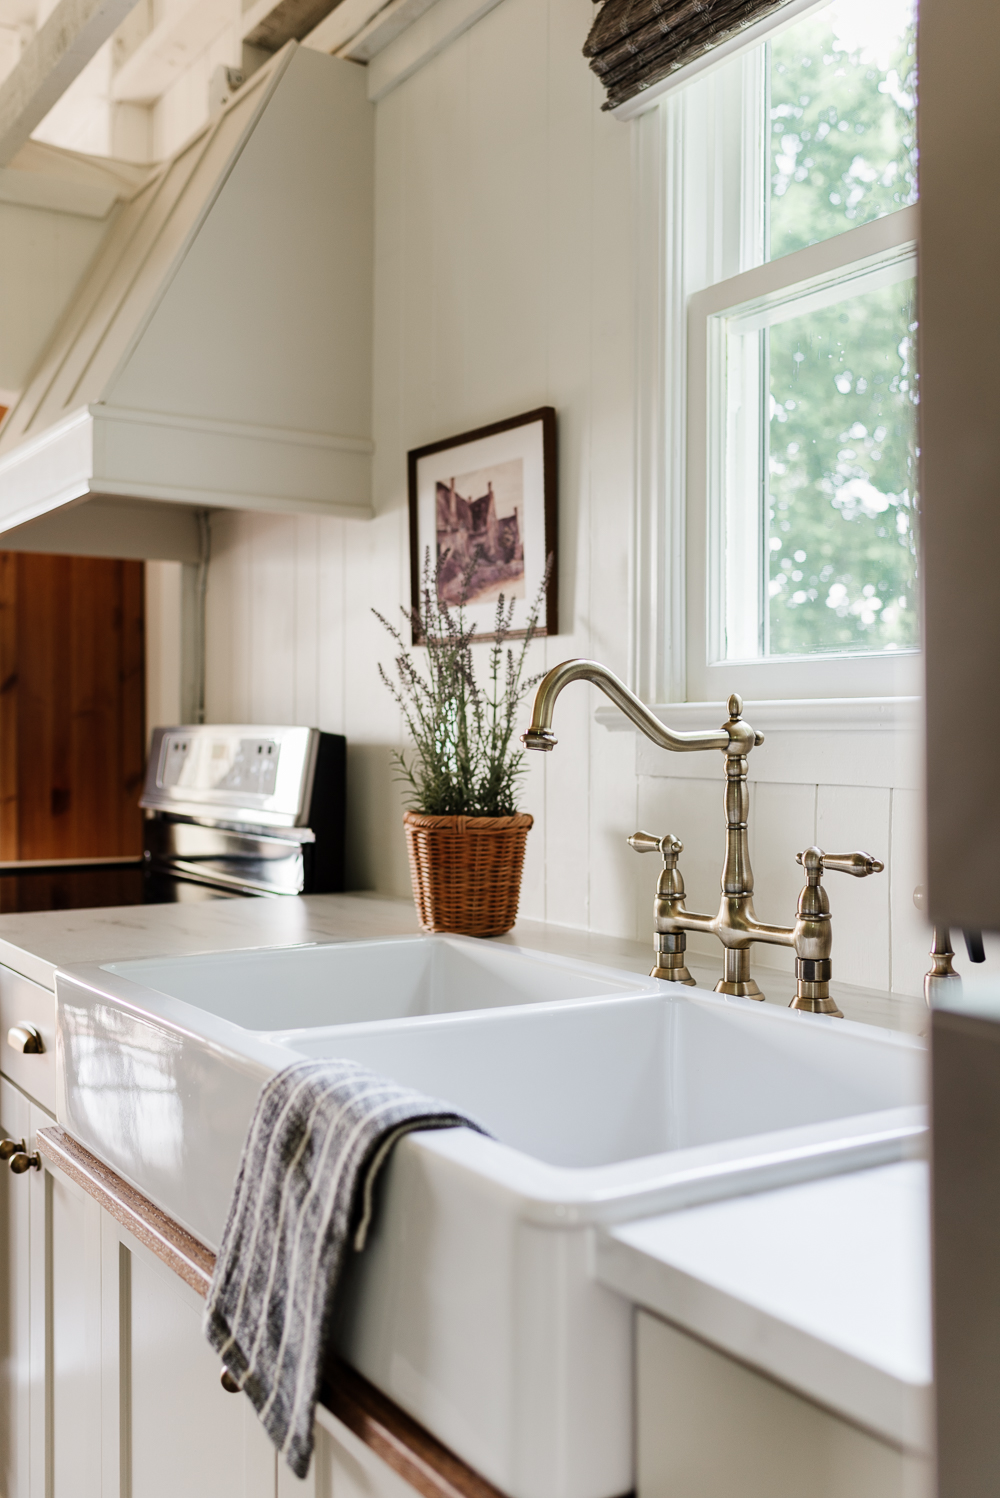
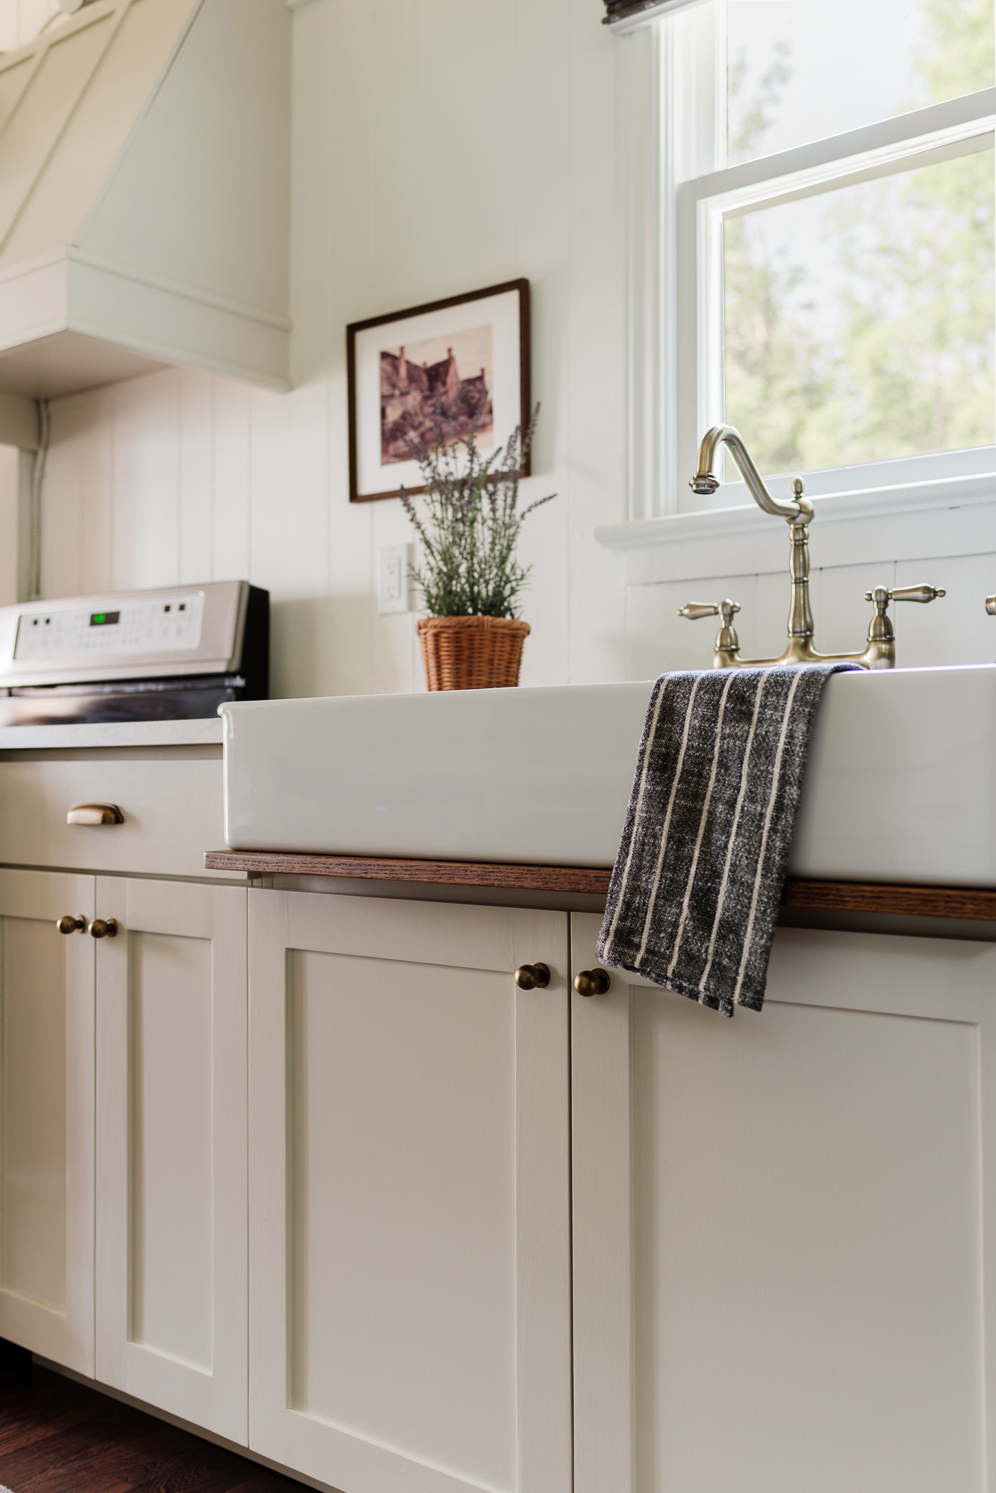
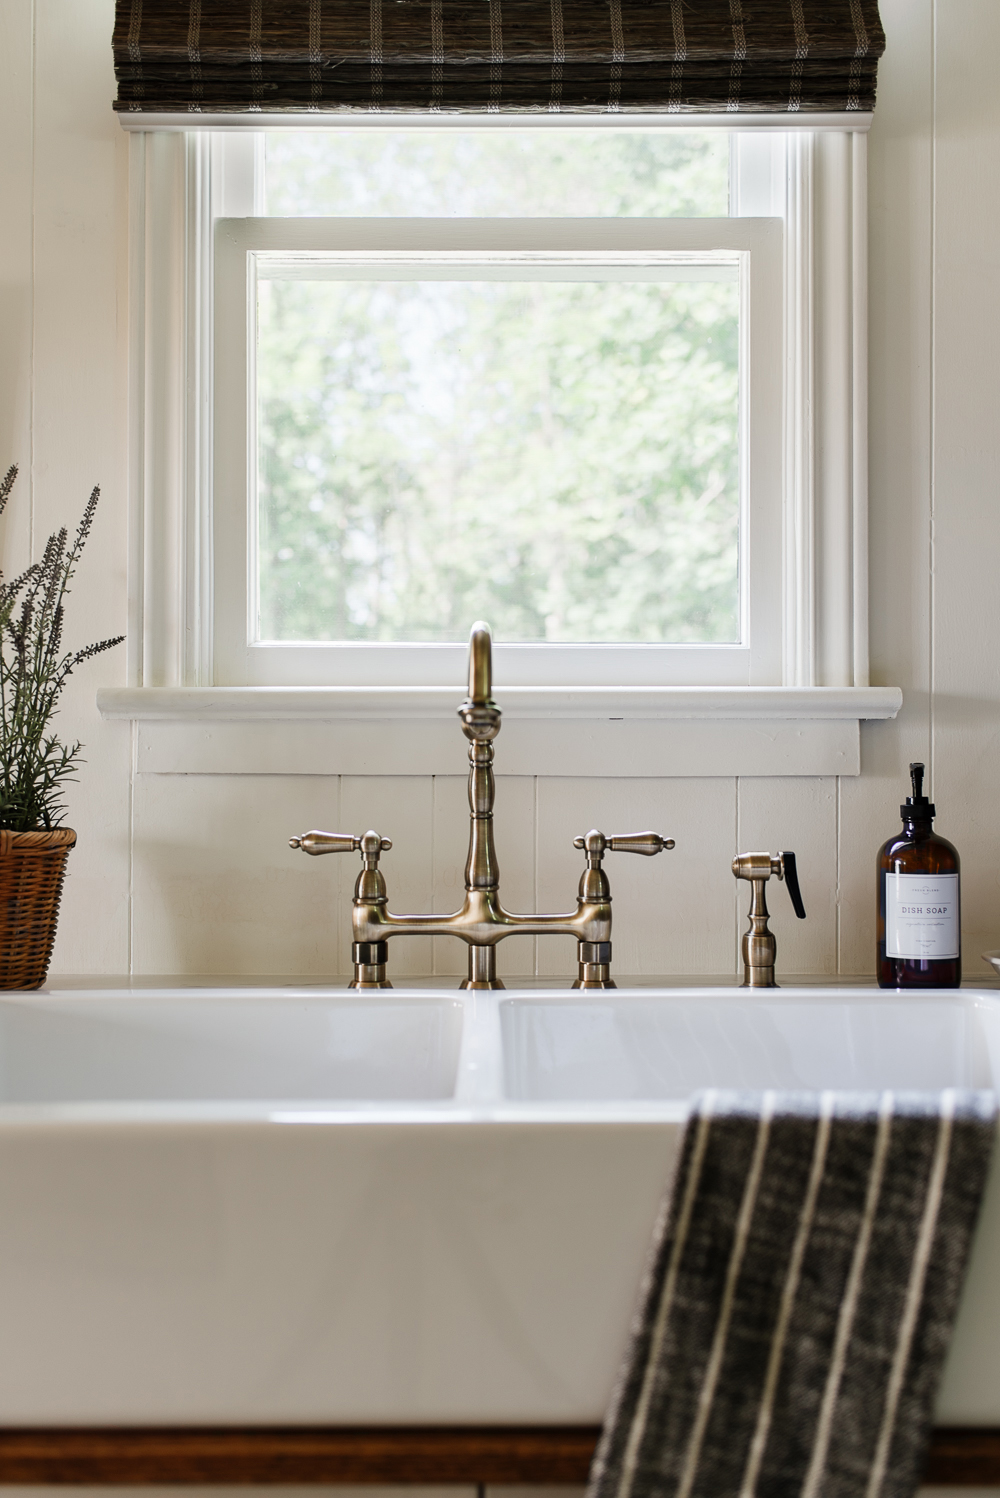
We completed the look with a drip edge in a rich colour that helps to tie together the floor and the shades. A drip edge is a piece of material that is added below the sink to catch any spills and drips, ultimately protecting the cabinets below. We added a drip edge to our kitchen at home and immediately fell in love, so it was an easy choice for the cottage remodel.
An antique-inspired bridge faucet in an aged brass finish complements the sink perfectly. It adds that character and charm of an old-world cottage.
Lighting
Lighting is not only practical but it’s a great way to add character and ambience. We added this sweet pendant with a ceramic shade above the sink and two antique brass sconces above the shelf. It’s these little details that help elevate a space and seamlessly integrate elements that feel like they’ve been here for a lifetime.
While the cottage kitchen renovation was the most demanding, it was also the most rewarding. We were able to create a beautiful and functional space that welcomes us and our guests as they enter the cottage, setting the tone for the rest of the space.
Details at a Glance
Ceiling | Simply White by Benjamin Moore
Walls | Simply White by Benjamin Moore
Trim | Simply White by Benjamin Moore
Door | Wrought Iron by Benjamin Moore
Cabinets | Natural Cream by Benjamin Moore
Drip Edge | Early American by Verathane
Woven Wood Shades | Walpole Cypress by Blindsgalore
Room Sources
Fridge
Range
Counter
Sink
Faucet
Cabinet Knobs
Cabinet Pulls
Art
Runner
Pendant Light
Sconces


Leave a Reply