Early this year Nick and I took on the project of remodeling our shared family cottage. Nick’s grandparents purchased this sweet little cottage in 1975 and their family has been enjoying it ever since. It represents a true cottage, it’s small, full of family history and nestled right on the shore of Georgian Bay. It truly is a little slice of heaven.
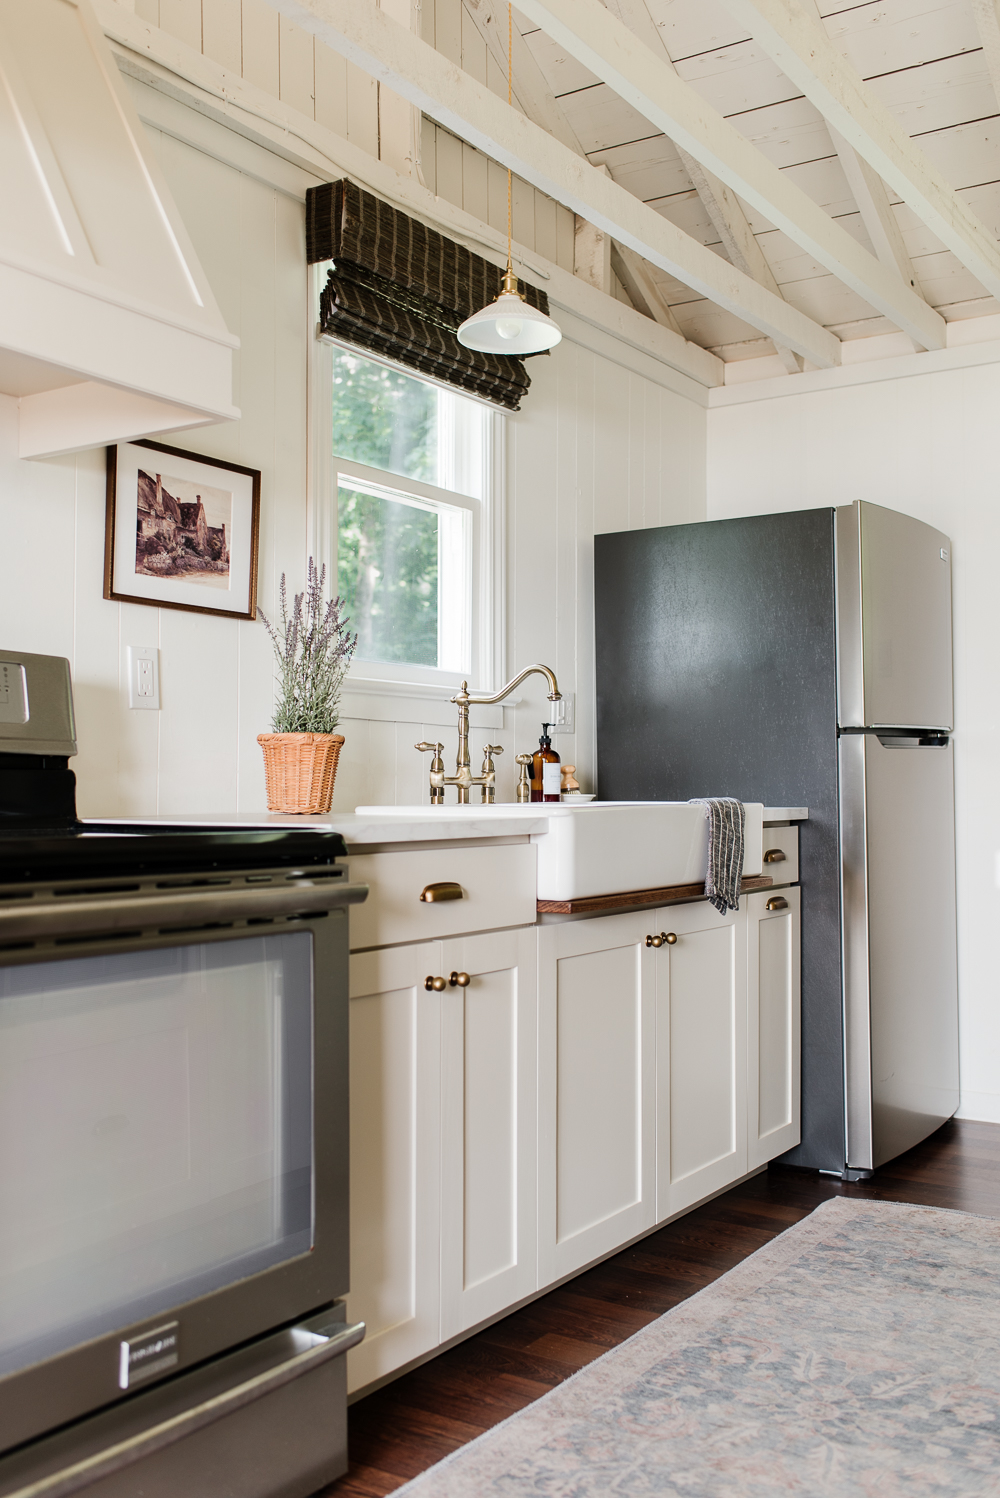
Nick’s family had made updates and changes along the way but graciously gave us the opportunity to renovate it from top to bottom this year. We worked really hard to create a space that felt peaceful, inviting and functional for the whole family.
Before we began the renovation process we shared a before of the space, and we’ve revealed the finished cottage room by room, but we wanted to dedicate one more look at the cottage as a whole because it is really amazing to see the full transformation of each space.
Our Cottage Remodel Room by Room
Kitchen
Dining Room
Living Room
Primary Bedroom
Bathroom
Bunk Room
Before we jump into the before and after photos, I’ll give a little recap of some of the biggest changes we made.
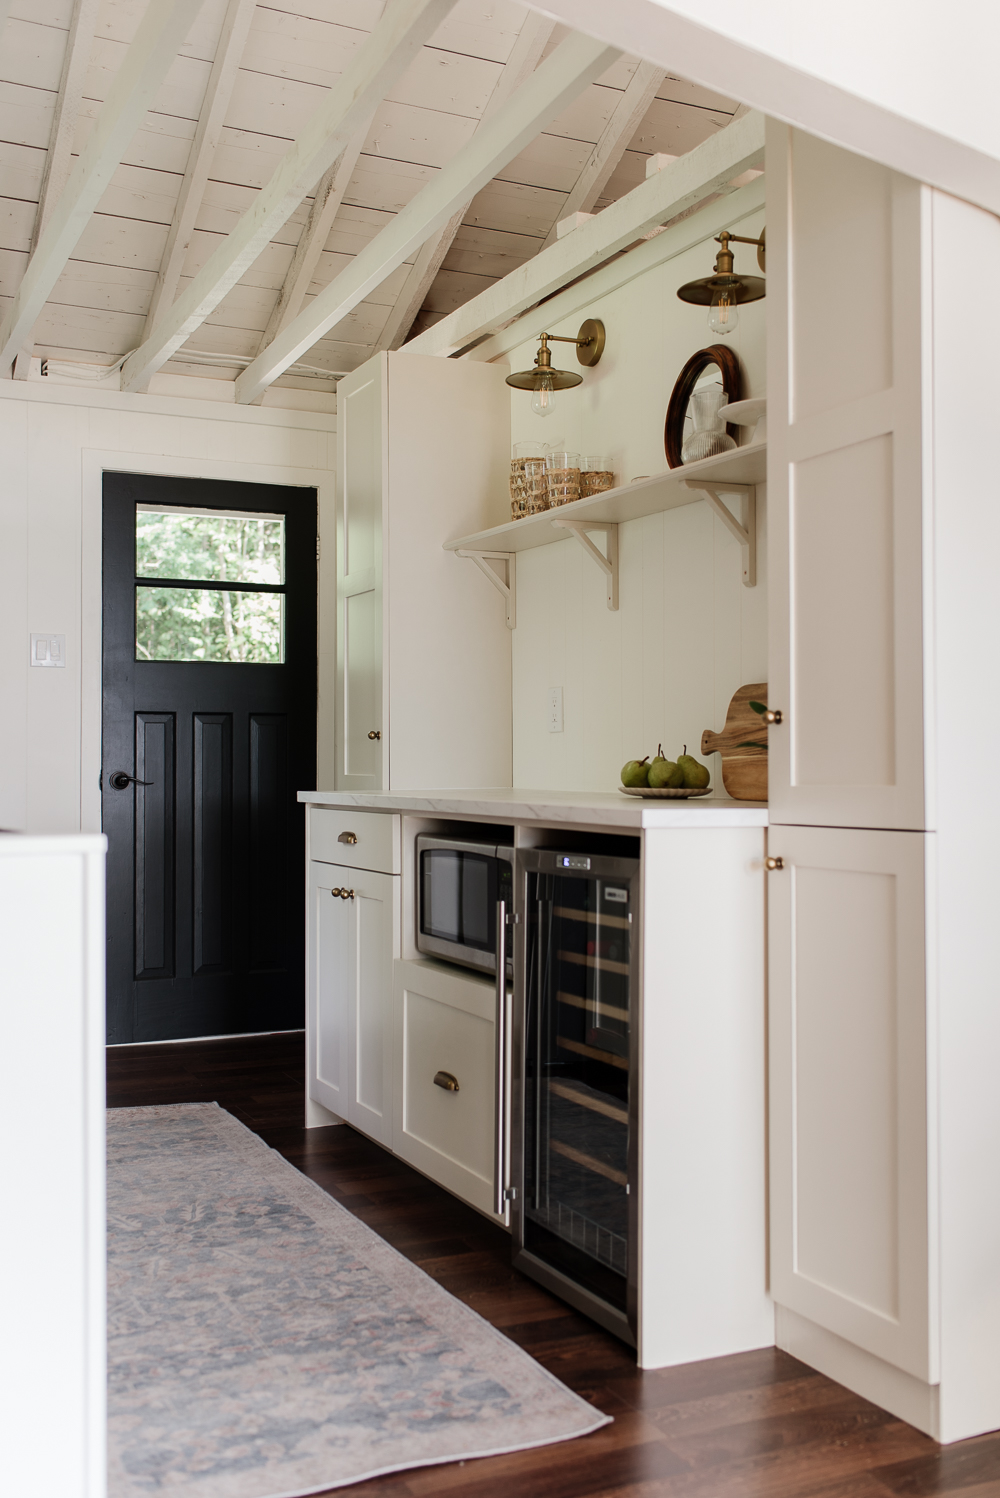
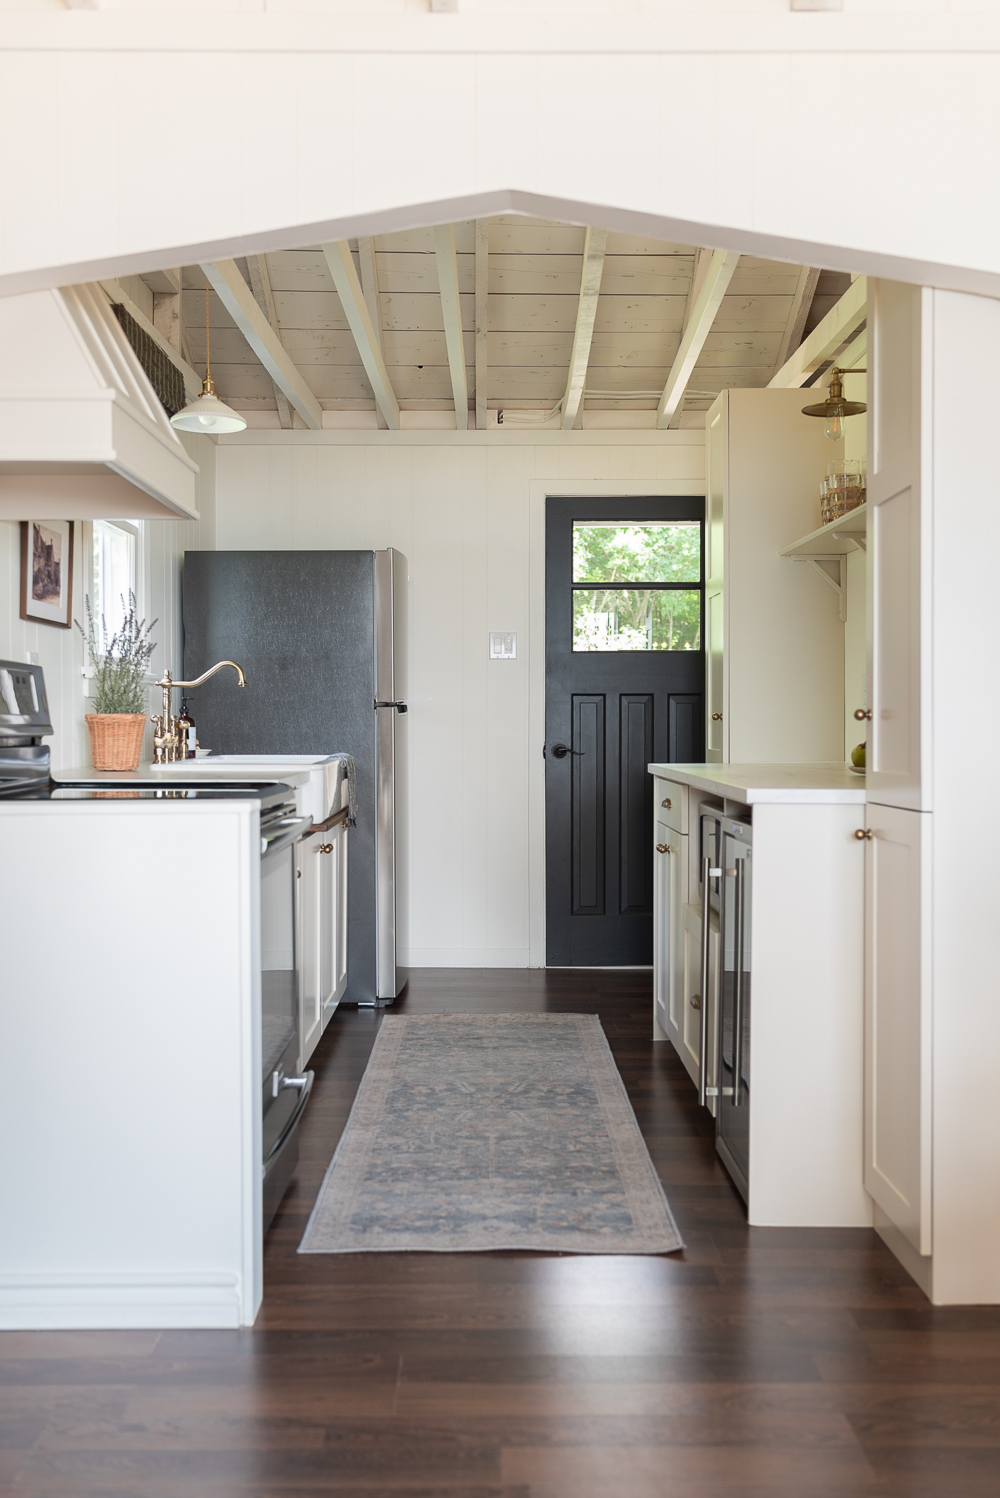
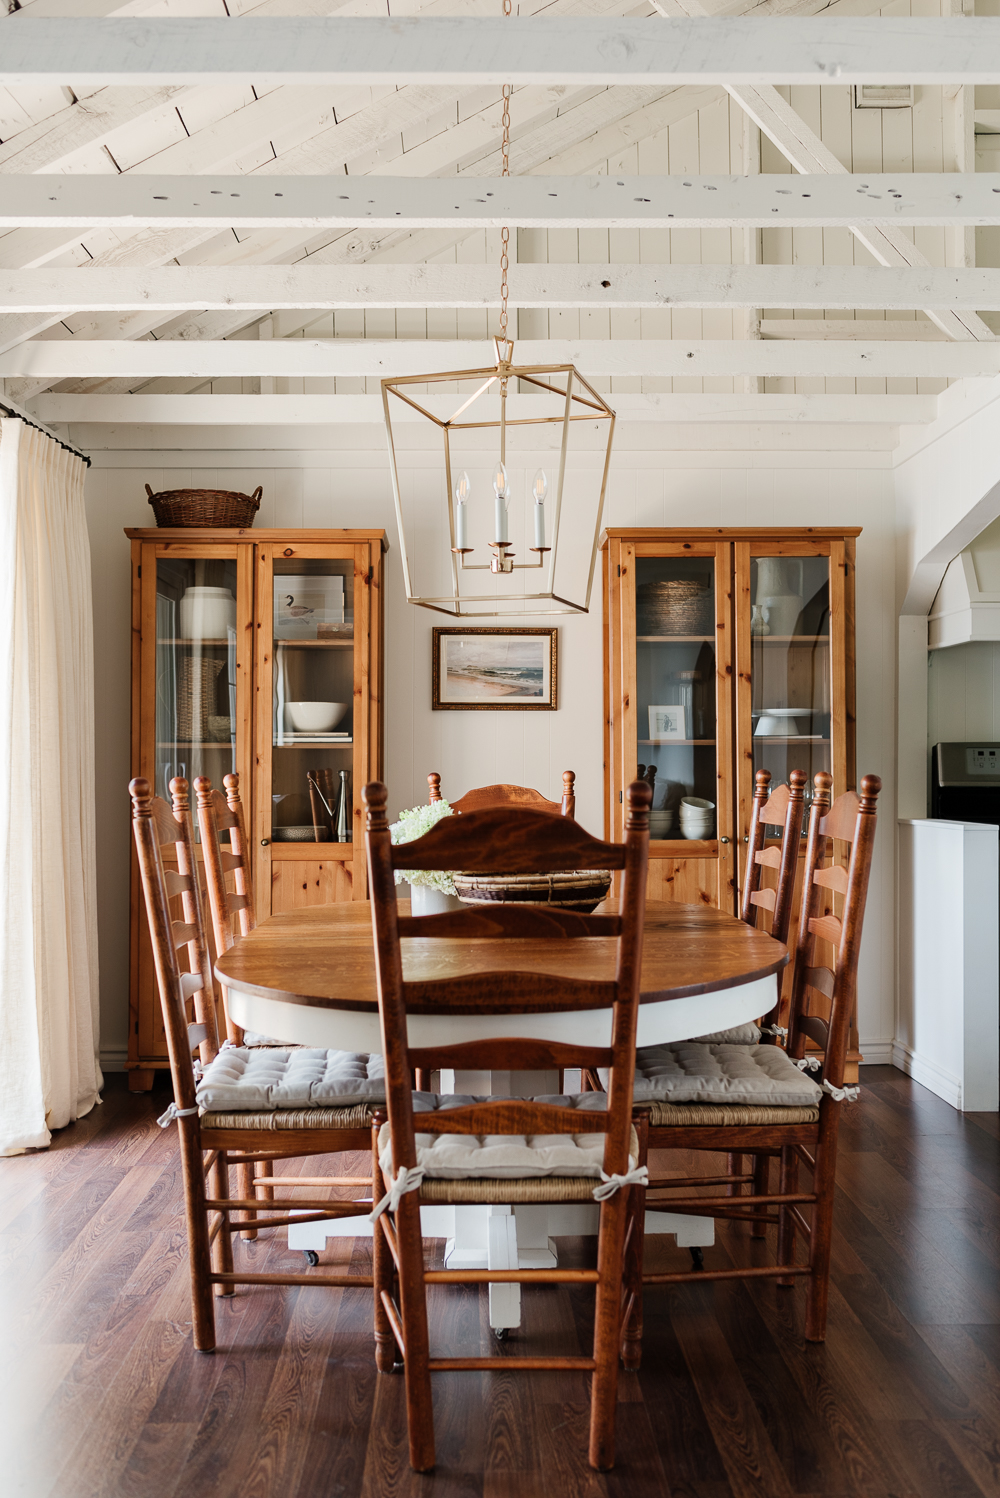
If you’ve been following along with our journey, you’ll know one of the first changes we made to the cottage was removing the ceiling tiles to expose the beams beneath. This was a project we were hesitant to take on because we weren’t sure what we would find once the tiles were removed. In the end, we are all so glad we took the risk because it’s made such a tremendous change to the space. It feels so much brighter and more open, not to mention it really gives it that cozy cottage look.
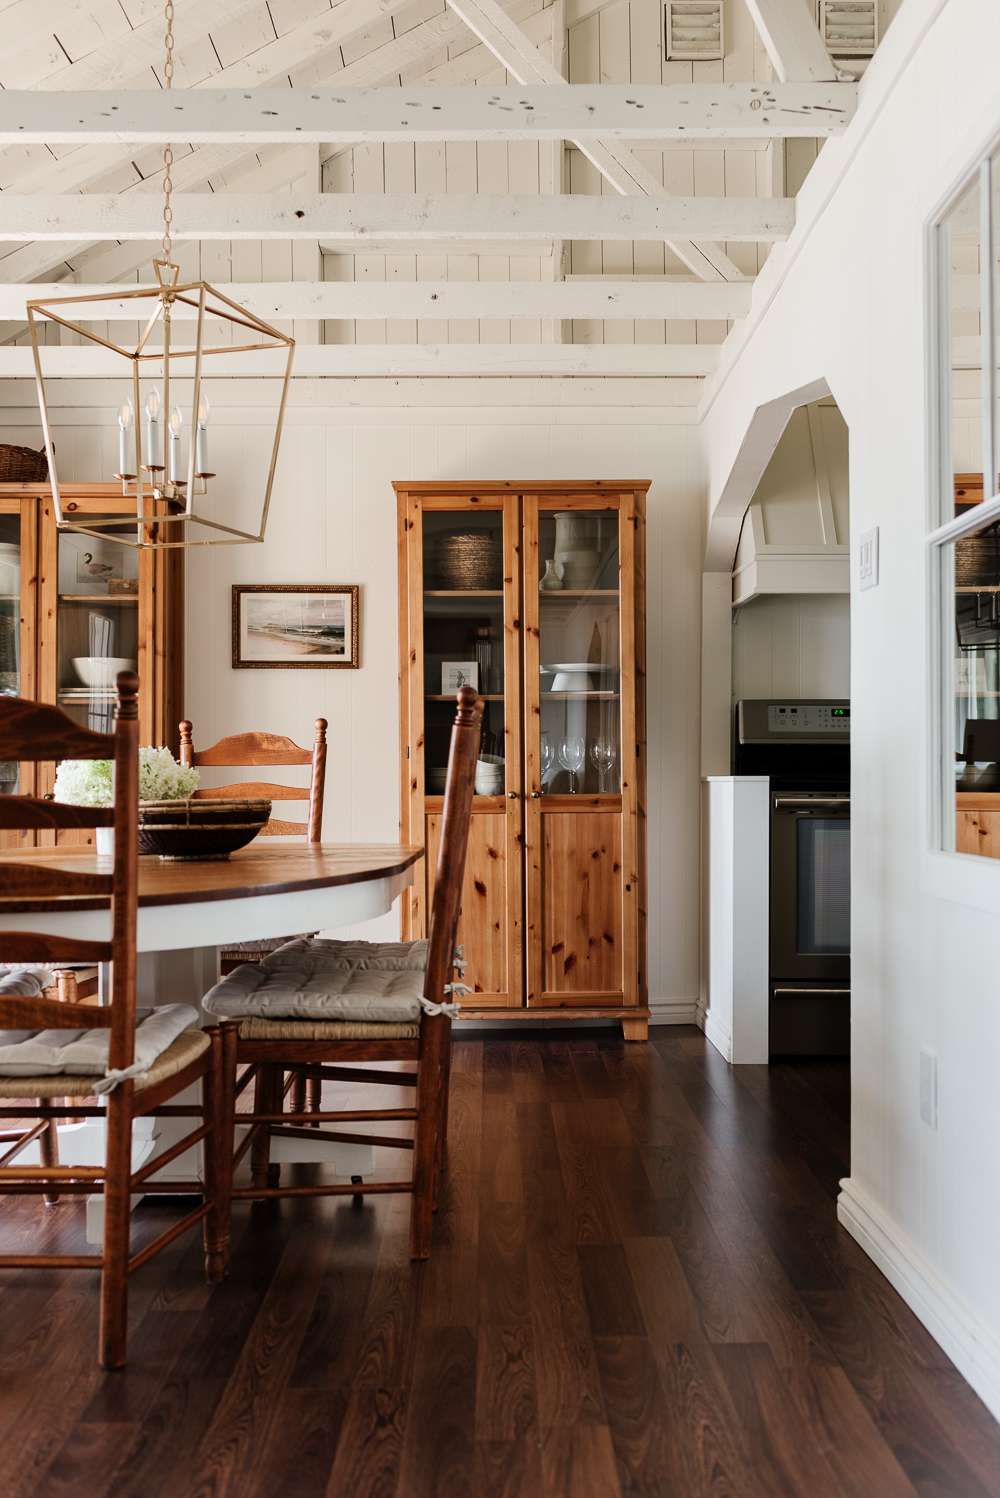
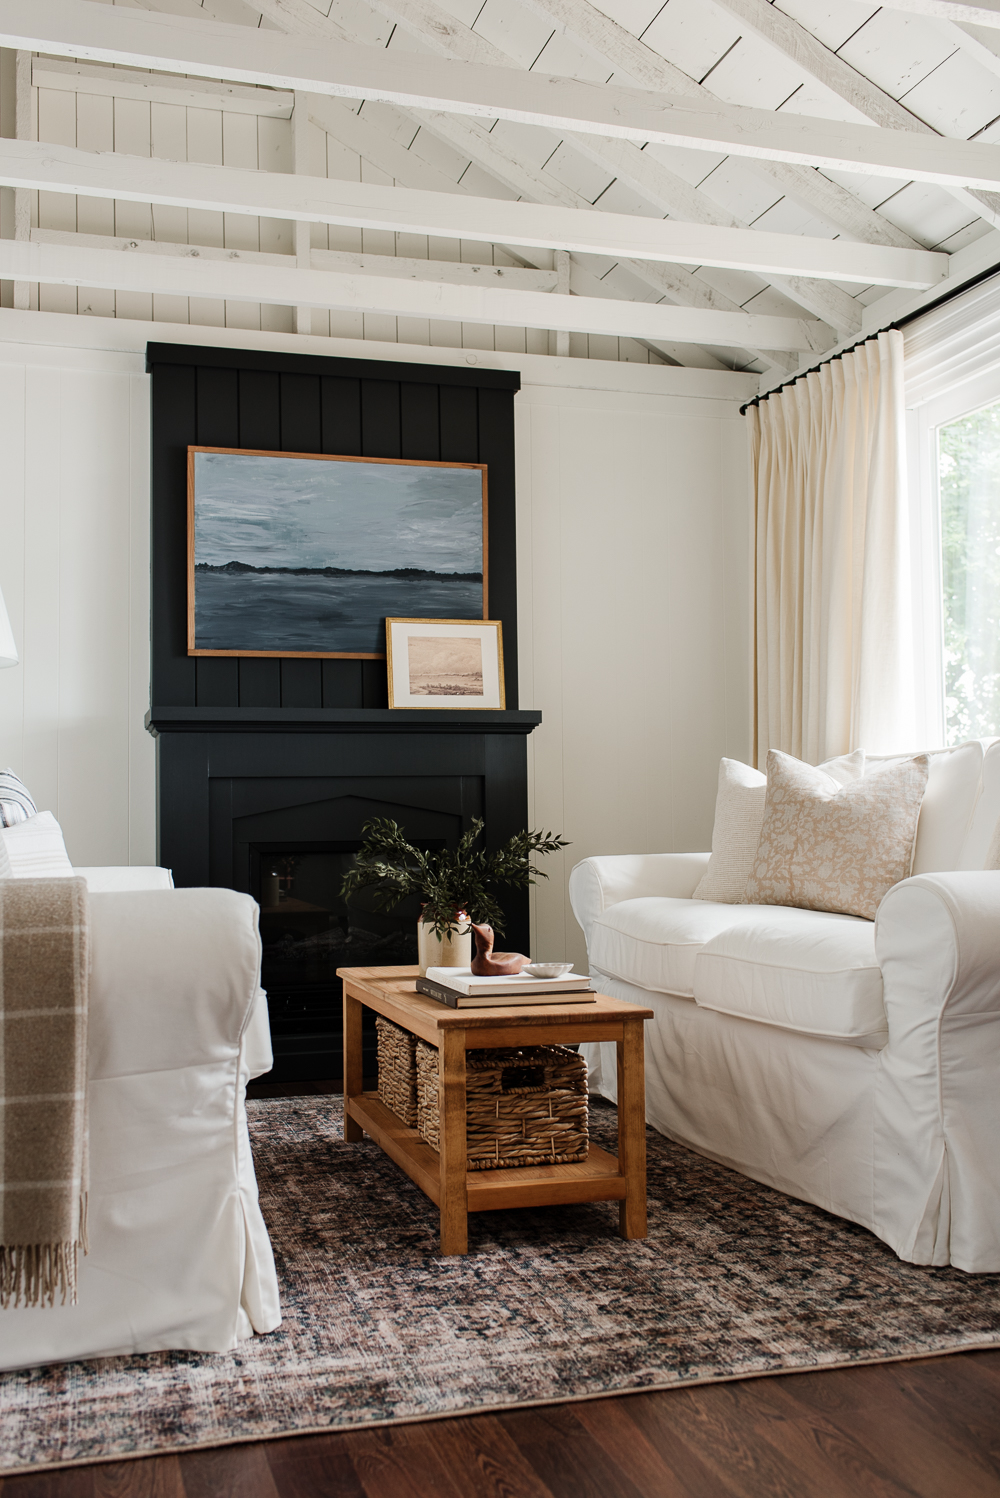
Another change we made overall was updating the flooring to create a more cohesive feel throughout the cottage. We kept the existing laminate hardwood in the dining room and living room that Nick installed many years ago. It was still in really great shape and we knew keeping it was a choice that would help us stay within our budget.
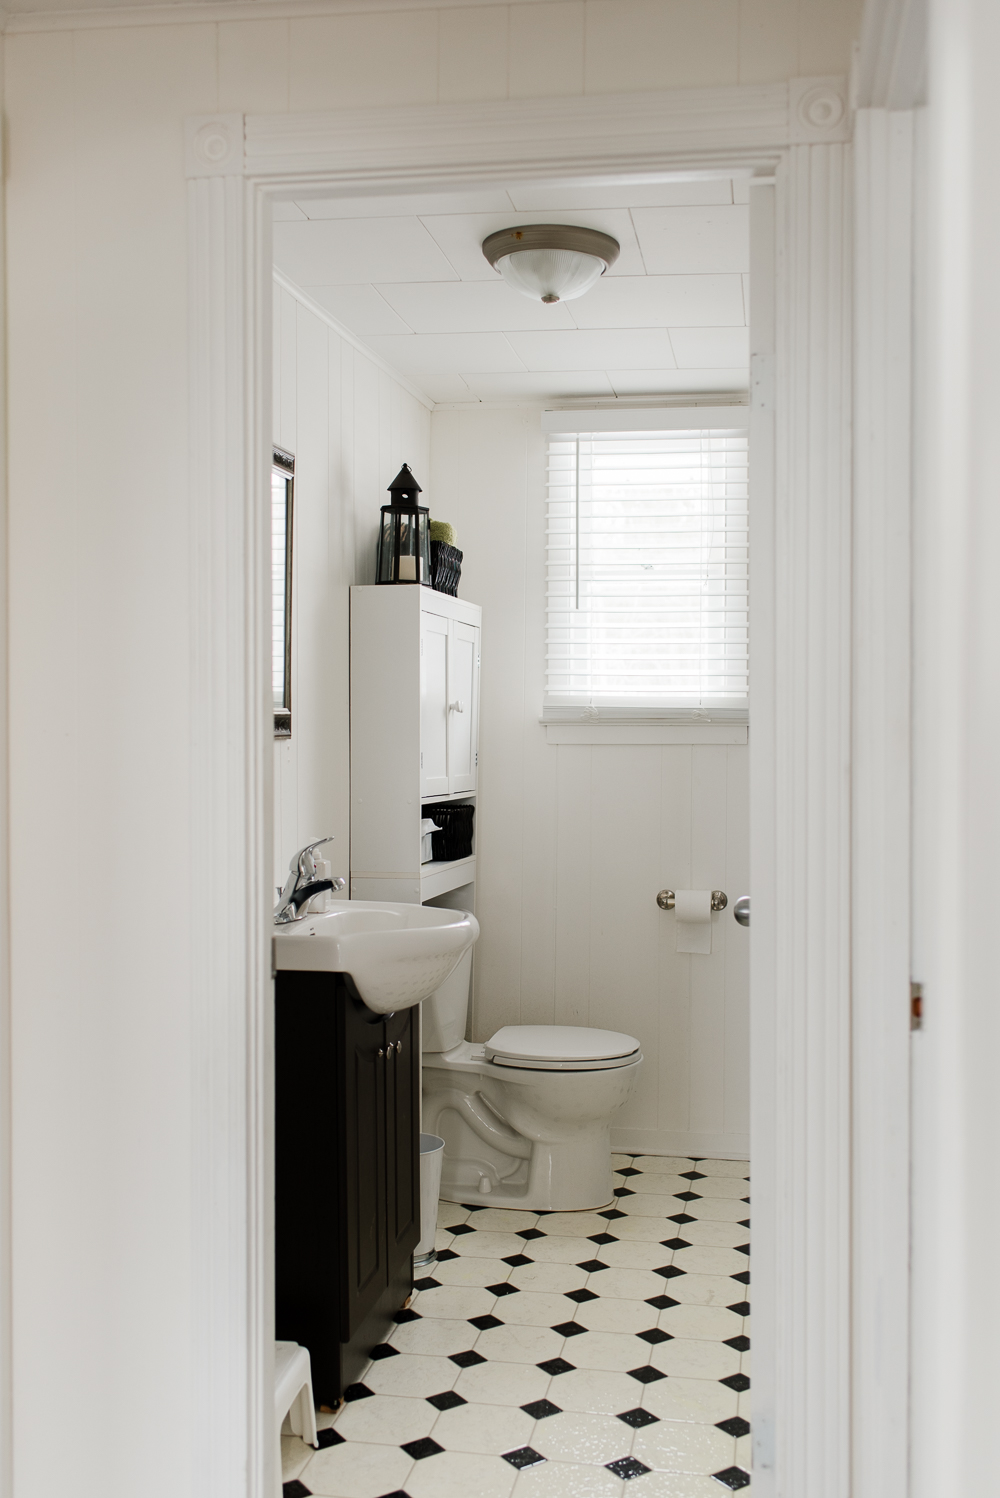
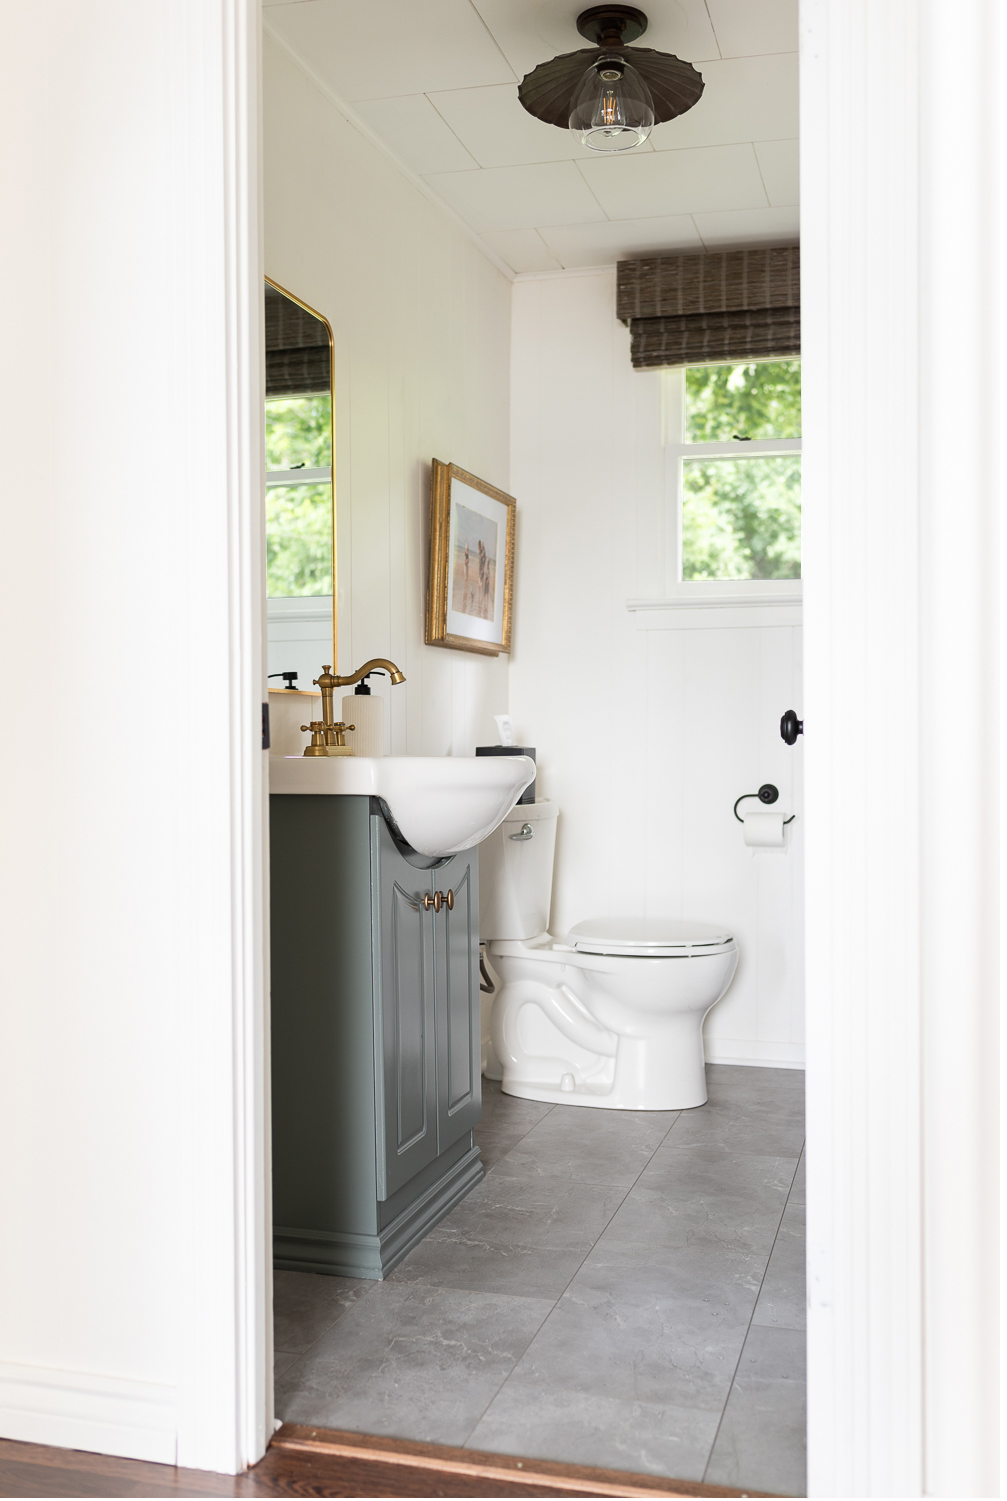
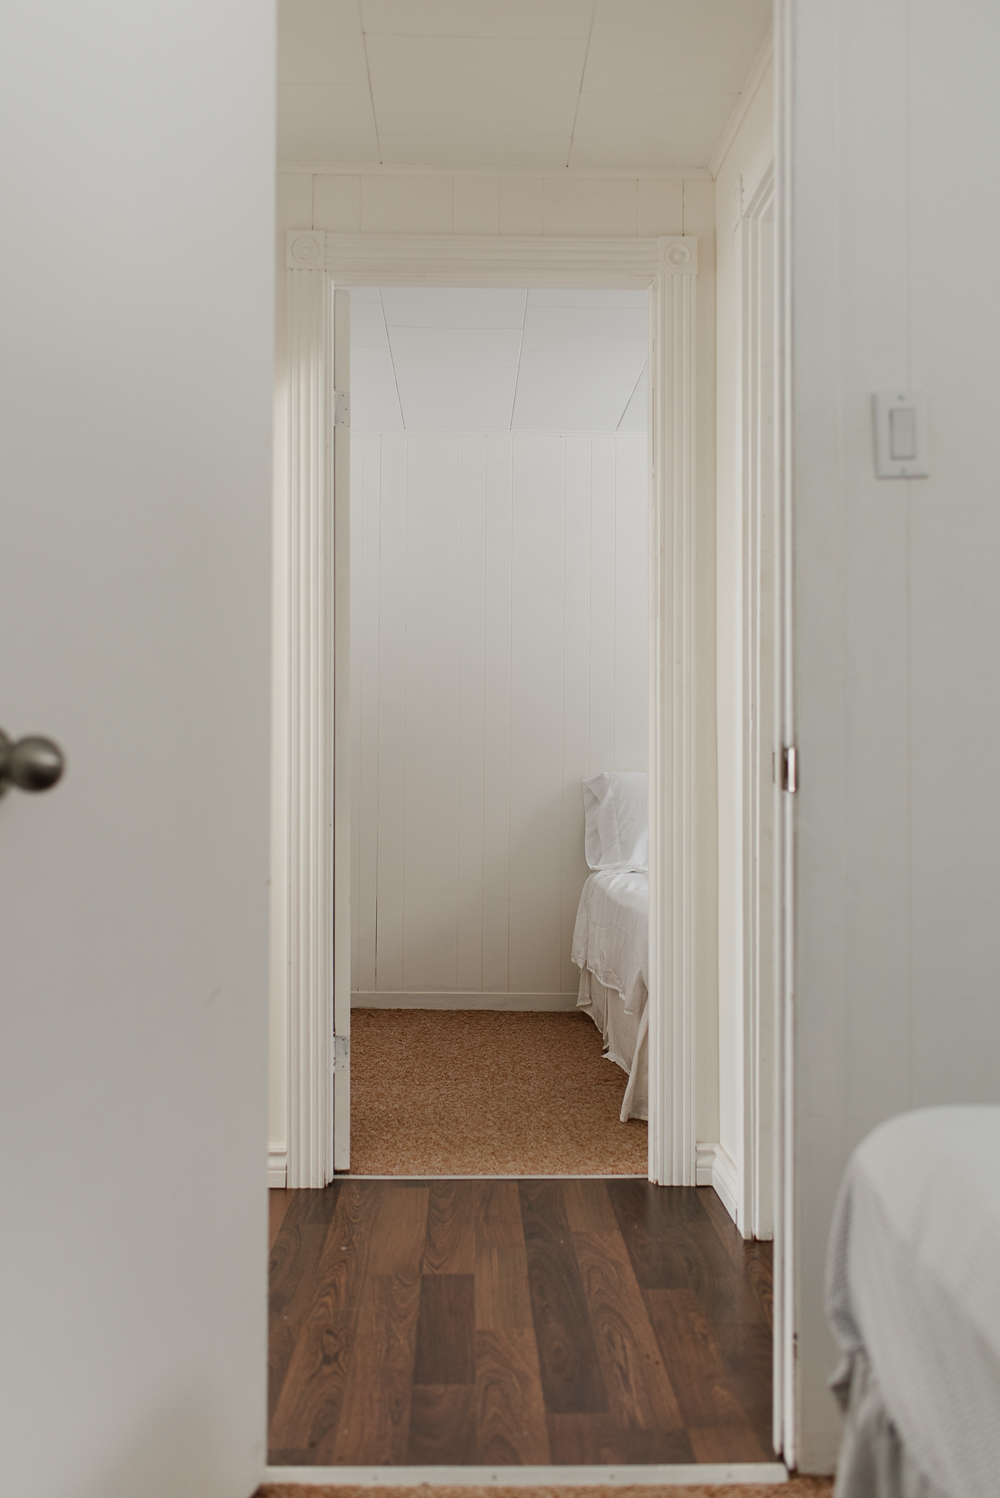
We had enough of the flooring left in storage to continue it into the kitchen, but as it’s discontinued we had to find a similar option to use in the bedrooms. We also replaced the linoleum floor in the bathroom with a beautiful and durable luxury vinyl tile. These simple updates give the cottage a more cohesive look.
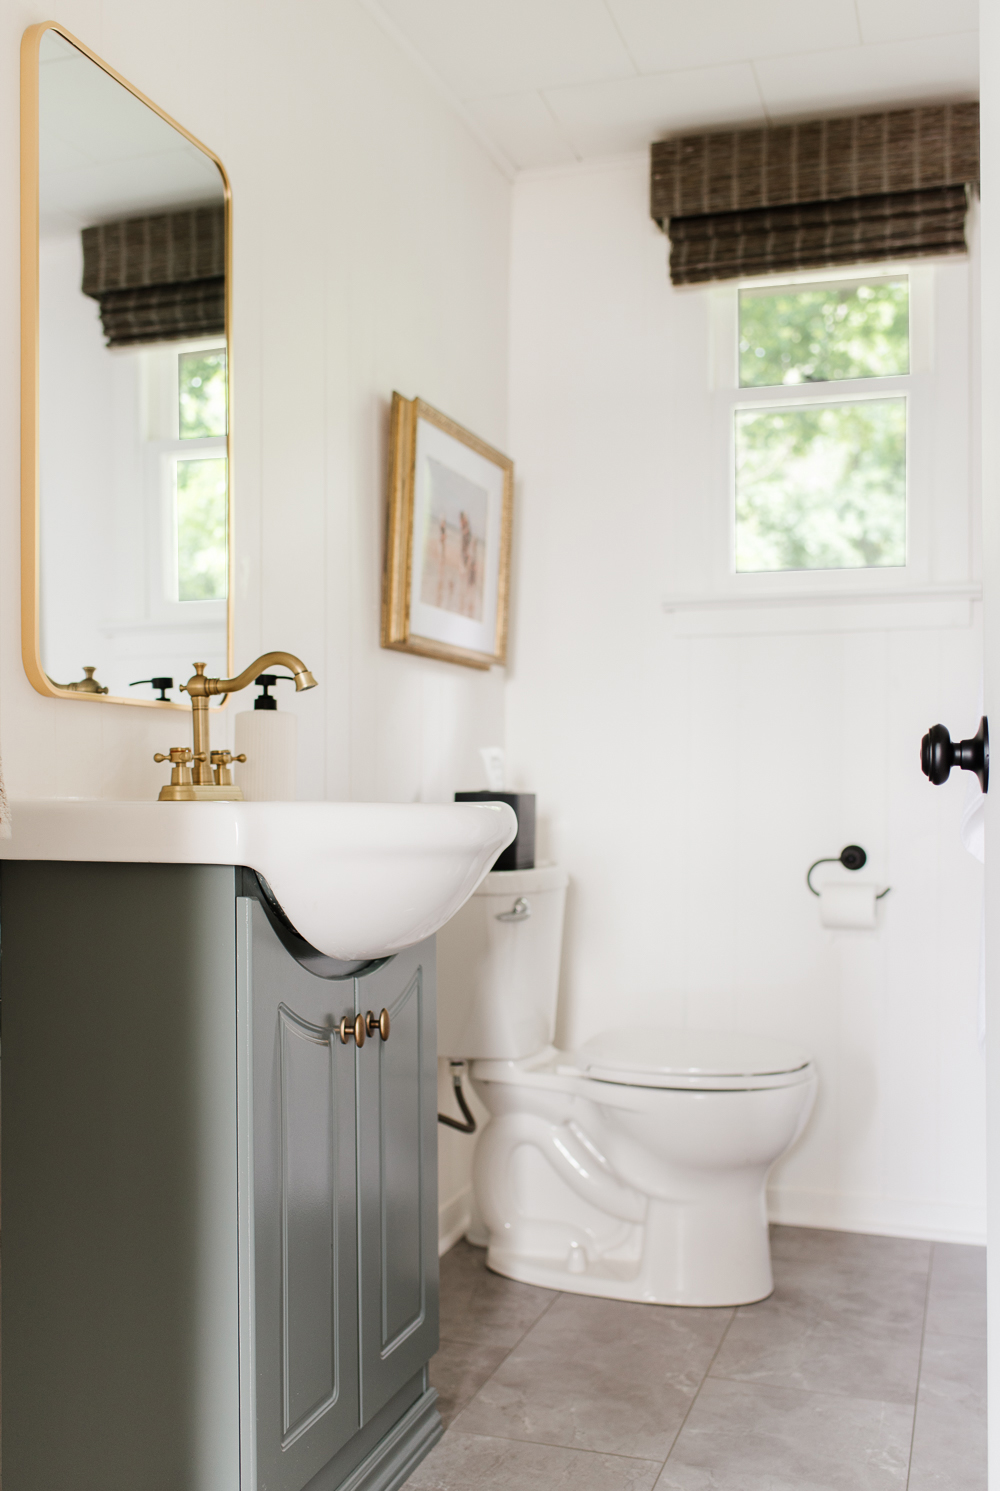
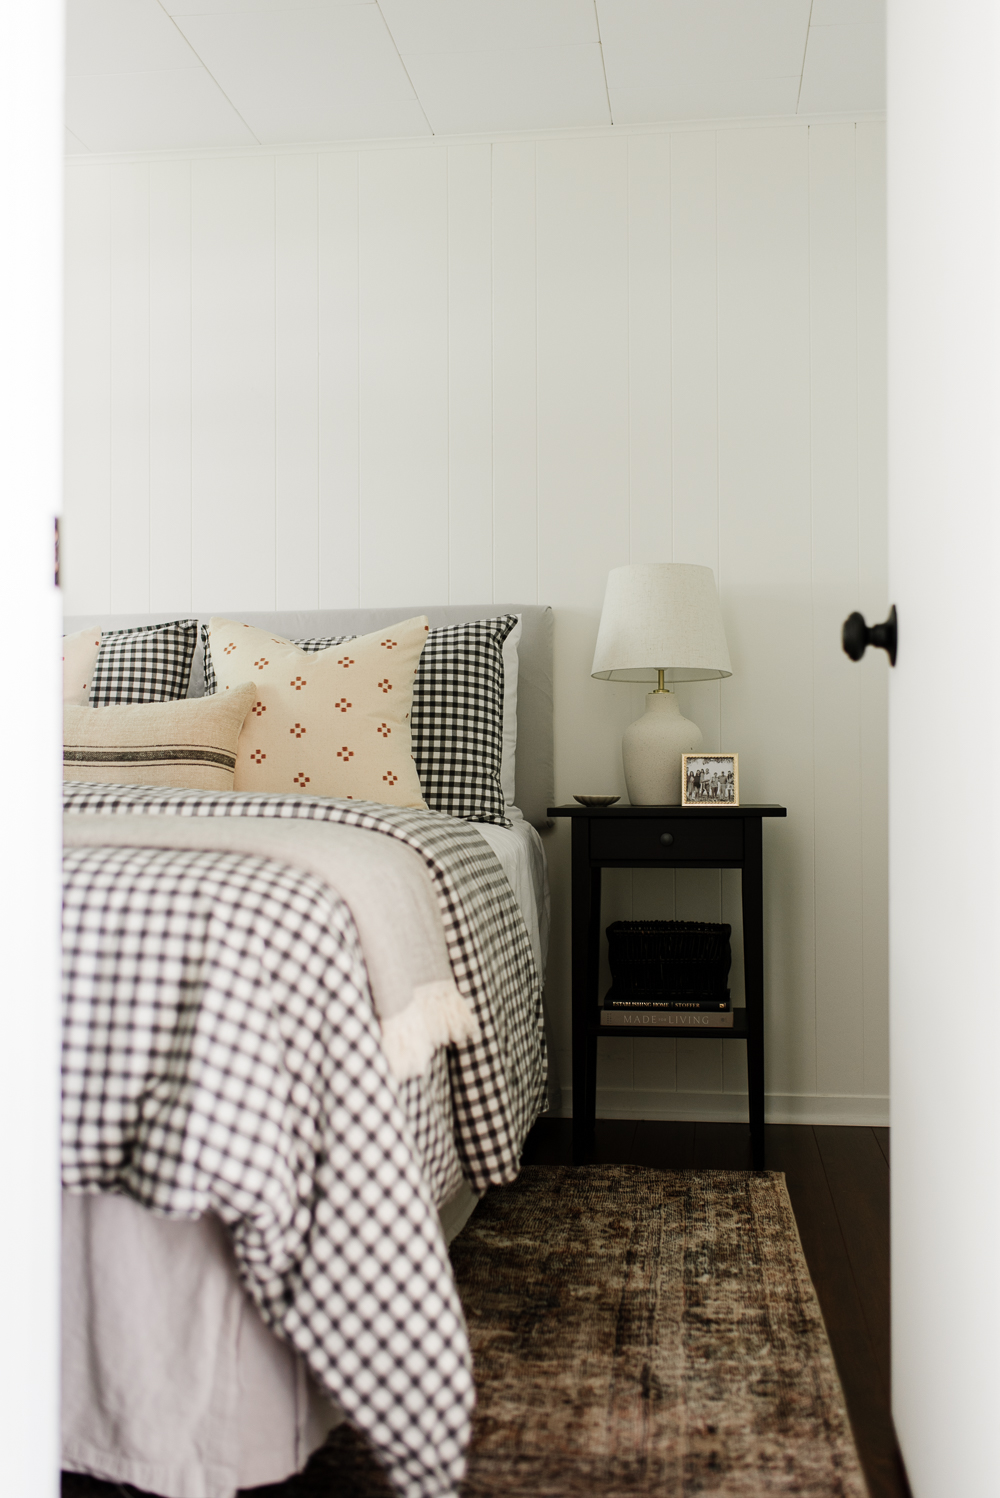
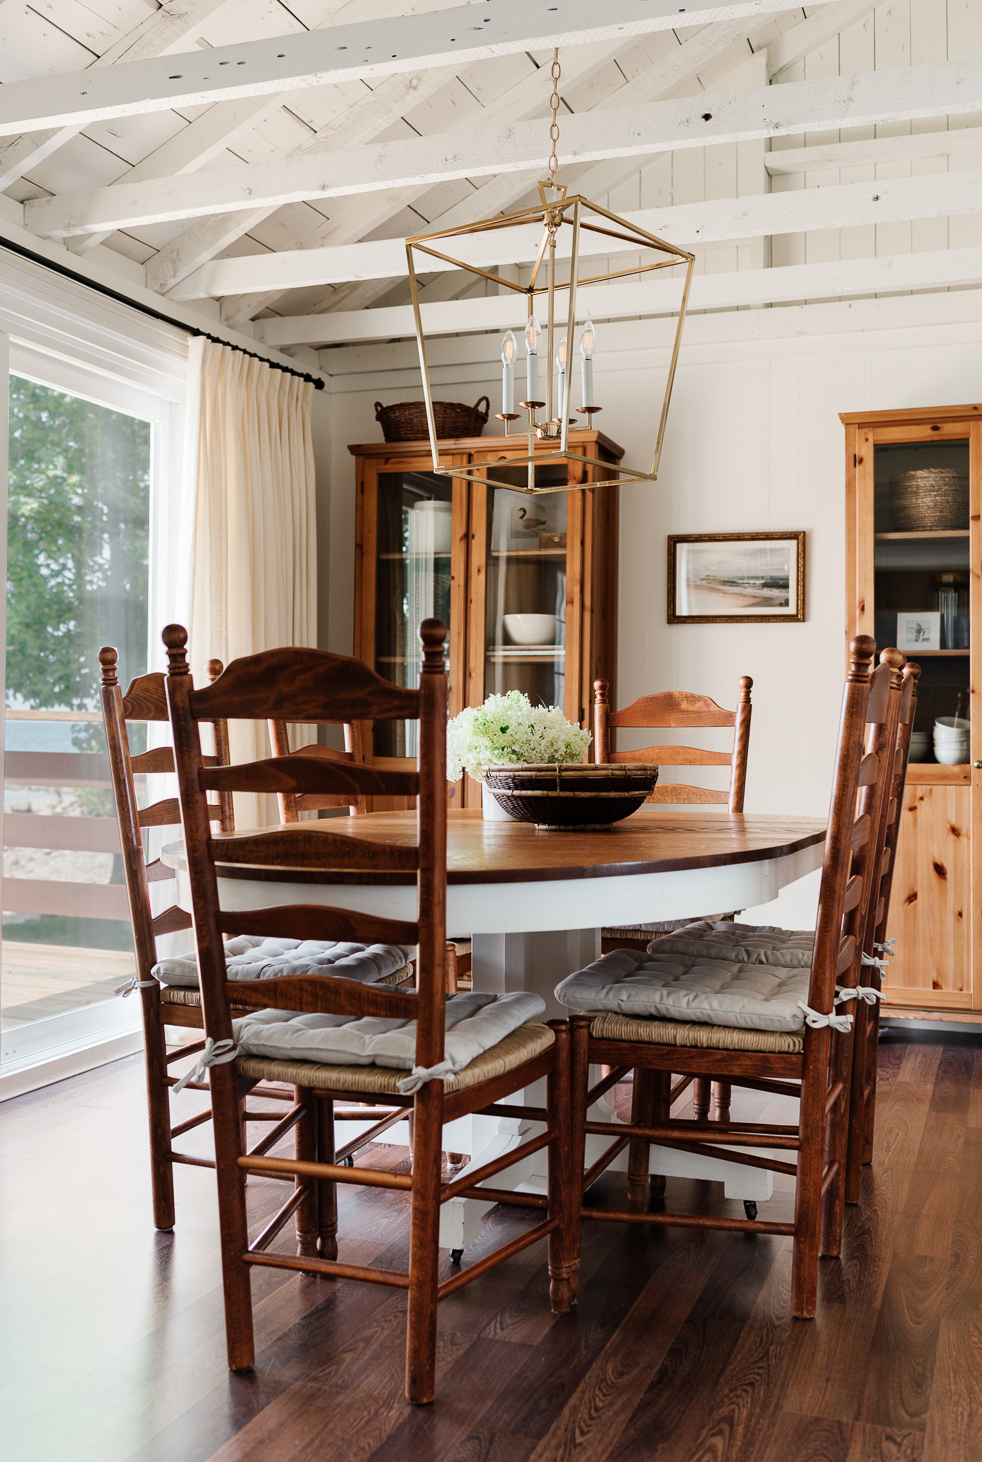
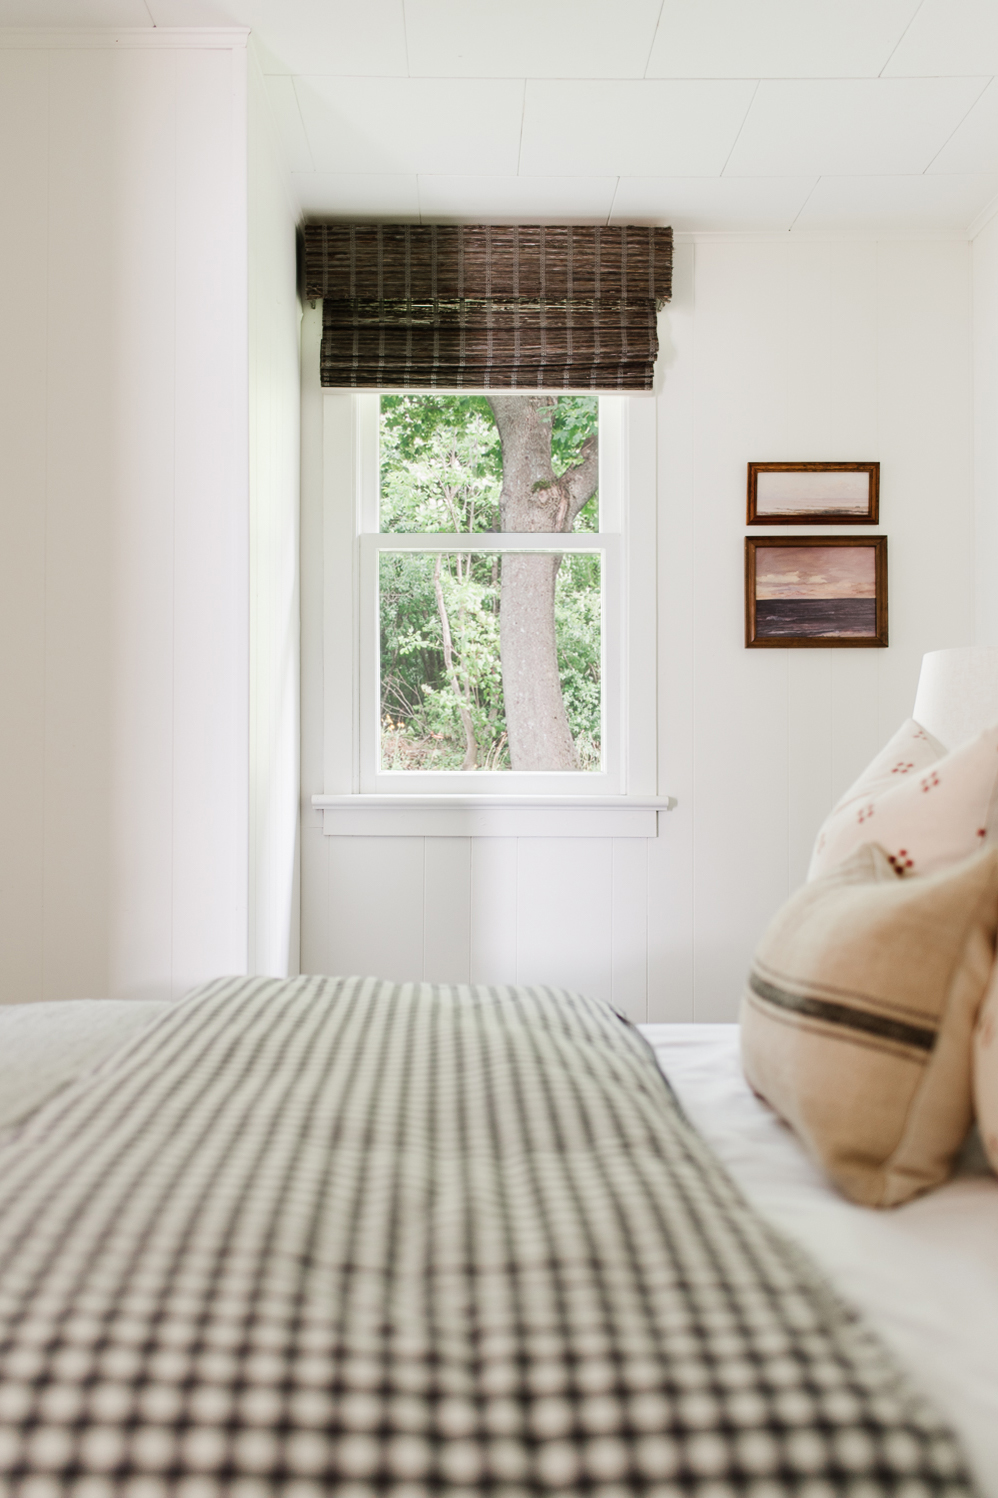
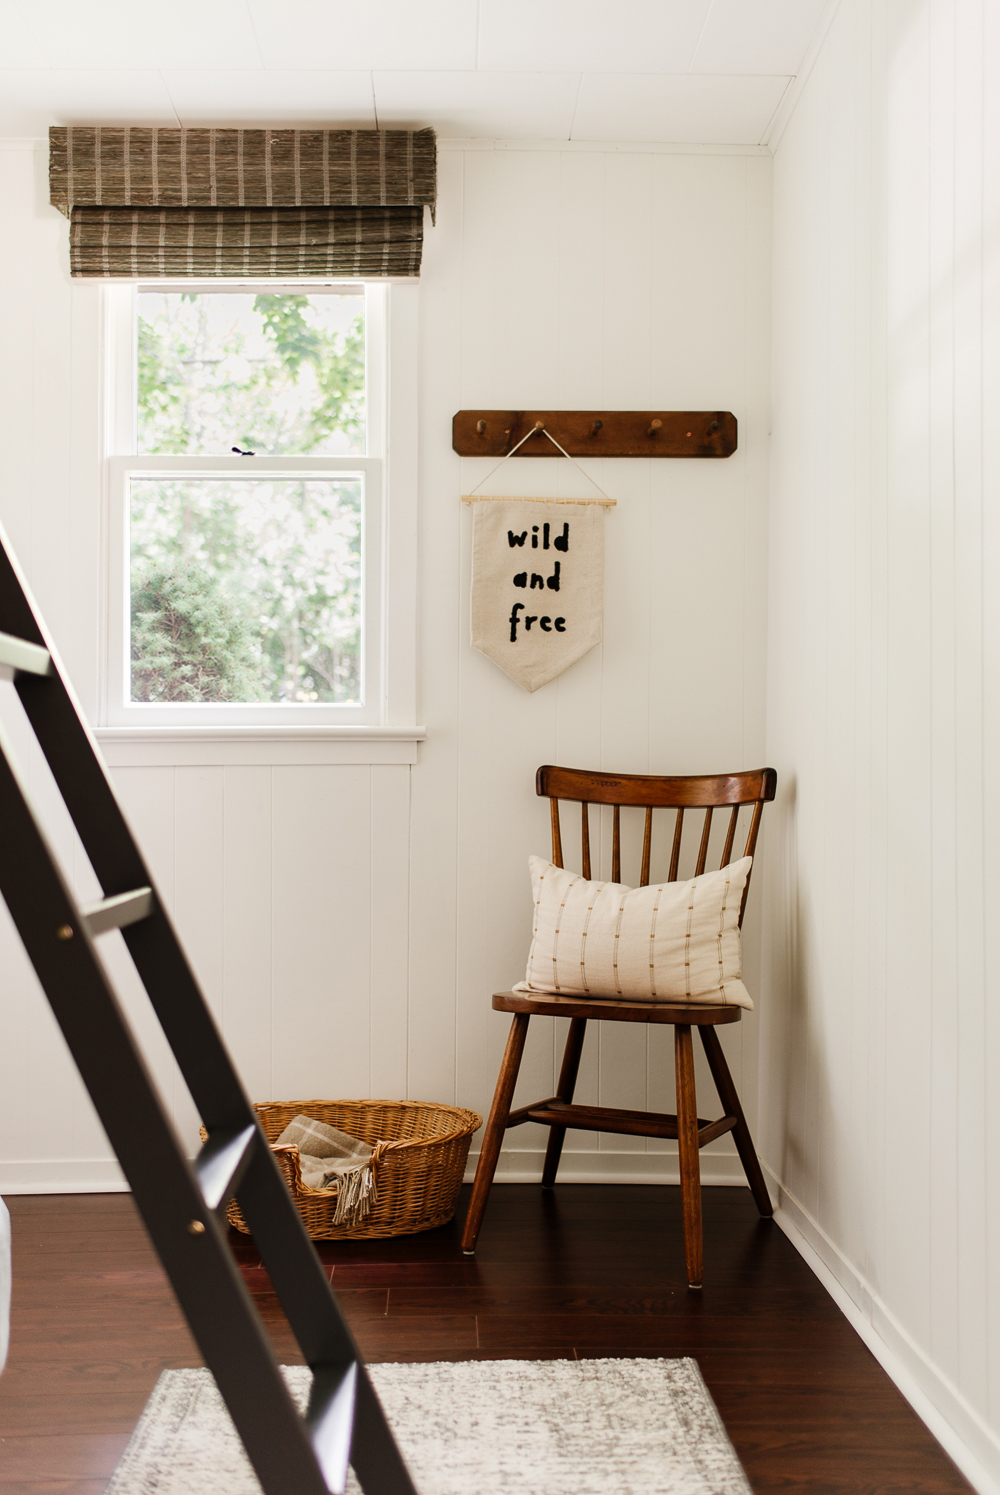
Another feature we didn’t overlook was window treatments. We incorporated a mix of woven wood shades and drapery throughout the cottage.
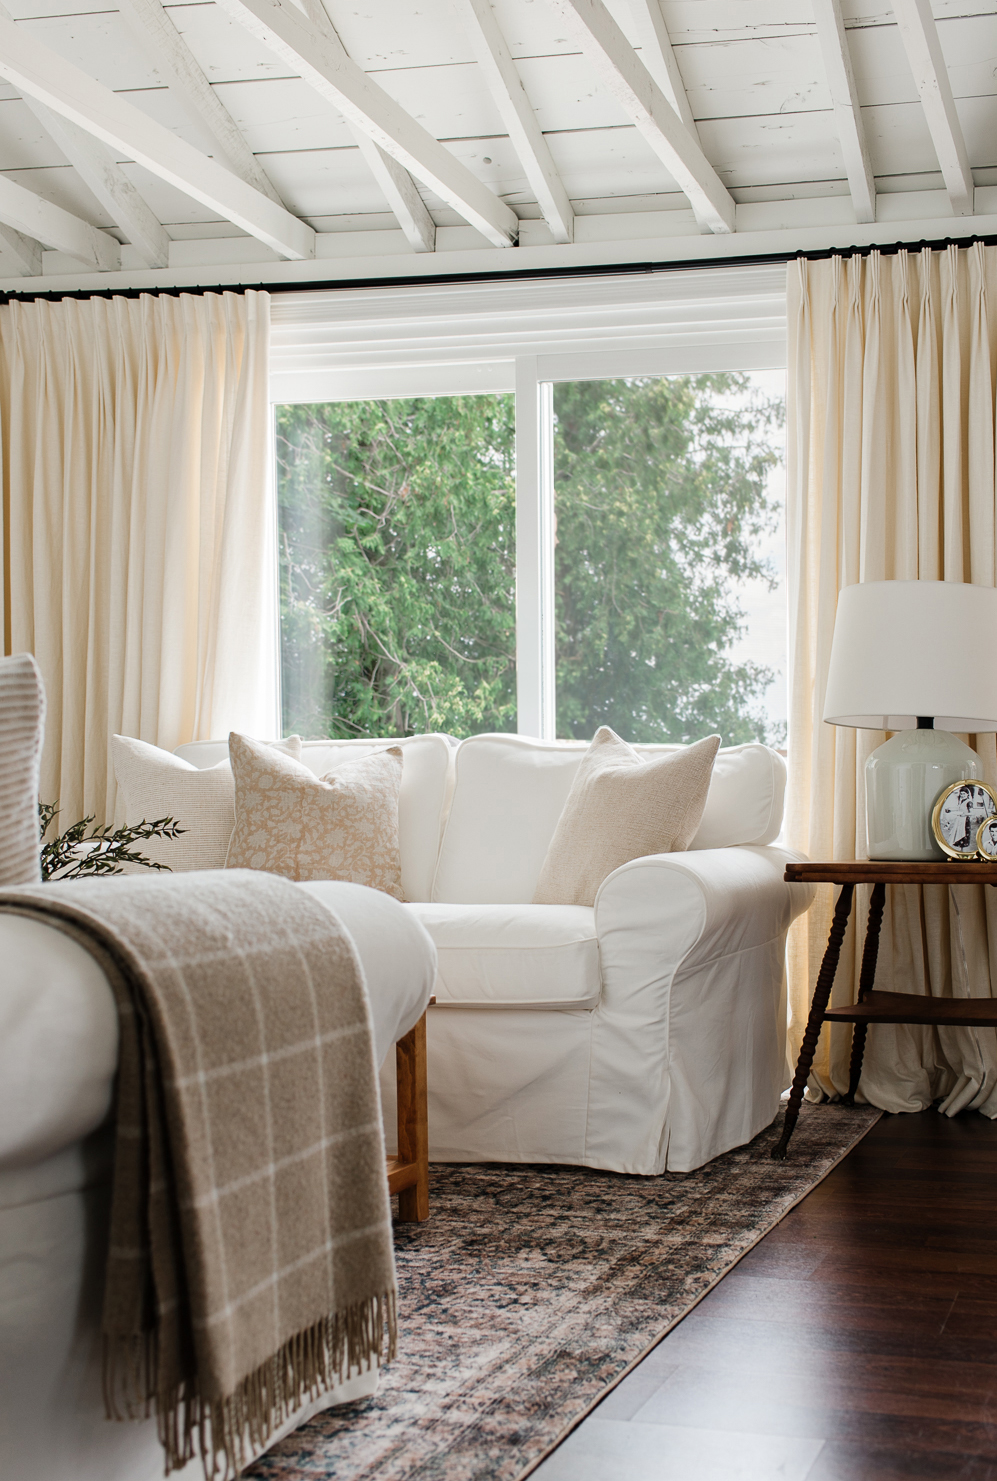
We chose woven wood shades in a rich organic grass material, the shades add texture and interest to each room while pulling together the dark wood tone of the floor. The drapery panels are made from linen in a creamy shade of off-white adding warmth and beautifully framing our view of the bay.
Investing in high-quality window treatments is definitely worthwhile as they not only enhance the overall aesthetics of a home but also contribute to the comfort and ambiance of the space. Like the flooring, I used the window treatments as an opportunity to help the cottage feel cohesive and unified.
Now, let’s take a closer look at the before and after of each room.
The Kitchen
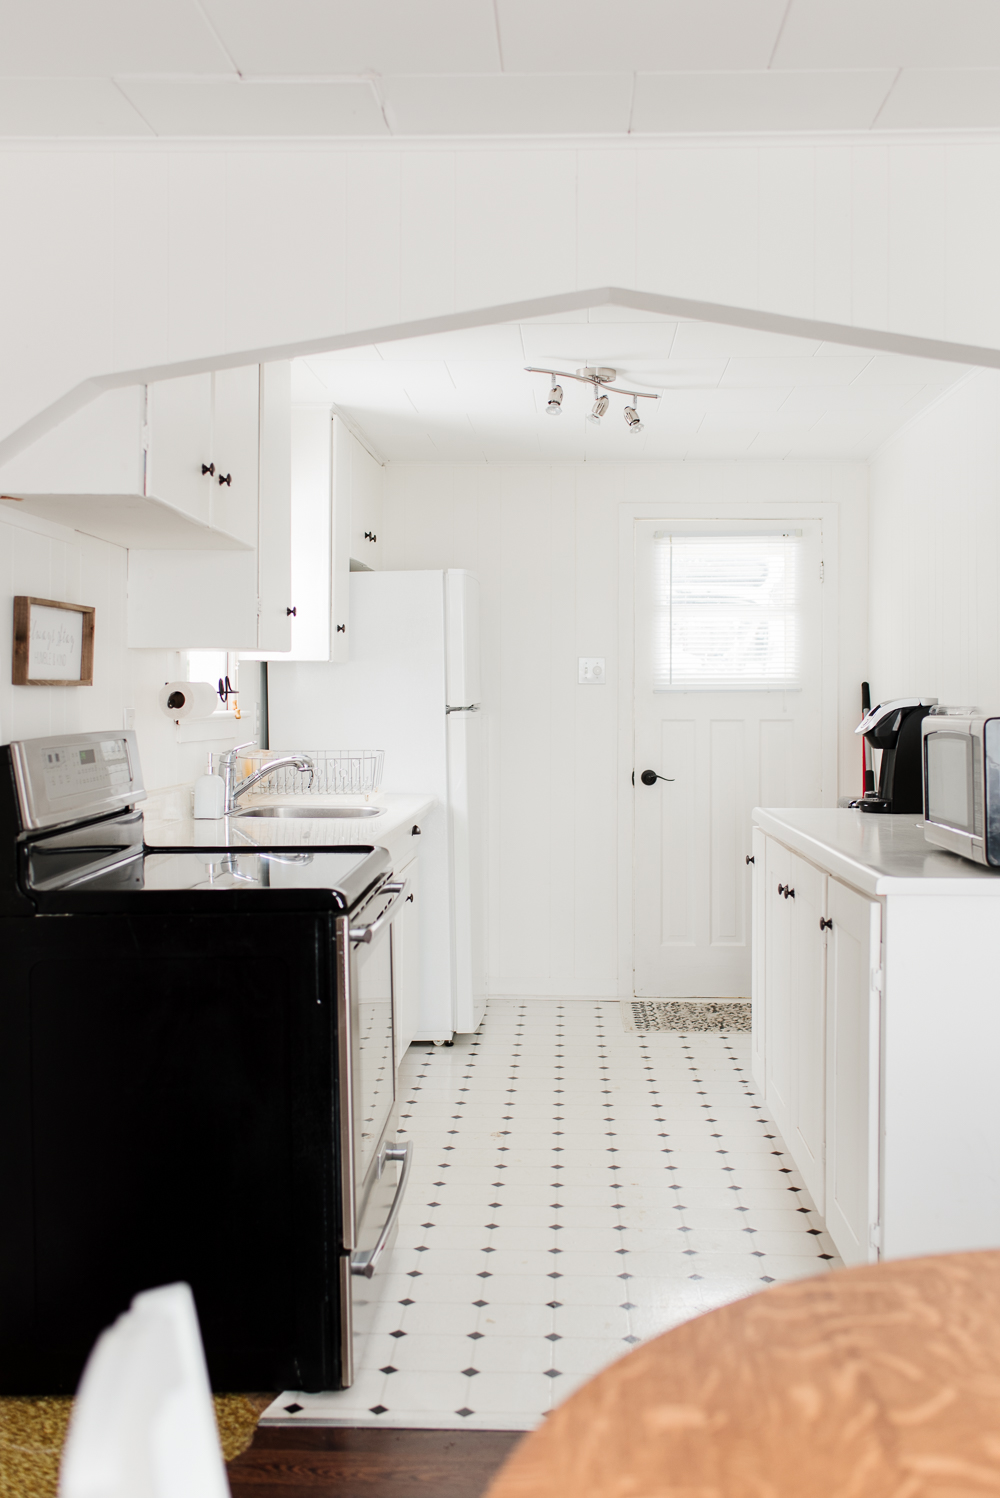
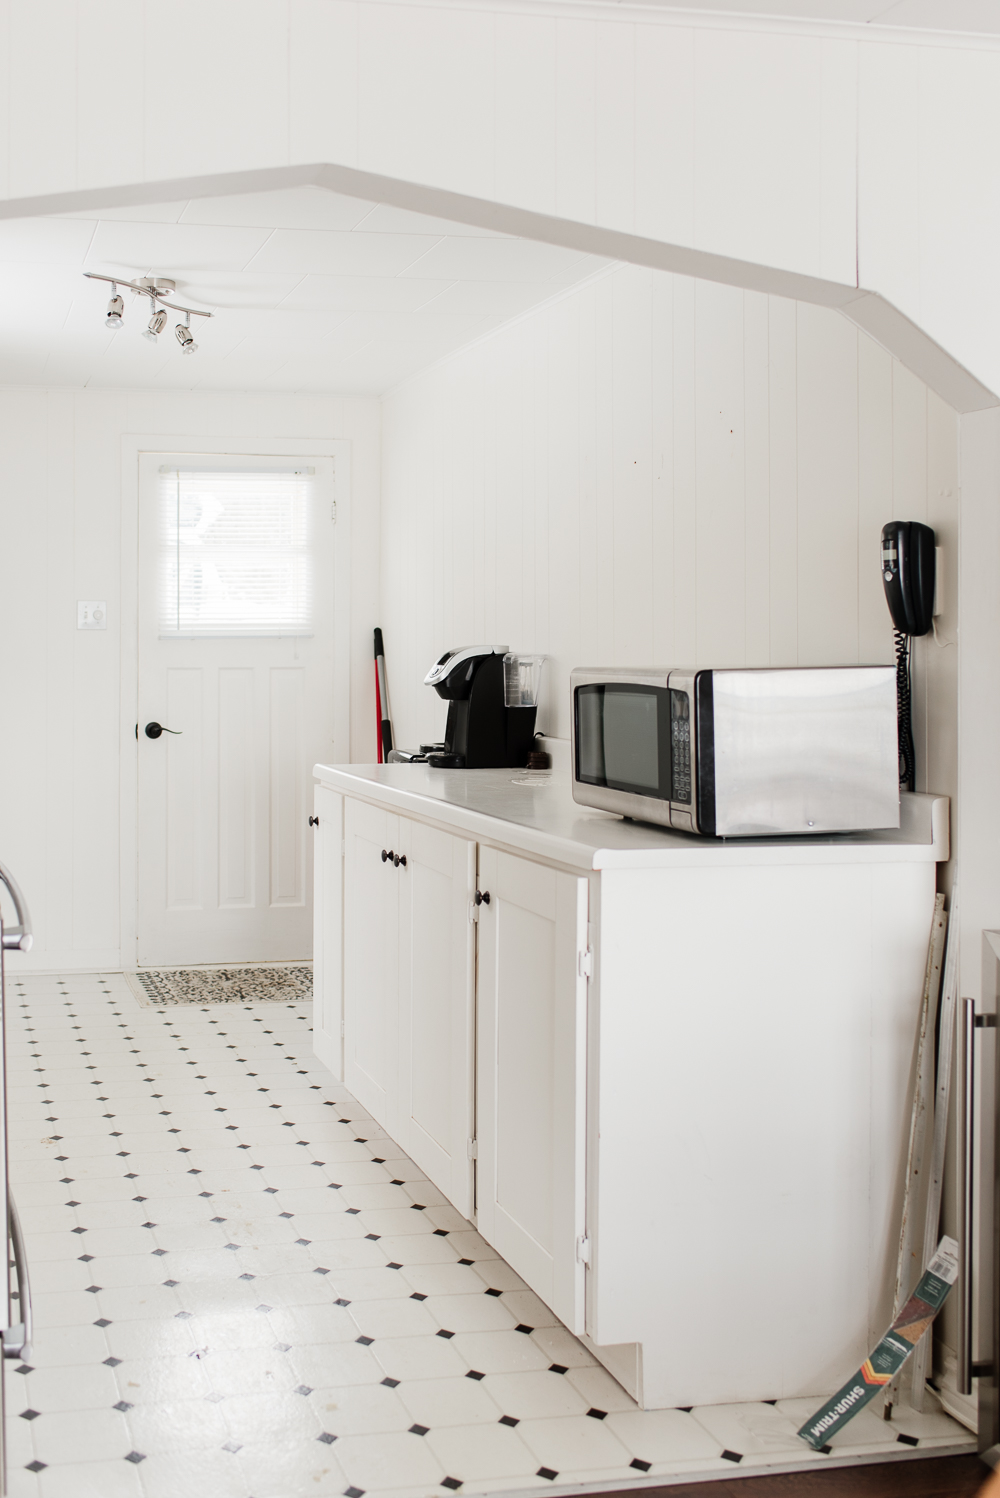
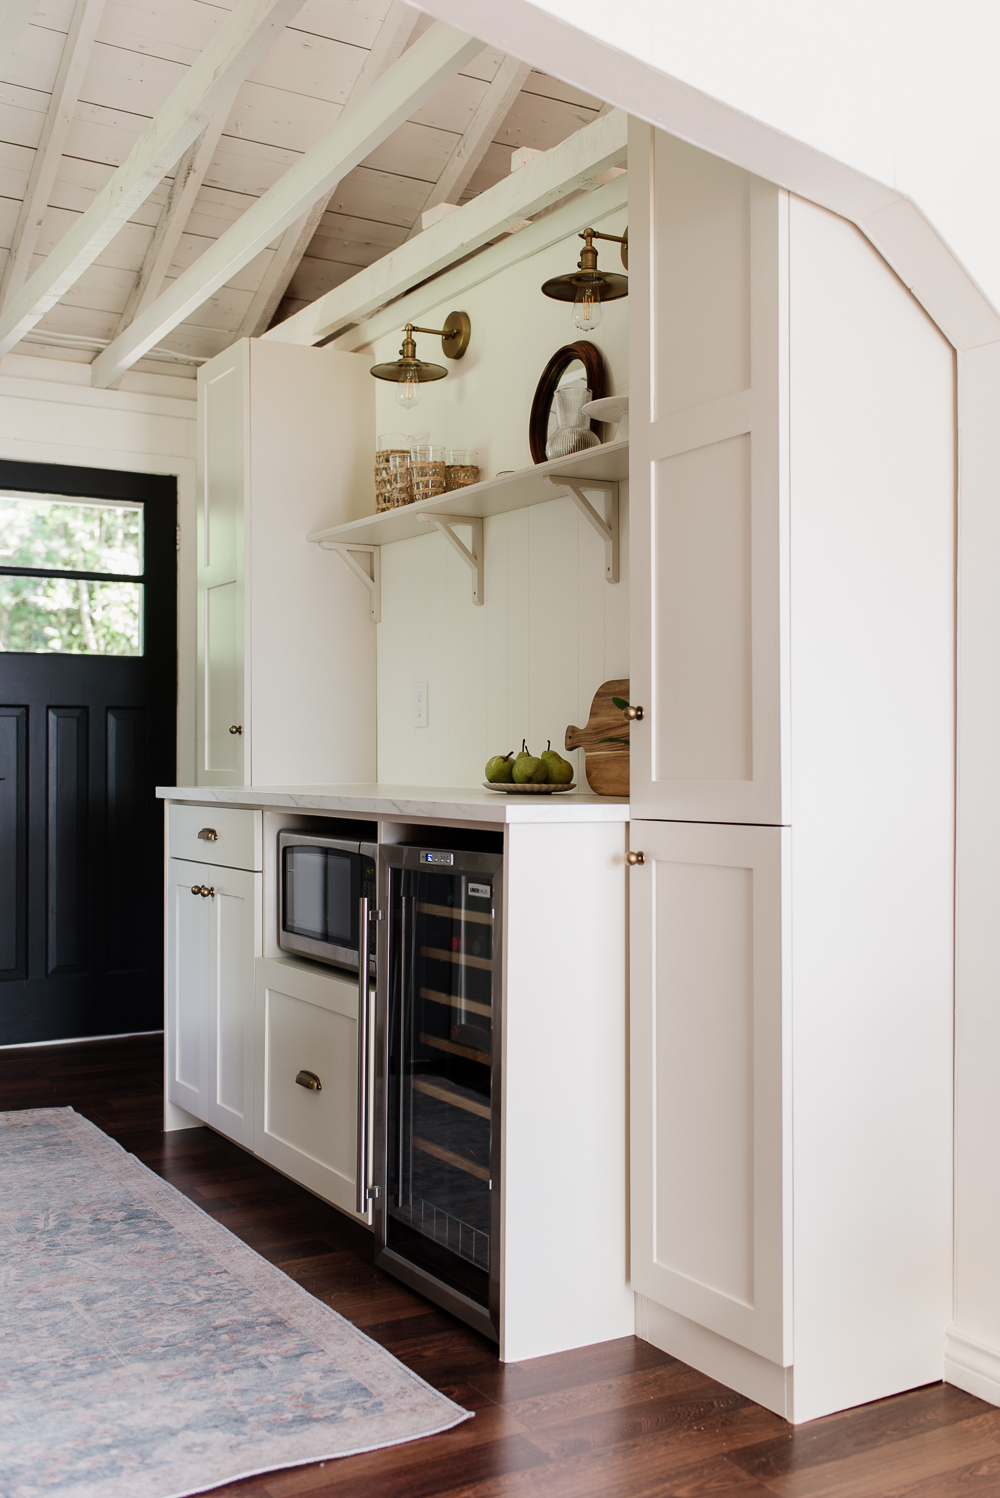
The kitchen underwent the biggest transformation as we created a space that was not only beautiful but that functioned so much better for our family. Cream-coloured custom cabinetry, antique-brass finishes and a large double-basin apron sink are just a few of the additions we made to our charming cottage kitchen.
Read more about the kitchen and find all of the sources here
The Dining Room
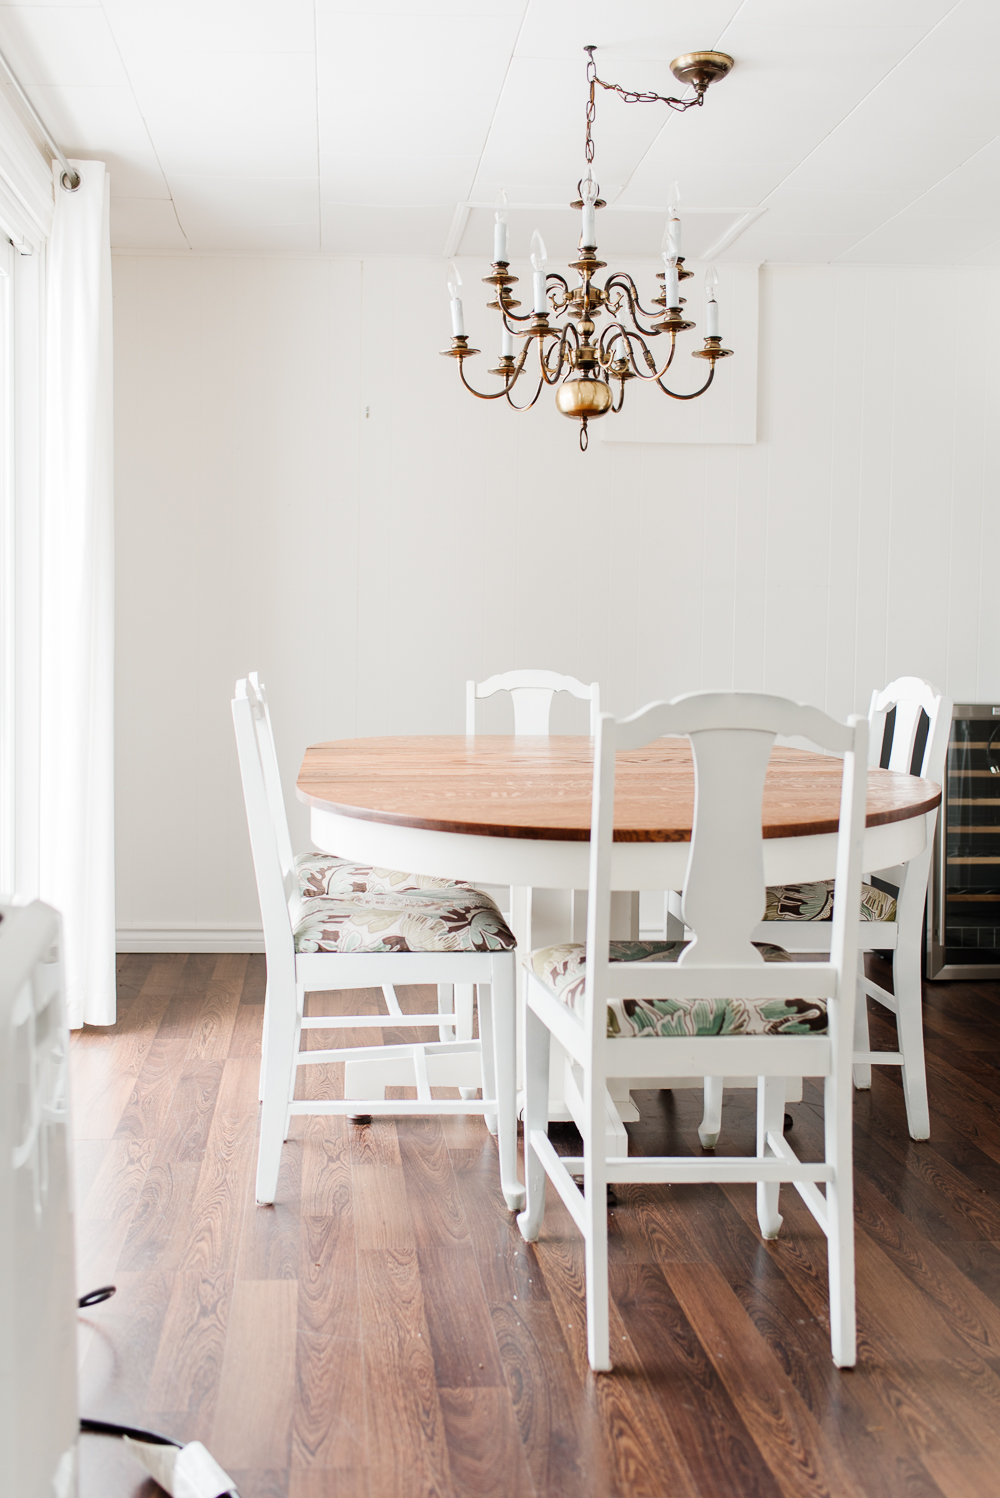
Although the dining room didn’t undergo a lot of big changes, it still looks and feels like a completely different space. I designed the dining room to feel inviting and full of character, by incorporating the original dining table from the cottage, antique ladder-back chairs, custom drapery and wood cabinets with glass front doors. It’s now the perfect place to enjoy family meals together.
Read more about the dining room and find all of the sources here
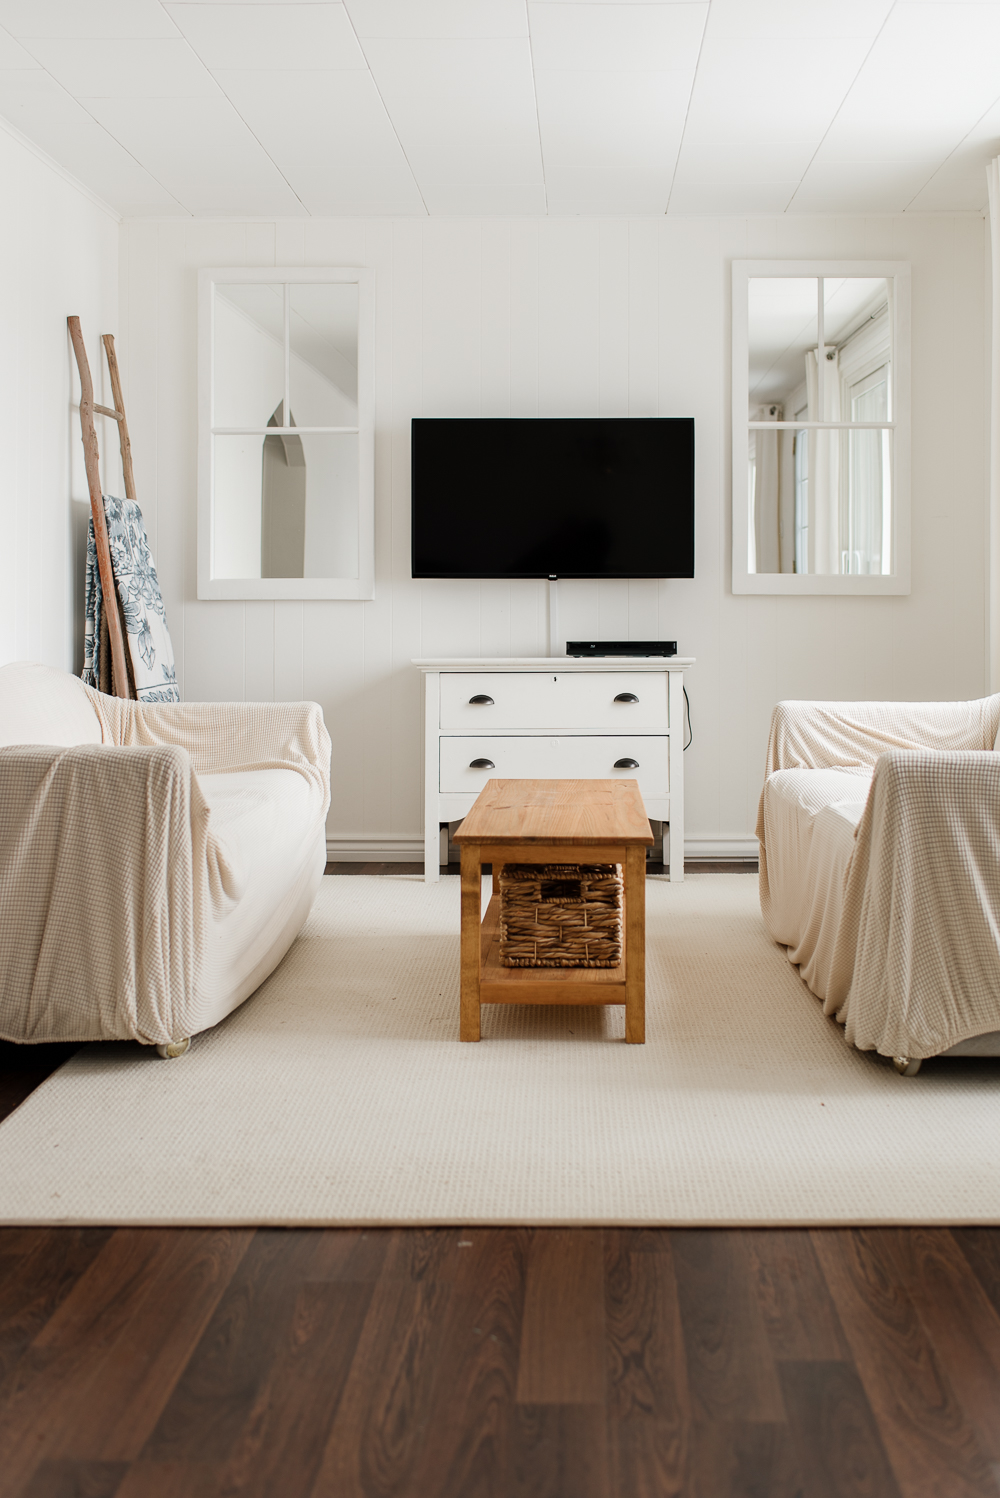
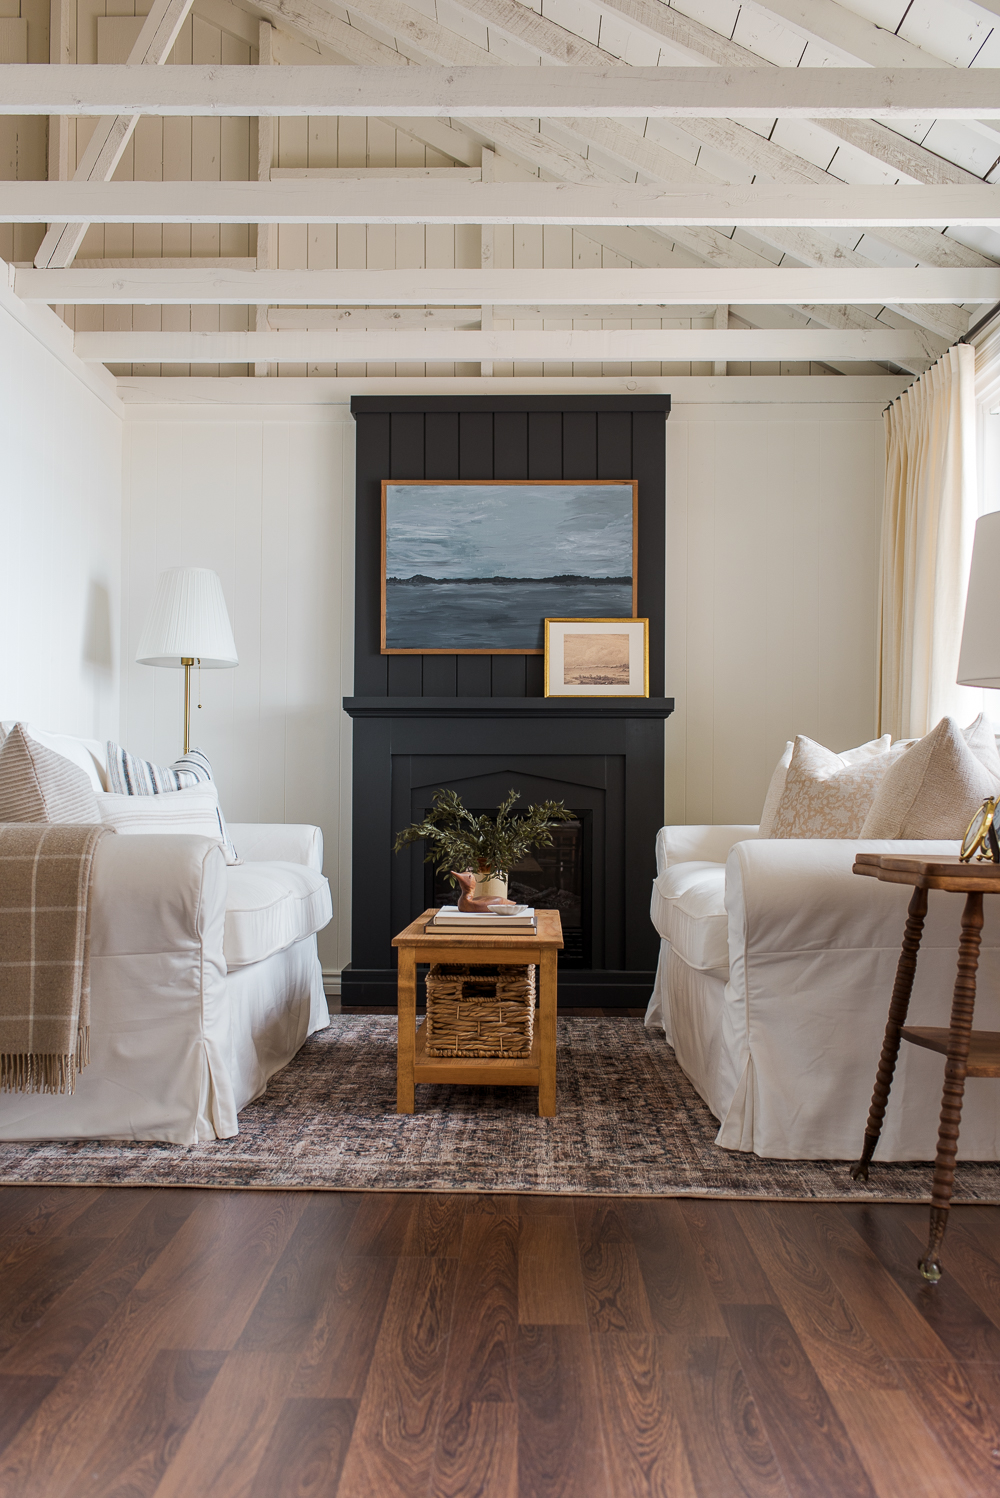
The Living Room
The living room saw the addition of a dark and moody fireplace, slipcovered sofas, custom drapery and an antique-inspired rug. While we spend most of our time outside at the cottage, we wanted to be sure we created a place we could spend rainy days in comfort.
Read more about the living room and find all of the sources here
The Bedroom
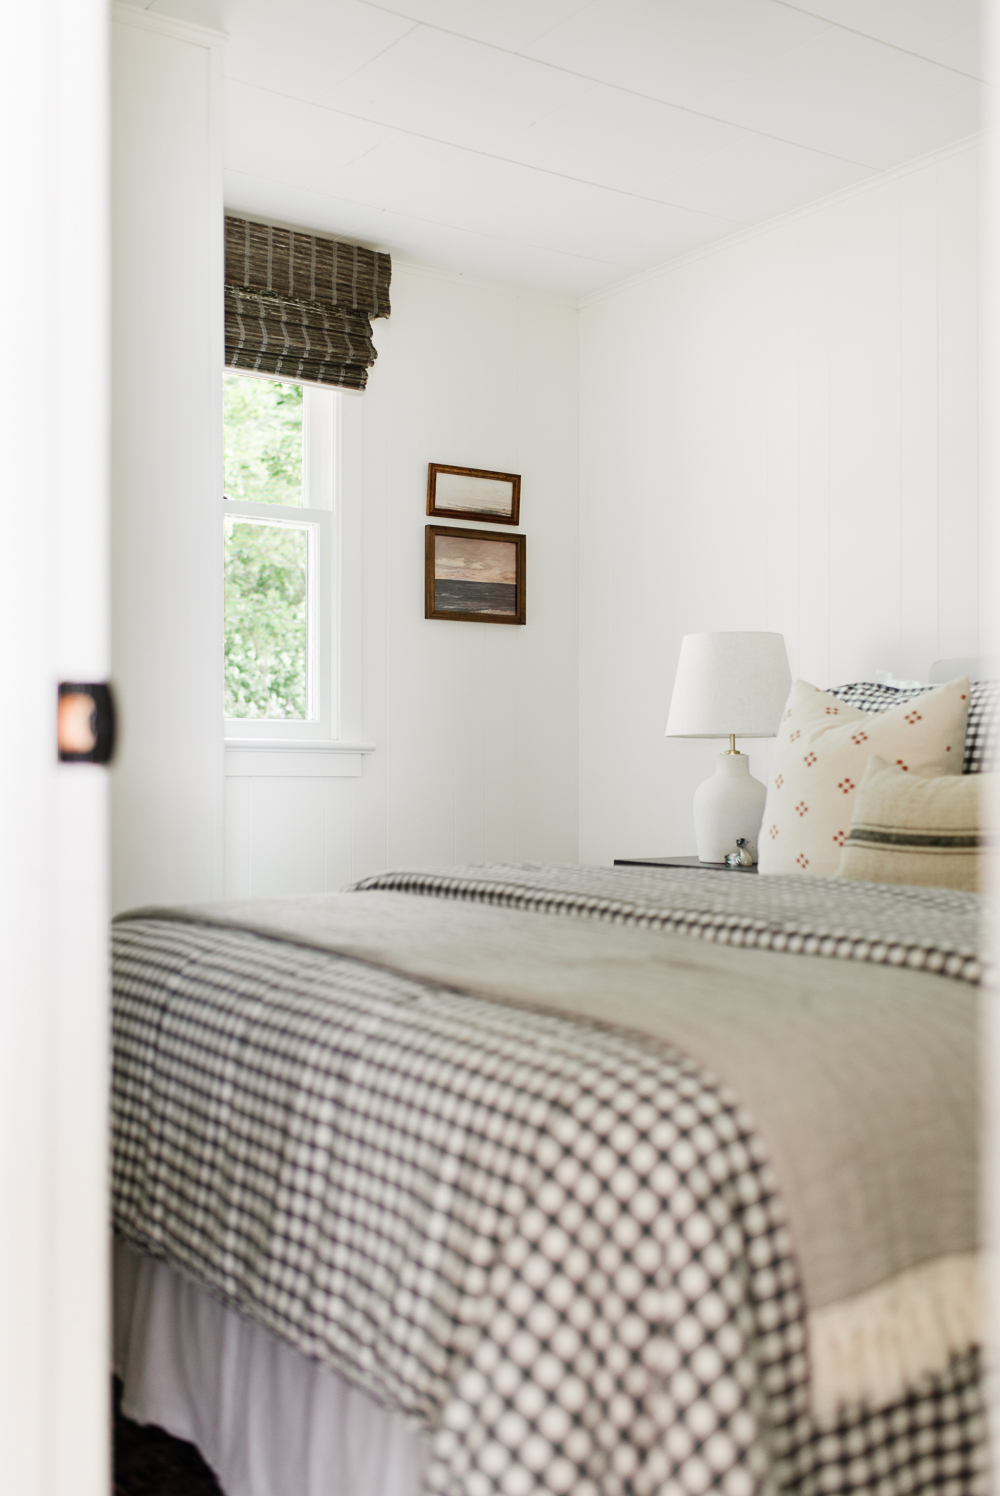
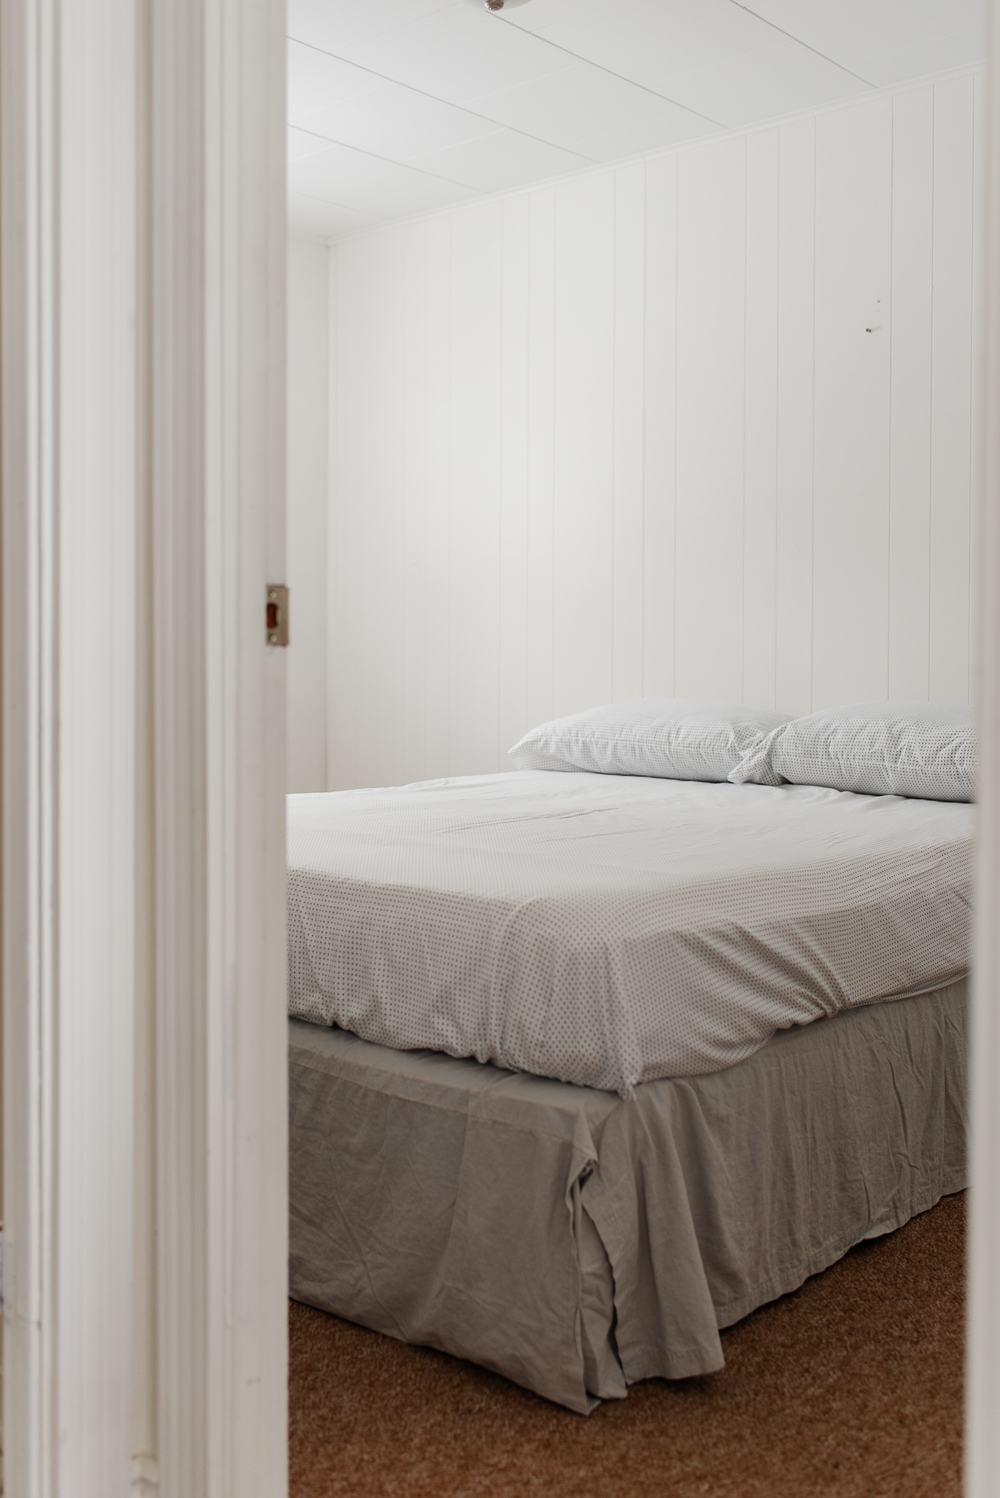
The tiny bedroom is only big enough to fit a double bed and two nightstands, but with the addition of vintage art, gingham bedding and the softest rug we managed to create a cozy and inviting bedroom for our nights spent at the cottage.
Read more about the bedroom and find all of the sources here
Bathroom
The bathroom is tiny, but we packed in a lot of character. We replaced the flooring with luxury vinyl tiles, hung a floral print shower curtain in place of a glass door, painted the vanity an inviting shade of green, installed a new faucet and hung a beautiful brass mirror, vintage peg rail and coastal art to create a quiet and calm bathroom.
Read more about the bathroom and find all sources here
The Bunk Room
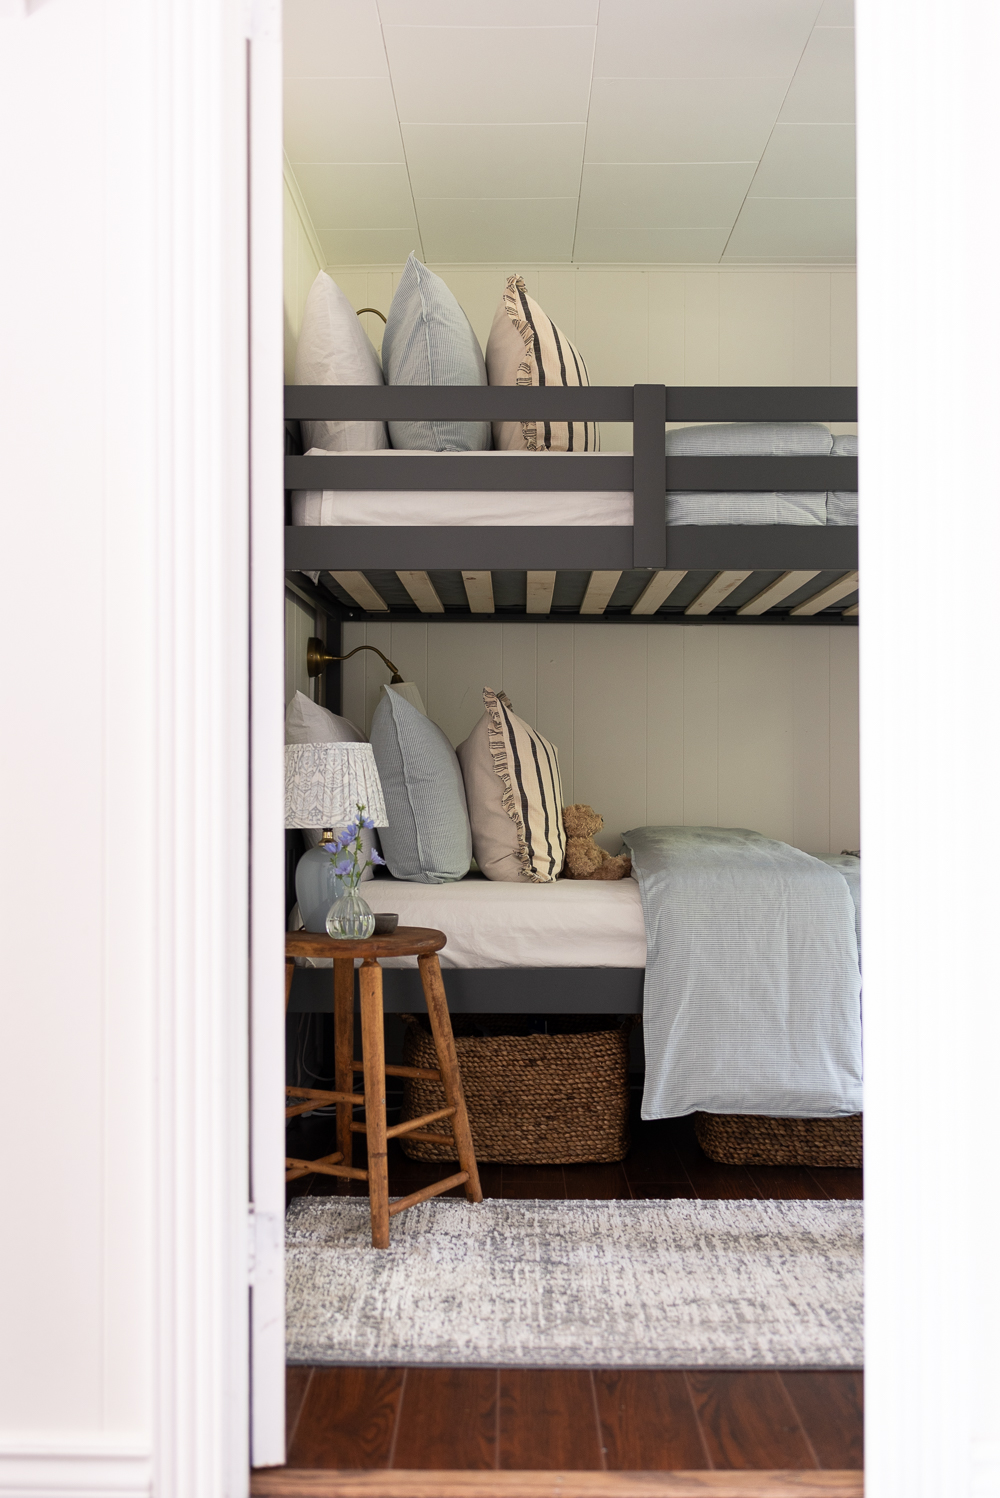
Although I love all of the rooms in the cottage, this sweet bunk room we created for our girls might just be my favourite space. Bunk beds, a cozy runner, striped bedding, ruffled pillows and brass sconces create the perfect hideout for summer sleepovers. I know the girls will make so many memories here.
Read more about the bunk room and find all of the sources here
Our Cottage Remodel Room by Room
Kitchen
Dining Room
Living Room
Primary Bedroom
Bathroom
Bunk Room
It’s so rewarding to look back at the before photos to see how far our little cottage has come. We put so much thought and hard work into creating a special place for our whole family to enjoy together for many more years to come.


Leave a Reply